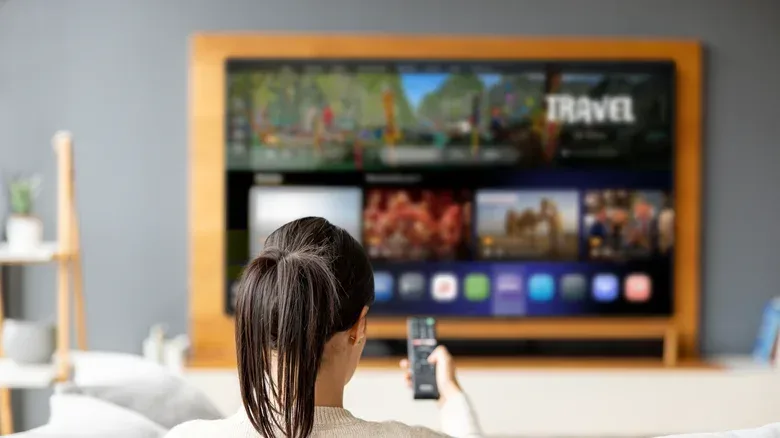
A 4K television can have a great panel and still produce a needlessly artificial image the moment it comes out of the box. That is particularly easy to notice with games: fine environmental detail can look harsh, dark scenes can lose useful detail, and movement can acquire an oddly processed sheen. Movies and shows have the same problem, just with a more famous complaint attached to it: the soap opera effect.
The practical answer is not to hunt for one universal list of numerical settings. Identical TV models can vary enough from panel to panel that a setting which looks right on one set will not necessarily look right on another. Instead, start with a sensible preset, remove the most intrusive processing, then make careful changes to the controls that govern light, contrast, color and detail. Finally, make the room work with the display rather than against it.
For players setting up a console ahead of a big campaign, including something like Gears of War: E-Day, this is a useful bit of maintenance that can improve every game rather than just one. The same setup also helps with streaming boxes and other HDMI devices.
Begin with Movie or Filmmaker Mode
Picture modes are groups of settings designed around a use case. Vivid modes commonly push brightness, saturation, sharpness and contrast for immediate impact on a shop floor. Sports modes may favor processing intended to make fast movement look smoother. Gaming modes generally prioritize low latency—the delay between a console sending a frame and the TV showing it.
Those goals are not interchangeable. A picture intended to seize attention under bright retail lighting is not necessarily faithful or comfortable in a living room. For film and television, the strongest starting point is normally Filmmaker Mode, where available, or a TV’s Movie mode. Both are intended to make the image more natural by reducing unnecessary processing. Filmmaker Mode is an official specification supported by filmmakers including Martin Scorsese and Denis Villeneuve, though it is not included on every TV.
Movie mode is not a perfectly standardized label, so it is worth opening the settings menu even after selecting it. The goal is not blind allegiance to a preset; it is to see what the preset did and correct the remaining obvious problems.
Turn off motion smoothing for movies and shows
The first setting to find is motion smoothing. Manufacturers give it many names, including action-clarity-style labels, but its central behavior is the same: it can create and insert extra frames between the frames that were originally supplied.
That can have a place in sports viewing, where some viewers prefer unusually smooth motion. It is generally a poor fit for movies and scripted TV. Films commonly run at 24 frames per second, and altering that presentation can make sets, movement and faces look unnaturally slick. This is the much-maligned soap opera effect. It is not a resolution upgrade and it does not reveal image information that was missing from the original video; it is processing that changes the character of motion.
Related coverage includes Simple 4K TV Settings That Can Improve Picture Quality.
Disable motion smoothing for movie and show viewing, along with aggressive sharpness and other post-processing if the Movie or Filmmaker preset left them enabled. It is sensible to keep in mind that settings can be stored separately by input or mode. A TV may be cleanly configured for a streaming app but revert to unwanted processing on a console input, or when it switches into an HDR format.
Make sure the console or streaming box is actually delivering 4K
TV calibration cannot restore detail that never reaches the screen. Before spending time on picture controls, inspect the output options on connected consoles and streaming devices. Confirm that the device is configured to output 4K and its best available quality. This is a simple check, but it prevents a frustrating situation where an excellent TV is being judged while receiving a lower-quality signal.
For games, do not confuse the TV’s picture mode with the console’s output. A gaming preset has a specific purpose: lower latency. That can be valuable for responsiveness, even if a movie-focused preset is the better choice for a film. Since many televisions retain picture options per HDMI input, owners can take advantage of that division—tune the console and streaming box independently—or use an Apply to All option if a common baseline is preferred.
Adjust the fundamentals, one control at a time
After choosing a mode and clearing out the most disruptive processing, work through the core picture controls gradually. Do not change everything at once. If a result looks worse, changing a single setting makes it possible to identify the cause and undo it.
- Brightness and black level affect the dark end of the image. The aim is to retain shadow detail without making blacks look washed out.
- Contrast and white level govern the bright end. Excessive contrast can sacrifice detail in very bright areas.
- Sharpness should be treated cautiously. Higher sharpness does not necessarily mean more real detail; it can add an artificial edge treatment.
- Color temperature changes the overall balance of the image, influencing whether whites and neutral tones look warmer or cooler.
- Color gamut concerns the range of colors the display uses.
- Tint adjusts the color balance along its tint axis.
- Gamma affects how intermediate shades sit between black and white, making it especially relevant to perceived depth and visibility in darker material.
A dedicated calibration tool is the best way to make these adjustments precisely, but it is not required for a visible improvement. Carefully comparing the image with TV test patterns can give the eye a more objective reference point than a random scene from a game or show. The important discipline is to make measured adjustments rather than continually chasing maximum brightness, contrast or sharpness.
There is no source-supported magic value that applies to all models, rooms and panels. In fact, panel variation is exactly why a universal set of numbers is unreliable. The useful target is a comfortable, natural image that preserves detail at both ends of the brightness range and does not advertise the TV’s processing.
Watch out for Eco modes that dim the picture
Energy-saving or Eco settings often reduce brightness and can compromise picture quality. If accurate or consistent image quality is the priority, disable those modes while retaining an inactivity timer. Turning the television off when nobody is using it is the more direct way to avoid unnecessary power use without constantly altering the picture.
This is also a good moment to revisit the TV after changing formats. An Eco setting or enhancement that was disabled in standard viewing may behave differently when HDR content is detected. The menu can look deceptively settled until a game, movie or app switches the screen into a different mode.
Let Dolby Vision do its job—then verify the basics
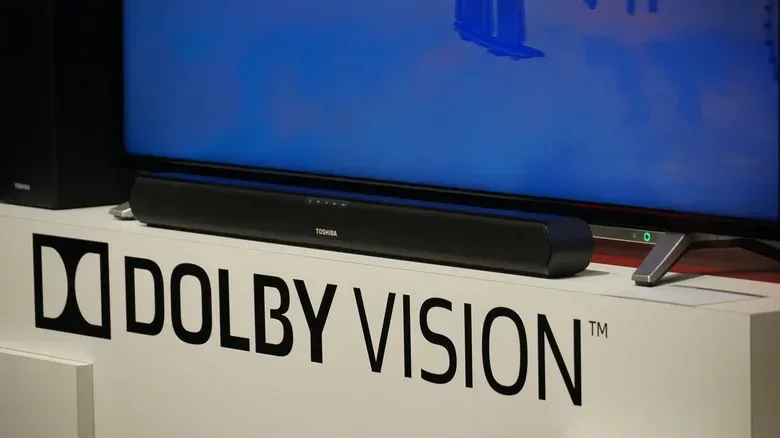
HDR, or high dynamic range, refers to picture formats designed to improve contrast and the range between dark and bright areas while preserving color. Dolby Vision is a specialized HDR format supported by many 4K TVs. When compatible content plays, the TV normally identifies it with a brief on-screen Dolby Vision badge and activates the mode automatically.
Unlike the blanket “enhancements” that can distort an image, Dolby Vision is intended to improve the presentation of supported material. Leave it enabled when it activates. If the television offers Dolby Vision Bright, Dark and Normal variants, Normal is the general-purpose choice. Bright can be useful when substantial daylight reaches the room, while Dark is intended for a very dark environment. Dolby Vision Cinema is the preferable option when available because it fills a role similar to Filmmaker Mode.
Dolby Vision does not eliminate the value of the other checks. Entering a Dolby mode may cause unwelcome sharpening or post-processing to return, and brightness or color adjustments may not transfer exactly from another picture mode. Check the settings once with compatible content playing, then let the format operate unless the picture clearly appears wrong. Dolby Vision 2 is already available on some Hisense TVs, with further vendor support expected, but the same basic advice remains: a new picture format cannot compensate for poor settings or intrusive room light.
The room is part of the display setup
Calibration is only half the job. A carefully tuned screen can still look dim, reflective or fatiguing if it sits in the wrong place. Start with windows. A TV should not face a window, because direct light can reflect from the display and place glare directly in the viewer’s sightline. Positioning the TV directly in front of a window is also unhelpful: the brightness outside can make the screen seem too dim.
Where possible, place the television perpendicular to windows and use curtains or blinds to control daytime light. The point is not to turn the room into a cave every afternoon. It is to prevent uncontrolled direct light from overwhelming the image and to give the TV a consistent viewing environment.
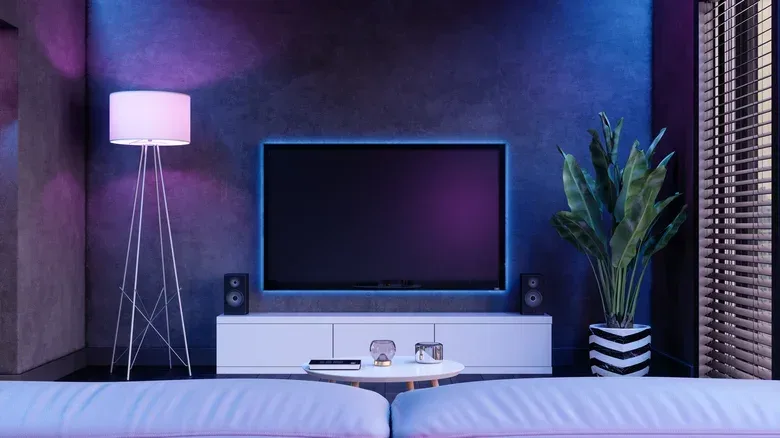
At the same time, a bright screen against an entirely dark wall can become tiring to watch. Bias lighting is the term for light placed behind the television, often from an LED strip that creates a glow on the wall. It can make viewing more comfortable by reducing the harsh contrast between the bright panel and the surrounding darkness. Some systems synchronize their colors with what is on-screen, while others use fixed lighting. Either approach is distinct from sunlight or a lamp reflecting into the panel: the useful light is behind the TV, not shining at it.
A fast, repeatable setup checklist
- Select Filmmaker Mode, or Movie mode if Filmmaker is unavailable.
- Disable motion smoothing, excessive sharpness and other unnecessary post-processing for films and shows.
- Confirm each connected console or streaming device is outputting 4K at its best available quality.
- Adjust black level, brightness, contrast, sharpness, color controls and gamma slowly, preferably using test patterns.
- Disable picture-compromising Eco modes, while keeping an inactivity timer if desired.
- Check whether the TV saves settings separately for each input and HDR mode.
- Allow Dolby Vision to activate for supported content, choosing Cinema where offered or Normal as a general default.
- Move the TV away from direct window reflections, control daylight with blinds or curtains, and consider bias lighting behind the screen.
The main lesson is refreshingly unglamorous: the biggest picture upgrade may already be sitting in the settings menu and in the layout of the room. A good 4K TV should not need to shout with artificial sharpness, oversaturated colors or fabricated motion. Once those distractions are removed, the panel, the game and the content have a much better chance to speak for themselves.
Shop the products
Check current price, model and availability at the retailer.