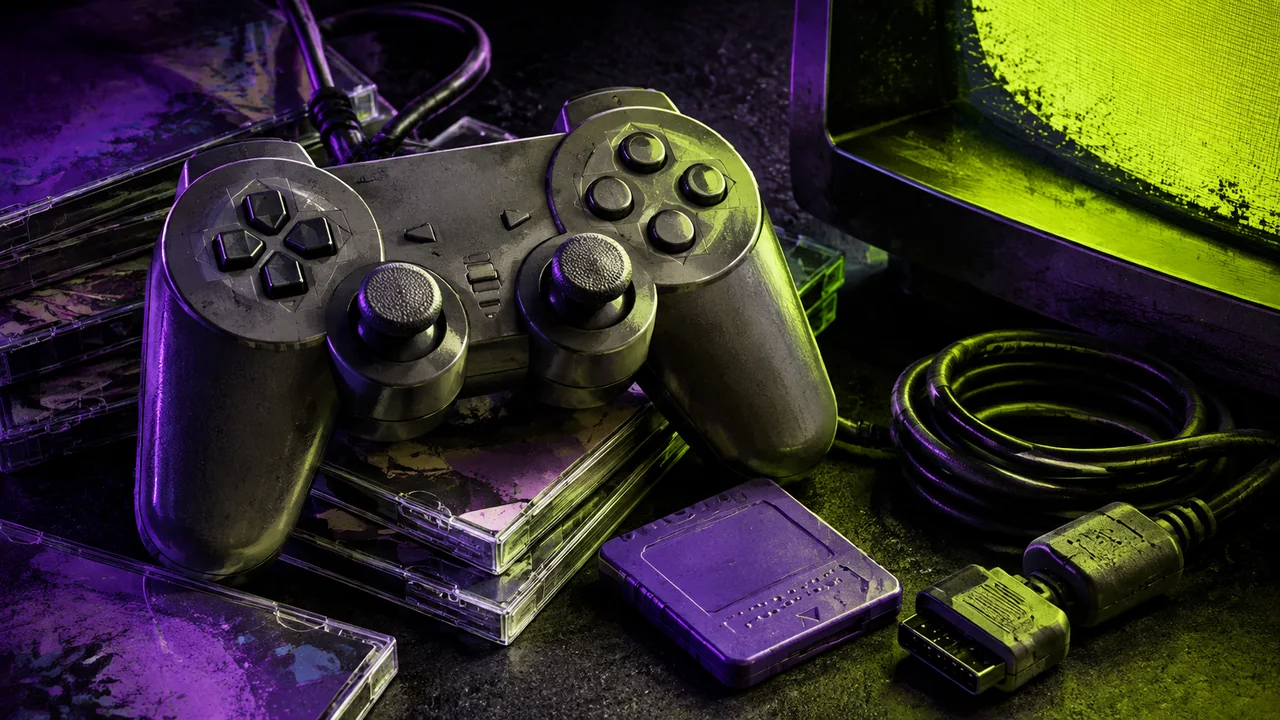
A used PlayStation 2 should be judged as a complete setup. The console may look excellent while the controller has a wandering stick, the memory card is missing, and the supplied cable cannot connect to your television. Start with the games you intend to play and make the seller demonstrate the functions those games need.
This is a research-based buying checklist, not a claim that we have tested every PS2 model or a recommendation for a particular seller.
Identify the console before choosing accessories
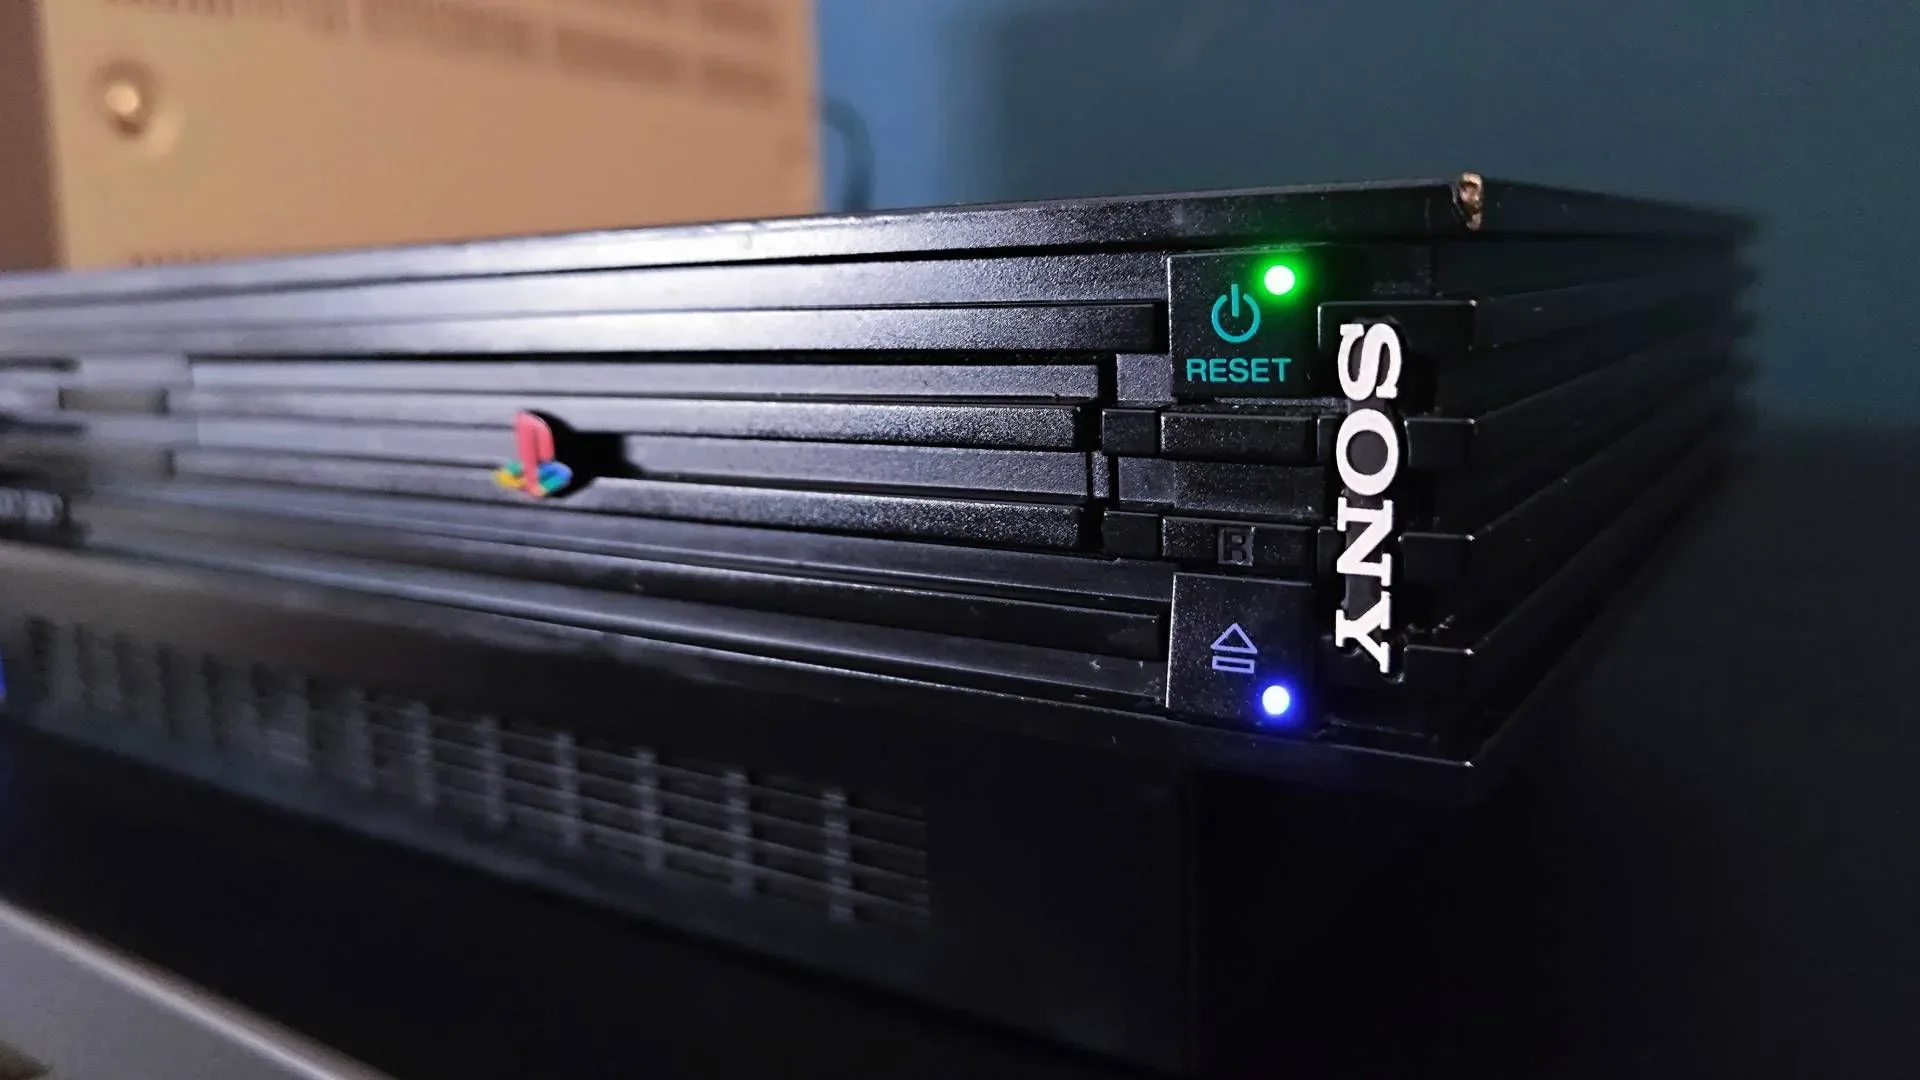
Ask for a clear photograph of the model label and rear connections. The original and slim families include revisions, so “fat” or “slim” is not a full specification. Match the exact model to its manual, especially for power requirements and supported accessories. Do not assume that an adapter or expansion accessory fits every model bearing the PS2 name.
Sony’s hardware history documents the console’s DVD playback and support for original PlayStation discs. Compatibility is still a game-and-model question when making a specific purchase; confirm unusual titles and peripherals individually. PlayStation’s PS2 history provides the broader context, while the model manual is the better place for operating instructions.
Ask for a meaningful demonstration
A picture of the startup screen proves less than a game being played. Request an uninterrupted demonstration from power-on through loading a known working game, using the controller, and saving progress. If you plan to use both PS2 and original PlayStation software, have the seller demonstrate the relevant formats and save hardware. A seller who cannot test something should describe it as untested.
- Observe the disc mechanism opening and closing without force.
- Check the picture and sound after a game has loaded.
- Try both controller ports if local multiplayer matters.
- Use the directional pad, sticks, face buttons, shoulders, and pause controls.
- Confirm that the intended memory card can write and reload a save.
- Let the machine run beyond the first menu and note unusual behavior.
A short test cannot guarantee long-term reliability. It can still reveal a much more useful set of facts than “worked when stored.” Keep the seller’s return terms with your purchase record.
Plan the television connection
Look at the actual inputs on your television, not just its age or resolution. An HDMI socket does not accept an analog console cable by itself. Any conversion equipment needs to accept the console’s output and produce a signal the display supports. Read the adapter documentation for interlaced video, supported formats, power, and audio.
Make a written connection chain: console, cable, conversion device if required, television input. Include every power supply. This turns an accessory search into a compatibility check instead of a guessing competition between product thumbnails.
Budget for the missing pieces
Add the cost of a usable controller, suitable power hardware, memory card, video connection, and the games you actually want. A cheaper console-only listing can become the more expensive setup. Conversely, a large bundle is not automatically good value if most of its contents are unwanted or untested.
When the console arrives, document its condition before cleaning or changing anything. Follow the manufacturer’s safety instructions and leave internal power-supply work to someone qualified. Your first objective is a reliable evening with a game, not an unplanned apprenticeship in vintage electronics. For packaging questions, use our complete-in-box guide to compare what is included.