A PC can be a remarkably convincing liar. An application closes for no clear reason, a game stutters when it should not, Windows restarts unexpectedly, or a Blue Screen of Death makes an unwelcome cameo. It is tempting to blame the newest driver, the latest patch, a demanding game, or whatever peripheral was plugged in last. Sometimes, though, the unstable party member is RAM.
Windows has a built-in tool for investigating that possibility: Windows Memory Diagnostic. It is already included with the operating system and is intended to look for signs that system memory is not reliably holding and returning the data written to it. It will not solve every performance mystery, and a clean result is not a lifetime warranty for the RAM installed in a machine. Still, it is a useful first diagnostic step when crashes and erratic behavior start turning an otherwise dependable PC into a chaos build.
For a broader PC-health mindset, storage deserves its own checkup too: our guide to checking storage health before files face a game-over screen covers why different hardware components need different kinds of diagnostics.
Why RAM trouble can feel like almost anything
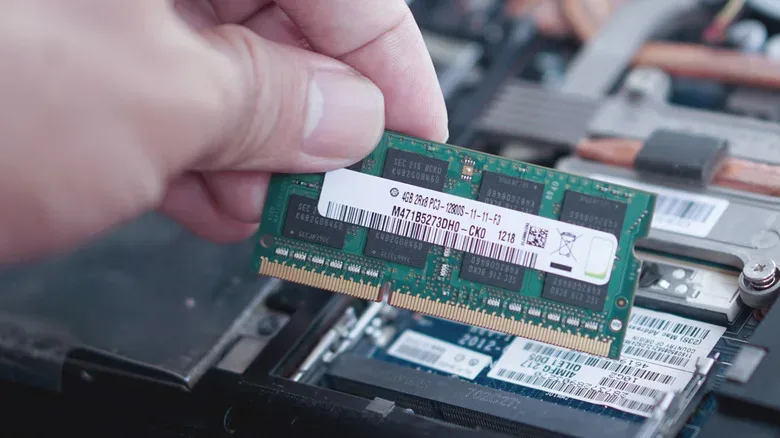
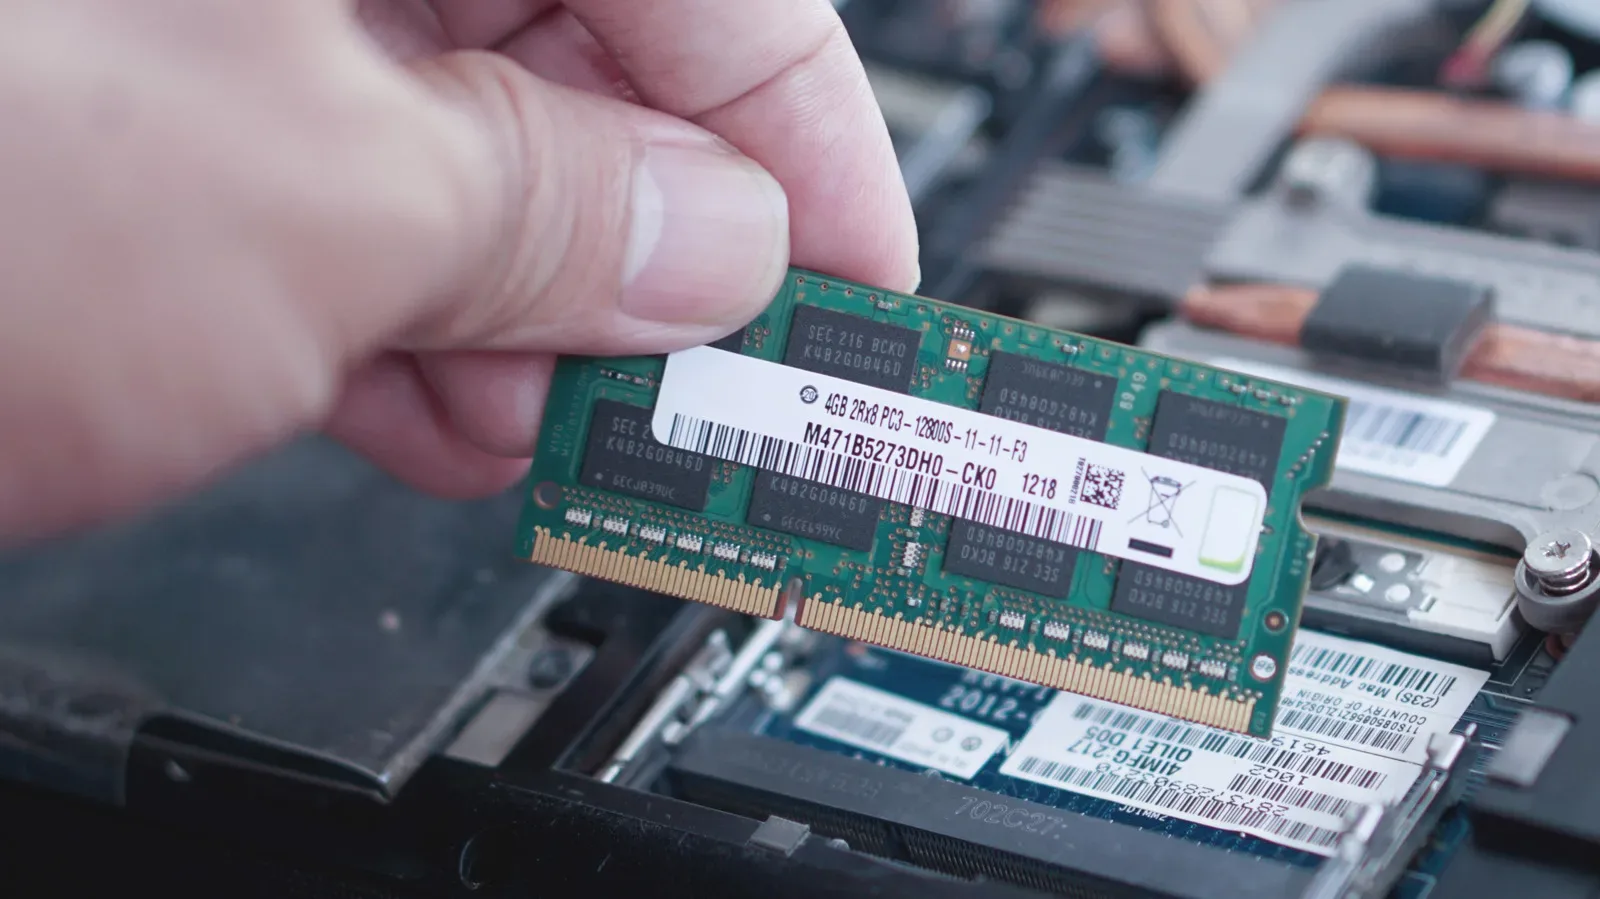
An SSD or hard drive holds Windows, installed software, games, documents, and other files for the long haul. RAM, or random-access memory, is the fast temporary workspace used for information that the processor needs right now. When a program is open, its active data is placed in memory so the system can reach it quickly.
That role makes unreliable RAM unusually disruptive. If the data stored in memory is altered, lost, or returned incorrectly, the affected program may crash. In other cases, Windows may freeze, reboot, show a BSOD, or exhibit performance problems that do not point neatly at one application. The symptom is not a definitive diagnosis; those same problems can have other causes. But memory is a sensible component to investigate when instability is persistent or difficult to explain.
The diagnostic’s core idea is straightforward. It writes test data to memory, reads that data back, and checks whether the returned result matches what was originally written. If the values do not agree, the test has found evidence that memory is not behaving as expected. It is less dramatic than fighting a final boss, but the basic challenge is similar: the system gives RAM a precise task repeatedly and watches for a mistake.
Save first: the test requires a restart
Windows Memory Diagnostic runs outside the normal Windows desktop. That matters because Windows itself, background services, and currently open programs use RAM. Testing after a restart gives the utility a cleaner environment in which to work.
The practical consequence is equally important: save open work before starting. Documents, projects, browser tabs with unsaved form entries, and anything else not safely stored can be lost when the computer restarts. Close applications once the important stuff is saved, then begin the test.
Launching Windows Memory Diagnostic
There are two simple ways to open the utility.
- Open the Start menu.
- Search for Windows Memory Diagnostic.
- Select the matching result.
Alternatively, use the Run dialog:
- Press Windows + R.
- Enter mdsched.exe.
- Press Enter.
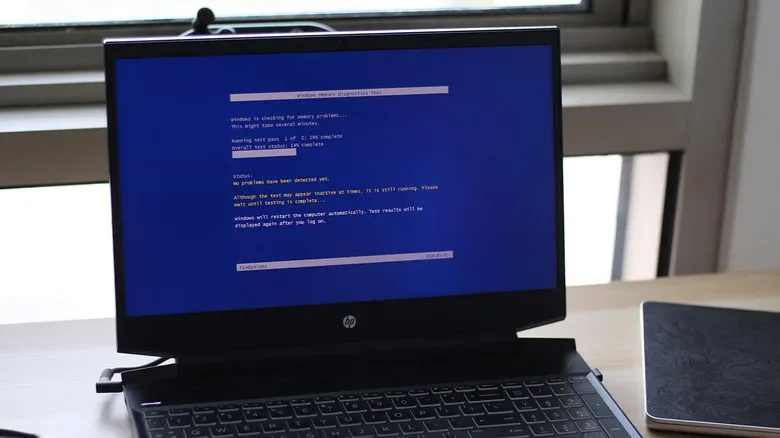
Windows presents a dialog with restart-related choices. To start promptly, select Restart now and check for problems (recommended). The PC then reboots directly into the diagnostic environment and begins checking memory automatically.
During the run, the screen displays progress information, including the current pass and overall completion percentage. There is no need to keep clicking through menus while it works. Give the test time to finish; interrupting a hardware check halfway through is mostly useful if the aim is to remain uncertain.
Basic, Standard, and Extended: choosing the test mix
The default test is not the only option. While Windows Memory Diagnostic is running, pressing F1 opens its settings. From there, users can choose among three test mixes:
- Basic, the lighter option.
- Standard, the normal middle-ground choice.
- Extended, the most thorough option and the one that takes the longest.
The settings screen also allows the pass count to be changed. The utility can be set to repeat the testing process as many as 15 times. More passes and the Extended test mix can provide a more rigorous check, though they also make the wait longer. There is no universal duration to promise, because test time depends on the selected configuration and the PC itself.
For an initial look, the default behavior may be a reasonable starting point. If crashes continue while the first result says no errors were detected, rerunning the utility with the Extended mix and a higher pass count is a sensible escalation. That approach does not turn the test into an all-knowing oracle; it simply gives the tool more opportunities to encounter an intermittent problem.
What happens after the progress bar finishes
When the test ends, the PC restarts back into Windows. The utility indicates that results should appear after sign-in. In practice, that notification may not reliably make itself visible. A missing pop-up does not necessarily mean the test failed to run or that no result exists.
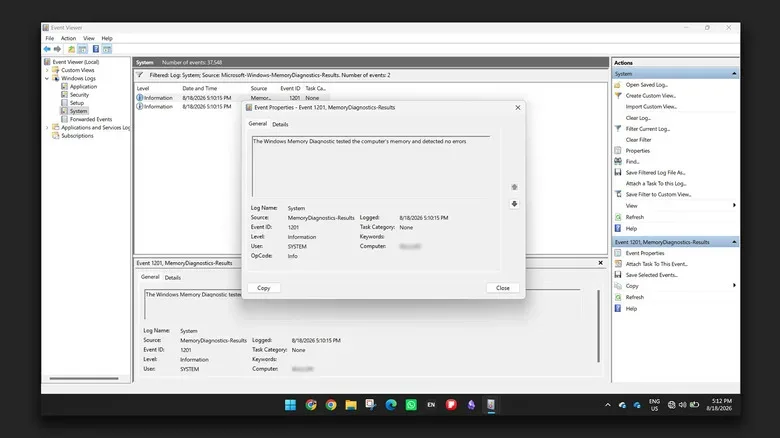
The dependable place to look is Event Viewer, Windows’ built-in log browser. Event Viewer collects system, application, security, and diagnostic records, so it can initially look like the inventory screen of a very complicated RPG. The trick is filtering the logs down to the specific memory-diagnostic entries.
Finding the result in Event Viewer
After logging into Windows, follow these steps:
- Open the Start menu and search for Event Viewer.
- In the left-side navigation, expand Windows Logs.
- Select System.
- In the Actions pane on the right, choose Filter Current Log.
- Open the Event sources selection.
- Choose only MemoryDiagnostics-Results.
- Select OK.
Event Viewer should now show the records generated by the memory check rather than the entire stream of Windows activity. Open the entries and read their descriptions. The relevant message will either indicate that the test did not detect memory errors or warn that hardware problems were found.
That distinction is important, but so is its limit. A report that no errors were found means the diagnostic did not uncover an error during that run. It does not completely eliminate RAM as a possible factor in an ongoing issue. Intermittent instability can be hard to reproduce, which is why a more extensive rerun may be useful when the symptoms continue.
A clean Memory Diagnostic result is useful evidence, not a magical “nothing is wrong with this PC” achievement unlock.
If Windows reports a hardware problem
A reported hardware issue is a strong reason to pause any assumptions that the trouble is purely software-related. Users who are comfortable working inside a computer can try testing RAM sticks individually. Removing and checking one module at a time may help narrow the issue to a particular stick rather than treating every installed module as equally suspicious.
This step involves handling internal hardware, so it is best reserved for people who are confident they can do so safely and correctly. If that does not describe the situation, professional assistance is a reasonable next move. The built-in diagnostic can point toward a memory issue, but it is not a substitute for cautious hardware handling.
There is another potential stability angle for users familiar with their PC firmware settings. XMP and EXPO memory profiles can run RAM beyond its default specifications. Those profiles can be beneficial in a properly stable system, but they can also contribute to instability in some circumstances. Disabling XMP or EXPO through the BIOS is therefore one troubleshooting option for people who understand those settings and need to determine whether the memory configuration is involved.
Use the tool as one checkpoint, not the whole repair plan
Windows Memory Diagnostic is valuable precisely because it is already there, requires no separate download, and tests memory before the usual Windows workload occupies it. It gives users a structured way to check one important source of crashes, restarts, errors, and performance weirdness.
Its results should be read with appropriate caution. An error points to a meaningful hardware concern worth pursuing. No error found is reassuring, but it does not guarantee that every RAM-related issue has been ruled out. Repeating the test with Extended selected and additional passes can add confidence when the PC keeps misbehaving.
Most importantly, begin with the unglamorous preparation: save work, let the PC restart, and give the test enough time to complete. When Windows has been acting like it has equipped the cursed accessory, that small bit of built-in diagnostic discipline can be a far better first move than randomly reinstalling half the software library.