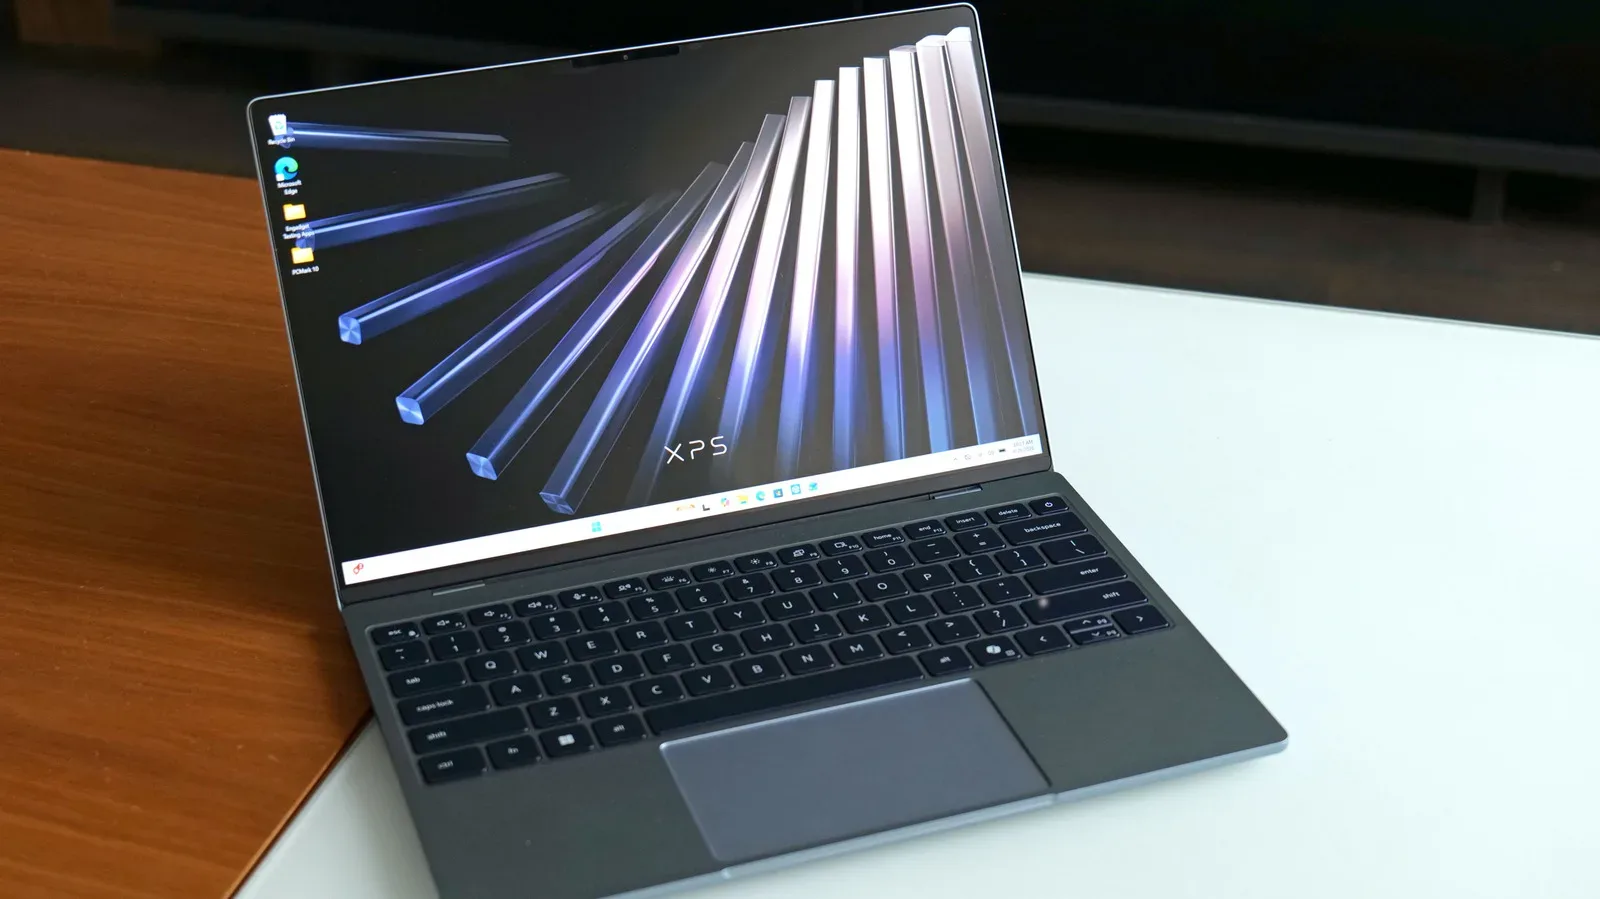
A laptop webcam is one of the least glamorous pieces of gaming and work-from-home hardware, right up until a party chat, stream, remote interview or video meeting makes it the entire show. Then the familiar problems arrive: a soft image, heavy grain, a washed-out face, or a window behind you that turns the shot into a witness-protection silhouette.
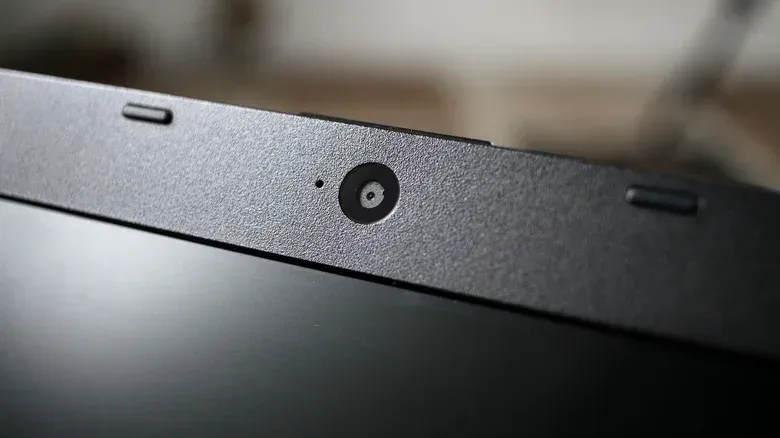
There is an important limit to keep in mind. Many built-in laptop cameras are constrained by hardware, not merely bad defaults. The camera must fit into a lid only millimeters thick. That leaves little room for a large image sensor, and a smaller sensor captures less light. Less captured light can translate to noisier or blurrier video, particularly indoors. No checkbox can turn every integrated camera into a premium standalone model.
That does not mean the picture is doomed. The most effective improvements tend to come in a sensible order: clean the lens, fix the light around the subject, then adjust the system and app tools that are available. This approach costs nothing to start, avoids trying to solve a room-lighting problem with excessive digital processing, and makes it easier to identify whether an external webcam is actually necessary.
Start with the small physical fix: clean the camera
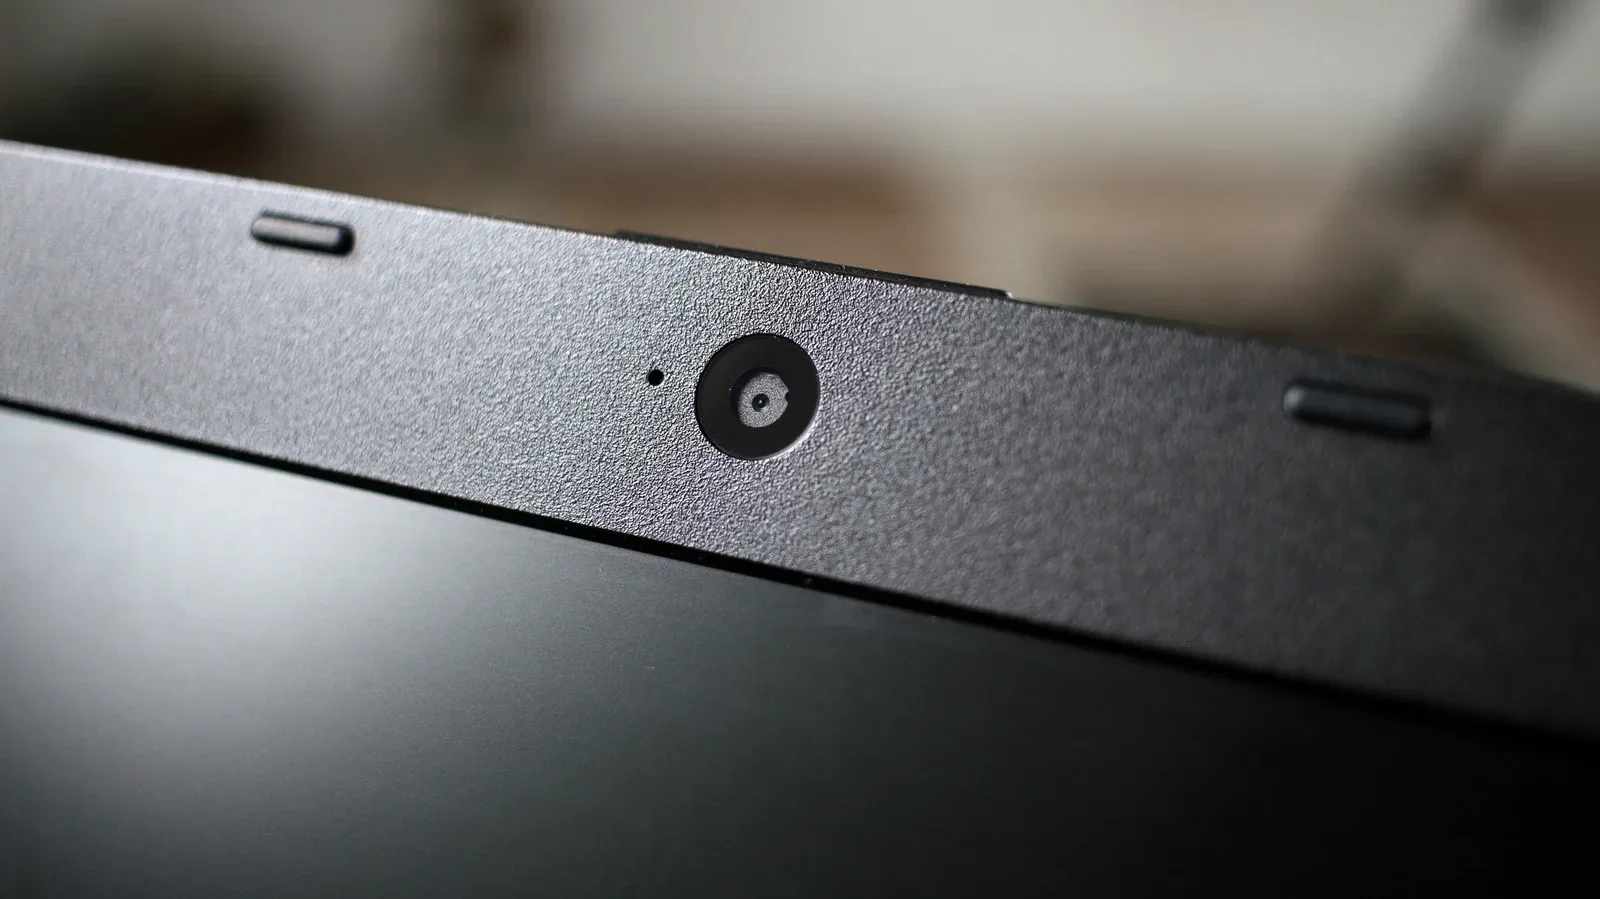
Laptop cameras commonly sit at the top edge of the display, exactly where fingers can land while opening and closing the lid. A fingerprint or surface smudge can diffuse incoming light and make the whole frame look hazy. It is an unglamorous issue, but it is also one of the quickest to eliminate.
Use a microfiber cloth to gently wipe the webcam before a call. Household cleaning products are not a great shortcut here, because they can damage the display. If the image has suddenly become consistently soft rather than merely grainy in a dark room, checking the lens first is a much better bet than immediately changing every video setting.
Lighting is the highest-impact upgrade
For most built-in webcams, better lighting matters more than software controls. A camera has to balance the brightest and darkest portions of its frame, and laptop cameras can struggle when that range is extreme. The classic example is sitting with a bright window behind you: the camera sees a brilliant background and a comparatively dark face. The result is often an underexposed subject, a blown-out background, or both.
Turn around so that a window is in front of you rather than behind you. Facing the incoming light gives the webcam more illumination on the important part of the shot: you. A table lamp or LED light positioned in front of you can serve the same basic purpose. Elgato’s Key Light and Logitech’s Litra Glow are among the recognizable dedicated lighting options for streaming setups.
The useful principle is not that every call requires a studio. It is that light should reach the subject rather than overwhelm the camera from behind it. This is also why a room can look adequately bright to your eyes yet still produce disappointing webcam video. Human vision adapts remarkably well across light and shadow; a small laptop camera has less flexibility.
Related coverage includes How to Make Your Laptop Webcam Look Better.
Use the screen as a light when space is tight
A separate lamp is not the only option. A display can act as a soft light source when it is brightened and positioned in front of the user. On Apple silicon Macs, Edge Light is designed to work in this ring-light-like role from the screen. It has been available since macOS 26.2.
Windows does not include an equivalent feature by default, but LightON and Edge Light for Windows can provide a similar screen-light approach. This is especially practical for a quick call in a cramped room where adding another physical device is inconvenient. It should be treated as a way to improve the light falling on your face, not as a magic correction for a lens that is dirty or a camera whose hardware is struggling.
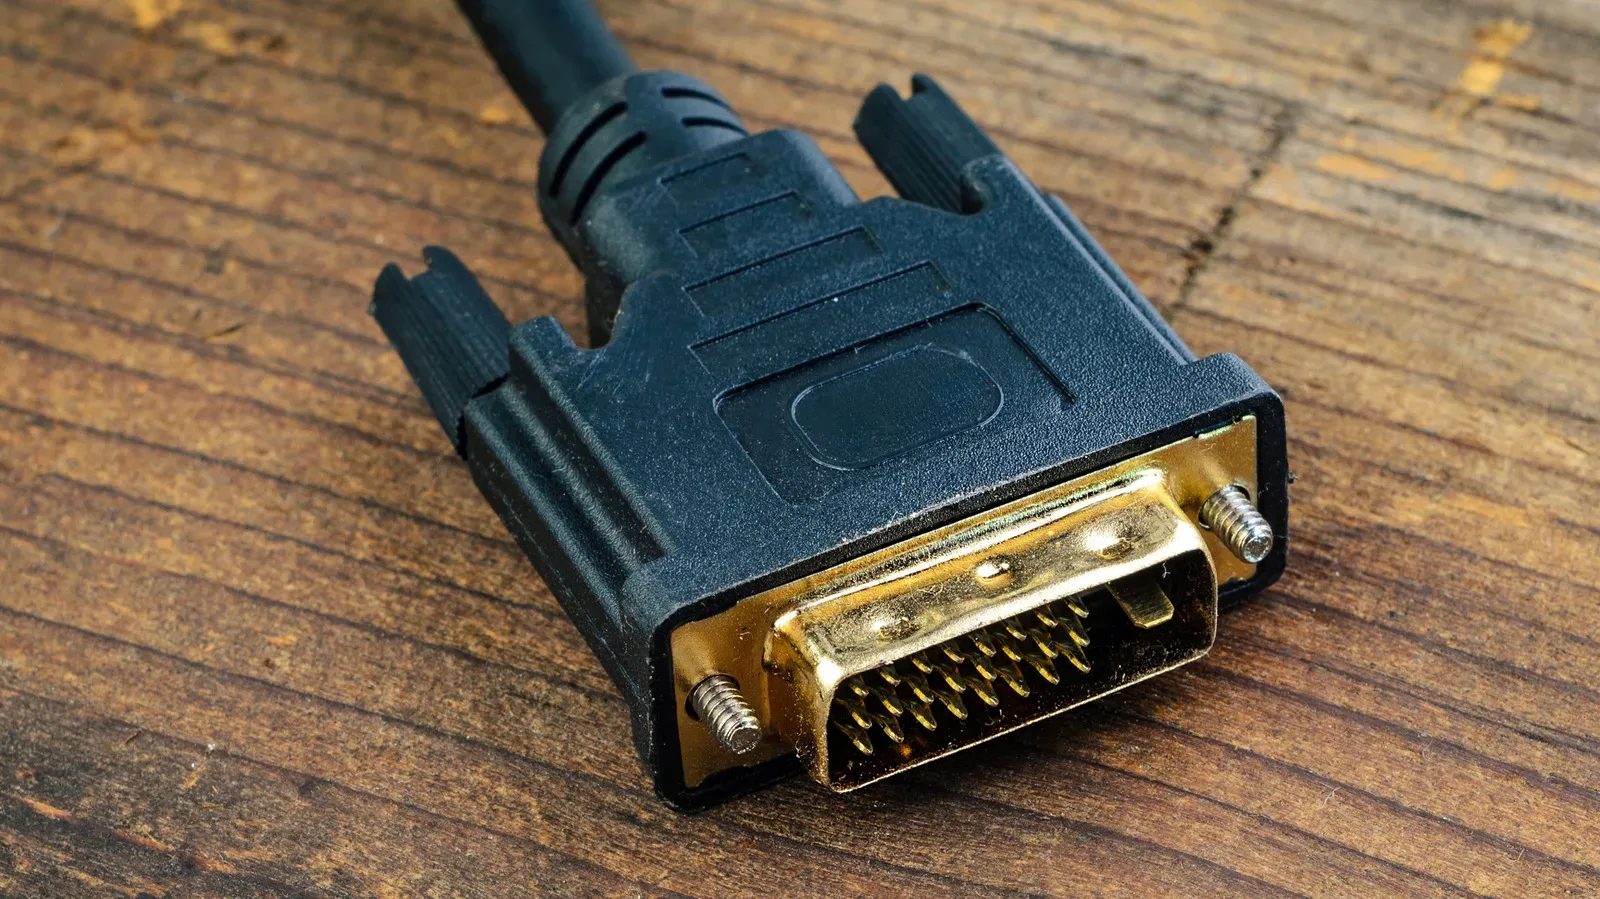
For a broader PC setup refresh, display connections can matter too—particularly when older machines are being used with newer screens. Our guide to using DVI-to-HDMI adapters with older gaming PCs and modern TVs explains the constraints involved on that side of the desk.
Adjust Windows 11 camera controls after the room is set
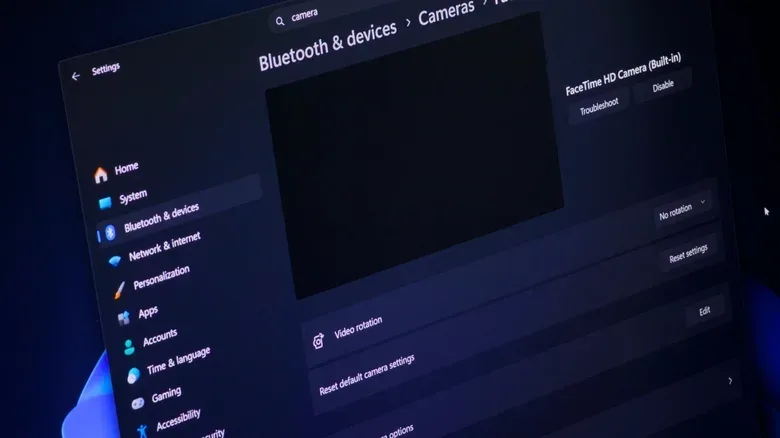
Once the lens is clean and the lighting is no longer working against you, Windows 11 can offer useful camera adjustments. Open Settings, choose Bluetooth & Devices, select Cameras, then choose the webcam. The controls available vary by camera, but brightness and saturation may be adjustable.
Brightness controls how light or dark the overall image appears. Raising it too far can make highlights lose detail and leave skin tones looking pale; dropping it too far can bury the subject in shadow. Saturation controls color intensity. More saturation can make a muted picture look livelier, but too much can make colors look unnatural. Make small changes and judge them in the actual room and seating position where calls happen.
The practical benefit of the Windows camera menu is that selected adjustments can become the default for apps using that camera. That can be preferable to rebuilding the same look separately every time a meeting, chat or capture application opens.
Some cameras also expose a Video HDR option. HDR, or high dynamic range, refers here to balancing detail between the darkest and brightest portions of the image. In a challenging mixed-light scene, that may help the camera retain more usable information in shadows and highlights. It cannot manufacture light that never reached the sensor, so it works best as a refinement after fixing obvious backlighting.
RTX tools and Camo can add processing options
Software enhancement is best viewed as a finishing layer rather than the foundation. NVIDIA Broadcast is available for systems with GeForce RTX graphics cards and includes functions such as noise removal and eye-contact correction. Noise removal aims to reduce unwanted background sound from the video-call environment. Eye-contact correction is intended to make the user appear to be looking more directly toward the camera.
Those features address different problems from brightness or sensor noise. Audio noise removal does not improve lighting; eye-contact correction does not replace a better camera angle. Still, they can make a laptop setup more presentable when a person is frequently on calls or streams and already has compatible RTX hardware.
Camo is another tool worth considering, particularly for users without an NVIDIA card. The core decision remains the same: establish a decent clean, well-lit image first, then decide which software adjustments meaningfully improve the result. Processing piled onto a dim frame can make a video feed look artificial without restoring the detail that the webcam could not capture.
Mac options: Studio Light and Edge Light
Mac users with the built-in camera have a narrower set of adjustment choices described here, but there are still two useful tools. When the camera is active, click the green camera icon in the menu bar and look for Studio Light. The icon appears only while the camera is in use, so it is normal not to see it when no video app is accessing the camera.
Studio Light and Edge Light serve different purposes. Studio Light is a camera effect available through the active-camera controls. Edge Light uses the display as a front-facing light. Trying both is reasonable, but the same restraint applies: inspect the actual image instead of assuming every enhancement should be enabled at maximum strength.
For an Apple silicon Mac running macOS 26.2 or later, Edge Light can be particularly useful when the room is otherwise dim and there is no place for a physical lamp. It is not a replacement for correcting an intense light source directly behind you, but it can help lift the subject in the frame.
Know when an external camera is the sensible answer
If cleaning, lighting and adjustments still leave the feed blurry, grainy or washed out, the built-in webcam may simply be reaching its limits. That is not necessarily a setup mistake. Thin-lid design places a firm physical constraint on the size of the sensor that can be installed, while larger sensors can capture more light.
At that point, a good external webcam is the straightforward upgrade path for anyone who relies heavily on video. It moves the camera decision away from the compromises made for a slim laptop lid. There are alternatives, too: a high-end camera can be used as a webcam, and an iPhone can serve as a Mac webcam.
The best order is therefore inexpensive and evidence-led: wipe the lens, move or add light so it falls in front of you, tune only the controls your device actually provides, and use specialized software where it solves a specific remaining problem. If the image still fails to meet the needs of regular calls or streaming, then a separate camera is not overkill—it is a response to the limits of the integrated hardware.