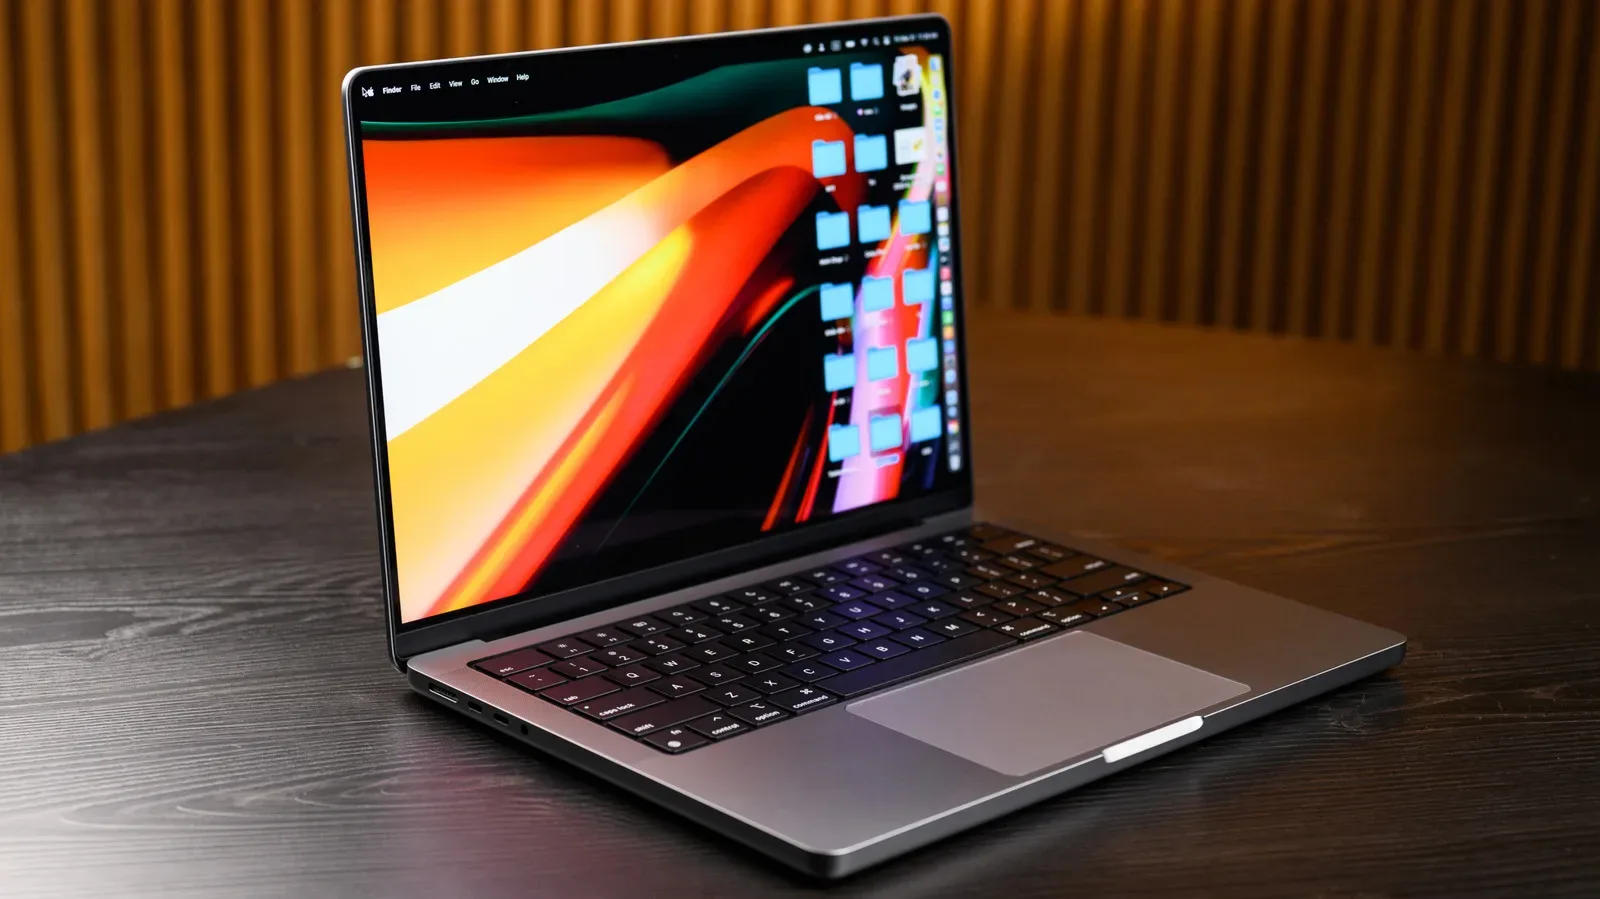
A MacBook can limp along with a cracked display, a sticky key or a battery that has seen better quests. Storage failure is far less forgiving. When the internal SSD or an external drive containing irreplaceable files starts failing, the real danger is not merely an inconvenient repair bill. It is the possible loss of documents, photos, game saves, creative projects, archives and other data that may not exist anywhere else.
The practical answer is to prepare before macOS throws a warning at you. Maintain current backups, keep an eye on suspicious behavior, and know which built-in tools can distinguish a file-system issue from a more concerning drive-health problem. Disk Utility is the starting point on a Mac, while specialist software can provide another layer of information in situations where you need a closer look.
None of these checks turns a troubled drive into a reliable one. They are tools for identifying problems, repairing some logical errors and helping you decide when protecting your data needs to become the immediate priority.
Backups are the real first line of defense
Storage-health checks matter, but they are not a substitute for a backup. A drive can appear normal and subsequently fail, and a S.M.A.R.T. readout that looks acceptable is not a promise that every file is safe. If there is one item to put ahead of routine diagnostics, it is making sure there is a recoverable copy of the data you care about.
Time Machine, included with macOS, is a useful foundation because it can back up files, applications and other Mac data that is not necessarily covered by iCloud. iCloud can be valuable for synchronization, personal information and moving between Apple devices, but it should not be treated as a complete replacement for a full backup of a Mac’s storage.
A sensible setup uses a reputable external drive with capacity of at least twice the Mac’s internal storage. That room helps accommodate repeated backups and the historical versions that make Time Machine valuable. If an external drive is also carrying a collection of files, make certain it too is backed up somewhere else. One copy is not a backup strategy; it is simply the only copy wearing a different cable.
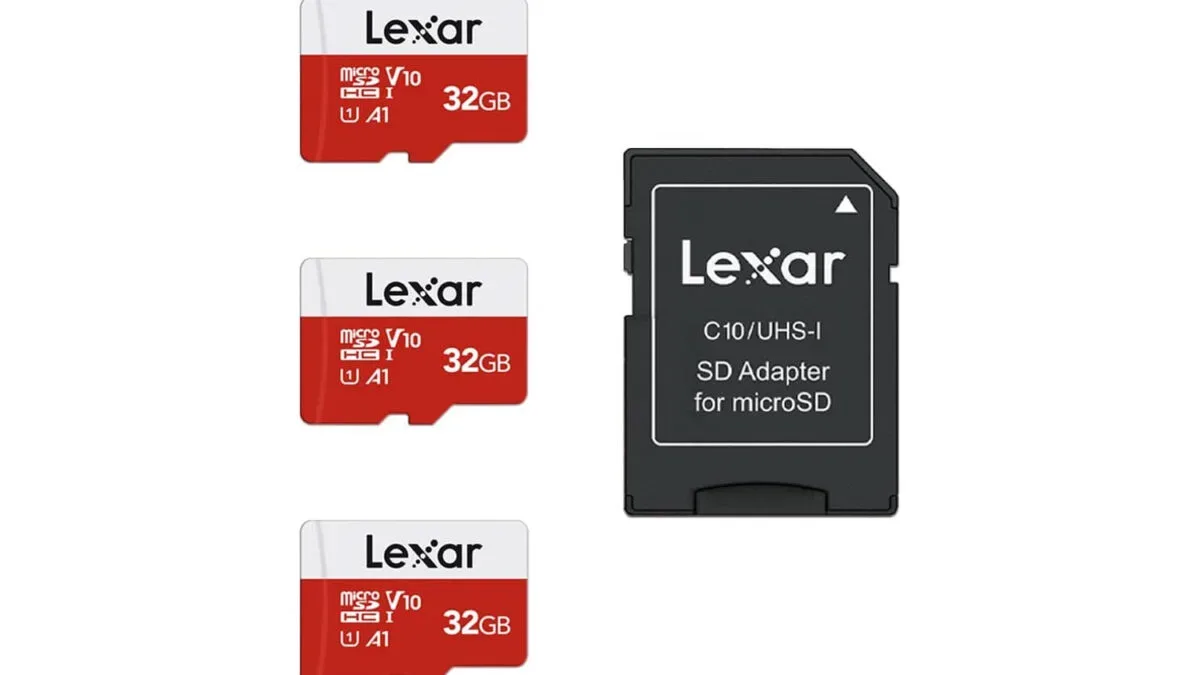
Storage media is an important part of a wider data-preservation routine. For removable formats and capacity planning, our look at a Lexar microSD storage deal is a reminder that different devices and libraries often need different media. A MacBook backup drive should be selected for capacity and dependability, rather than being confused with the smaller cards suited to cameras, handhelds or portable devices.
Know the warning signs before launching diagnostics
Not every frozen application means the SSD is failing. An app may hang for many ordinary reasons, and low free space can make a Mac feel sluggish without signaling imminent hardware collapse. Still, certain patterns should encourage a prompt backup followed by investigation.
- Files become corrupted, cannot be opened, or vanish unexpectedly.
- Applications freeze repeatedly while reading or saving data.
- macOS reports that a disk needs service or repair.
- An external hard drive becomes intermittently unavailable, disconnects, or refuses to mount.
- Copying files produces unexpected errors, especially if those errors recur.
For a mechanical hard disk, unusual noises may also be a reason to stop treating the situation casually. Modern MacBooks generally use SSD storage rather than spinning internal hard drives, but external HDDs remain common. Whether the media is solid-state or mechanical, the safest response to signs of failure is to reduce risk first: copy essential data while the drive remains accessible. Do not assume a repair operation will succeed, and do not wait for a convenient weekend if the only copy of important files is misbehaving today.
Start with Disk Utility and First Aid
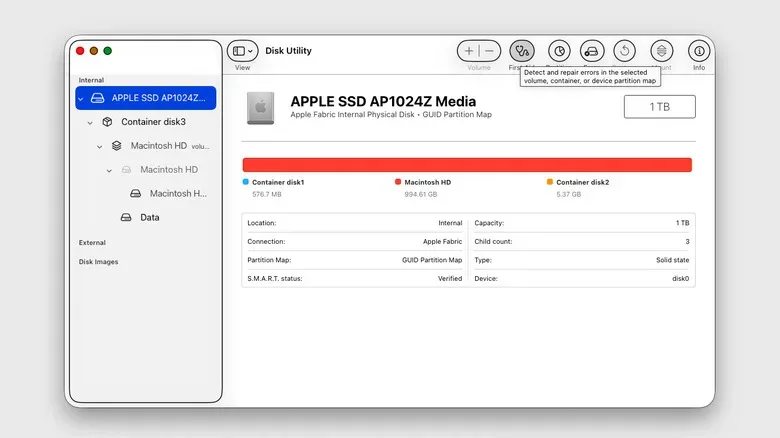
Disk Utility is Apple’s built-in storage management and diagnostic app. It is the logical first stop when you suspect file-system corruption, need to inspect a disk’s structure, or are preparing media for erasure. It can also run First Aid, which checks the file system and attempts to correct problems it finds.
Open Disk Utility from Applications > Utilities > Disk Utility, or search for it using Spotlight. Before beginning, use the menu bar to choose View > Show All Devices. This matters because macOS can otherwise display only parts of the storage hierarchy, hiding the physical disk behind its containers and volumes.
Apple’s recommended order for First Aid is methodical:
- Select an individual volume in Disk Utility’s sidebar and run First Aid.
- Repeat the process for the container that holds that volume.
- Finally, select the physical drive itself and run First Aid there.
Choose the relevant item, click First Aid, and allow the process to finish before moving to the next layer. This sequence can feel a little like clearing a dungeon room by room before confronting the boss, but it gives the utility an orderly path through the disk structure.
There is an important exception for the startup disk: Apple recommends running First Aid on it from macOS Recovery. Because your normal booted system is actively using its startup storage, Recovery offers a safer environment for checking and repairing it. The exact method of entering Recovery can vary by Mac model, so avoid improvising if you are uncertain; the key principle is to run the check without relying on the disk as the active startup environment.
What First Aid can—and cannot—tell you
A successful First Aid result is reassuring, but it answers a specific question. It means the utility did not find a file-system problem it could not address during that check. File systems organize where data lives and how it is referenced. If their structures become inconsistent or damaged, files can behave strangely even when the underlying hardware is still functional.
First Aid can detect and attempt to resolve these logical problems. It is therefore especially useful after improper disconnections, crashes, suspected corruption, or before a drive is repurposed. It is not, however, a complete physical examination of storage hardware. A drive may pass First Aid while developing a hardware issue, because the test is chiefly focused on the file system rather than proving that every memory cell, controller component or mechanical part is healthy.
This distinction is worth keeping in mind whenever an app or operating system reports that a disk is “okay.” It may be okay in the narrow sense that its file-system structures currently look sound. That does not make it immortal, and it does not reduce the need for backups.
Check the drive’s S.M.A.R.T. status
Disk Utility can also expose a basic S.M.A.R.T. status for a physical drive. S.M.A.R.T. stands for Self-Monitoring, Analysis and Reporting Technology. It is a monitoring system built into many drives that tracks various health-related indicators. Depending on the drive, those indicators can involve errors, problematic areas of storage, and information associated with wear or mechanical operation.
To look for this status in Disk Utility, make sure View > Show All Devices is enabled. Select the physical disk rather than a volume or container, then click the Info button in the toolbar. This is where the distinction between a drive and the logical slices within it becomes important: the hardware-related status belongs to the physical device.
A S.M.A.R.T. result marked Verified is useful but limited. It generally means the drive has not raised a serious flag through the monitoring information macOS is reading. It does not certify the drive against all potential failures, nor does it mean you can safely ignore symptoms such as disappearing files or persistent errors. Think of it as a dashboard indicator, not a warranty from the storage gods.
When deeper diagnostics may be worthwhile
For many MacBook owners, Disk Utility plus a reliable backup routine is enough. It handles the essential first response to suspected file-system trouble, and it supplies the basic S.M.A.R.T. information available to macOS. If First Aid finds errors, if the drive cannot be repaired, or if symptoms continue despite a clean result, the urgency shifts toward preserving data and seeking appropriate technical help rather than endlessly rerunning the same test.
Paid utilities such as DriveDx take a different approach. Rather than concentrating principally on file-system integrity, DriveDx is designed to dig further into hardware-health reporting. It can surface more of the available drive information, incorporate additional health data, run SSD diagnostics and track changes over time.
That can be particularly useful with external SSDs and HDDs, where Disk Utility may not show S.M.A.R.T. information at all. DriveDx also supports Apple’s internal SSDs for people who want a closer view of their storage health. It is not a mandatory maintenance app for every modern MacBook; for plenty of users, it will be more of a nice-to-have diagnostic layer than a necessity.
The practical value is in observing trends and getting more detail when the built-in overview is insufficient. It should not be mistaken for a repair spell. If a utility indicates that hardware may be failing, back up immediately and plan to replace the affected storage rather than trusting it with the only version of your files.
A sensible response plan for a suspicious Mac drive
- Back up important data immediately. Prioritize unique files if time or the drive’s stability is limited.
- Open Disk Utility and enable Show All Devices. Confirm that you are looking at the correct volume, container and physical disk.
- Run First Aid in the recommended order. Start with volumes, then containers, then the physical drive. Use macOS Recovery for the startup disk.
- Review S.M.A.R.T. status on the physical disk. Treat a Verified result as one data point, not a clean bill of health.
- Escalate only when useful. Consider a detailed tool such as DriveDx when you need deeper health reporting, especially for external media.
- Replace unreliable storage. Repeated symptoms, failed repairs or warning indicators are not an invitation to gamble with irreplaceable data.
The goal is not to obsessively interrogate a healthy MacBook every morning. It is to understand the tools before a storage problem turns from an annoying side quest into a full data-recovery boss battle. Regular backups, an occasional informed check, and fast action when warning signs appear remain the most dependable combination.