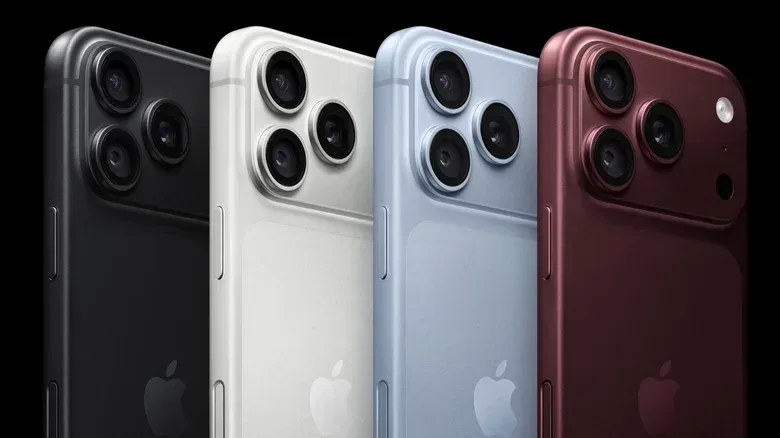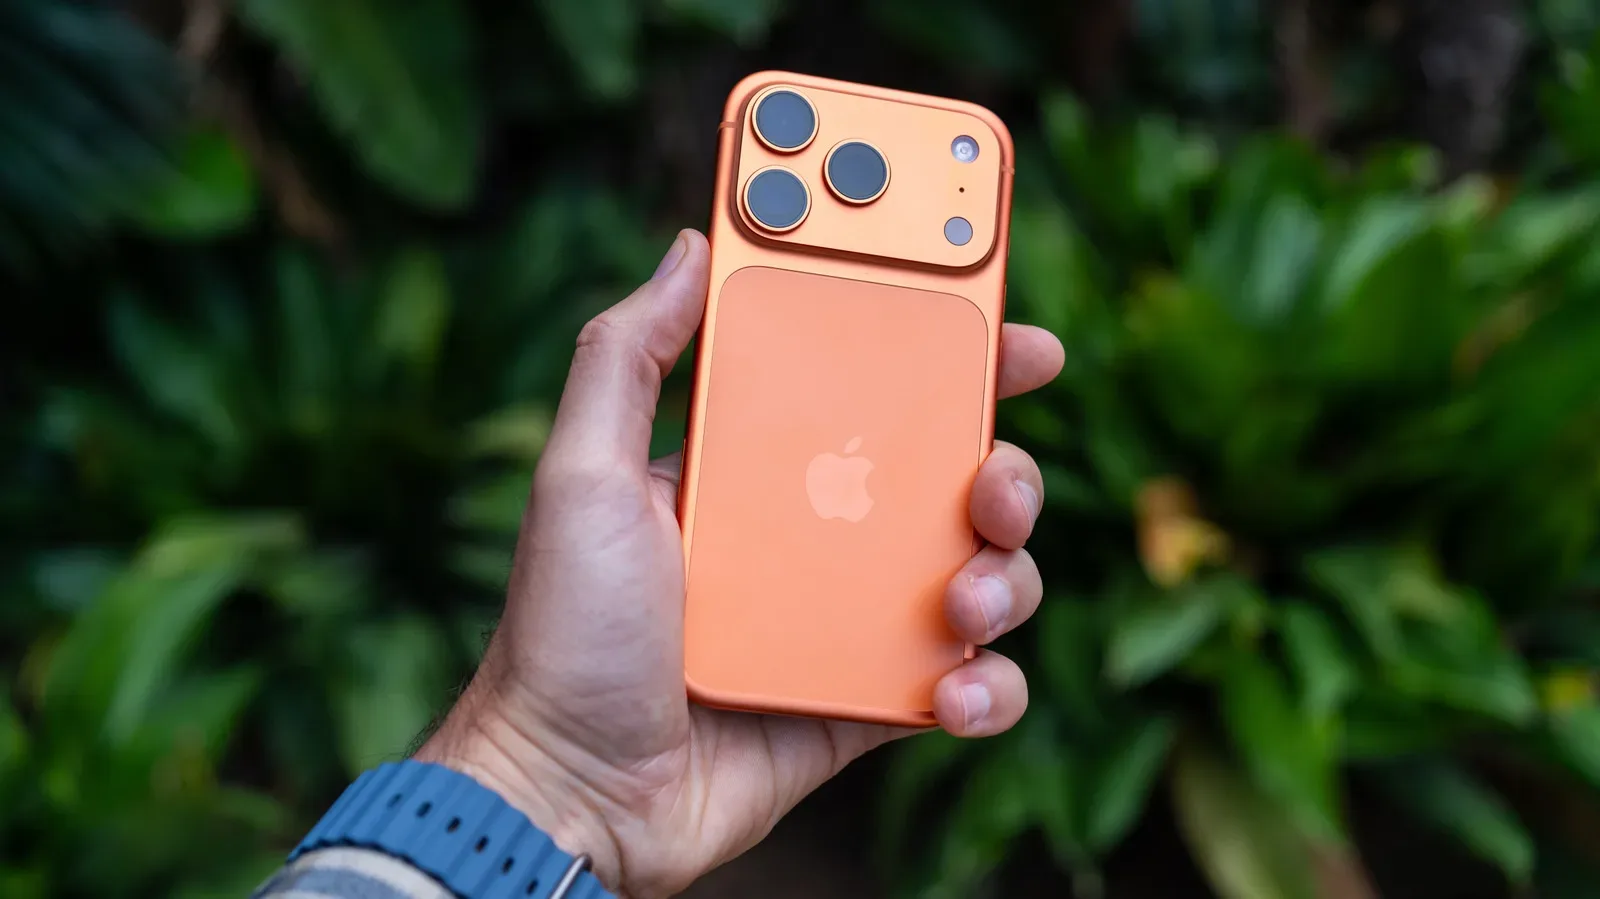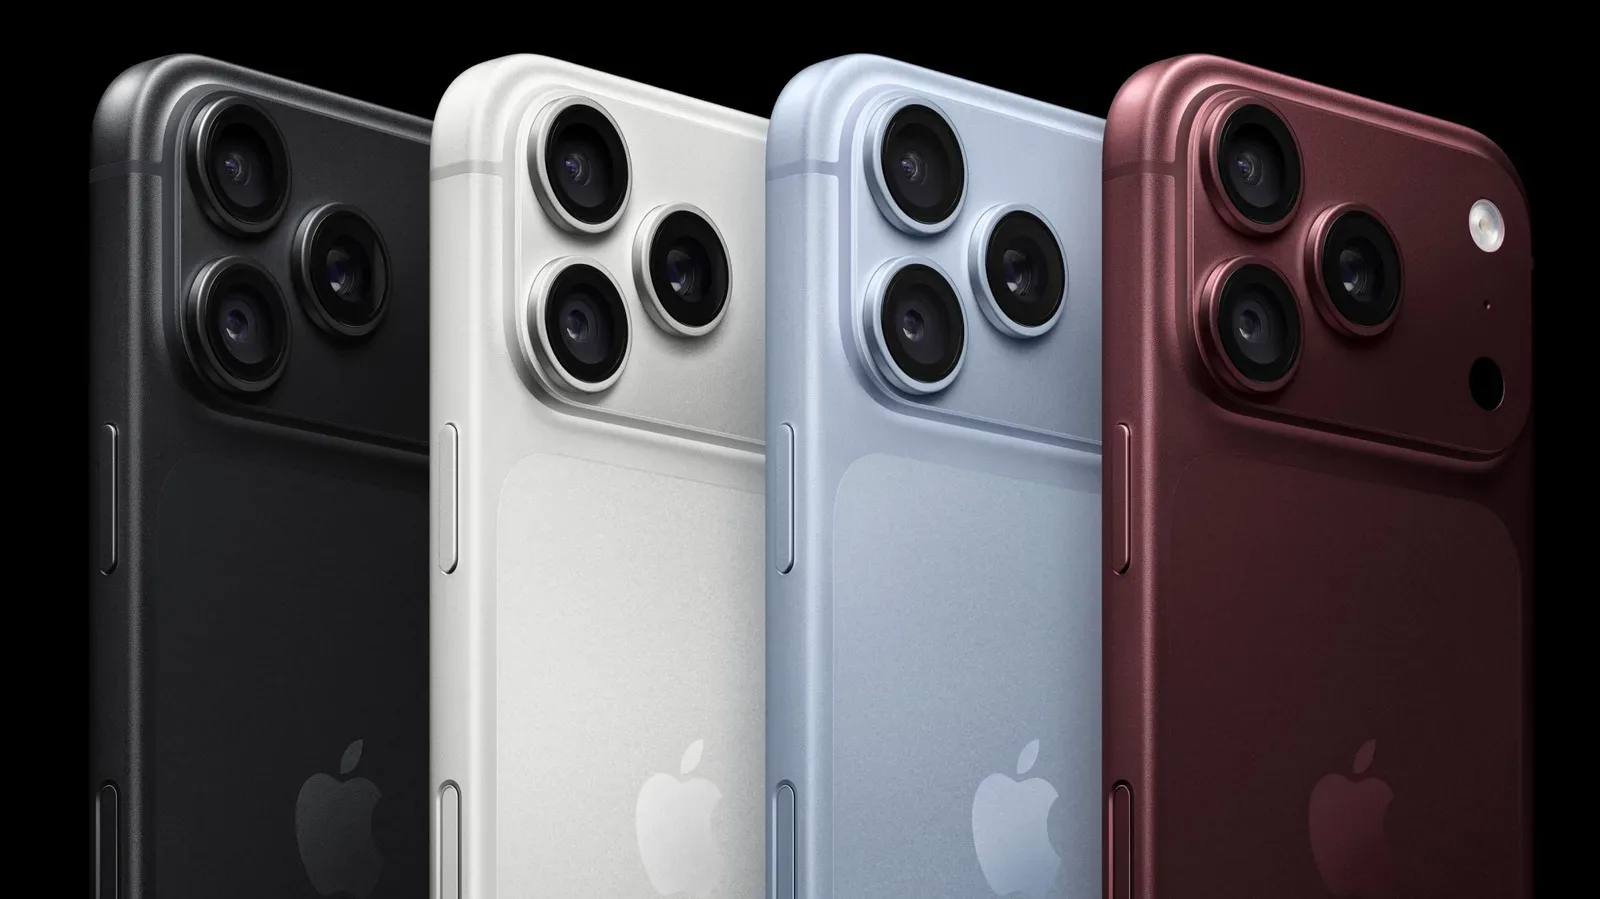
The iPhone Camera Control button is designed to put a small slice of the camera interface on the phone’s edge. On compatible iPhone 16, 17 and 18 series models, the capacitive control on the right side can launch a camera-related app, take a picture, begin video capture and provide touch-based access to selected shooting adjustments.
That sounds straightforward, but the default configuration is only a starting point. A person who mainly scans QR codes has different needs from somebody grabbing quick photos one-handed, and both have different priorities from someone who regularly changes exposure or photographic styles. The useful part is not merely that Camera Control has many gestures; it is that Apple provides ways to reduce those gestures and options to the ones that matter.
Most of the relevant settings live at Settings > Camera > Camera Control. A second group, focused on responsiveness and accessibility, is available at Settings > Accessibility > Camera Control. Before changing anything, it helps to separate two ideas: what pressing the button should open, and what touching or swiping it should adjust after the camera is already active.
What Camera Control does by default
Camera Control is a capacitive button, meaning it can interpret touch-based interaction as well as presses. Its available inputs include clicks, a press and hold, light presses, and swipes. In the standard setup, a single click launches the Camera app. Once in the app, swiping can be used to work with tools such as zoom or exposure, and another click captures an image. Holding the control records video.
A double-click can launch Visual Intelligence. This is the feature that uses the camera and Siri to ask questions about what is around you. The important practical distinction is that this is separate from the basic act of opening Camera: deciding that Camera Control should launch a different app does not mean every interaction has to serve the same task.
The control is especially oriented around one-handed use. Rather than reaching for an on-screen shutter or a row of settings, the photographer can retain a steadier hold on the phone and use the side control. That benefit is best realized when the button does not send the user through a long list of adjustments they never use—or open an app by mistake in the first place.
First choice: decide what the button launches
In the Camera Control settings pane, look for Launch Camera, then select Camera. Camera is the default destination, but supported installed apps can appear here too. The listed possibilities may include Instagram, Code Scanner and Magnifier, as well as certain third-party apps. Some third-party choices can be greyed out while full support is pending.
This setting changes the role of the hardware control. Leaving it on Camera makes it a dedicated shooting shortcut. Choosing Instagram can make it a more direct route into social capture. Code Scanner prioritizes QR scanning, while Magnifier makes the button a shortcut to the phone’s digital magnification tool.
Related coverage includes Customize iPhone Camera Control for Faster Shooting.
There is no universally correct selection. A sensible approach is to choose the app that loses the most time to unlocking, finding an icon and opening it manually. If the answer is still Camera, there is no reason to swap it simply because alternatives are present. A shortcut should remove steps rather than create a new layer of decision-making.
Enable only the adjustments that help you shoot
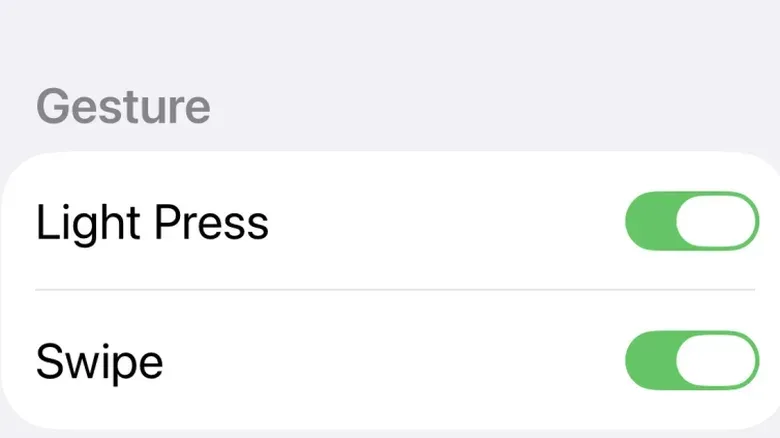
The key setting for people who want more control while shooting is Camera Adjustments, found in the Controls section. When it is active and the Camera app is open, light presses and swipes on Camera Control can be used to explore photographic options.
The Customize area determines which gestures are available in this mode, including light presses and swipes. It also controls the adjustment list itself. The potentially supported adjustments are:
- Zoom
- Exposure
- Depth
- Cameras
- Styles
- Tone
Each item can be enabled or disabled using its tick. The order can also be changed: press and hold the three-horizontal-line handle beside an adjustment, then move it to the preferred position. That sequence is meaningful because swiping Camera Control later moves through the active adjustments in the order chosen here.
For clarity, zoom changes how close or far the image appears; exposure concerns image brightness; and focus, addressed separately below, determines what the camera keeps sharp. They are related to the final photograph but are not interchangeable controls. Depth, cameras, styles and tone are likewise separate entries in the Camera Control adjustment list, so they can be retained or removed independently.
The strongest setup principle is restraint. Someone who repeatedly changes zoom and exposure may place those first, while retaining Styles only if it is actually part of their process. Another person may prefer a minimal list that reduces the chance of scrolling past the desired setting. Removing unused adjustments does not take away access to the Camera app; it makes the side control’s active path more focused.
A quick setup routine
- Open Settings > Camera > Camera Control.
- Under Launch Camera, confirm Camera or select a supported app that better fits the button’s main job.
- In Controls, turn on Camera Adjustments if side-button access to shooting settings is wanted.
- Open Customize and decide whether light presses and swipes should be part of the interaction.
- Disable adjustments that do not belong in your regular shooting routine.
- Reorder the remaining entries so the most frequently used choices appear first.
This does not need to be permanent. The list is a workflow setting, not a declaration of photographic intent. If a person starts using a different feature more often, it can be added back and repositioned.
Prevent unwanted launches and lock a shot’s settings
The same Camera Control settings include options that address accidental input and consistency during capture. The first is the choice between Single Click and Double Click activation. A double click requires a more deliberate action, which can be preferable for anyone who keeps launching a camera unintentionally while handling the iPhone.
Require Screen On provides another safeguard. With this toggle enabled, Camera Control will not activate the Camera while the iPhone is locked. The trade-off is clear: it introduces an extra condition before a camera launch, but it can prevent unintended activations from a pocket, bag or ordinary handling.
Lock Focus and Exposure is the setting for keeping those two elements steady while the user continues to touch Camera Control. In practical terms, focus is the point or subject the camera treats as sharp, while exposure is the amount of brightness the camera uses for the image. A lock is useful when the goal is to preserve the same focus and brightness rather than have them shift during framing.
The final option in this group is Launch Visual Intelligence. When enabled, press and hold the Camera Control button to open Visual Intelligence and ask Siri about surroundings visible through the camera. This may be valuable for people who use the camera as an information tool as well as a capture tool. Those who prefer the press-and-hold action to remain centered on video capture should check their own settings carefully and choose the behavior that is most useful to them.
Accessibility settings can change the button’s feel
Camera Control’s second settings location is Settings > Accessibility > Camera Control. Here, the button can be disabled entirely. The menu also allows the required press force and response speed to be set to Default, Slow or Slower.
These choices are not photography presets. They govern how the hardware responds to interaction. A slower setting can be worthwhile for a person who triggers Camera Control too easily. Default may suit someone who values the fastest possible response and has no issue with accidental input. Slower behavior prioritizes intention over immediacy.
This is an example of why accessibility settings are useful beyond any single label. They can shape the physical interaction with the device. If Camera Control feels overly sensitive, changing response behavior may solve the problem more effectively than abandoning the button or reorganizing every camera option.
Build a setup around the moments you actually capture
For fast photos, a practical configuration may be Camera as the launch destination, a deliberate activation choice if accidental opens are common, and a tightly ordered adjustment list led by Zoom and Exposure. For people who regularly want visual interpretation of an object or place, Visual Intelligence may deserve a long-press shortcut. For QR codes, Code Scanner can turn the same piece of hardware into a more task-specific entry point.
There is also value in doing less. Camera Control can be disabled if it is not useful, and Camera Adjustments do not need to contain all six available entries. The feature works best when its physical location and gesture set feel predictable: press to begin the task, make only the adjustment needed, then capture.
Personalization is a recurring theme in mobile-device use. For another example of tailoring a media experience rather than accepting defaults, see our guide to Apple Music audio quality settings, including Lossless, Hi-Res and EQ.
Camera Control is ultimately a configurable shortcut, not a requirement to use every available camera tool. Start with the function you reach for most, remove the extra steps and tune sensitivity if the button fires too readily. That turns the side control into a more dependable part of taking photos, recording video, scanning, magnifying or using Visual Intelligence with one hand.