Controller setup becomes frustrating when every emulator treats the same physical pad as a different object. A button identified as A by the controller, for example, may be assigned to an N64 A button, a Dreamcast A button or a GameCube face-button position. Those labels describe different layers, not interchangeable standards.
The safest approach is to establish a reversible baseline, understand which configuration layer you are editing and test one system at a time. The examples here use the original Nintendo 64 release of Super Mario 64, the original Dreamcast release of Sonic Adventure and the original GameCube release of Mario Kart: Double Dash!!. Later ports, remakes and fan modifications may use different controls.
Start by separating the three input layers
Every emulator control problem is easier to diagnose when you identify which layer is failing. The first layer is the physical controller: its sticks, triggers, D-pad and face buttons as reported by the operating system. The second layer belongs to the frontend or emulator, including menu navigation, player assignment, save-state commands and other hotkeys. The third layer is the virtual console controller presented to the game.
RetroArch makes this separation especially visible. It maps a real controller to a virtual RetroPad, then allows core or game remaps to alter how those inputs reach an emulated system. A core remap does not automatically change the buttons used to navigate RetroArch menus. Dolphin similarly separates the physical device selected for an emulated GameCube controller from the GameCube port occupied by that controller.
Do not begin by trying to make every emulator display the same letter for the same physical button. Instead, write down both sides of each important assignment. A useful record might say physical right face button to N64 A, physical lower face button to Dreamcast A, or physical right face button to GameCube A. That prevents a familiar label from hiding a different console layout.
- Identify the physical controller name shown by the operating system.
- Record the emulator or frontend version before changing settings.
- Write down the selected player or virtual console port.
- Distinguish gameplay mappings from frontend hotkeys.
Identify the active device and preserve the baseline
Before editing, launch the emulator with only the intended controller connected when practical. Multiple pads, virtual devices and remapping utilities can change the order in which inputs appear. RetroArch normally assigns controllers according to the order presented by the operating system unless explicit device-reservation options are used. Dolphin lets you select a physical device independently of the GameCube port, so operating-system order does not need to determine player one.
Save or export the existing configuration using the project’s own profile or configuration function before experimenting. Do not assume that a reset command will restore the exact starting arrangement, and do not copy a profile from one emulator into another. RetroArch’s controller documentation supports saving a controller profile from the Port 1 Controls area and restarting the frontend to verify that the profile loads. Dolphin provides a Profile function for saving and loading input configurations.
Make one change at a time and give each saved version a descriptive name. A baseline such as Controller-Default is more useful than repeatedly overwriting a file called New Profile. If a later per-game experiment fails, reload the baseline rather than trying to remember which old binding was replaced.
- Save the current profile before changing a binding.
- Use a name that identifies the controller and intended scope.
- Restart the frontend when its documentation recommends verification.
- Keep the baseline untouched while testing a new system mapping.
Build a neutral physical-controller layout
A neutral layout should describe the controller’s physical controls without pretending that it is already an N64, Dreamcast or GameCube pad. Confirm that the main stick reports a centered neutral position, that each direction reaches its full travel and that buttons register once rather than repeatedly. Test the D-pad separately from the stick. Many setup errors begin when a digital direction is assigned to an analog axis or when a resting axis is captured as a permanent button press.
Use the main stick as the default source for movement on all three systems. Reserve the second stick for functions that genuinely need it, such as optional camera behavior, rather than automatically treating it as a second console stick. The Dreamcast controller used by Sonic Adventure has one analog thumb pad and two analog triggers. It did not have a second analog stick, so modern dual-stick symmetry is not a reason to add one to the emulated layout.
Leave enough physical controls available for each system’s special inputs. A hard-to-press rear button or a deliberate chord is usually a better place for a frontend command than a frequently used face button. Avoid adding turbo, macros or automatic axis conversions until the basic profile passes its input check.
- Test stick center, all four stick directions and the D-pad independently.
- Confirm each trigger registers as the intended axis or analog control.
- Avoid assigning a second stick merely because the controller has one.
- Keep a few uncommon controls free for deliberate hotkey chords.
Map Super Mario 64 without flattening the N64 layout
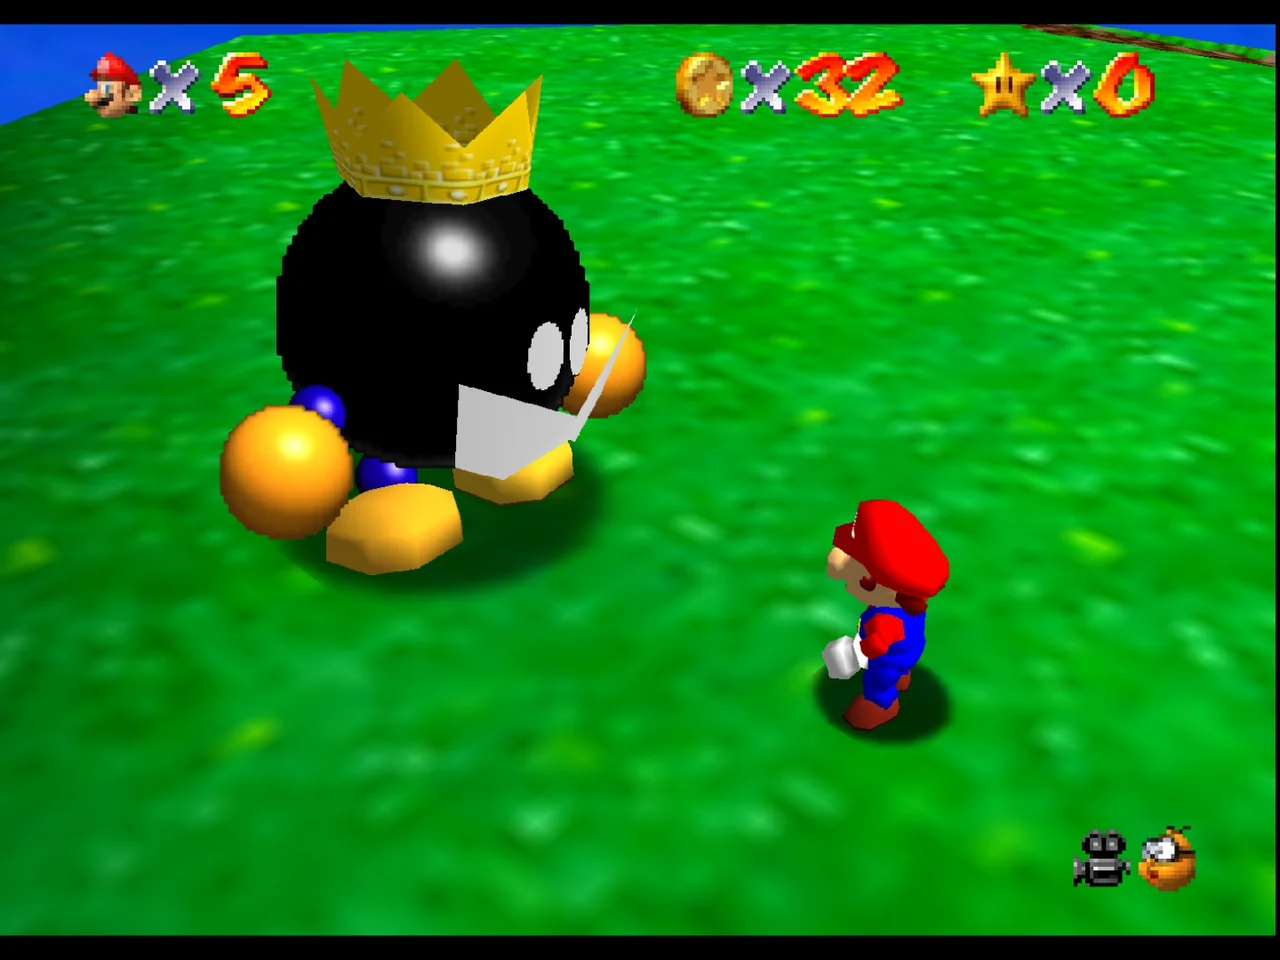
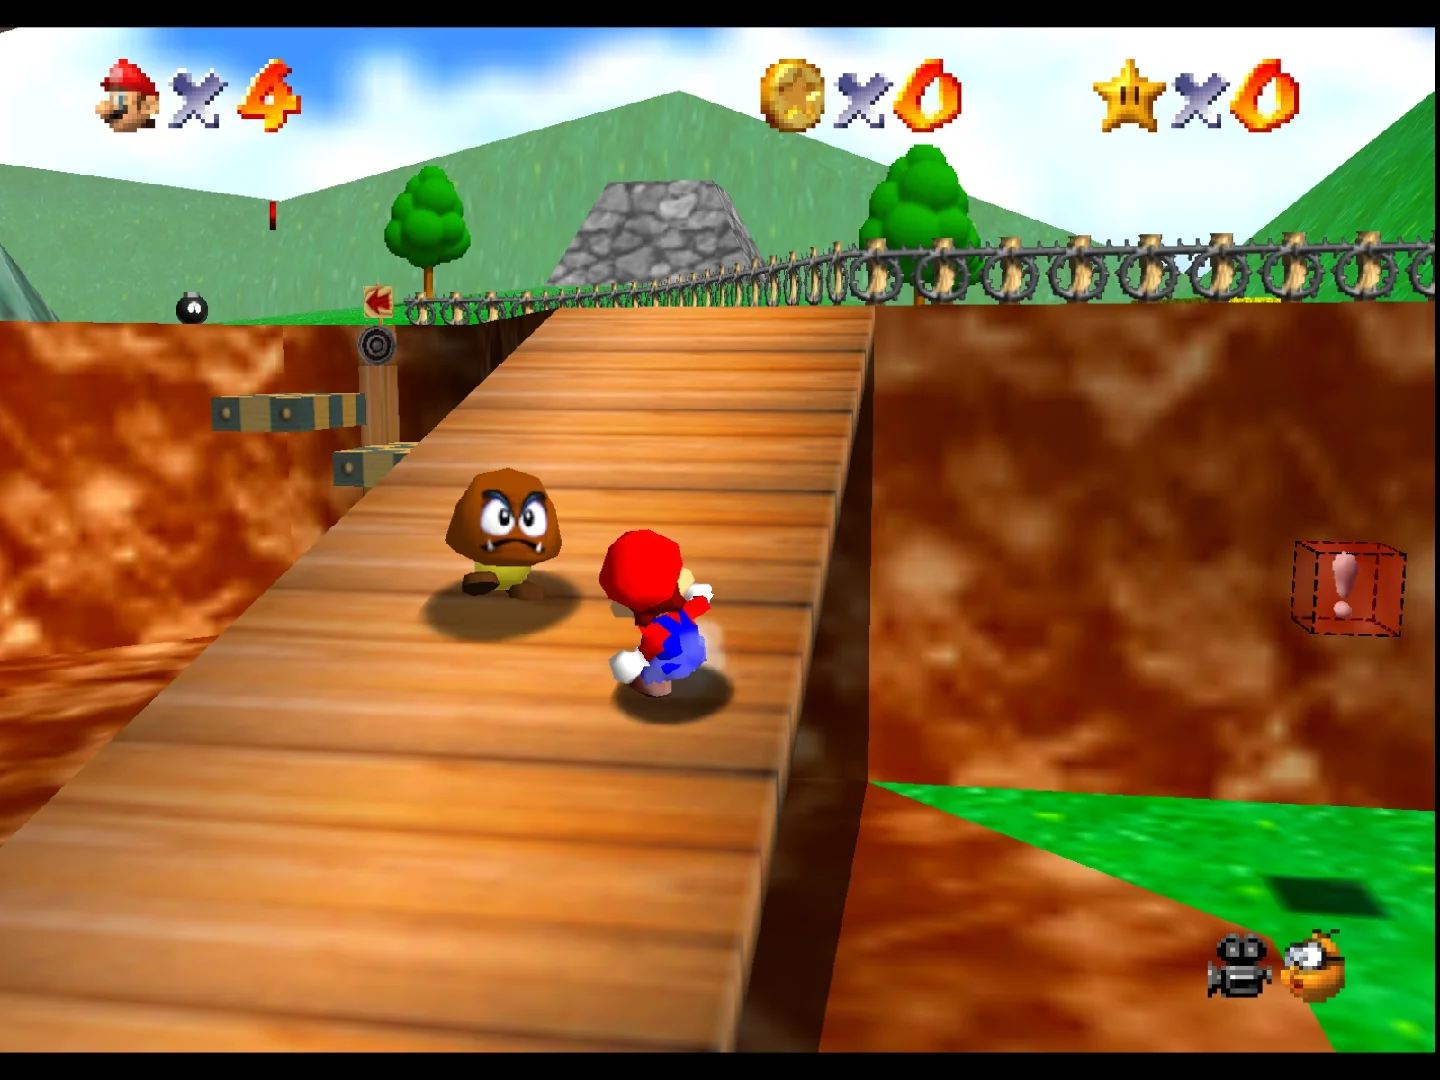
Super Mario 64 expects the Nintendo 64 controller’s distinctive combination of an analog Control Stick, A and B buttons, four C buttons, a Z trigger and Start. The original controller also has L and R buttons, although Super Mario 64 uses them mainly in controller-neutral-reset instructions rather than as central movement controls. The N64 arrangement is not a modern dual-stick controller with four interchangeable face buttons.
A practical modern-pad arrangement keeps the large movement role on the left stick, maps N64 A and B to two comfortable face buttons, and places the four C directions on the right stick if the emulator treats that stick as four digital directions. This preserves the game’s camera intent while keeping the physical relationship familiar. If the right stick is uncomfortable for camera control, four face or shoulder inputs can work, but they require more memorization and consume controls needed by other systems.
The N64 Z trigger should have a distinct, easily reached input, commonly a shoulder or rear button. Keep Start easy to identify, but do not also assign it as a save-state or reset command. The original manual describes the Control Stick as an analog input and warns that moving it while the console powers on can establish an incorrect neutral position. In an emulator, that translates into checking the stick’s resting value before saving the profile rather than building a profile around a held or drifting stick.
- Verify smooth analog movement before assigning camera controls.
- Map all four C directions separately if the emulator supports them.
- Give Z a distinct input from the main face buttons.
- Test movement, jumping, attacking, camera movement and pause from a safe game area.
Map Sonic Adventure around one stick and two triggers
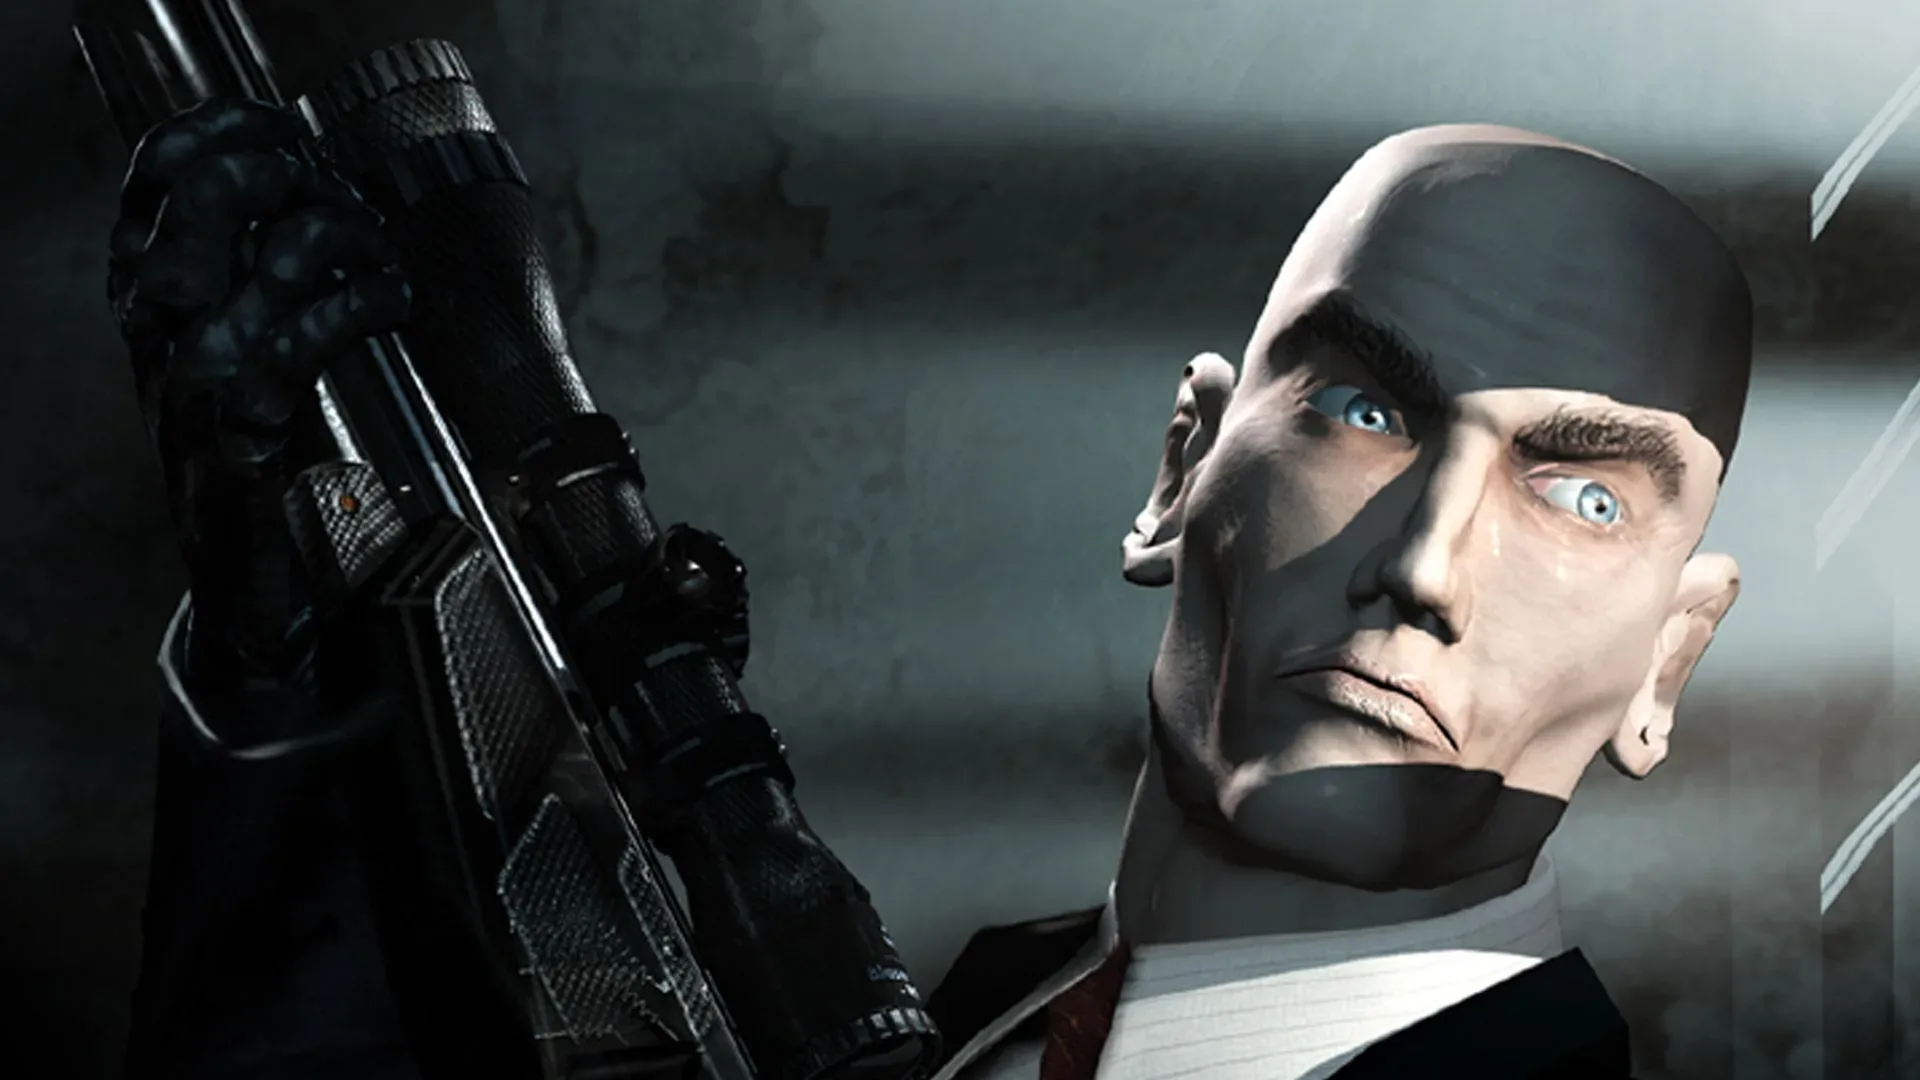
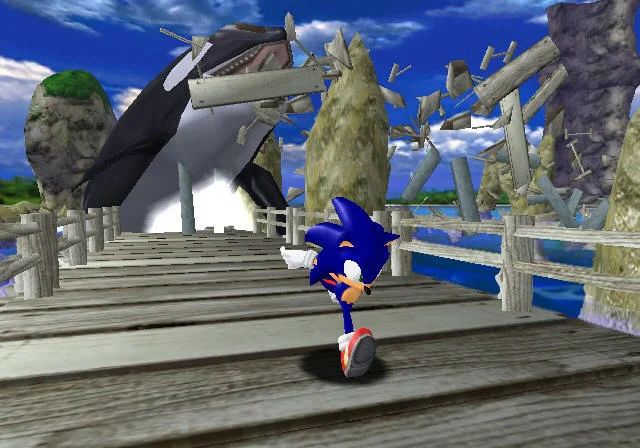
The original Dreamcast controller layout changes the priorities. Sonic Adventure uses the Analog Thumb Pad for character movement, the D-button for menu selection, A for confirmation, B or another supported face button for canceling or returning, Start for pausing and the L and R triggers for camera movement. The Dreamcast controller has one analog stick and analog L and R triggers, not two sticks.
Use the modern controller’s main stick for the Dreamcast analog pad and keep the D-pad digital. Do not assume that the second modern stick is a required Dreamcast control. It can remain unused, or it can be assigned to an optional function only if the emulator and game support that behavior without displacing a real input.
Treat the triggers as separate Dreamcast inputs. A controller that reports them as a shared axis may need a different assignment method from one that reports independent axes. Check the emulator’s displayed input identifier instead of guessing from the physical shape. Keep the game’s face-button functions distinct. The Sonic Adventure manual also documents a simultaneous A, B, X, Y and Start input that returns to the title screen, so avoid using broad combinations involving those buttons as frontend shortcuts.
- Use one main stick for Dreamcast movement.
- Keep D-pad menu navigation separate from analog movement.
- Check that L and R are distinct trigger inputs.
- Test confirmation, cancellation, pause and camera behavior before playing.
Map Mario Kart: Double Dash!! by position, not generic labels
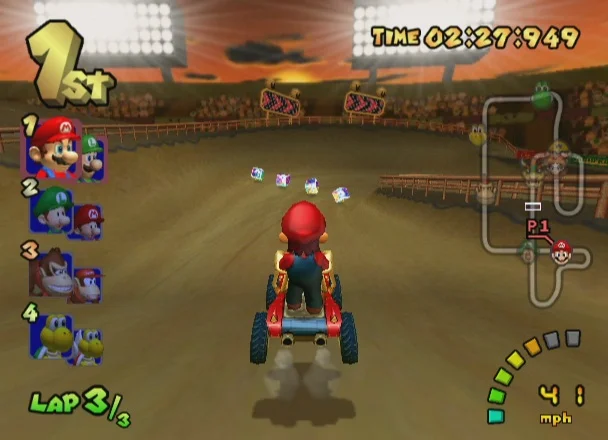
Mario Kart: Double Dash!! uses the GameCube controller’s large A button, smaller B button, X and Y buttons, Z button, analog L and R triggers, C Stick, D-pad and Start or Pause. The physical proportions and positions matter because the GameCube layout does not correspond neatly to the face-button lettering printed on an Xbox, PlayStation or Switch-style controller.
In Dolphin, select the intended physical device for the desired GameCube port, then use the emulator’s input detection to assign each virtual control. Preserve the large A role on the most comfortable primary face button, place B on a separate face button, and keep X, Y and Z distinct. Assign the main stick to the Control Stick and the second stick to the C Stick. The D-pad should remain digital, while L and R should be checked for their analog behavior if the game or emulator exposes it.
Dolphin’s Profile function is useful here because a GameCube baseline can be saved before trying a personal variation. Its Control Stick Calibration option limits the radius of joystick input; that is a calibration adjustment, not a cure for a physically miscentered controller. Dolphin documentation also notes that an unexpected plus-or-minus axis entry can make the emulated controller appear substantially off-center. Remove the incorrect axis assignment and retest instead of compensating with increasingly large dead zones.
- Confirm the correct physical device and GameCube port separately.
- Map A, B, X, Y and Z as distinct virtual controls.
- Assign both GameCube sticks to the intended physical sticks.
- Test steering, acceleration, braking, item use, character switching and pause.
Keep gameplay mappings separate from hotkeys
Save states, loading, resetting, fast-forwarding and opening menus are frontend functions, not console controls. They should not share ordinary gameplay inputs. RetroArch configures hotkeys separately from regular gameplay bindings. When Enable Hotkeys is assigned, other hotkeys require that button to be held first. This makes a deliberate chord safer than assigning a single face button to a destructive command.
Choose a control that is unlikely to be pressed during normal play as the hotkey modifier. Pair it with a second input for each retained command, and leave reset, quit and overwrite-style actions unbound unless there is a strong reason to keep them. RetroArch allows a hotkey to be disabled by clearing its binding and also provides a way to restore a default hotkey separately; do not reset the entire controller profile merely to remove one risky command.
Dolphin exposes hotkeys separately from its emulated GameCube controller configuration, and its current controller guide states that native controllers cannot be used to map those hotkeys. If a Dolphin hotkey is needed, configure it through the project’s hotkey settings and verify which input device it accepts rather than assuming the GameCube profile controls it.
Keyboard users need an additional check. RetroArch documentation notes that keyboard input can be captured by hotkeys instead of reaching a core that expects direct keyboard input. Game Focus or removing conflicting hotkeys can resolve that conflict. The same principle applies to any frontend: if a game expects a key, make sure the host application is not intercepting it first.
- Use a modifier plus a second input for retained hotkeys.
- Leave reset and quit unbound unless genuinely needed.
- Never place save-state commands on common face buttons.
- Check whether the frontend is intercepting keyboard input.
- Do not assume an emulated-controller profile also controls emulator hotkeys.
Use profiles at the smallest sensible scope
A global profile should contain behavior shared by the controller, not exceptions for one game. A system or core-level mapping is appropriate when every title using that virtual console needs the same arrangement. A per-game mapping is appropriate when one title has a real control difference, a special peripheral requirement or a deliberate personal override.
RetroArch can save a remap for every game using a core or save one for only the current title. Dolphin’s Profile feature stores input configurations, but its controller-port and physical-device choices still need to be checked. Flycast distinguishes per-game settings from per-game controller mappings: its project discussion explains that the controller-mapping command creates a game-identified mapping file, while the general game-configuration command applies to other settings. Exact labels and persistence behavior can vary by build, so verify the result after restarting.
Do not use per-game overrides to hide a broken global profile. If Super Mario 64 fails to recognize the main stick, fix the physical or baseline mapping before creating an exception. Excessive overrides make future controller changes harder because the same physical button may be defined in several places.
- Start with a controller baseline.
- Use a core or system profile for shared console behavior.
- Use a game profile only for a genuine title-specific difference.
- Record every override and its intended scope.
- Restart before assuming a per-game change was saved.
Run a short, reproducible input check
A setup is not finished when every field contains a button. It is finished when the same repeatable check passes after saving and restarting. Begin in an emulator menu or a non-critical game screen. Confirm player one, menu up and down, left and right, confirmation, cancellation and pause. Then check every primary face button, both stick axes, the D-pad and each trigger or shoulder control used by that virtual system.
For Super Mario 64, verify analog movement, A, B, the four C directions, Z and Start. L and R can be checked if you have assigned them for a specific emulator function, but they are not central gameplay controls in the original game. For Sonic Adventure, verify analog movement, D-pad menu selection, A, cancellation, Start and both triggers. For Mario Kart: Double Dash!!, verify the main stick, C Stick, A, B, X, Y, Z, D-pad, L, R and Start. You do not need a full race, level or story sequence; a safe menu and a short controllable section are enough to expose swapped or missing inputs.
Finally, test intentionally retained hotkeys one at a time. Confirm that an ordinary gameplay press does not invoke one, that the modifier is required and that a command such as reset is not triggered accidentally. Record the result, then save the profile only after the check passes.
- Repeat the same menu and gameplay checks after every profile change.
- Test axes for center, direction and unintended input.
- Check the complete virtual controller rather than only movement.
- Verify hotkeys separately and deliberately.
- Restart once to confirm persistence.
Troubleshoot by symptom instead of remapping everything
If the wrong player responds, inspect both device assignment and virtual port assignment. In RetroArch, controller order may follow the operating system unless reservation settings are used. In Dolphin, selecting a physical device is separate from selecting the GameCube port. A correct button map on the wrong port still feels like a broken profile.
If a stick drifts, first inspect its resting value and any accidentally captured axis. In Dolphin, an unexpected plus-or-minus axis can create a major off-center result. Calibration can limit usable radius, but it cannot repair a physically miscentered controller. If triggers are missing, check whether the emulator sees them as separate axes, a shared axis or buttons, then assign the identifier it actually reports.
If a binding disappears after clearing it, save another intentional mapping and restart before concluding that the clear action failed. A Flycast issue opened in June 2026 documents a case where clearing every binding did not persist unless another mapping change was saved at the same time. Treat this as a build-specific verification warning, not a universal guarantee about every version. If face buttons are swapped, compare the physical button description with the virtual console label and inspect any active core or game remap before changing the baseline.
- Wrong player: inspect device selection and virtual port separately.
- Drift: inspect center values and stray axis entries first.
- Missing trigger: identify whether the input is an axis or button.
- Non-persistent clear: save, restart and verify the unbound state.
- Swapped buttons: inspect active remap scope before editing again.
Keep a compact maintenance record
Once the three profiles work, preserve the information that made them understandable. Record the controller model or operating-system name, emulator and frontend versions, selected device, player port, profile name and any per-game exception. Include a short note describing the physical-to-virtual mapping for unusual controls such as N64 C buttons, Dreamcast triggers and the GameCube C Stick.
When adding another controller, create a new baseline rather than overwriting the working one. When updating an emulator, run the input check before changing anything else. If a project changes its configuration format or a profile stops loading, the written mapping gives you a recovery plan without relying on memory.
The goal is not one magical universal file. It is a small set of understandable profiles with clear ownership: physical controller settings in one place, console mappings in another and deliberate hotkeys kept away from normal play. That structure makes future changes reversible and keeps a new game from turning into a complete controller reconfiguration.
- Keep one untouched baseline per physical controller.
- Record emulator version, device, port and profile scope.
- Run the input check after updates or device changes.
- Remove obsolete overrides instead of accumulating exceptions.
A reliable emulator controller setup comes from preserving layers rather than forcing every console into one generic layout. Map the physical device once, translate it to each virtual console deliberately and keep frontend hotkeys isolated behind intentional chords.
Super Mario 64 needs the N64 stick, C buttons and Z trigger; Sonic Adventure needs one analog stick, digital menu controls and two Dreamcast triggers; Mario Kart: Double Dash!! needs the GameCube’s distinct face-button, trigger and C Stick arrangement. Save a baseline, test the complete virtual controller and verify persistence after restarting. That small routine prevents most control problems before they reach a serious play session.