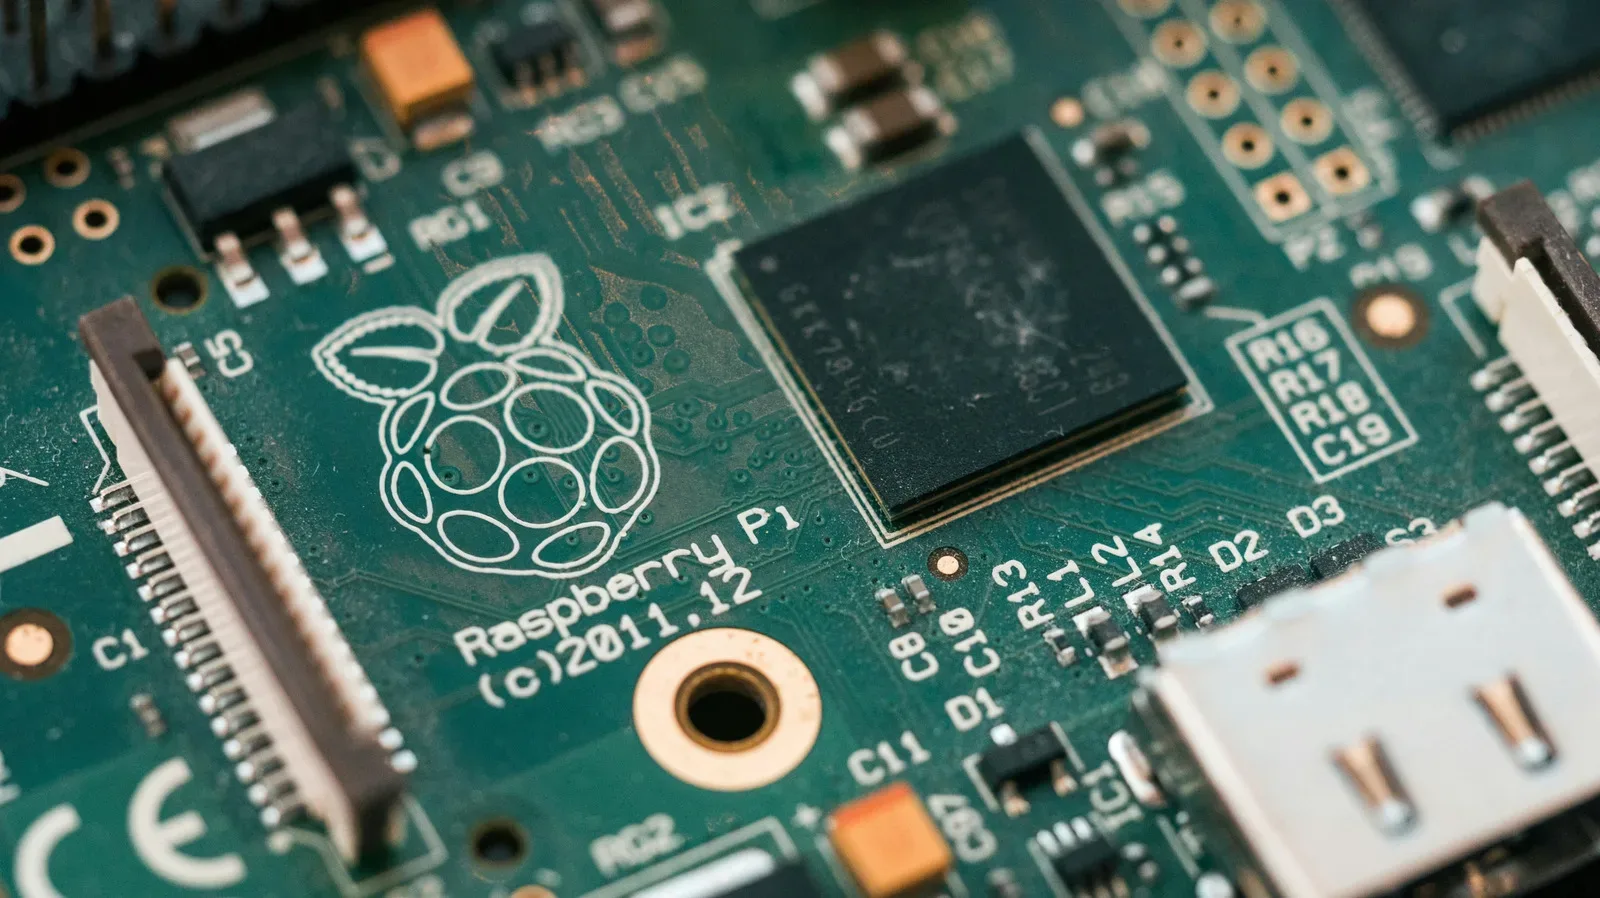
A Raspberry Pi project can begin with an inspiring idea and end with a tiny board, a few cables and an unfinished plan occupying a drawer. That is not necessarily a failure of enthusiasm. Many of the projects commonly associated with the platform—voice assistants, automated irrigation or ambitious animatronics—ask for more troubleshooting, hardware work and patience than a first-time builder may expect.
The more sensible starting point is a project with a plainly useful destination. A Pi can filter a home network, host a living-room library of personally owned media, send music to older speakers, emulate older game systems, act as a client for a powerful gaming PC, or provide a simple first desktop for a child. Each task has a different appetite for memory, cables and setup time. Choosing the job before buying accessories is particularly important now that higher-spec Pi configurations are no longer a casual purchase.
Price and performance: start with the job, not the maximum specs
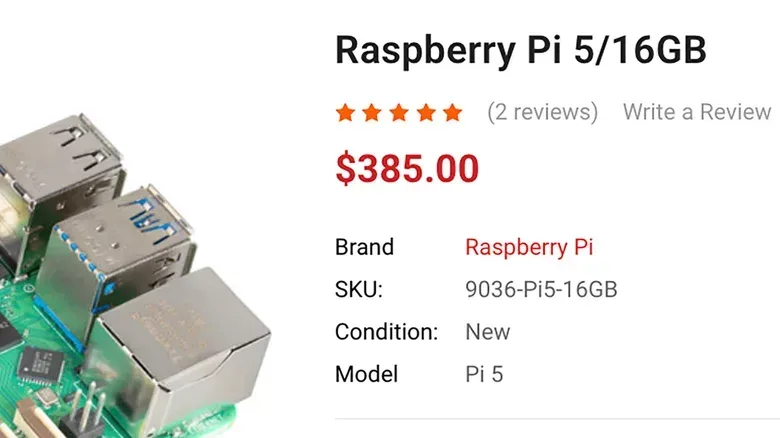
Raspberry Pi prices have risen amid wider pressure on memory supply. The 16GB Raspberry Pi 5 is listed at $385, more than three times its original $120 MSRP, while the 1GB Pi 5 remains $45. The 2GB and 4GB versions are also positioned as more affordable options for projects that do not need the largest memory configuration.
RAM, or random-access memory, is the short-term workspace a computer uses while software is running. It is not the same thing as storage on a microSD card or hard drive. The practical distinction matters here: a simple network service does not need the same headroom as emulation for later consoles, and a device receiving a stream from a gaming PC is not itself rendering the game.
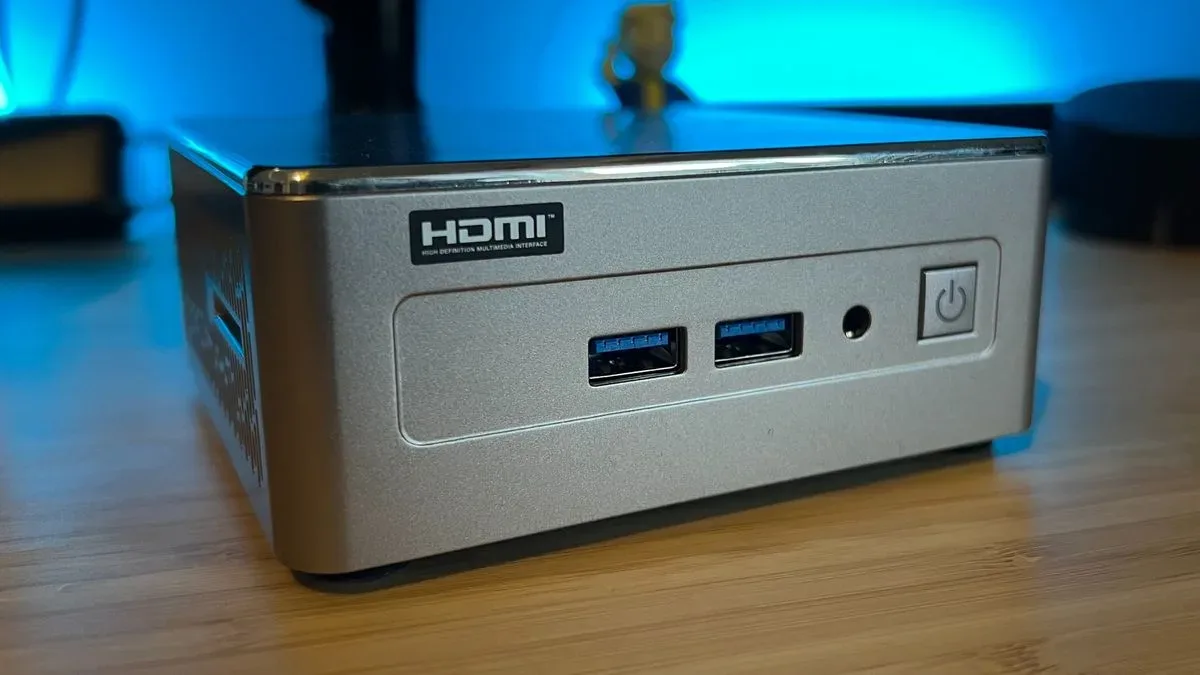
A highly configured Pi can overlap in cost with a small Intel mini PC. That mini PC may be faster and more comfortable with ordinary desktop software. The Pi still makes sense when its compact form, focused role and flexible software ecosystem are what the project needs. But it is worth resisting the reflex to buy the most expensive model simply because it exists.
1. Put a network-wide ad and tracker filter on the Pi
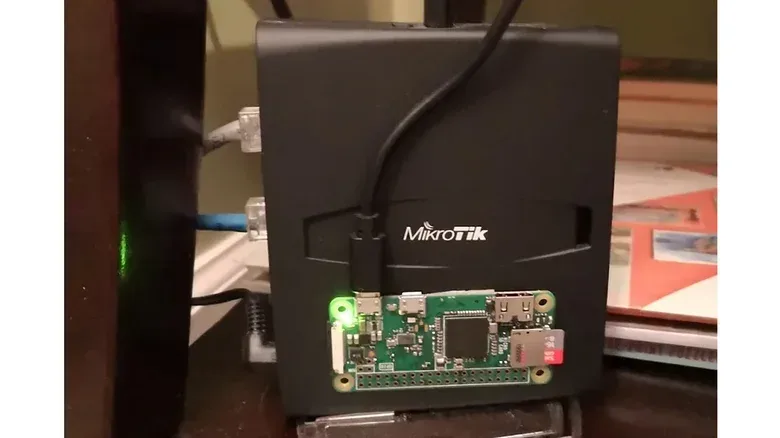
Pi-hole is one of the clearest beginner projects because the payoff reaches beyond the device itself. Rather than installing an ad blocker separately on every phone, computer and browser, Pi-hole can block known advertising and tracking destinations for devices across the home network. That can be especially useful for devices where browser extensions are not an option, such as smart TVs and streaming boxes.
Pi-hole is free and open source. Its filtering is based on third-party lists that identify known ad servers and trackers. The Pi is most simply connected to the router over Ethernet, although it can operate elsewhere on the same network if it is configured correctly.
The central technical term is DNS, short for Domain Name System. DNS is the service that translates a name a person can read into the network destination a device needs to contact. For Pi-hole to handle filtering across the network, the router must distribute the Pi-hole machine as its DNS server. The Pi also needs a fixed IP address, meaning its local network address does not change unexpectedly.
Related coverage includes Six Raspberry Pi Projects Beginners Can Actually Finish.
Those requirements make this less like plugging in a consumer gadget and more like making a small change to home-network infrastructure. Before changing router settings, it is sensible to understand what the existing DNS configuration is doing and ensure the Pi will remain powered and connected. A network filter cannot answer requests while it is offline. For broader home-network housekeeping, see this guide to identifying unknown Wi-Fi devices and securing a home network.
2. Build a compact retro game system
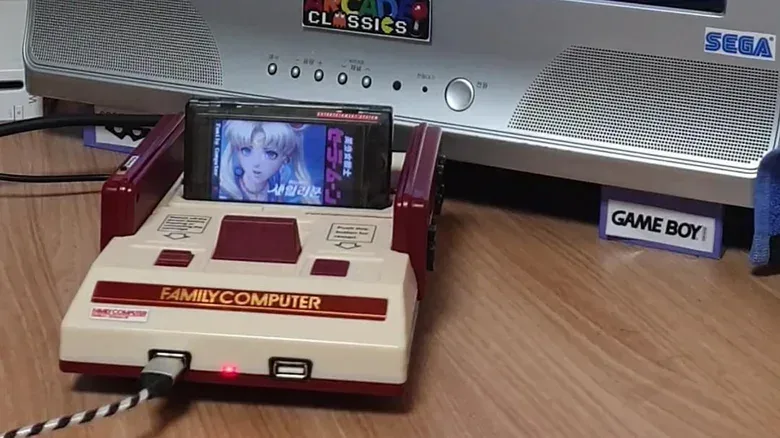
For game-focused builders, a retro console remains one of the most approachable uses for a Pi. Software such as Recalbox, Batocera and RetroPie can be written—or “flashed”—to a microSD card, turning the Pi into a menu-driven machine for classic console and arcade emulators.
An emulator is software that reproduces the behavior of another system closely enough to run software designed for that original platform. The Pi is therefore not becoming an NES, a Sega Genesis or an arcade board in a literal sense; it is running software intended to imitate the relevant hardware environment.
Older systems such as NES and Sega Genesis do not demand much RAM. The requirements rise for GameCube and Wii emulation: a Pi 5 with 4GB or more is the suggested starting point for anyone who wants that option. That does not mean every title or setup should be treated as a guarantee. It is a sensible reason to match the hardware tier to the era of games a builder actually intends to explore.
Besides the Pi and microSD card, the basic living-room build needs a controller, power supply and a video cable, commonly micro HDMI to HDMI. These small necessities are part of the real budget and can decide whether a seemingly simple build is ready for the TV on day one.
The software does not include games. Users must supply their own ROMs, the digital game files used by emulators, and should account for the legal uncertainty that can surround them. That boundary is easy to overlook when a project is presented as a tidy all-in-one console. The hardware and front end may be beginner-friendly; rights around individual game files are a separate issue.
A custom handheld is a possible follow-up, but it adds complexity and is a different proposition from connecting a board, controller and display cable. With ready-made retro handhelds relatively affordable, a TV-based Pi build has the advantage of offering a hands-on project without turning every component into another problem to solve.
3. Make a Kodi media center for files you already own
A Kodi setup gives a Pi a different living-room purpose: organizing and playing a personal library of movies, shows, music and photos. LibreELEC can boot the Pi directly into Kodi, creating a television-oriented interface rather than a general desktop.
This is not a shortcut to paid streaming services. Its appeal is managing media a household already has, stored on a hard drive or a home server. Once Kodi can access those files, it can populate much of the artwork and episode information automatically. It also supports live TV, some games, community-built add-ons and customizable visual skins.
A home server in this context is simply another device on the local network that holds the media files. The Pi does not need to be the long-term storage location; it needs permission and a path to reach the storage location. That separation can make the media-center box easier to keep focused on playback.
HDMI-CEC is another useful piece of jargon for this project. It is a feature that allows devices linked through HDMI to exchange certain control commands. When the television and setup support it, Kodi can often be navigated with the TV remote already on the couch. Removing the need for an extra remote is a small quality-of-life win, but it also makes the finished project feel closer to an appliance than a computer experiment.
4. Give an older stereo wireless audio
A Pi can recreate the basic role of Chromecast Audio, the discontinued audio dongle that connected to a stereo or powered speakers and made them available for wireless playback. The result is a focused upgrade for audio equipment that still sounds good but lacks modern network features.
Connect the Pi to the stereo or powered speaker, then install Raspotify for Spotify Connect or Shairport Sync for AirPlay. Raspotify requires Spotify Premium. Once configured, the speaker should appear among available audio outputs in Spotify’s device selector or in an iPhone’s AirPlay menu.
This route is specifically about audio. It should not be confused with attempting to reproduce the role of a regular Chromecast for video. Video services commonly enforce copy-protection systems, making that a more difficult goal, and an inexpensive streaming stick is the more straightforward tool for video playback. Knowing when a Pi is a satisfying solution—and when a purpose-built device is simply better—is part of avoiding a stalled build.
5. Stream a gaming PC to the TV with Sunshine and Moonlight
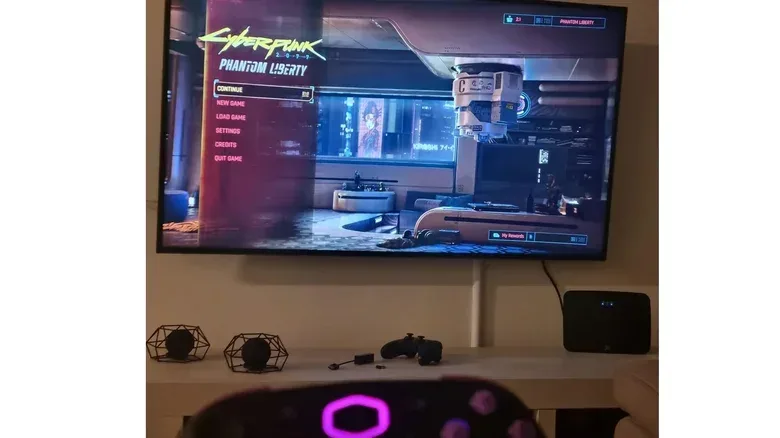
The Pi can also occupy a useful middle ground between a retro box and a current-generation gaming setup. Installed at the television, it can work as a remote client for a more powerful PC located elsewhere in the home. The PC does the demanding rendering work; the Pi receives the video stream and sends controller input back across the local network.
Sunshine is installed on the gaming PC and Moonlight on the Pi. After the two are paired using a PIN, the Pi can provide TV access to the existing PC game library. Sunshine is free and supports NVIDIA, AMD and Intel GPUs.
The key phrase here is local streaming. The game is not being processed in a distant cloud data center. It is rendered by the owner’s PC and moved over the home network to the Pi. That makes network reliability central to the experience. Wi-Fi can work, but wired Ethernet is the more reliable option for both the PC and Pi where it is practical.
This is also why the project does not require the Pi itself to be a high-end gaming computer. Its job is different from the desktop’s job. The Pi is serving as a low-cost endpoint for the display and controls, not replacing the GPU that runs the game.
6. Turn a Pi into a child’s first desktop
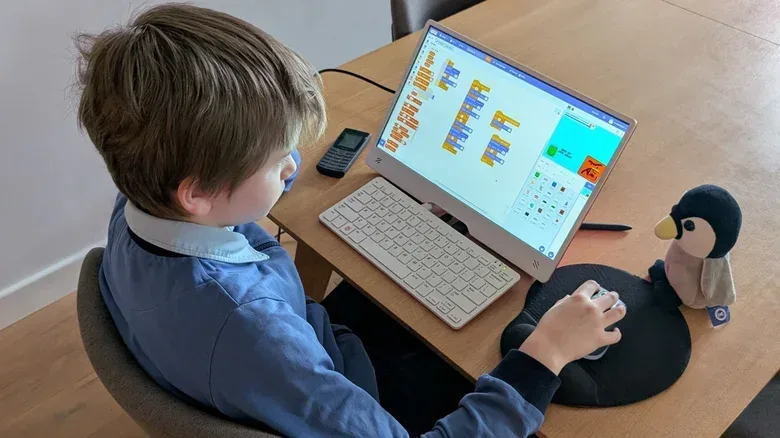
For a young user’s first computer, a Pi can offer a basic desktop environment with a web browser and coding tools without requiring premium gaming hardware. The Raspberry Pi 500 makes the physical arrangement especially simple by putting the Pi into a keyboard: connect a monitor and it becomes a compact computer.
There is a cost consideration here as well. The Raspberry Pi 500 is listed at $180, which reduces some of the value case it may once have had. Still, the integrated form factor cuts down on separate pieces and makes the idea easy to understand for a family that wants a straightforward desktop station.
Parents should not treat that simplicity as a substitute for supervision or setup. The Pi 500 does not include parental controls out of the box. Anyone planning to give a child unsupervised use should set aside time to establish the appropriate protections first.
How to pick the project most likely to be finished
The six ideas differ, but they share a useful rule: start with a role that can be defined in one sentence. “Filter this network,” “play this media library,” “bring wireless audio to these speakers,” or “put my PC games on this TV” are all testable outcomes. They make it easier to know which cables, software and configuration decisions belong in the build.
- Choose Pi-hole if the goal is a household-wide network utility and you are prepared to adjust DNS settings.
- Choose retro emulation if the reward is a dedicated classic-gaming machine and you have the required controller, storage and legal game files sorted.
- Choose Kodi if the household has a digital media collection already stored on a drive or local server.
- Choose the audio project if an old stereo or powered speaker needs a modern wireless input.
- Choose Sunshine and Moonlight if there is already a capable gaming PC and a TV location that would benefit from local streaming.
- Choose the Pi 500 desktop if the aim is a simple learning computer, with parental controls planned before unsupervised use.
For beginners, a finished project that solves one real problem is more valuable than a more elaborate concept that never gets beyond the shopping list. The Pi remains flexible enough to support either kind of ambition. The practical move is to begin with the one that has the clearest reason to stay plugged in after the novelty wears off.