A bootable Windows 11 USB drive is one of those boring-but-heroic pieces of kit that earns its place in a desk drawer. It can help when building a fresh PC, reinstalling Windows after a major problem, or preparing an older machine for a clean start. Think of it as the health potion you wish you had stocked before the operating system turned a routine update into a boss encounter.
Microsoft’s Windows 11 Media Creation Tool is the most straightforward way to make one. The utility downloads Windows 11 and writes the installation files to a USB flash drive that can start a compatible PC independently of the Windows installation already on its internal storage. It is intended for 64-bit x64 systems; people installing Windows 11 on ARM-based hardware should instead obtain Microsoft’s official ARM64 ISO.
The process is not especially difficult, but it is worth preparing properly. The primary danger is delightfully simple: the chosen USB drive is erased. A few checks before clicking through the setup screens can prevent the kind of accidental data loss that makes a person stare silently at a progress bar.
What to gather before making Windows 11 installation media
Start with a USB flash drive containing at least 8GB of storage. Everything on that drive will be removed while it is converted into Windows installation media, so copy any important files elsewhere first. If there is the slightest doubt over which removable drive is the correct one, unplug other external storage devices temporarily. Fewer choices mean fewer opportunities for an unfortunate click.
- An 8GB-or-larger USB flash drive: Its existing contents will be wiped.
- A reliable internet connection: Windows 11 is a download of several gigabytes, and interruptions can slow or derail the job.
- A Windows PC with administrator access: The Media Creation Tool needs elevated permissions to do its work properly.
- A compatible target PC: Confirm the system that will receive Windows 11 meets the operating system’s requirements.
- A Windows 11 license, if applicable: It is not required to download the tool or create the USB drive. Setup may ask for a product key, but that step can be skipped for the time being, with minor personalization restrictions until activation is handled.
Hardware compatibility matters before the installer ever gets involved. Windows 11 requires at least 4GB of RAM, 64GB of storage, and a graphics card compatible with DirectX 12 or later. On older hardware, the most significant roadblock is commonly TPM 2.0. A bootable installer does not override the need for the destination computer to meet Windows 11’s requirements.
Creating the USB with Microsoft’s Media Creation Tool
Go to Microsoft’s Windows 11 download page. There are multiple download approaches on that page, including options for upgrading the current PC and obtaining an ISO file. For this method, locate the section for creating Windows 11 installation media and choose Download now. The download is a small executable generally named MediaCreationTool.exe.
Once it has downloaded, right-click the file and choose Run as administrator. The program may request approval even when opened normally, but deliberately running it with administrator rights avoids a common cause of failure. Read the applicable license terms in the tool and select Accept to proceed.
Check language and edition settings
The tool presents a page for language and edition choices. In many cases, the option to use the recommended settings is already enabled and will reflect the current computer. That is usually fine if the target PC needs the same language. If it does not, clear that checkbox and make the appropriate selection before continuing.
Related coverage includes How to Create a Bootable Windows 11 USB Drive.
Next, choose USB flash drive rather than the ISO option. Connect the intended USB stick if it is not attached already, then continue until the tool displays available removable drives.
Pause at the drive list. The Media Creation Tool reformats the selected USB drive. Verify its capacity and drive letter before continuing, particularly if several storage devices are connected.
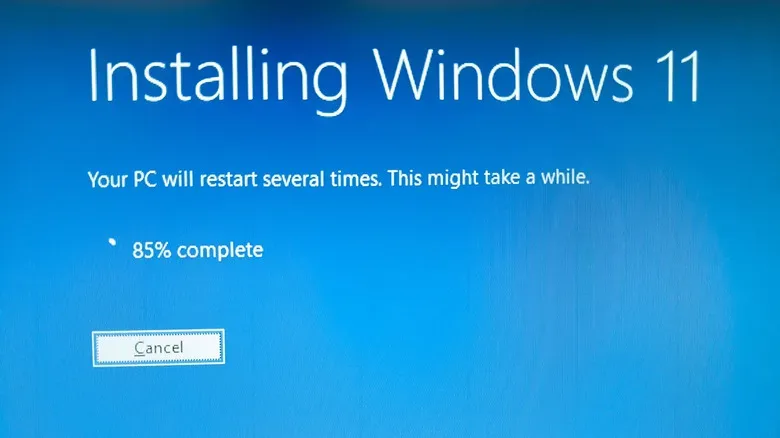
After choosing the flash drive, the tool begins downloading Windows 11 and creating the bootable media. The total duration depends on the internet connection, the computer’s performance, and the write speed of the USB drive. Let it complete without shutting down the PC, removing the USB stick, or treating the process as an ideal moment to test the limits of a shaky Wi-Fi signal.
When the utility reports that the USB drive is ready, select Finish. Safely keep the drive somewhere identifiable; labeling it can save time later, especially for anyone whose drawer contains several visually identical mystery sticks.
Booting a computer from the new installer
To install Windows 11 on another PC, connect the USB drive to the target machine before turning it on or restarting it. During startup, open the system’s boot menu. The required key varies by computer manufacturer and motherboard, but common possibilities include Esc, F12, and Del. Select the USB drive from the available boot devices.
If the system successfully starts from the flash drive, it should load the Windows installation environment. From there, the installation steps guide the user through language settings, drive choices, product-key entry or deferral, and the rest of the Windows setup flow. Take particular care at the disk-selection stage if performing a clean installation, because that is where existing partitions and data can be removed.
For a related bit of Windows troubleshooting knowledge, it is also useful to know how to force quit a frozen game or app without turning your PC into a side quest. A recovery USB is for bigger jobs; Task Manager is often the faster answer when one stubborn application is the whole problem.
When the Media Creation Tool cannot see the USB drive
USB detection trouble is one of the more common snags. Before assuming the flash drive is doomed, try a different USB port and make sure the connector is seated fully. A port swap is a quick test, and direct connections to the PC are generally preferable to a questionable hub.
If Windows itself can see the drive but the creation tool still will not cooperate, inspect it in File Explorer. Open This PC, right-click the removable drive, select Format, and choose FAT32 in the File system field. Remember that formatting also erases the drive, so this is only for storage that has already been backed up or is meant to be cleared.
Another useful stop is Disk Management. Right-click the Start button and select Disk Management. Confirm that the USB device appears and has a drive letter. If it is listed as unallocated, create a New Simple Volume and assign it a letter. Then retry the Media Creation Tool. Should the drive remain invisible or repeatedly fail, testing another flash drive is a sensible next move.
When the tool refuses to launch
First, try launching MediaCreationTool.exe with Run as administrator. If that does not resolve the issue, restart the PC and try again. Background activity can interfere, including antivirus software or Windows Update processes that are already busy changing system files.
The downloaded executable may also be incomplete or damaged. Delete it, download a fresh copy from Microsoft, and attempt the process again. This is a small, low-drama fix that can address a surprisingly large number of file-launch problems.
Using an ISO with Rufus or Ventoy instead
Microsoft’s official tool is not the only route. The Windows 11 download page also offers an ISO download option. An ISO is a disk-image file that can be used to make installation media with another utility, and it can also be useful for a virtual-machine setup.
Rufus is a focused option for creating one bootable USB drive from an ISO. It is free, lightweight, portable, and works on Windows 8 and later. Rufus can download the latest Windows ISO from Microsoft within the application, so manually fetching the image is not always necessary. It also exposes more choices for partition schemes and file-system configuration than Microsoft’s simplified tool. For many ordinary installations, its default selections should be suitable.
Ventoy aims at a different kind of user. Rather than rewriting a USB stick each time an operating system is needed, Ventoy prepares the drive as a boot menu. ISO files can then be copied onto it, allowing one larger USB drive to hold installers for Windows 11, Linux distributions, and other supported images. That can be extremely convenient for people who maintain multiple systems.
The trade-off is complexity. Ventoy requires more initial setup and makes the most sense for users who genuinely need multiple bootable images in one place. For a single Windows 11 installer, Rufus is typically the simpler alternative. For the least complicated official path, the Media Creation Tool remains the obvious starting point.
Whichever approach fits the job, the essentials do not change: verify compatibility, protect the USB drive’s existing files, identify the correct boot-menu key for the destination PC, and do not rush the storage-selection screens. A prepared installer will not make every Windows task fun, but it can turn a recovery disaster into a manageable checklist.