A low-storage warning has a special talent for appearing at the worst possible time: midway through a game update, while exporting a video, or just as Windows has decided it needs room for its own housekeeping. The instinct is often to dive into C: and start deleting folders with intimidating names. Resist that impulse. The safest way to reclaim capacity is to identify the largest category first, follow it to the responsible files or app, and remove only what you understand.
That approach matters especially on a gaming PC. A handful of modern titles, captured clips, mod archives, launchers and shader caches can occupy an astonishing amount of disk space. Add photos, downloads, old installers and Windows maintenance data, and a drive can become crowded without any single obvious culprit. Windows includes useful tools for the opening investigation, while a couple of specialized utilities can make the deeper search much clearer.
Start with Windows Storage instead of roaming folders
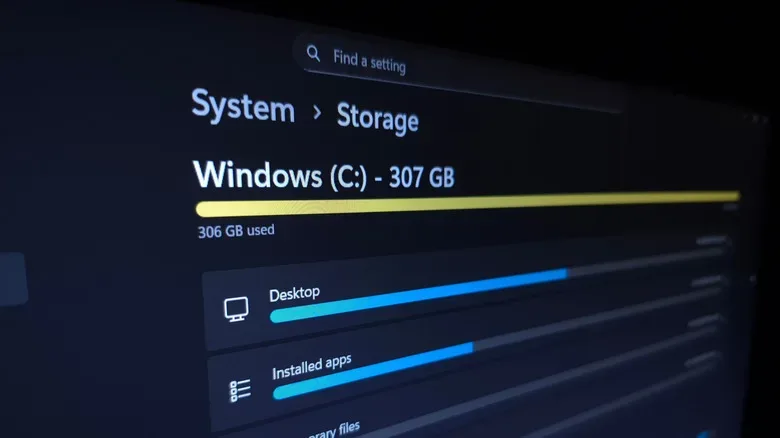
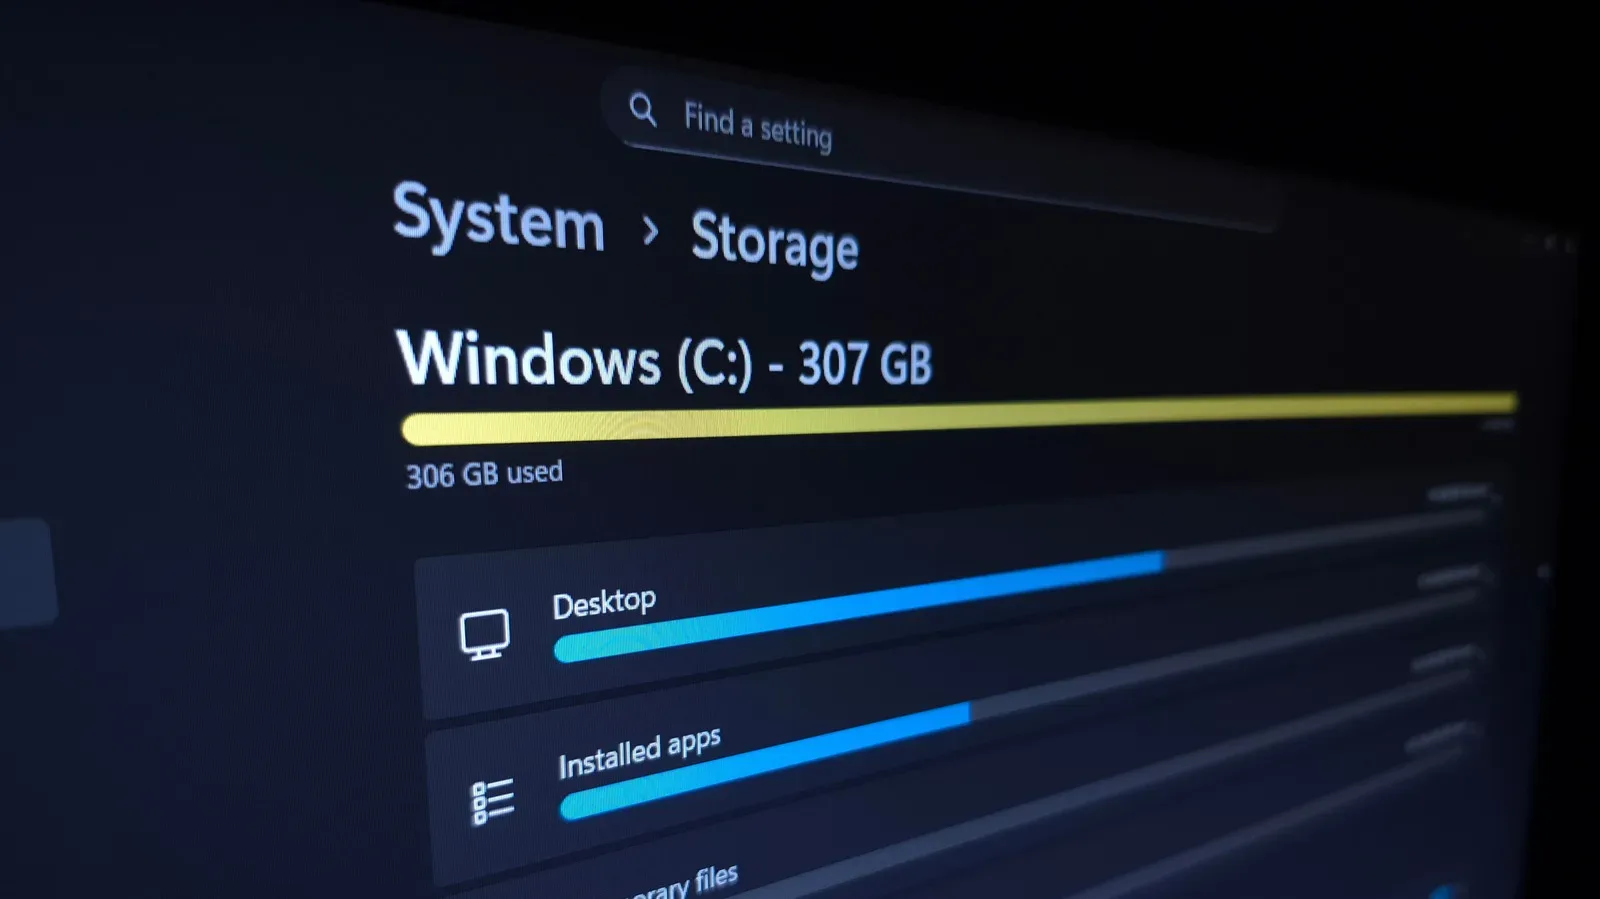
Press Win + I to open Settings, then visit System > Storage. The main screen shows usage on the primary drive and divides it into broad groups, such as installed apps, temporary files, documents, pictures and system-reserved storage. Think of it as the map before the cleanup expedition: it tells you where the biggest gains are likely to be.
Select a category to examine it rather than treating every number as permission to delete. A large Installed apps total, for example, is usually a far better opportunity than hunting tiny scraps in obscure folders. If an item is on another drive, expand Advanced storage settings and select Storage used on other drives to get a comparable overview there. This is valuable when games, media or backups are spread across several disks.
Put installed apps in size order
From the storage breakdown, open Installed apps, or navigate directly to Settings > Apps > Installed apps. Change the sorting option to Size (Large to Small). The list is then much more actionable: unused creative suites, old games, abandoned betas and duplicate utility apps rise to the surface.
Use the three-dot menu beside an app and choose Uninstall when you are certain it can go. Do not manually erase files inside Program Files or Program Files (x86) to make an application disappear. That can leave broken shortcuts, stray services and confusing entries that complicate future installs. Some apps, including certain Microsoft Store games, may offer a Move option when more than one drive is available. Moving a game you want to keep is often preferable to removing it.
PC game libraries deserve their own quick audit. A title finished months ago may be consuming far more room than the dozen small utilities installed alongside it. Use the relevant launcher’s uninstall function for games rather than deleting their folders directly. For more PC housekeeping around your backlog and the latest releases, see our PC indie game roundup.
Clear temporary files with an eye on the checkboxes
The Temporary Files section is Windows’ built-in staging area for items that are often safe to remove, including thumbnails and assorted temporary data. It may also provide a Cleanup System Files option that reveals additional Windows-related cleanup categories. This can be one of the quicker ways to gain space, but the labels deserve a careful read.
Related coverage includes How to Find What Is Filling Your Windows Storage and Clear It Safely.
In particular, pause before selecting Downloads or the Recycle Bin. Downloads often becomes a warehouse for drivers, screenshots, installers, zip archives and files saved “just for now” three years ago. Some of it may still matter. The Recycle Bin is similar: it can hold a useful amount of storage, but emptying it permanently removes everything inside.
- Open the Recycle Bin from the desktop first and restore anything you still need.
- Open Downloads in File Explorer and sort by size or date before deleting.
- Keep installers, project archives and irreplaceable files only after confirming they are backed up elsewhere.
- Clear temporary categories whose purpose is obvious, rather than blindly selecting every box.
That small review step prevents a routine storage cleanup from becoming a data-recovery problem.
Leave Windows system features until later
Windows may list System & reserved behind a “Show more categories” control. This space includes files and features the operating system relies on, so it should generally be treated as a later-stage option—not the first place to cut. Still, two features can matter on a compact drive when their trade-offs are understood.
Hibernation and the hiberfil.sys file
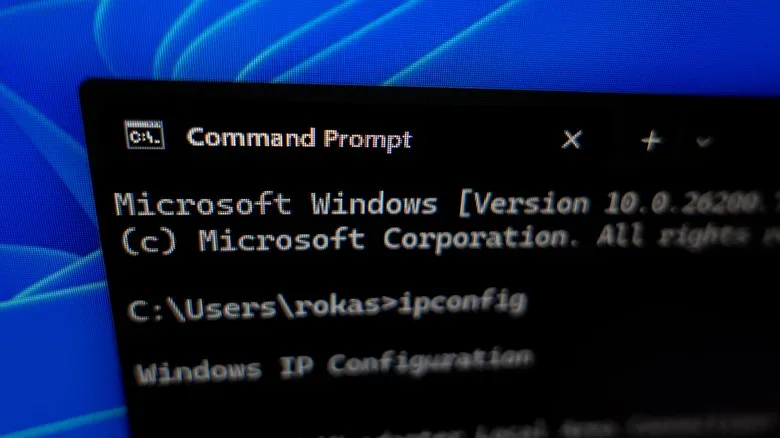
Hibernation saves the current system state to disk so the PC can shut down and later resume. The associated hiberfil.sys file can be sizeable. If hibernation is not part of your routine, open Command Prompt as an administrator and enter:
powercfg /hibernate off
This disables hibernation and removes its file. It is reversible: enter powercfg /hibernate on in an elevated Command Prompt if you want the feature back. Do not do this casually if you depend on hibernation’s resume behavior; reclaimed space comes at the cost of that functionality.
System Restore allocation
System Restore can roll the PC back after an unwelcome update, driver issue or configuration mistake. Search for and open Manage system restore, select the system drive, then choose Configure. There, the maximum storage allocation can be reduced if you are comfortable retaining fewer restore points. Deleting all restore points can free additional room in an emergency, but it also removes that recovery history. It is a trade-off, not free space with no consequence.
Use a folder map when Windows categories are too broad
Storage settings is excellent for a high-level view, but it can be vague once the mystery moves into “Other,” Music, Videos or an individual user folder. A disk-visualization utility such as TreeSize Free can provide a more precise folder-by-folder accounting.
For a complete scan, run it with administrator privileges using its toolbar control, then select the directory to scan. Scanning the entire C: drive is a sensible starting point. The largest folders should appear near the top; expand them step by step until the source of the space becomes clear. The goal is not to delete whatever is largest. The goal is to learn what it belongs to, then remove it through the proper route.
Program Files folders will often rank highly because they contain installed applications. As noted above, use an uninstaller or launcher rather than deleting contents there. Under Users, however, you may discover personal videos, old exports, local recordings, downloads or application data that can be moved or removed deliberately.
AppData can be another large area. Browsers, email clients, streaming apps and other software may place caches and downloaded material there. Clear cache data using the relevant app’s own controls where possible, since manually removing an unfamiliar application-data folder can reset settings or damage a profile. TreeSize can open a selected folder in File Explorer, which makes it easier to inspect without losing your place in the map.
Duplicate files are a separate problem: a folder map shows their size but not necessarily that the same content exists in several locations. A duplicate finder such as dupeGuru can help locate copies across the system. Review its matches carefully before removal, particularly where photos, game files or backups are involved. Files with matching names are not always interchangeable, and multiple backup copies may be intentional.
Make the largest safe changes first
Once the investigation identifies the offenders, prioritize the changes with the best payoff and lowest risk. Uninstall games you no longer play. Delete large files that are no longer useful. Empty the Recycle Bin after reviewing it. Move files you genuinely need but rarely access to another drive.
Cloud storage can also reduce local pressure. Long videos can be uploaded to a service such as YouTube before the computer copy is removed; photos may be synchronized with Google Photos; and OneDrive can be configured so infrequently used files remain cloud-only. None of those approaches should become the sole protection for important data. Maintain multiple copies of anything irreplaceable, ideally in separate places.
If low space is a continuing problem rather than a one-time cleanup, additional storage is likely the less stressful answer. External SSDs are well suited to files and games that benefit from faster access, while external hard drives remain practical for less frequently used data. Flash drives can help with small transfers, but they are not a substitute for a thought-out backup plan.
Let Storage Sense handle routine clutter
After reclaiming room, set Windows up to avoid a repeat performance. Return to Settings > System > Storage and open Storage Sense. Enable the option to keep Windows running smoothly by regularly clearing temporary files, then turn on automatic user-content cleanup if it fits your habits.
Storage Sense can run when space is low or on a recurring schedule. Its Recycle Bin and Downloads settings require special care because an aggressive time limit can erase files you meant to revisit. A durable organizational rule helps: use Downloads as a temporary landing zone, and move anything worth keeping into a named project, media or archive folder. With that habit in place, periodic cleanup stops feeling like a boss battle against your own hard drive.