There is a particular kind of satisfaction in making a room respond to a small, deliberate action. Tap a card and a film starts. Put a phone on charge and the house begins winding down. Finish a wash cycle and a notification arrives before the laundry becomes tomorrow’s problem. It is not quite a videogame inventory screen brought into the real world, but it is close enough to be fun.
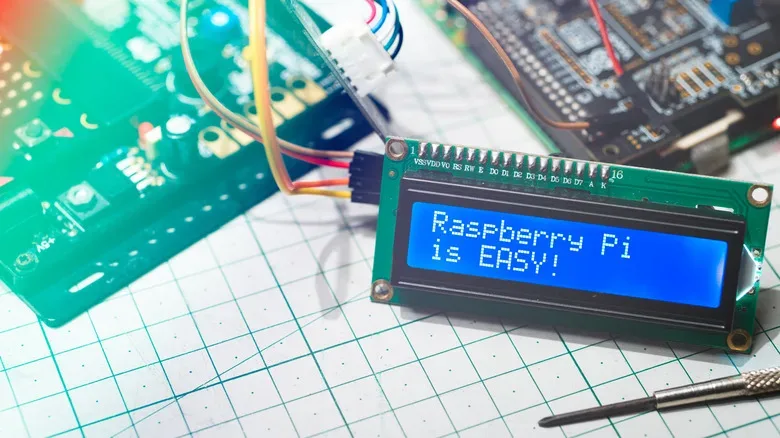
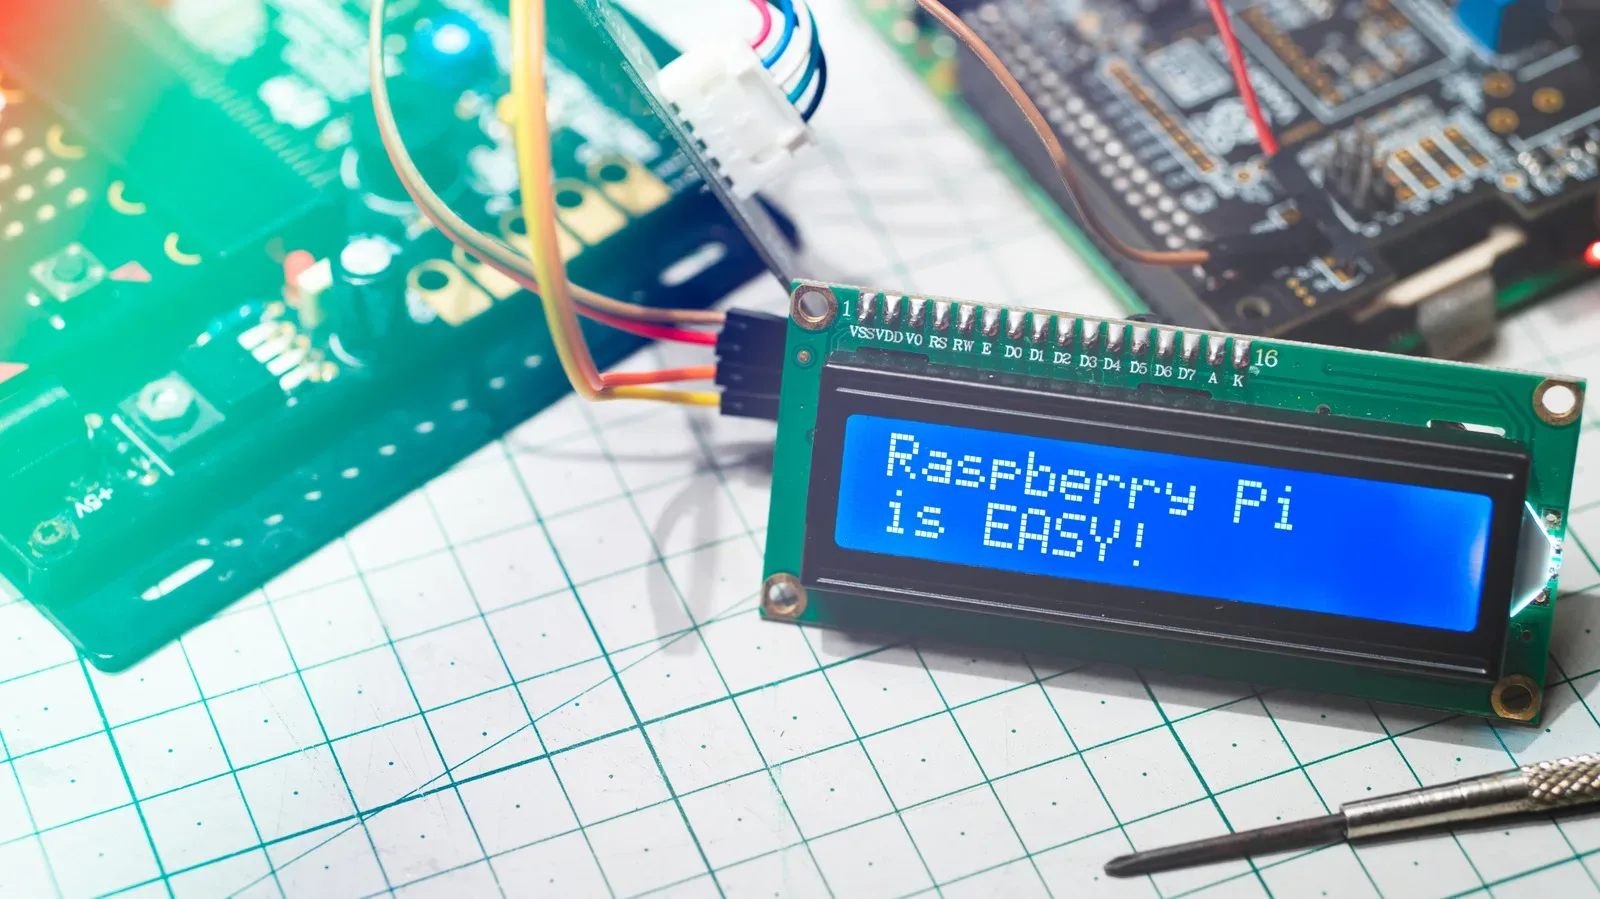
A Raspberry Pi running Home Assistant is an approachable way to build those interactions. Home Assistant is a free, open-source smart-home platform designed to bring together devices and services that may otherwise live in separate manufacturer apps. Its appeal is not merely that it can switch a light on or off. It is that it can treat events—location changes, NFC scans, changing power consumption and device states—as inputs for an automation.
That distinction matters. A smart device gives you remote control. An automation gives a real-world action a consequence. The best projects are usually not the flashiest; they remove a repeated bit of friction without creating new ways for the house to misunderstand you.
Home Assistant OS officially supports Raspberry Pi 4 and Raspberry Pi 5 hardware. A Pi with at least 2GB of RAM and a 32GB microSD card meets the stated minimum, and Home Assistant OS is the recommended route for most people bringing their own Pi. The core software is free and has no feature paywall, although optional services, including Home Assistant Cloud, cost extra. Home Assistant supports more than 1,500 integrations, which gives a Pi a broad set of possible connections without demanding that every gadget come from the same brand.
1. Give movie night a physical interface with NFC cards
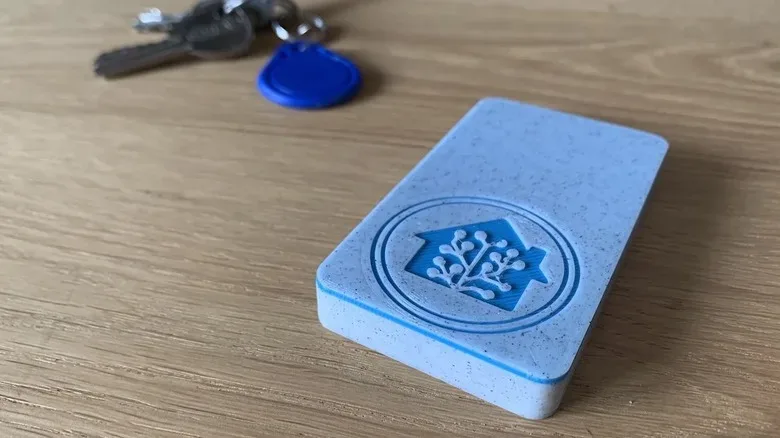
Streaming libraries are vast, but choosing something can become its own unwanted pre-show. NFC offers a compact answer: turn an album, playlist, movie or another Home Assistant action into something represented by a card or sticker.
NFC, short for near-field communication, is a short-range wireless technology commonly used for tap-to-pay systems and tags. In this setup, a tagged card is not storing a movie file. Instead, it serves as an identifiable trigger. Home Assistant detects that trigger and starts the automation associated with it.
The low-barrier version needs only NFC cards or stickers and a phone with the Home Assistant Companion app. Assign each tag to a particular action, then scan it with the phone. Home Assistant’s visual automation editor means this can be configured without beginning in YAML, the text-based configuration format often associated with deeper Home Assistant tinkering.
This simple version makes a lot of sense for households where a phone is already part of the ritual. A few cards can represent a family playlist, a regular bedtime audio selection, a favorite film, or a “pause the scrolling and pick this” movie-night shortcut. The card becomes a physical decision point rather than a miniature technical project.
Related coverage includes 4 Home Assistant Projects to Try on a Raspberry Pi.
A dedicated NFC reader changes the feel of it further. Put a reader in a room, place a card on it, and the automation can respond without someone opening an app. Home Assistant can also distinguish among readers. In principle, that means one tag might produce different results depending on where it is scanned: the same music card could start playback in one room or do something different in another.
At the enthusiast end, this idea can become a custom physical movie player. One such build combines an ESP32, an NFC reader and 3D-printed movie cartridges. Inserting a cartridge can prompt Home Assistant to use Plex to start the corresponding title. An ESP32 is a small microcontroller commonly used in DIY connected projects; it is separate from the Raspberry Pi running the Home Assistant hub.
That larger build is charming, but it is not the requirement. The practical takeaway is that physical media-style interaction does not require soldering, 3D printing or a shelf of cartridge replicas. Start with cards and a phone. If the ritual proves genuinely useful, a reader can be the next upgrade.
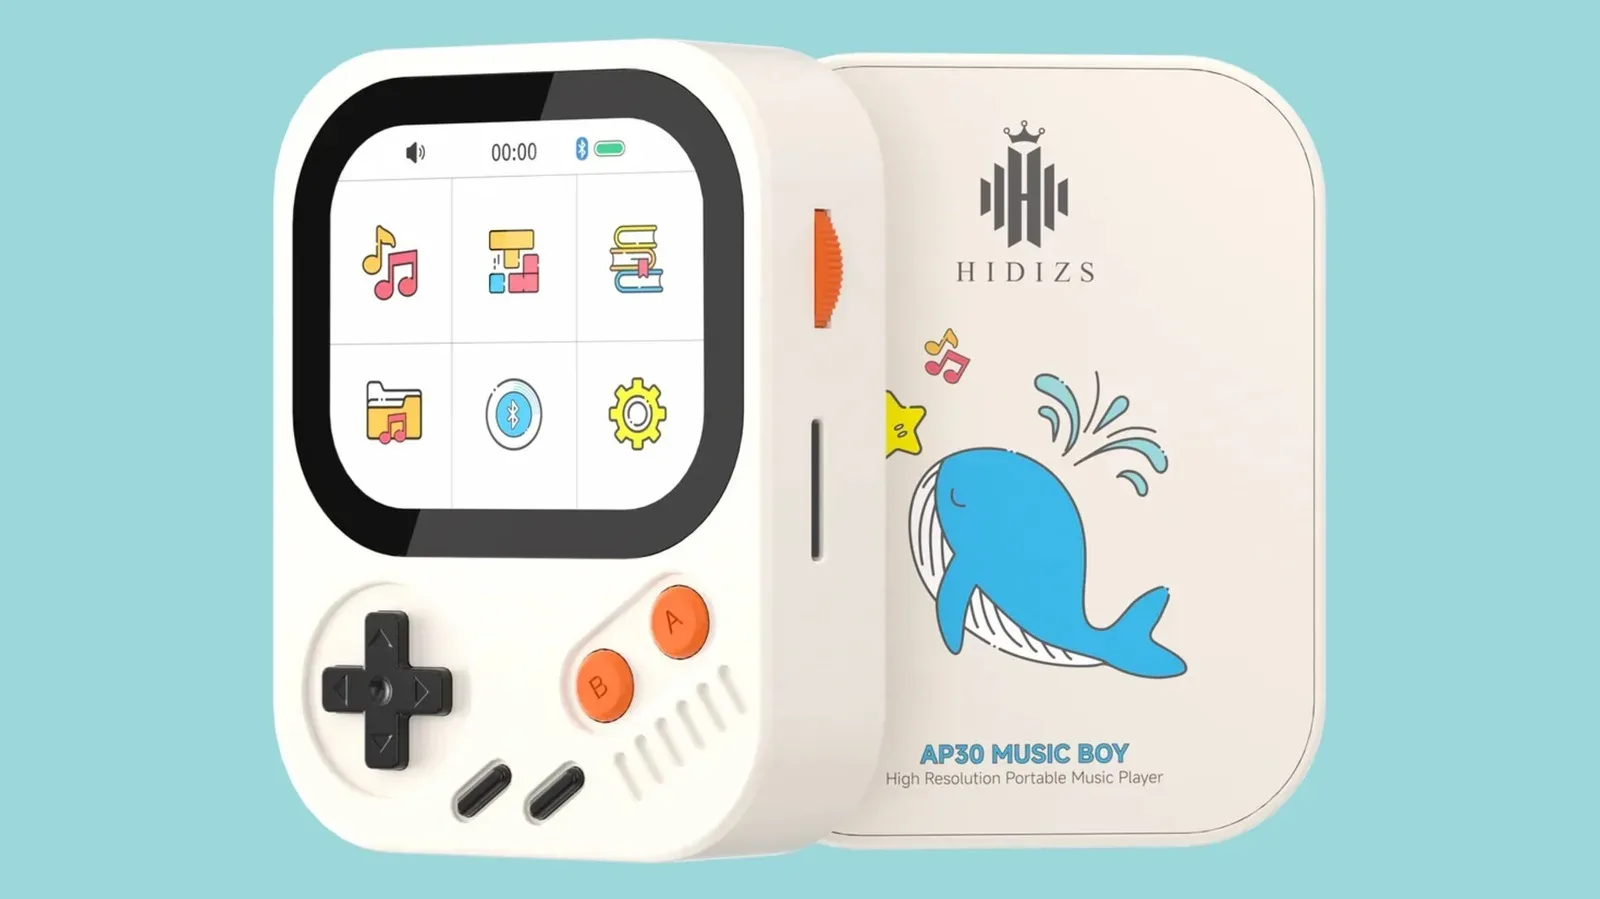
The idea also lands neatly alongside the renewed interest in tactile audio hardware, including the Game Boy-inspired AP30 Music Boy. Neither physical controls nor physical objects have disappeared because apps exist; they can make a choice feel intentional rather than endlessly reversible.
2. Make plugging in a phone mean “good night”
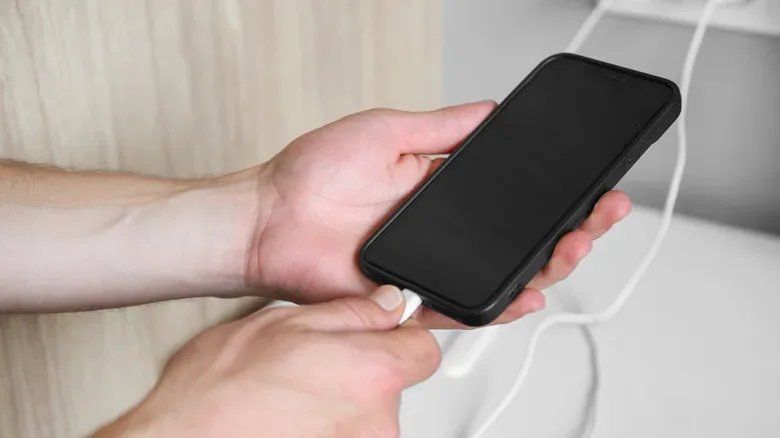
A charging cable is a strong behavioral signal. Many people plug in their phone near the end of the day, after they have already finished the things that tend to keep a home active. Home Assistant can use that routine as the beginning of a bedtime automation.
The Companion app can report that a phone is charging. That event can trigger a sequence such as turning off lights, lowering compatible blinds, adjusting a connected thermostat, or shutting down devices that were left on elsewhere. It is a useful example of an automation that can feel almost invisible once it is correctly configured: no separate “night mode” button is required if charging the phone is already the reliable cue.
The word correctly does a lot of work here. Charging alone is a poor definition of bedtime. A phone can be charged in the middle of the afternoon, and an automation that reacts by darkening the home would turn a convenience into a prank performed by your own infrastructure.
Conditions prevent that. A Home Assistant automation can check contextual facts before acting, including whether it is an appropriate time and whether the phone owner is home. In automation terms, the charging event is the trigger; the time and presence checks are conditions; switching devices is the action. Thinking in those three layers is a useful way to build any routine:
- Trigger: What happened that starts the check?
- Conditions: What must also be true before anything changes?
- Actions: What should the home actually do?
Android phones can provide charging information through Home Assistant sensors. On iPhone, an iOS Shortcuts automation can be used where an immediate response at the moment of plugging in is wanted. The specific route differs, but the practical design principle remains the same: make the action small at first, then add only the responses that are consistently welcome.
For example, it is sensible to begin with one or two lights. After confirming that the time and home-presence conditions behave as expected, expand to blinds or other supported equipment. The supplied facts do not establish which devices any individual home will have connected, so the safest approach is to define “good night” around the devices already available rather than treating the project as a shopping list.
3. Let an ordinary appliance report when it is done
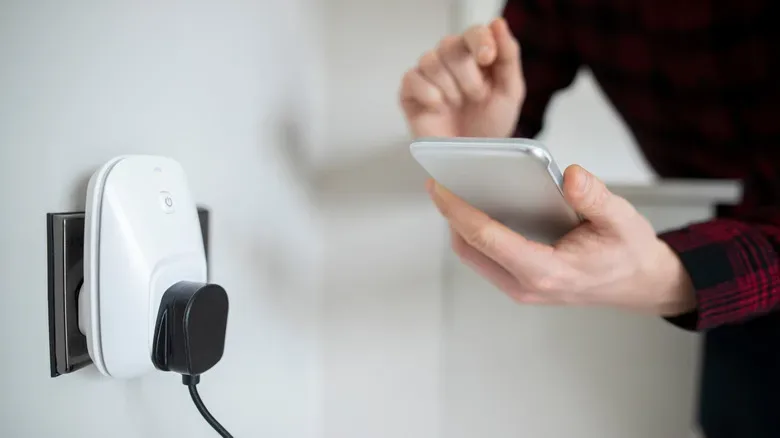
The washing machine project has perhaps the best ratio of usefulness to theatricality. Instead of replacing an appliance with a connected model, Home Assistant can watch its electricity use through an energy-monitoring smart plug and infer when a cycle has ended.
The underlying logic is straightforward. A washer generally draws more power while it is actively running. When the cycle ends, consumption falls toward an idle level. If Home Assistant sees that lower reading remain steady for long enough, it can send a phone notification.
This is not magic, and it is not a direct electronic conversation with the machine. It is an inference based on a pattern. That makes calibration important. An appliance may have its own behavior around idle draw, pauses and low-power periods. A threshold copied from somebody else’s configuration may therefore be wrong for your unit.
The better method is to monitor the appliance’s normal pattern and define the automation around what your machine does. Home Assistant users apply the same principle to dishwashers, rice cookers, coffee makers and other equipment with a predictable consumption pattern. The useful common feature is not a particular appliance category; it is a recognizable shift from active power use to sustained lower power use.
There is a non-negotiable safety constraint. The smart plug must be an energy-monitoring model rated for the appliance being plugged into it. High-power equipment is not an area for casual substitution or guesswork. The automation is optional; electrical suitability is not. This project should be skipped where the correct rated hardware is not available for the device in question.
Once it is safe and configured, the payoff is refreshingly ordinary: a notification means laundry can be moved, dishes can be dealt with, or a coffee maker’s state can be noticed without repeatedly checking the kitchen. It makes an older appliance feel more aware without pretending it suddenly gained Wi-Fi or a touchscreen.
4. Surface the shopping list when you arrive at the store
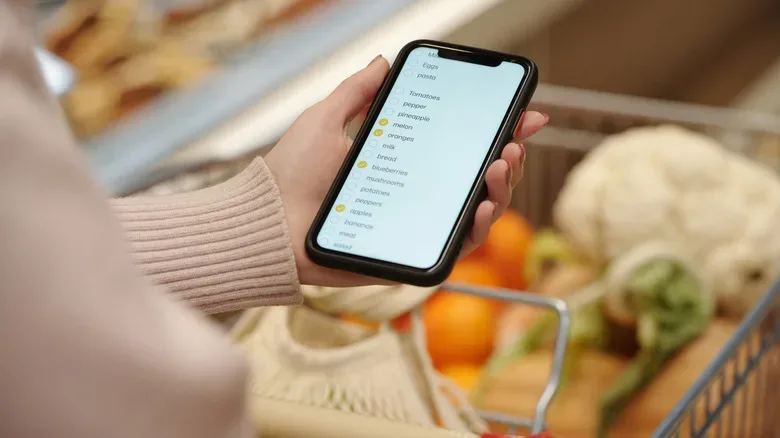
A shopping list only helps if it appears at the moment it is needed. Home Assistant can use arrival at a saved location—or zone—as an automation trigger. Pair that with Home Assistant’s shopping list and the Companion app can send a notification on reaching a chosen grocery store, with a tap opening the list itself.
The basic flow is simple: make the list at home, arrive at the store, get a reminder before wandering several aisles away from the thing you came for. It can also be tailored without becoming complicated. Different store zones can issue different notifications, and an automation can stay quiet if there is nothing on the list.
Unlike routines that happen entirely inside the home network, this one needs a way for the phone to communicate with the Home Assistant setup while away from home. Home Assistant Cloud is not required for the automation, but remote communication is. That is a practical distinction worth understanding before designing a location-triggered workflow.
Location is also a privacy decision. The Companion app can limit the location information it shares. For a reminder that only needs to know that you reached a particular store, the Zone Name Only option can be a proportionate choice rather than sharing exact coordinates for more precision than the task needs.
Build routines, not a house that constantly interrupts you
These projects work best when they respect the difference between automation and intrusion. An NFC movie card should remove a decision bottleneck, not create a new maintenance job. A bedtime routine needs time and presence conditions so a daytime charge does not create accidental darkness. An appliance alert needs observation and a suitable plug, not a borrowed wattage number. A shopping reminder should expose only as much location information as its function requires.
The Raspberry Pi is the host, but the real project is deciding which moments in a daily routine deserve a reliable response. Begin with a single trigger and a small action. Watch what actually happens. Add conditions where real life proves messier than the first design. That measured approach is less flashy than turning every object into a smart device, but it is far more likely to result in automations people keep enabled.