An aging laptop can still be useful: a backup computer, a hand-me-down for someone in the family, or a modest machine for media. For PC players, it may also be holding less obvious personal material: screenshots, save folders, browser logins, launcher accounts, mods, documents and license information. If it is time to sell, donate or recycle it, the important job is not simply dragging files to the Recycle Bin and handing the hardware over.
The sensible order is back up first, disconnect accounts and licenses second, then perform a secure reset or erase. That sequence protects the files you want to keep while reducing the chance that a new owner—or anyone handling the machine after you—can access material that should remain private.
There is one basic rule that makes the whole process less stressful: do not start deleting until you have checked that your replacement copy exists and is usable. A factory reset is meant to be final. Treat it that way.
Start by deciding whether the laptop still has a role
Not every old laptop needs to leave the house. A working machine can remain as an emergency backup, be handed to a relative, or be repurposed as a media server. Those uses may be especially practical when the computer is no longer suited to demanding new games but still functions reliably for lighter jobs.
If the machine has reached the end of its useful life, it should not go in ordinary trash. A functional laptop may be suitable for sale or donation; a non-functional one is better directed to safe recycling. The preparation steps are broadly the same in either case because the drive can contain personal information regardless of the laptop’s resale value.
That matters for gaming PCs as much as any other computer. A device does not need to contain a huge modern game install to be sensitive. A small save file can represent dozens of hours of progress, while a browser profile can contain account access, bookmarks and payment-related sessions. Old USB receivers, SD cards and other accessories can also be easy to overlook when packing up a system.
Make a backup before touching the reset button
A backup is a second copy of data stored somewhere separate from the laptop. It is not the same thing as merely moving a few visible folders around. The safest practical approach is to combine a system-oriented backup with a deliberate check of the files and apps that matter most to you.
Windows: use Windows Backup, but understand its limits
On a Windows PC, search the Start menu for Windows Backup. It shows which material can be backed up to OneDrive and when the most recent backup occurred. This can help retain account-related details and personalization settings, but the free Microsoft account allocation is only 5GB. That may be useful for a limited set of files and settings, but it may not accommodate a substantial personal library.
Related coverage includes What to Do Before Selling, Donating or Recycling an Old Laptop.
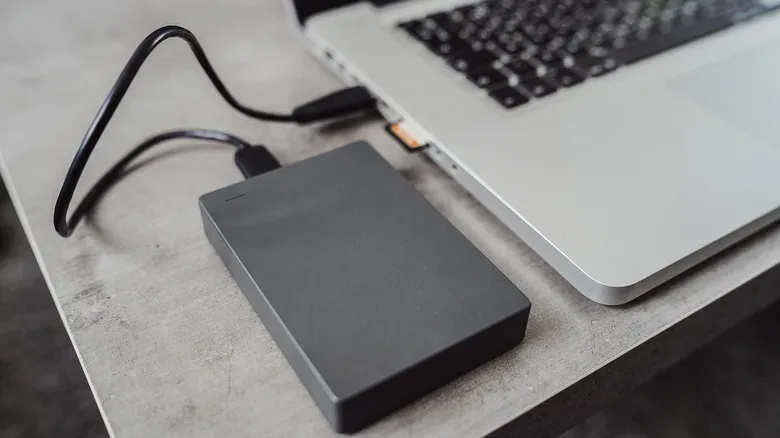
A portable HDD or SSD offers a local alternative. Manually copying files is an option, and EaseUS Todo Backup has a free version intended to automate backups. A combined approach can make sense: use Windows Backup for the settings it handles, and use local storage for the larger or more specific files you need to preserve.
For players, the check should extend beyond whatever the default tool includes. Confirm the location of save data for the games that matter to you, especially where a game or launcher does not make its sync status obvious. Check screenshots, recordings, custom controller profiles, mod folders and locally stored installers if they are important to your setup. The point is not that every one of these items will exist on every PC; it is to avoid assuming that a general backup has automatically captured them.
Mac: Time Machine can create the full-device safety net
MacBook owners can use Time Machine, macOS’s built-in backup utility. Connect a USB storage device—ideally one with at least twice the storage capacity of the MacBook—then open System Settings > General > Time Machine > Add Backup Disk and follow the prompts. Time Machine is designed to back up the Mac so its contents can be recovered on another computer.
iCloud can supplement that under System Settings > [Your Name] > iCloud > Saved to iCloud. As with Microsoft’s cloud option, Apple provides 5GB of free storage, so capacity may determine whether a subscription, a local drive or both are appropriate.
Cloud storage and a full external backup solve different problems. A synced cloud folder may protect selected current files, while a fuller backup is useful for recovering material that was not placed in that folder. Before erasing anything, open the backup destination and verify that the important material is there rather than relying solely on a completion message.
Do the small account checks that a reset cannot do for you
Before erasure, sign out of accounts and de-authorize software where applicable. This is easy to delay because it feels less dramatic than a reset, but it can prevent a retired computer from continuing to consume one of a service’s permitted device activations.
Creative software suites are one example: some licenses are limited to a set number of computers. If a license can be moved simply by signing into an account on a new machine, sign out on the old one first. If the rules are unclear, retain the product key or license information so you can contact the provider later rather than leaving a “phantom” old computer associated with the license.
The same principle is useful for any account-based application. Make a brief checklist rather than trying to remember every service in the moment. A practical list might include:
- Browser sync: verify it is enabled if you want bookmarks and related browser data to follow you.
- Application and software licenses: de-authorize the old device when the service supports it.
- Cloud accounts: confirm the files you expect to be synced have actually finished syncing.
- Connected storage and accessories: inspect every port for USB dongles, flash drives and SD cards.
- Keys and recovery information: keep necessary product or license keys in the backup before the wipe.
This is also a preservation habit, not just a privacy habit. Older PC software and unusual setups can be harder to reconstruct than expected. If an old laptop is part of a retro PC gaming arrangement, record what you will need to rebuild elsewhere before the machine is blank. For more context on keeping older computer gaming projects alive, see the ongoing work to adapt Gun.Smoke for AGA Amiga hardware.
Why deleting files alone is not enough
Deleting files or using a basic reset may sound final, but removed data can still be technically recoverable. The aim of a proper wipe is to make the laptop ready for its next destination while protecting the previous owner’s data.
Modern Windows and macOS versions include reset and erase functions intended to remove accounts, wipe the machine and restore it to a clean state. On Windows, the crucial setting is called Clean data. It securely overwrites the drive, which is different from simply selecting a quick “remove everything” path without reviewing the reset settings.
“Factory reset” can mean different things depending on the operating system version and manufacturer. Do not assume the same menu wording applies to every laptop. Read the options carefully and select the route that removes all personal content rather than an option that keeps files for the current user.
Windows wipe steps by version
For Windows 11, navigate to Start > Settings > System > Recovery > Reset PC. Select Remove everything. Windows will offer Cloud download or Local reinstall as choices for reinstalling the operating system. At the Additional settings screen, select Change settings, then enable Clean data to securely overwrite the drive.
For Windows 10, open Settings > Update & security > Recovery, then select Get started under Reset this PC. The later choices follow a similar pattern: remove everything and review the settings so the data-cleaning option is enabled.
For Windows 8.1, use Settings > Change PC settings > Update and recovery > Recovery, then choose Get started under Remove everything and reinstall Windows.
Windows 7 requires more preparation. It may need bootable media, a manufacturer recovery partition or a third-party erasure tool. That is a reminder that an older operating system should not be handled by guessing through unfamiliar menus. Identify the available recovery method before committing to the wipe.
Mac erase steps depend on the generation of macOS
For Macs running macOS Monterey or later, go to System Settings > General > Transfer or Reset > Erase All Contents and Settings. The process requests the computer password and Apple ID password, signs the user out of iCloud, wipes the Mac and restarts it.
Older Intel-based Macs require a more manual path. First, sign out of iCloud so that Activation Lock is removed. Depending on the macOS version, use either System Settings > [Your Name] > Sign Out or System Preferences > Apple ID > Overview > Sign Out.
Then restart into Recovery Mode by holding Command + R. Open Disk Utility > Continue > Erase, select APFS if the Mac uses an SSD, and choose Erase Volume Group or Erase. If the laptop is headed to another owner, quit Disk Utility after the erase and choose Reinstall macOS so it receives a fresh operating-system installation.
Run a final handoff check
Once the reset or erase is complete, do not begin setting the machine back up under your own accounts. If it is being passed on, the clean setup state is the desired result. Confirm that you have removed storage cards and small accessories, and retain only the backup drive and the license records you need.
The practical payoff is straightforward. A laptop can get a useful second life through sale, donation or reuse without taking your private files, account access and software activations along for the ride. Back up what matters, sign out deliberately, choose the secure erase option for the operating system in front of you, and only then let the old machine move on.