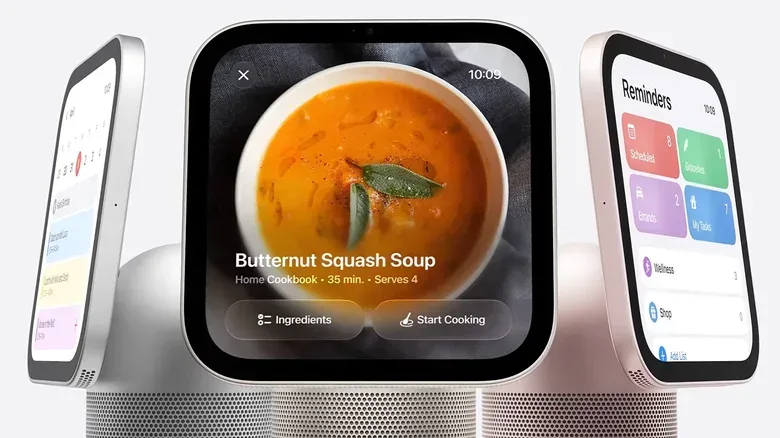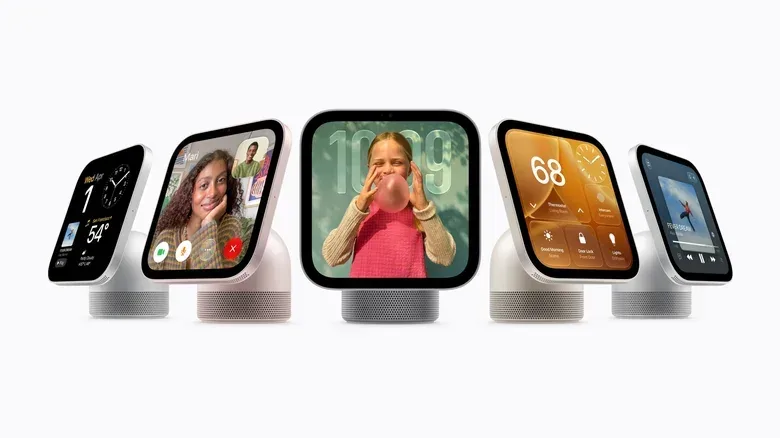
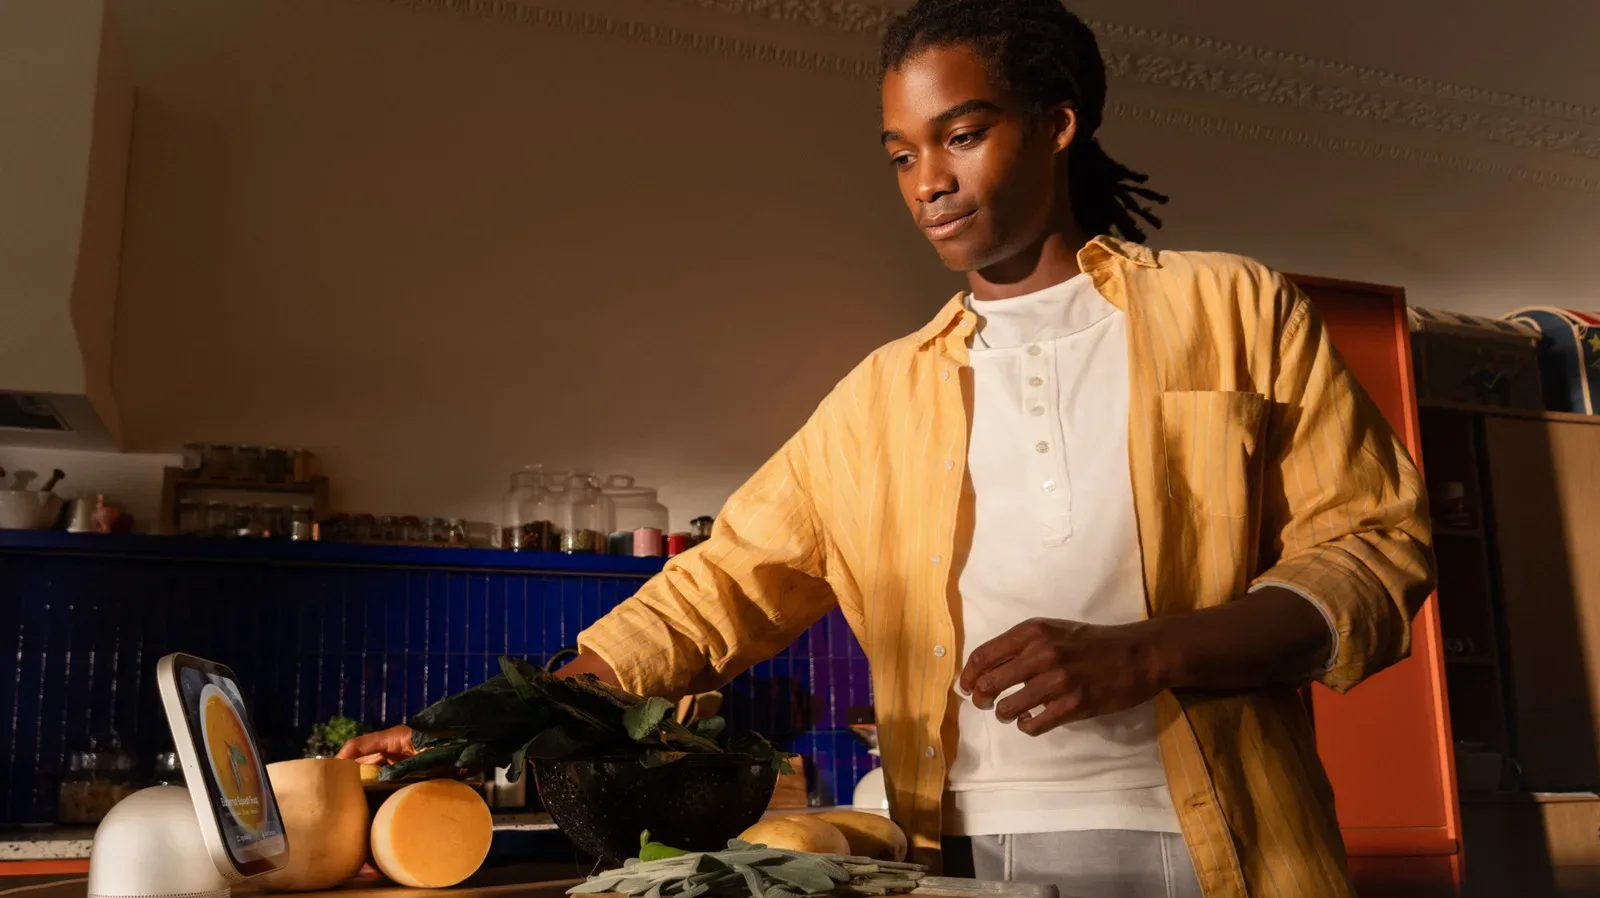
Apple’s HomeView is positioning the kitchen as one of the clearest uses for a small smart display. Its cooking-focused interface takes a recipe opened in Safari and recasts it as a sequence of large, swipeable instructions, with ingredients separated into a checklist and recipe-linked timers presented as tappable controls.
That may sound like a modest change, but it addresses the awkward rhythm of cooking from a phone: unlock the handset, find the tab again, scroll past surrounding page content, then attempt to operate a touchscreen while keeping track of what is happening in a pan or oven. HomeView’s Show Recipe mode is designed to make the recipe itself the immediate interface rather than simply putting the same web page on another screen.
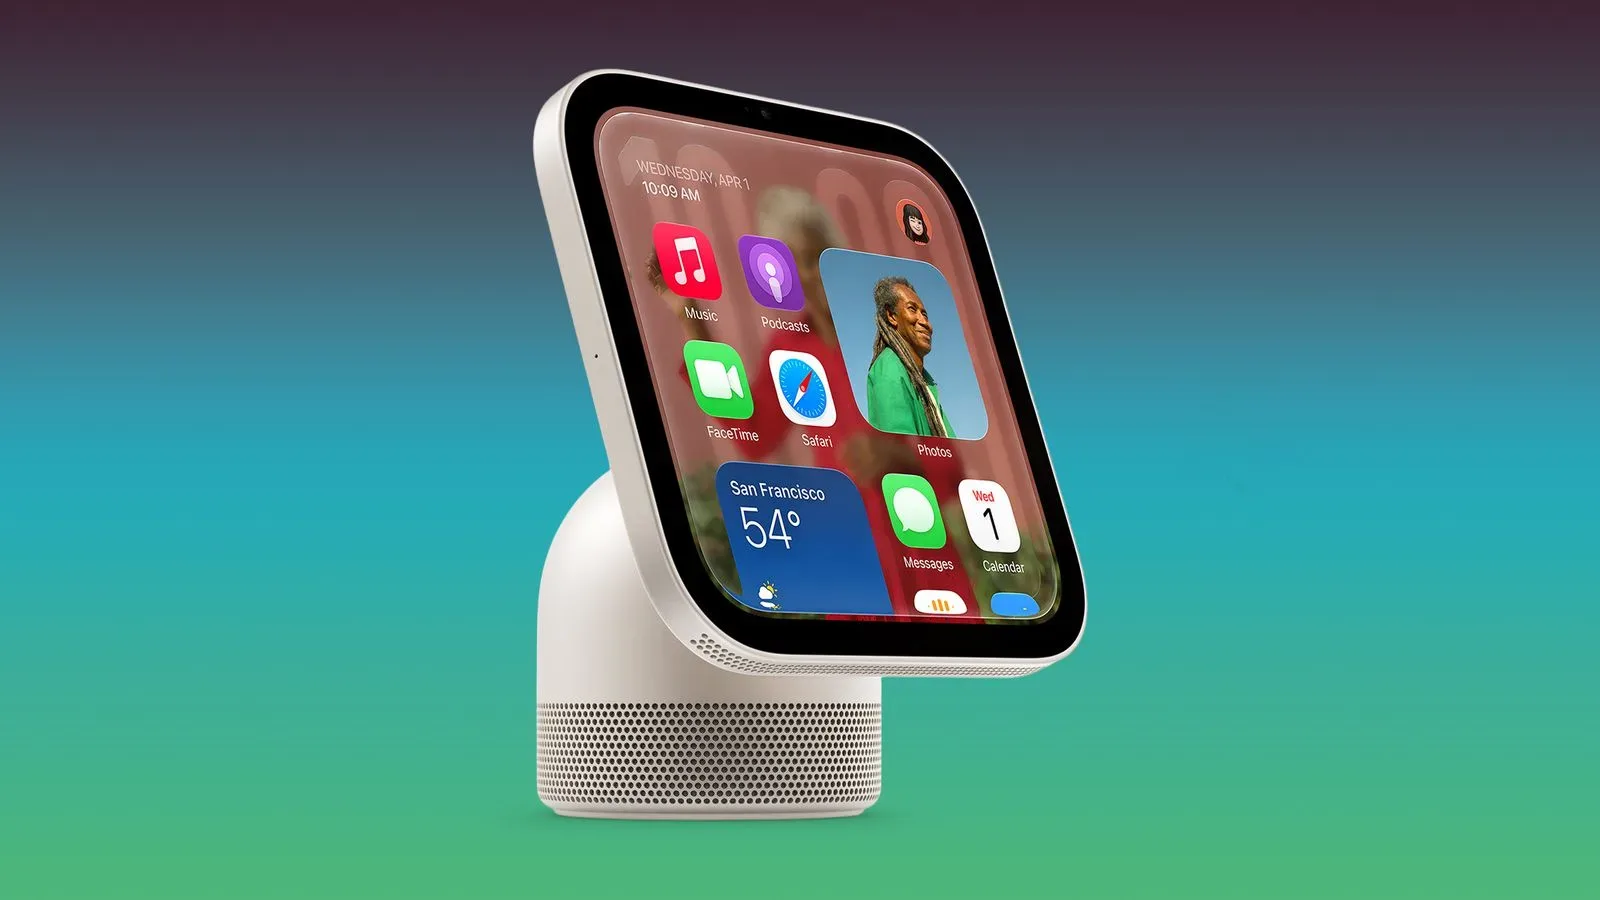
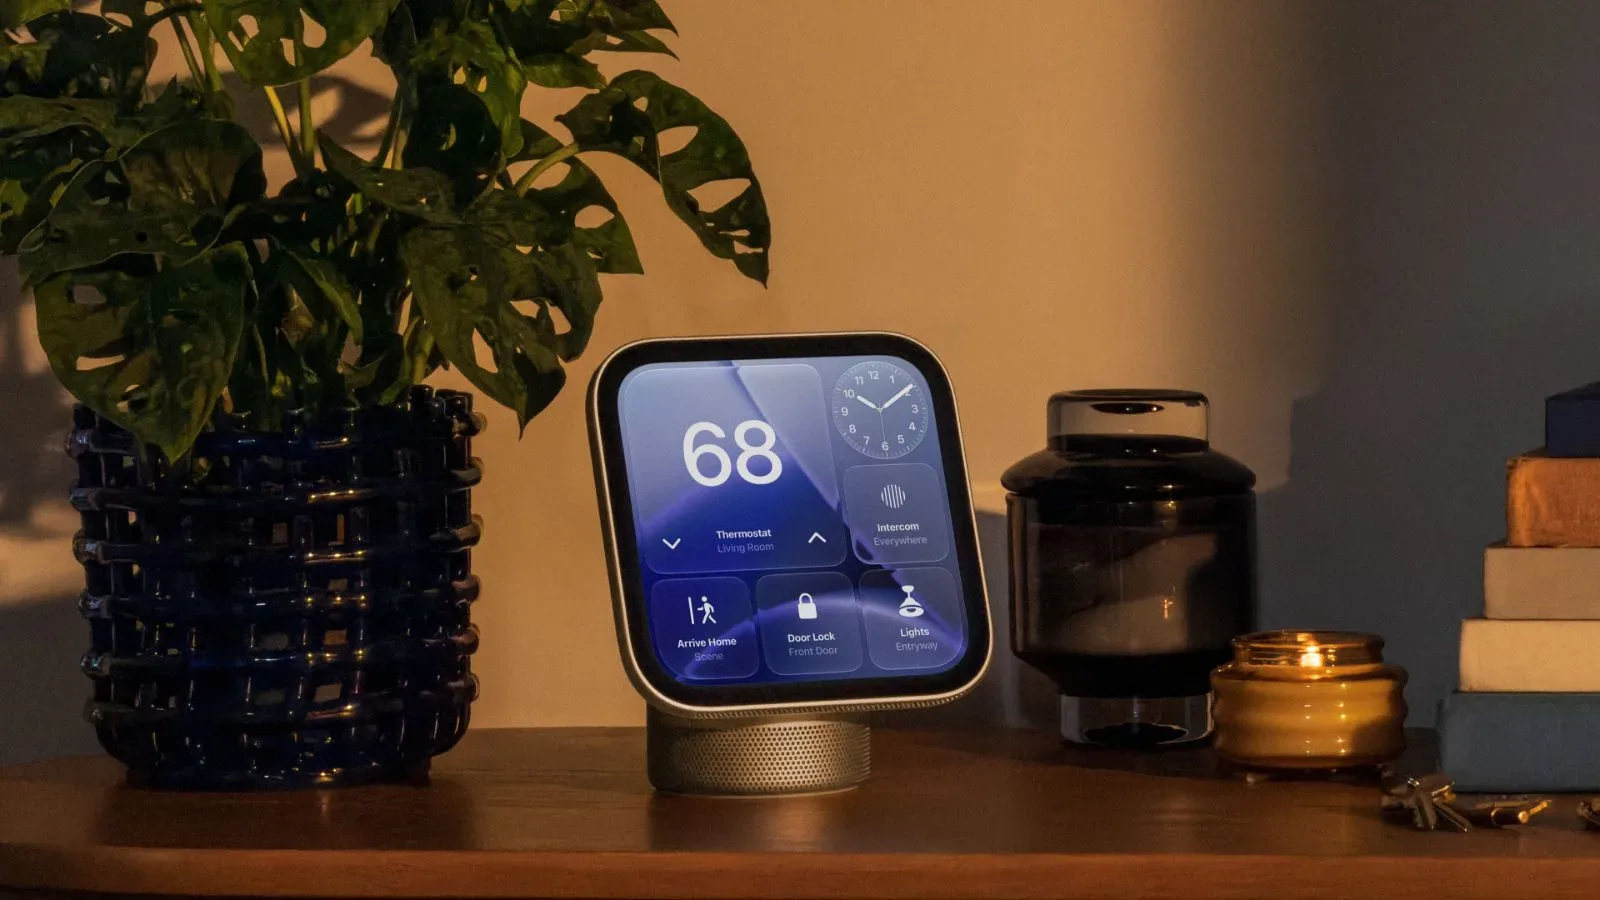
The feature arrives as part of Apple HomeView, a smart hub released November 13, 2026. The device has a 7-inch Liquid Retina display, Siri AI functions and the ability to manage connected Apple experiences hands-free. It is not a stand-alone escape from Apple’s wider ecosystem, however. An iPhone or iPad is central to setup and to several continuity-style functions, including moving Safari activity, music, calendar reminders and FaceTime conversations to the hub.
What Show Recipe mode actually changes
A typical recipe page is built for a browser, not necessarily for someone standing at a counter. It may contain explanations, photos, navigation elements and lengthy supporting text around the information needed at that moment. In HomeView’s cooking view, the page is converted into a focused guide.
Each instruction is placed on its own slide. Moving ahead is a left swipe, creating a clear one-step-at-a-time flow. The ingredient list is displayed separately and can be checked off as items are gathered or used. This is a small but meaningful distinction: the cook is not merely reading a web page on a larger screen; they are using an interface that organizes the job into preparation and execution.
The other key element is timing. When a recipe includes a duration, HomeView can offer a preset countdown. The indicated time appears in orange; tapping it starts the timer. Once active, the countdown sits at the top of the display, and tapping that countdown opens the timer screen.
Preset timer here means the device pulls the stated duration into a ready-to-start countdown rather than requiring the user to manually enter minutes and seconds. The user still chooses when to begin it, which matters because oven preheating, simmering and resting are not always synchronized with the moment a written step is read.
How to start a recipe on HomeView
There are two routes into the feature. Someone already looking at a recipe in Safari on an iPhone can hold the phone near HomeView to transfer the page. The hub can also be used to locate recipes directly through Siri AI functions or a conventional web search.
When HomeView recognizes a recipe page in Safari, it presents a Show Recipe control in the lower-right portion of the display. Its icon combines a spoon with a recipe card. Selecting that control activates the cooking layout.
- Open or transfer a recipe page in Safari.
- Look for the spoon-and-recipe-card Show Recipe icon at the bottom right.
- Tap it to enter the recipe-specific layout.
- Use the ingredient checklist before or during preparation.
- Swipe left to progress from one instruction slide to the next.
- Tap highlighted orange timing text when it is time to start a listed countdown.
The workflow depends on HomeView correctly detecting the recipe page and offering the mode. That is an important practical boundary: the supplied details describe what happens when the option appears, not a guarantee that every food-related Safari page will be parsed in the same way.
A hub screen can reduce kitchen context switching
The appeal is not limited to recipe formatting. HomeView can keep several kitchen-adjacent tasks on one screen and within voice-oriented controls. A cook can play music, check a doorbell camera or review text messages without leaving the room or returning to a phone. In practical terms, that makes the hub a shared point for the recipe, a timer and household notifications.
There is an obvious tradeoff. More connected functions in the kitchen can prevent a trip to another room, but they can also compete for attention. The strongest use of Show Recipe mode is therefore its reduction of unnecessary interaction: a clearly isolated cooking step, a visible timer and a checkable list can keep the task legible while other home functions remain available when needed.
That approach distinguishes a smart display from simply propping up a handset. A phone can show a recipe, of course, but HomeView is built around handoff and around a screen intended to remain visible at a fixed spot. For households already using Apple’s Home app and Apple account system, the display becomes another endpoint for the information that is otherwise split across a phone, a timer and smart-home controls.
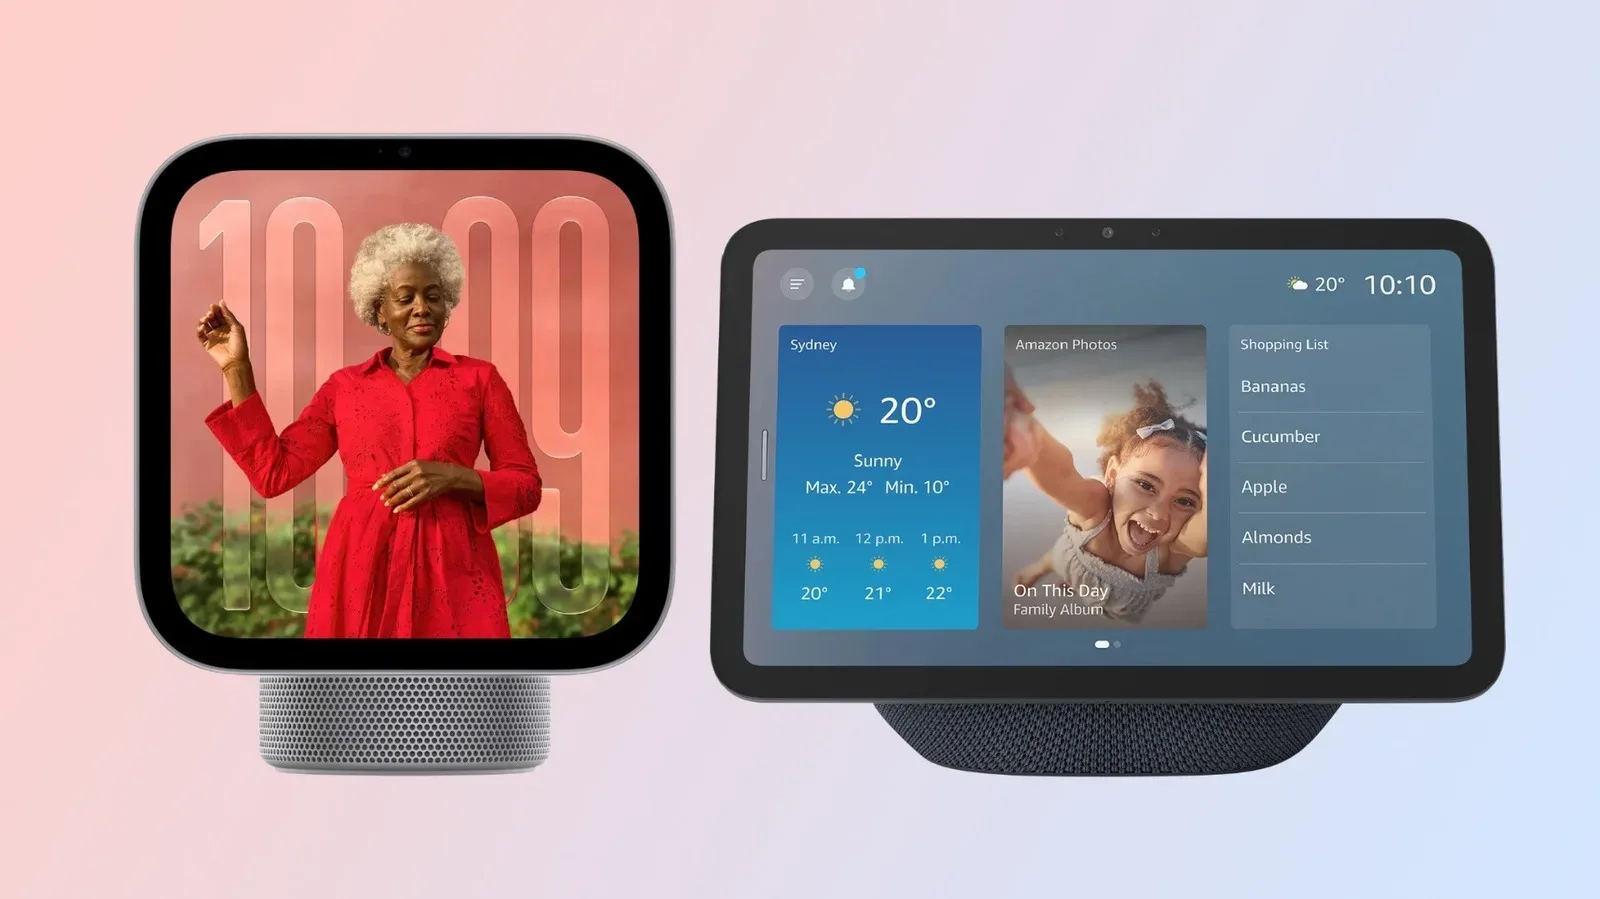
Anyone weighing the device against another smart display should also account for its Apple-device requirement and mounting choices. A related comparison of the platform and its rival is available in this breakdown of Apple HomeView and Amazon Echo Show differences.
Requirements before the kitchen becomes the control room
HomeView’s most integrated features require an iPhone or iPad. The mobile device needs iOS 27.2 or later, must be connected to the home Wi-Fi network and should be signed in with the Apple account intended for HomeView. The home also needs to be added in the Home app.
These requirements matter because HomeView setup relies on proximity pairing. After the hub is powered, a Hello screen appears. The user unlocks the iPhone or iPad, holds it near HomeView and follows the on-screen setup process. Keeping both devices on the same Apple account is not just tidiness; it is part of how the handoff and connected-home experience is organized.
Basic setup checklist
- Update the iPhone or iPad to iOS 27.2 or newer.
- Connect that device to the home Wi-Fi network.
- Sign in with the Apple account intended for HomeView.
- Confirm the home is present in the Home app.
- Connect HomeView with its USB-C cable and power adapter.
- When the Hello screen appears, bring the unlocked iPhone or iPad close and complete the prompts.
For a buyer who only wants an occasional recipe screen, those dependencies are the real decision point. The device’s cooking view is most useful when it is part of an existing Apple household rather than a detached countertop gadget. Conversely, someone already invested in that setup may find that recipe handoff is a more natural extension of habits they already have.
Price and placement: the screen is only part of the purchase
HomeView is listed at $299 and is available as a self-standing speaker in four colors or as a wall-mountable unit in Space Gray or Silver. The two forms point to very different kitchen setups. The self-standing version is the direct option for a counter or shelf. The wall version can free up workspace, but it brings additional hardware and installation considerations.
Wall-mounted HomeView models require a separate mount. Apple currently offers two options. Schneider Home’s hardwired AC mount costs $79.95. It has a cordless finish, though professional installation is recommended. The Power Mount USB-C Wall Connector costs $59.99 and can be installed by the buyer, but it requires a power adapter rated at 20W or higher, sold separately.
Apple also offers a 40W Dynamic Power Adapter when purchasing a wall-mountable HomeView. A hardwired Power over Ethernet mount is planned but is not currently available.
Power over Ethernet, or PoE, is a wired arrangement that can deliver power and a direct internet connection through Ethernet cabling. For a permanently located home display, that could be relevant to people planning a more integrated installation. But it should not be treated as a present-day buying option for HomeView, because the mount has not yet arrived.
Who the recipe feature is for
Show Recipe mode is most compelling for cooks who routinely use web recipes and want a stable, more readable guide than a handheld phone provides. It is especially suited to multi-stage dishes where ingredient preparation, sequential instructions and timed oven or stovetop steps need to be kept separate. The interface does not eliminate the need to read a recipe critically or prepare ingredients in advance, but it can make the original web page less of an obstacle while the cooking is underway.
The broader lesson is that the best smart-display feature is often not the flashiest AI command. It can be a narrow interface that removes friction at exactly the point someone needs both hands and a little attention. HomeView’s recipe layout is that kind of feature: Safari information, reorganized into a format intended to survive the far less forgiving boss battle known as dinner.