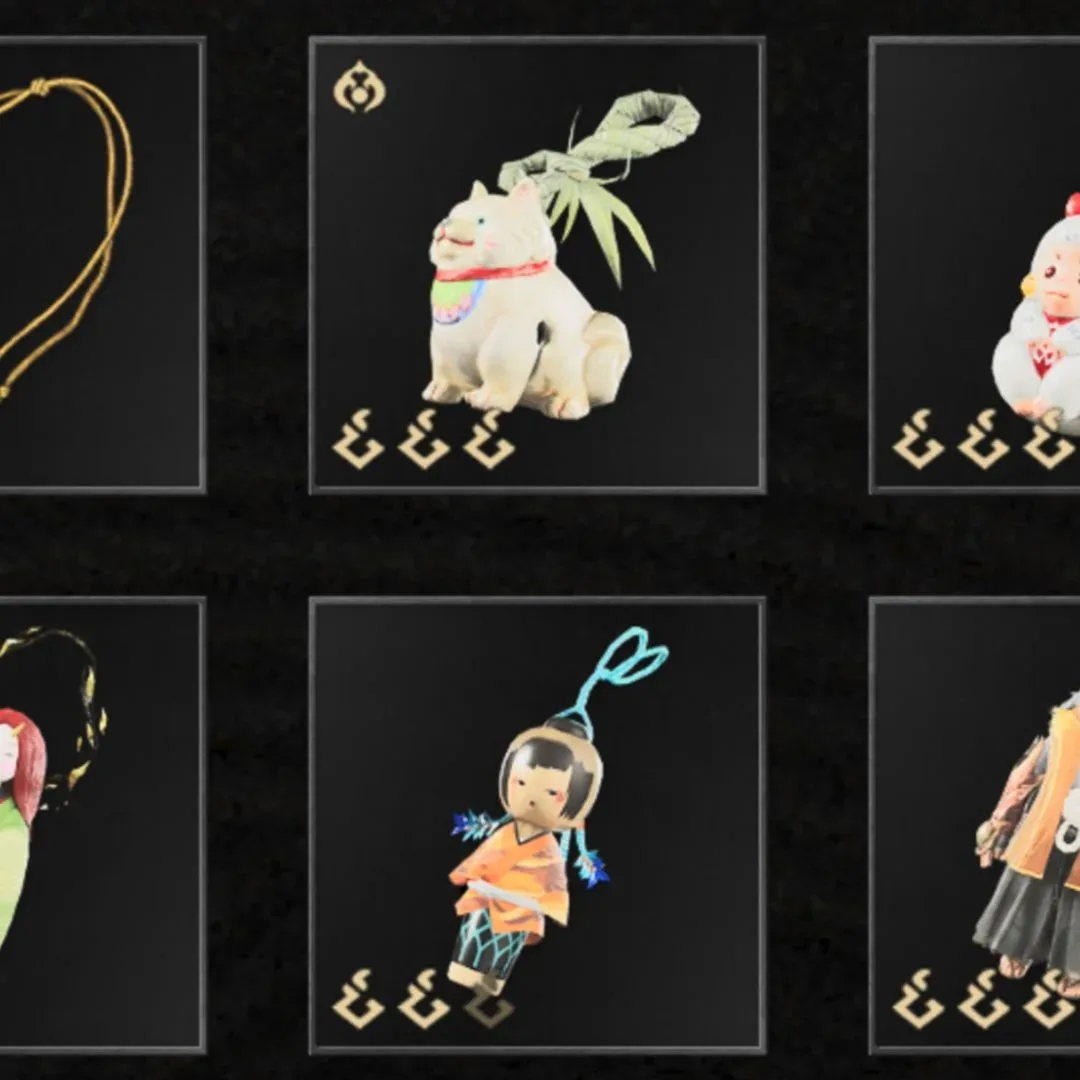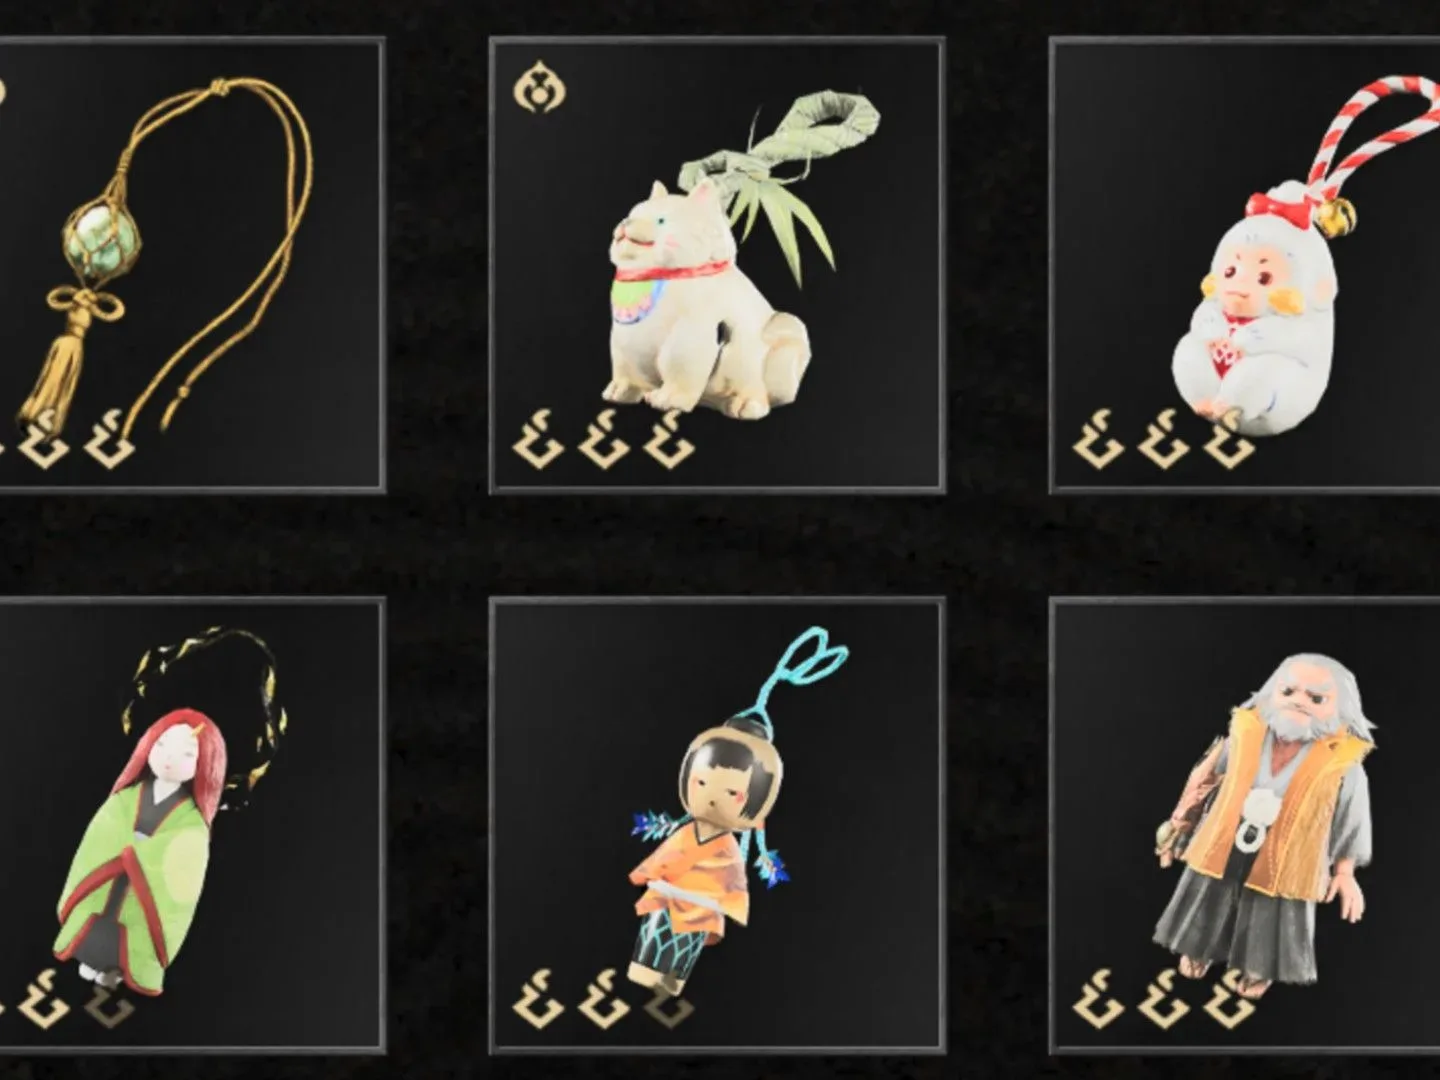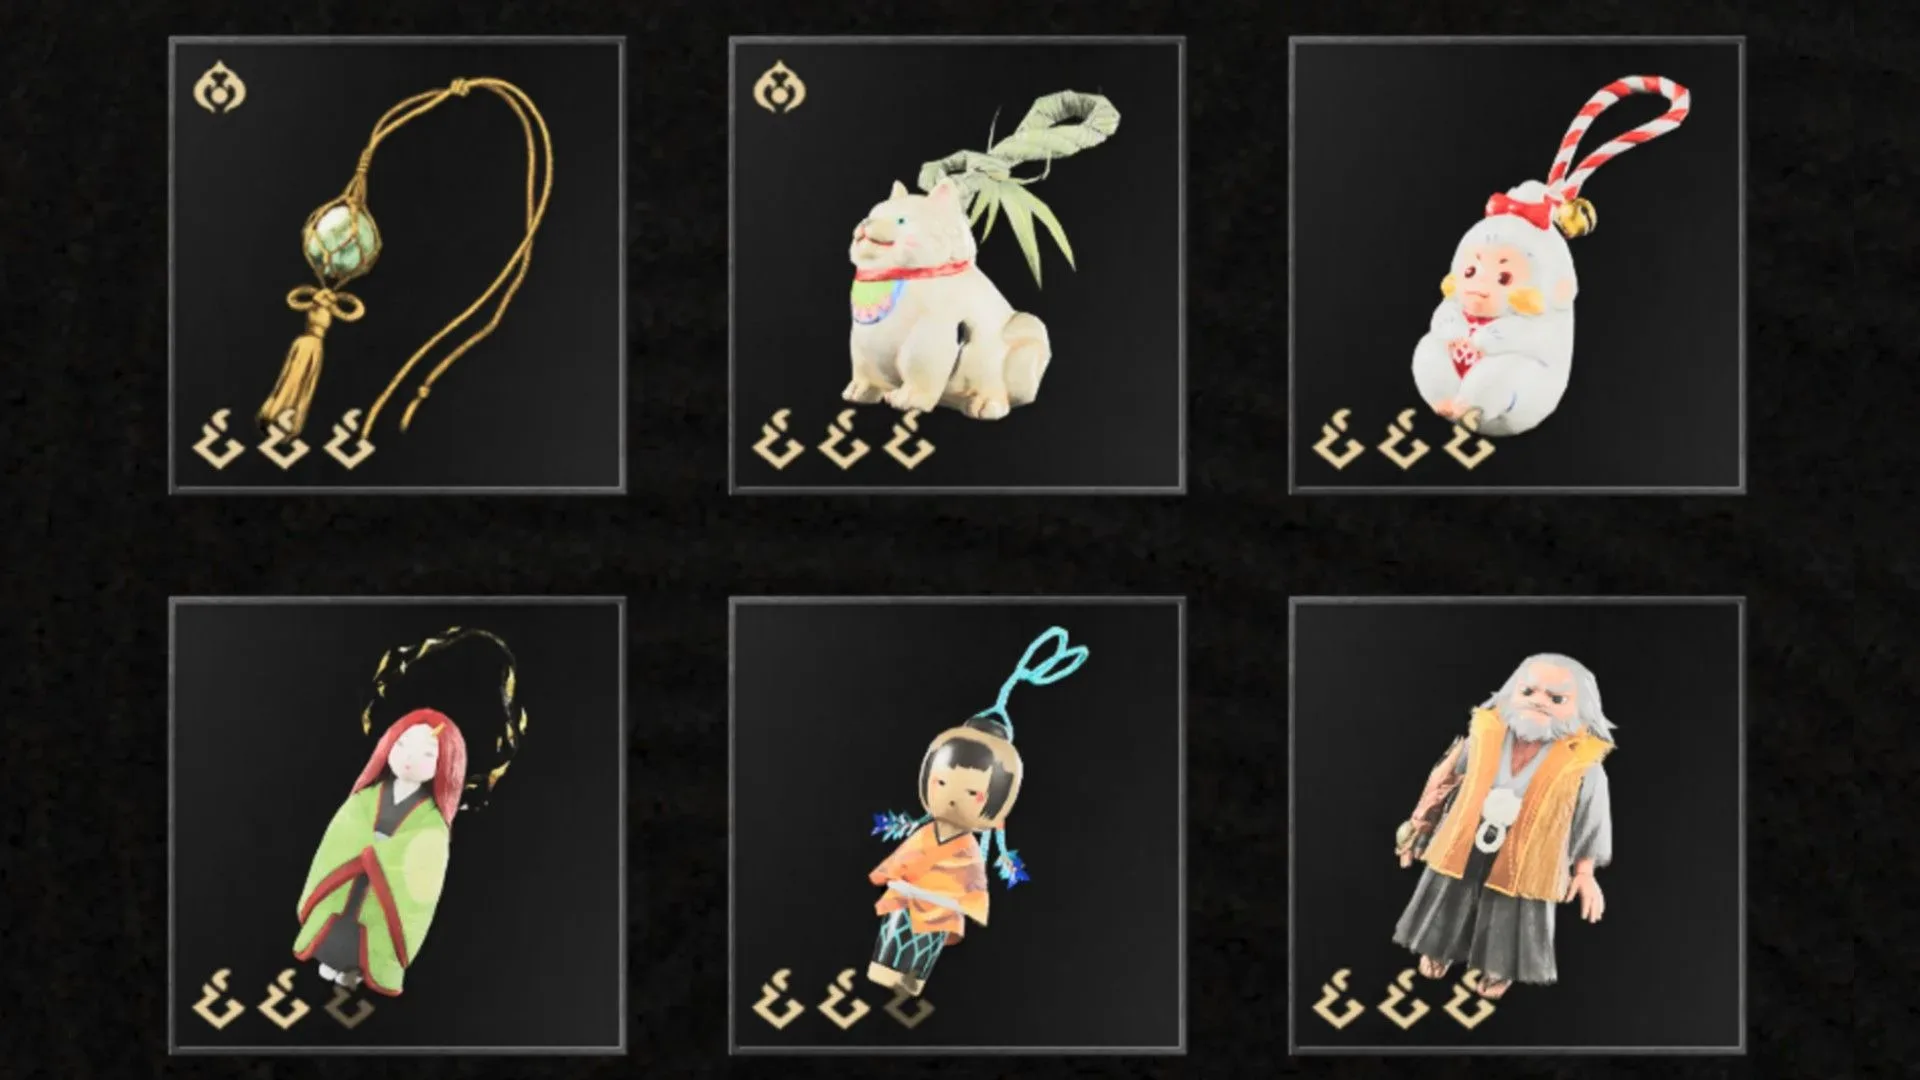
Charms in Onimusha: Way of the Sword are one of those systems that can briefly make a player wonder whether they have missed an entire menu, misplaced an important button prompt, or angered a demon with poor administrative standards. The game introduces their usefulness early: these items can improve attributes such as healing effectiveness and attack power. It also establishes that Enma’s Hall is important for developing them.
The confusing part is that the obvious places to check are not where Charms are actually equipped. Neither Enma’s Hall nor a Spirit Mirror is the place to put a Charm into an active slot. Instead, equipping is handled through the pause menu. Once that distinction clicks, managing Charms is much simpler—and notably more flexible—than it may first appear.
Where to equip Charms in Onimusha: Way of the Sword
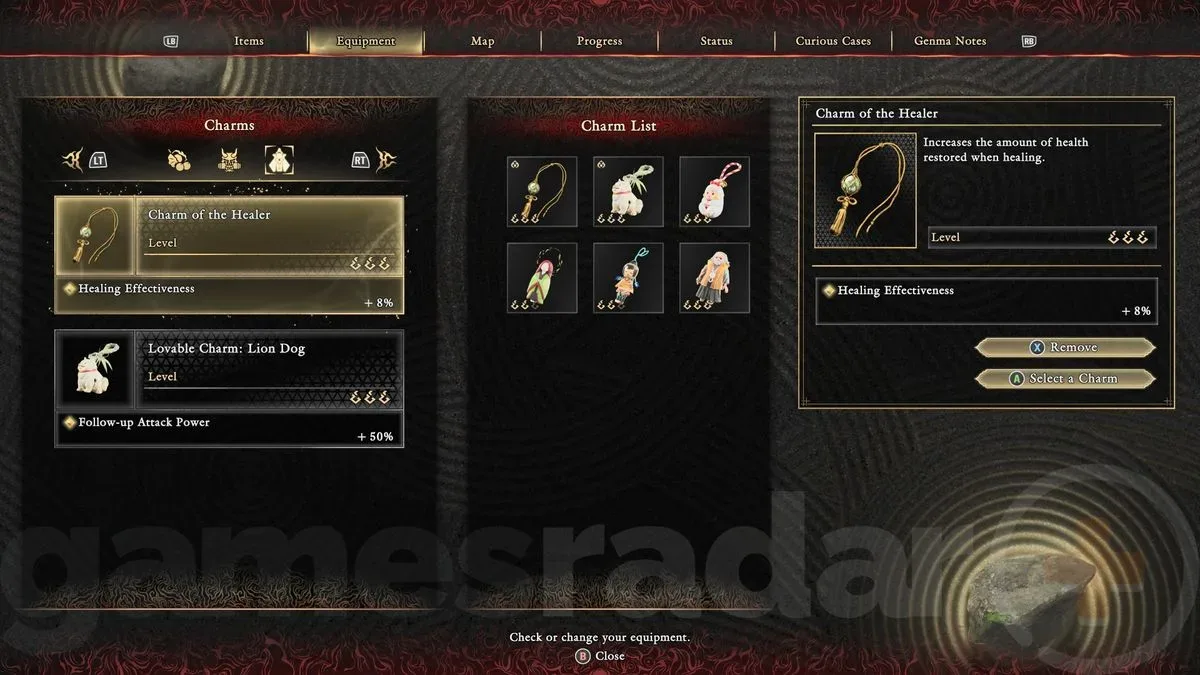
To equip or replace a Charm, open the pause menu, move to Equipment, and then select the Charms tab.
- Pause the game.
- Navigate to Equipment.
- Open the Charms tab.
- Select an available Charm slot.
- Choose the Charm you want active, or swap it for another one.
That is the entire equipping process. It is easy to overthink because the game separates two closely related actions: equipping and upgrading. The Equipment menu is for the first action only. If a Charm is ready to be worn, that is where it goes; if it needs to be strengthened, players need to visit Enma’s Hall instead.
Spirit Mirrors do not serve as Charm-equipping stations either. They may seem like a logical stop because they are significant game-world interaction points, but they are not part of the Charm loadout workflow. If the goal is to change the bonus currently applied to the character, pause the game and head directly for Equipment.
Enma’s Hall upgrades Charms, but does not equip them
Enma’s Hall remains important, just for a different reason. This is where Charms can be powered up. In practical terms, think of Enma’s Hall as the workshop and the pause-menu Charms tab as the dressing room. One improves the item; the other decides whether the item is currently being used.
Keeping those functions separate has a useful upside. A player does not have to wait until reaching a particular hub or checkpoint to change an equipped Charm. Once Charms have been obtained, they can be swapped from the pause menu whenever a different effect looks more appropriate.
That means a healing-oriented choice can be active when survivability feels more valuable, while an attack-oriented choice can take its place when damage is the priority. The available information confirms boosts such as better healing effectiveness and increased attack power, but it does not yet establish a full list of every Charm, their exact effects, or all of their locations. It is best not to assume that every Charm follows the same upgrade path or fills the same role until those details are established.
The practical routine is straightforward:
- Use Enma’s Hall when it is time to improve a Charm.
- Use Pause Menu > Equipment > Charms when it is time to equip or swap one.
- Do not spend time hunting through Spirit Mirror options for a Charm slot.
It is a modest menu quirk, but it changes the rhythm of preparing for encounters. A loadout adjustment is not a lengthy detour. It is a quick pause-menu decision, which is much kinder than a system that demands a return trip every time a player changes their mind.
How many Charms can be equipped?
At first, only one Charm can be equipped. That initial limit is important: acquiring several useful-looking Charms does not mean they can all be activated at once. Early decisions are therefore about choosing the single benefit that best fits the player’s immediate needs.
A second slot can be unlocked later. Progressing through the game and obtaining enough Way of the Sword Power Stones allows the relevant Basic Skill to be unlocked, increasing the Charm capacity from one to two.
Two slots may not sound like an overflowing jewelry box, but it creates a meaningful change in how the system can be approached. Instead of choosing exclusively between offense and recovery, players can potentially pair their priorities. The exact best combination will naturally depend on which Charms have been acquired and upgraded, but the extra slot makes experimentation more worthwhile.
Until that Basic Skill is available, avoid treating the first Charm choice as permanent. The pause-menu access means the active selection can be changed without having to make a ceremonial pilgrimage through every room in search of the correct supernatural clerk.
Best Charms to prioritize so far
Among the currently identified options, two Charms stand out as strong priorities: the Charm of the Healer and the Lion Dog.
Charm of the Healer
The Charm of the Healer is recommended for its healing-focused benefit. Since healing effectiveness is one of the stat categories Charms can enhance, this is an especially sensible choice for players who want more value from recovery. It is also a broadly useful kind of effect: a stronger healing option can remain relevant even when the rest of a loadout changes.
With only one slot available early on, a healing-oriented Charm is a clear, understandable pick when the goal is greater consistency rather than maximizing attack power. Once the second slot is unlocked, it may become an appealing partner for a more aggressive option.
Lion Dog
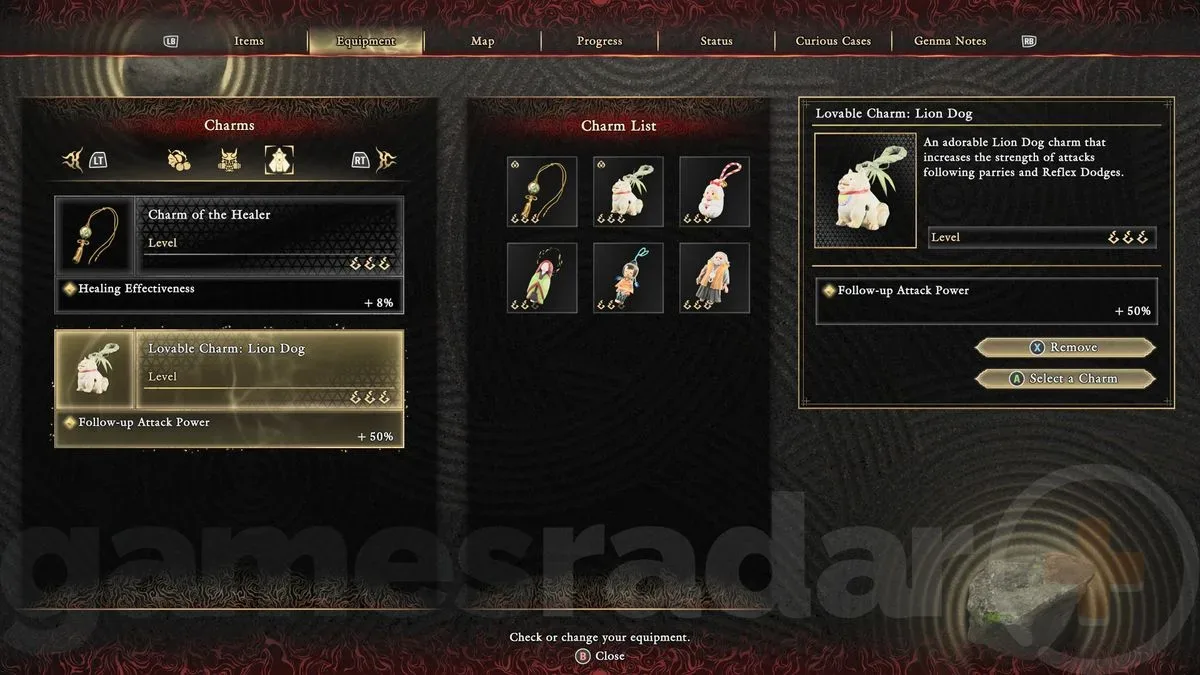
Lion Dog is another recommended Charm, but there is a crucial limitation: it is a pre-order bonus. Players who do not have it should not plan their broader Charm strategy around its presence. Its status also makes it different from a normal collectible or progression reward; it is not simply a case of looking in a different area or spending additional resources.
For players who do have Lion Dog, it is worth considering when deciding which Charm deserves a slot and which items receive upgrades at Enma’s Hall. For everyone else, the Charm of the Healer remains the clearest identified recommendation among the currently named options.
A simple Charm-management checklist
Because the game divides the system across menus and locations, a short checklist can prevent the usual confusion:
- Need to activate a Charm? Pause the game, go to Equipment, then Charms.
- Need to replace an active Charm? Use that same Charms tab in Equipment.
- Need to level a Charm up? Return to Enma’s Hall.
- Looking at a Spirit Mirror? It will not equip Charms.
- Still limited to one slot? Continue progressing and collect enough Way of the Sword Power Stones for the Basic Skill that unlocks slot two.
This division is worth remembering while moving through the game’s other systems. Equipment management in an action game is often most helpful when it stays out of the way, and pausing to make a targeted swap is far less disruptive than retracing a route. Anyone who has endured the social diplomacy of the unwritten rules of couch multiplayer will appreciate any menu system that makes one thing uncomplicated.
What is still unknown about the full Charm roster
Not every Charm and location has been identified yet. The confirmed details establish how to equip them, where to improve them, the early one-slot limit, the eventual second slot, and two presently recommended choices. They do not yet provide a complete catalog of Charm effects, upgrade requirements, or pickup locations.
That uncertainty matters when deciding where to spend favor. Rather than assuming an early selection is unquestionably the final answer, it makes sense to prioritize the options with clearly useful benefits—particularly healing support—and revisit the loadout as more Charms are found. Enma’s Hall is the place to invest in upgrades, while the pause menu makes testing the resulting choices comparatively painless.
For now, the key lesson is mercifully direct: Charms are equipped from Pause Menu > Equipment > Charms. Enma’s Hall improves them. Spirit Mirrors do not equip them. Start with one slot, pursue the Basic Skill for a second through Way of the Sword Power Stones, and consider the Charm of the Healer as an early priority. It is not a grand riddle of the Oni—it is just a menu tab hiding in plain sight.
And if all this menu navigation inspires a wider urge to keep game-related gear organized, the same basic principle applies outside the game: give each item a clear home, as outlined in this guide to storing retro games so a collection stays playable.