A contactless payment failure has a special talent for making a perfectly ordinary errand feel like a low-budget tech boss fight. Google Wallet is intended to make physical cards less essential: unlock the phone, hold it to the terminal, and let the default payment card do its job. But that simple moment depends on several separate systems agreeing at once. The phone needs the right radio switched on, Wallet needs a finished card setup, the bank may need to approve or verify the card, and Android must meet security conditions for tap-to-pay.
That distinction matters because the best fix depends on where the process stops. A phone that does nothing at the reader has a different likely cause from a card that cannot be added, while an ID pass that will not scan has its own requirements altogether. Rather than repeatedly tapping the terminal or deleting cards at random, work through the relevant layer first.
First, identify the kind of Google Wallet failure
There are four broad problem types:
- The phone will not react at a contactless terminal. This commonly points to NFC being disabled, a case disrupting the connection, a payment setup issue, or a required on-screen check.
- A card will not add or remains unfinished. Bank support, card eligibility, approval, and a missing verification step are the important checks.
- The phone is blocked from contactless payments despite a card being present. Screen-lock and Play Protect certification requirements can prevent payments.
- A digital ID will not add or read. This can involve regional eligibility, account type, Android version, NFC, passport-chip reading, and the one-device limit.
A declined transaction can also be separate from the phone itself. If Wallet appears ready but a payment unexpectedly fails, it is sensible to ask the bank whether there is a problem with the underlying card or account. A virtual version of a card cannot bypass a bank-side restriction.
When the terminal does nothing: check NFC and payment readiness
NFC stands for Near Field Communication. It is the short-range technology that lets a phone communicate with a contactless payment terminal. If NFC is off, the phone cannot complete a tap payment regardless of whether Google Wallet and the card details look correct.
Start in the phone’s Settings app and search for “NFC.” The precise menu varies by device. On a recent Samsung Galaxy phone, it can be found under Connections > NFC and contactless payments. Make sure the NFC control is enabled.
Then open Google Wallet, select the profile picture, and choose Payment Setup. This is the useful place to look for outstanding requirements, including a card that has not fully completed setup. A card listed in the app is not necessarily ready to make contactless payments; the setup status is what counts.
Use the reader deliberately, not theatrically
With the phone unlocked and the payment card ready, hold the back of the phone against the contactless reader for a few seconds. Wallet can use the default card without requiring the app to be opened first. If a different card is needed, open Wallet and swipe to it before paying.
Do not treat the terminal like it is a motion-controlled game. Quickly waving the phone over it may not leave enough time for the NFC connection. Instead, hold the phone in place and, if needed, shift it slightly. NFC antenna placement differs between devices, so the best contact point may not be exactly where expected.
Also watch the handset’s screen. The first use of a contactless card, or another security event, may require verification or an instruction before the payment can proceed. Clearing that prompt is more productive than trying the same tap again.
The phone case may be the surprisingly literal obstacle
Thick cases, metal cases, and cases with slots for physical cards can interfere with the reader. The cleanest test is straightforward: remove the case and try again when there is no pressure from a queue behind you. If contactless works bare but not with the case attached, the case is the cause rather than Wallet or the bank.
This is also a reason to keep a physical payment card accessible. It is not an admission that mobile payments have failed forever; it is a practical fallback when a setting, verification prompt, case, terminal, or bank-side decision needs attention.
When a bank card will not add or will not verify
Wallet’s ability to store a card does not automatically mean every physical bank card can be used for tap-to-pay. The bank has to support Google Wallet, and the particular card or account must be eligible. Even an eligible card may need the bank’s approval or an additional verification step.
If adding a card fails or Wallet says setup could not be completed, contact the bank or card provider first. That message can mean the bank has not accepted the request. Check the provider’s support information for Wallet compatibility and whether the exact account is eligible.
Some banking apps and online banking pages offer an Add to GPay option. Where it is available, that route can provide a bank-approved way to submit the card to Wallet instead of entering its details through the Wallet app.
Verification is a separate stage, not a minor detail
Bank verification may arrive by text message, but it does not always do so immediately. If a code does not arrive, confirm that the phone contact details held by the bank are current. Older accounts can carry outdated numbers, which only becomes obvious when a security check is triggered.
Request another code after checking the relevant message folders, including spam or filtered folders. Depending on the bank, other verification methods may be offered, including a phone call or verification through bank account codes. Once the bank-side step is done, return to Wallet and use Finish Setup to clear any remaining actions.
The practical lesson is to avoid diagnosing a verification failure as an NFC problem. NFC only matters when the phone is trying to talk to a terminal. A card that never completed bank approval will not be repaired by toggling NFC repeatedly.
Security requirements can stop tap-to-pay before it begins
Google Wallet places security conditions on devices used for contactless payments. That may be inconvenient for people who prefer heavily customized Android installations, but it is directly tied to protecting payment information on a device that may be lost or accessed by someone else.
One major requirement is Google Play Protect certification. To inspect it, open the Play Store, tap the profile icon, then go to Settings > About. The Play Protect certification area should say Device is certified. If the device is not certified, contactless payments are blocked.
Available Android system updates and Google Play services updates may help address a certification issue. This is worth checking before taking more disruptive steps, because it targets the condition Wallet is actually evaluating.
A screen lock is also required. A PIN, pattern, password, or biometric method can satisfy this requirement, but the device cannot be left without a meaningful lock method. After restarting, the phone may need to be unlocked before a contactless payment can be made.
Modified software changes the compatibility question
An unlocked bootloader or a custom Android ROM can interfere with the security checks needed for contactless payments. This is not necessarily a sign that the phone is broken; it means the device’s software configuration may not meet the checks Wallet relies on. The practical next step is to consult the guidance for that specific configuration rather than assuming every generic Wallet fix applies.
There are explicit limits in some cases. GrapheneOS, for example, does not support Google Wallet NFC payments. A phone running it therefore cannot make Google Wallet contactless payments. Before moving to a privacy-focused or customized setup, it is worth deciding whether phone-based payment is a feature you are prepared to give up.
Digital ID setup has its own checklist
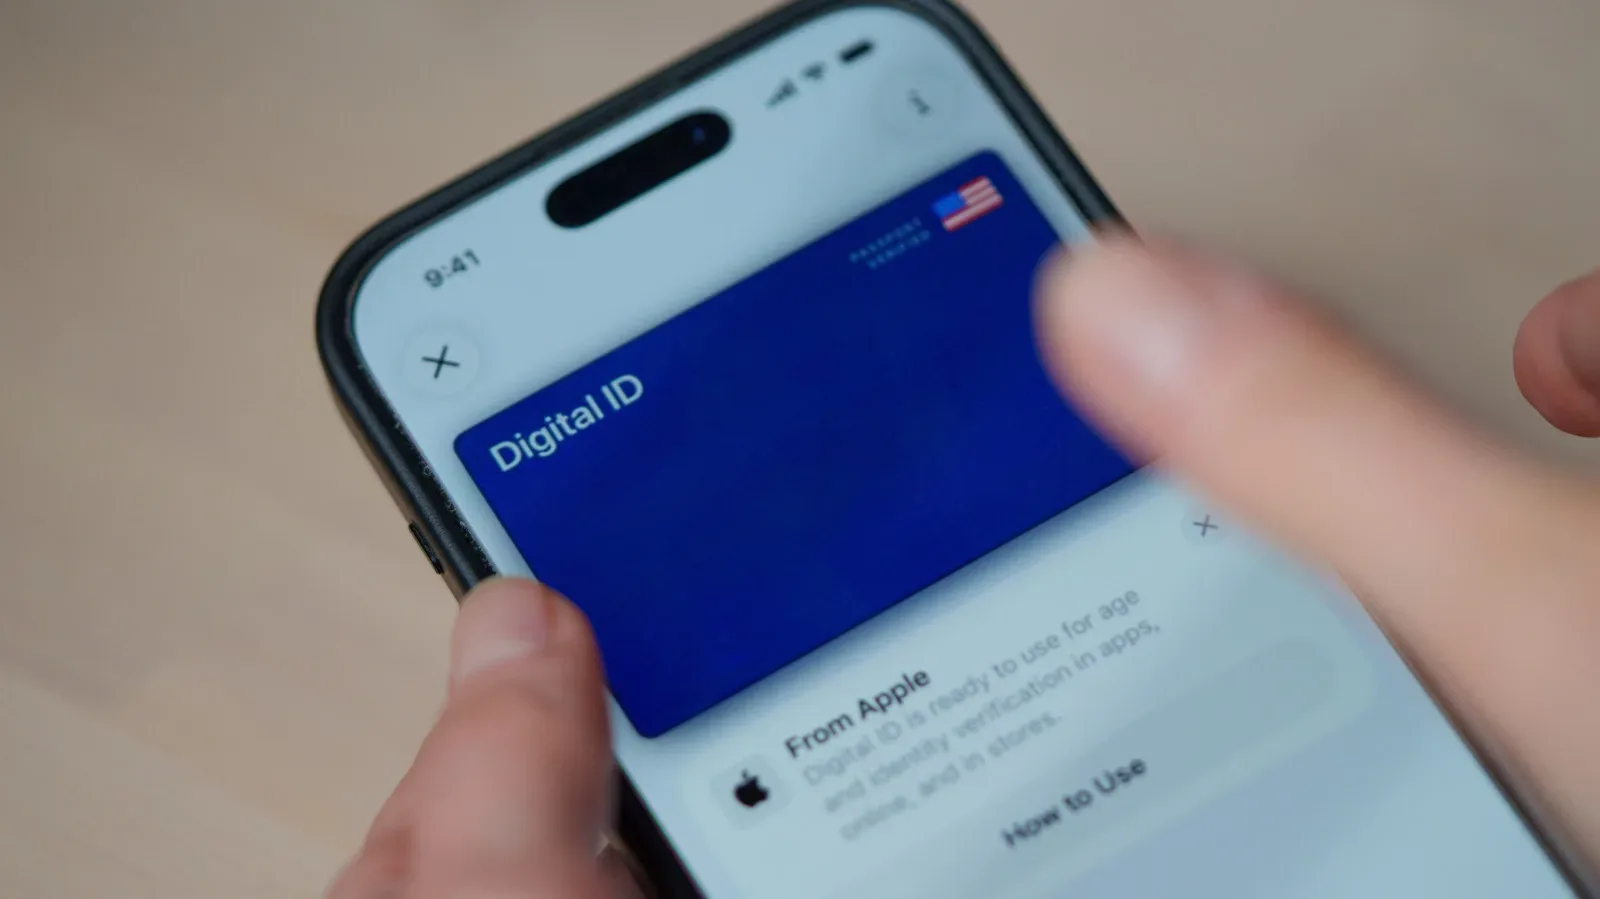
Digital IDs are not simply another kind of payment card. Eligibility depends both on the phone and on whether the relevant country has enabled support for the ID. The device needs Android 9 or later, NFC enabled, and a screen lock. The account requirement is also specific: a personal Gmail account is needed; a business or custom account will not work for this setup.
That means a failed digital-ID attempt may have nothing to do with the passport or ID document. Check the operating-system version, NFC setting, screen lock, account type, and availability for the relevant country before repeatedly trying to scan the document.
Reading a passport chip requires careful positioning
When a passport is part of the process, the phone needs to read its NFC chip cleanly. Remove the phone case, lay the passport flat, and slowly move the back of the phone over the cover or photo page. A slow, deliberate motion is preferable to hurriedly passing the phone over the document.
Additional identity checks, such as recording the user’s face, can be required. The ID pass also works on one device at a time. If the pass has already been added to another phone, remove it there before trying to add it to the current device.
Even after a pass has been set up successfully, retain the physical ID. Digital IDs are not accepted everywhere, so the physical document remains necessary in situations where the digital alternative is unavailable or not recognized.
A compact troubleshooting order that avoids wasted effort
- For an in-store tap failure: unlock the phone, check Payment Setup, confirm NFC is on, hold the phone steadily to the reader, and test without an obstructive case.
- For a card that will not add: verify bank and card eligibility, look for the bank’s Add to GPay route, and complete every Wallet setup prompt.
- For a missing verification code: check contact details held by the bank, inspect message folders, request another code, and ask about alternative verification methods.
- For a security block: confirm a screen lock is active, inspect Play Protect certification, and install available Android and Google Play services updates.
- For a digital ID issue: confirm Android 9 or later, NFC, screen lock, personal Gmail use, regional availability, clean passport-chip scanning, and that the pass is not active on another device.
The underlying theme is that Google Wallet is not one single switch. It is a chain involving hardware, Android security, Wallet setup, bank authorization, and—in the case of IDs—document and regional rules. Narrowing down which link has failed turns a frustrating tap into a manageable check rather than a mystery.
For another example of how a seemingly simple hardware choice depends on practical setup rather than a single blanket answer, see the case for choosing wired or wireless Xbox controllers based on your room.