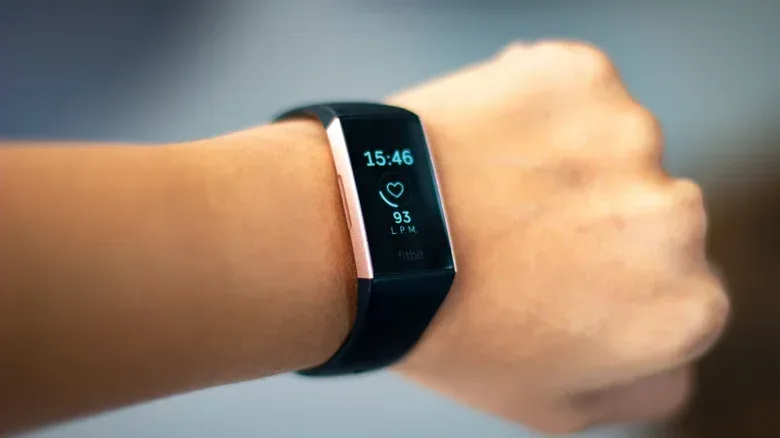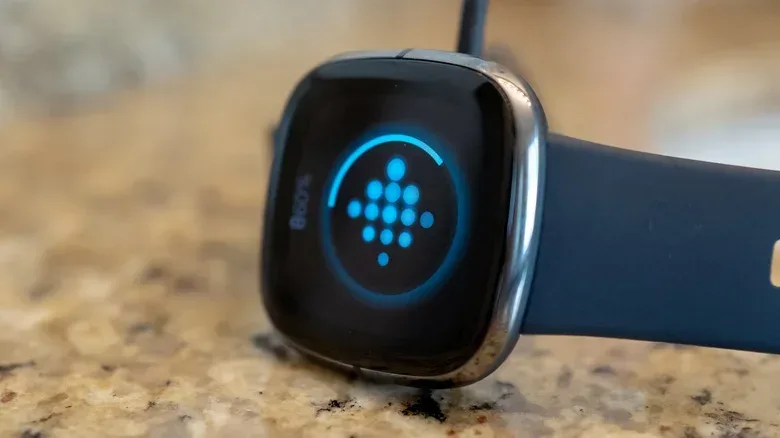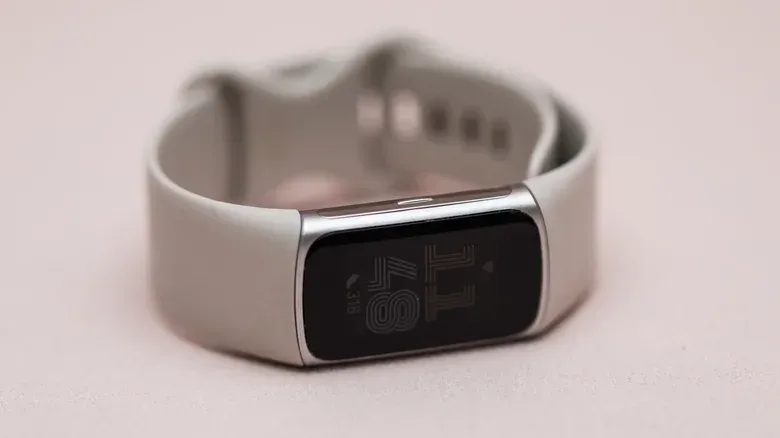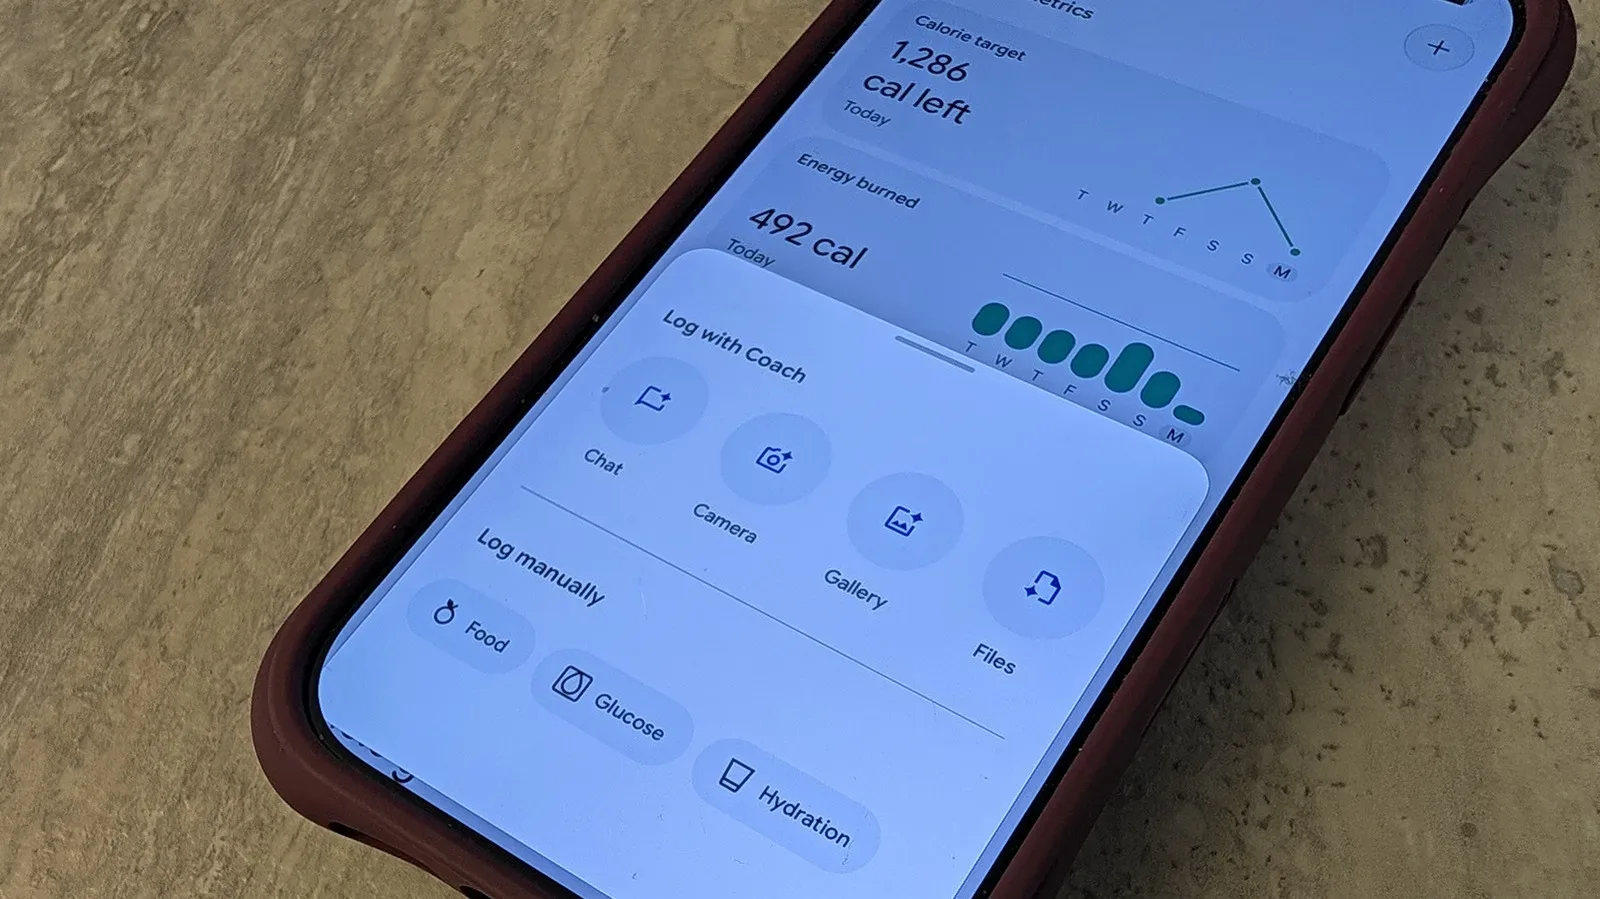
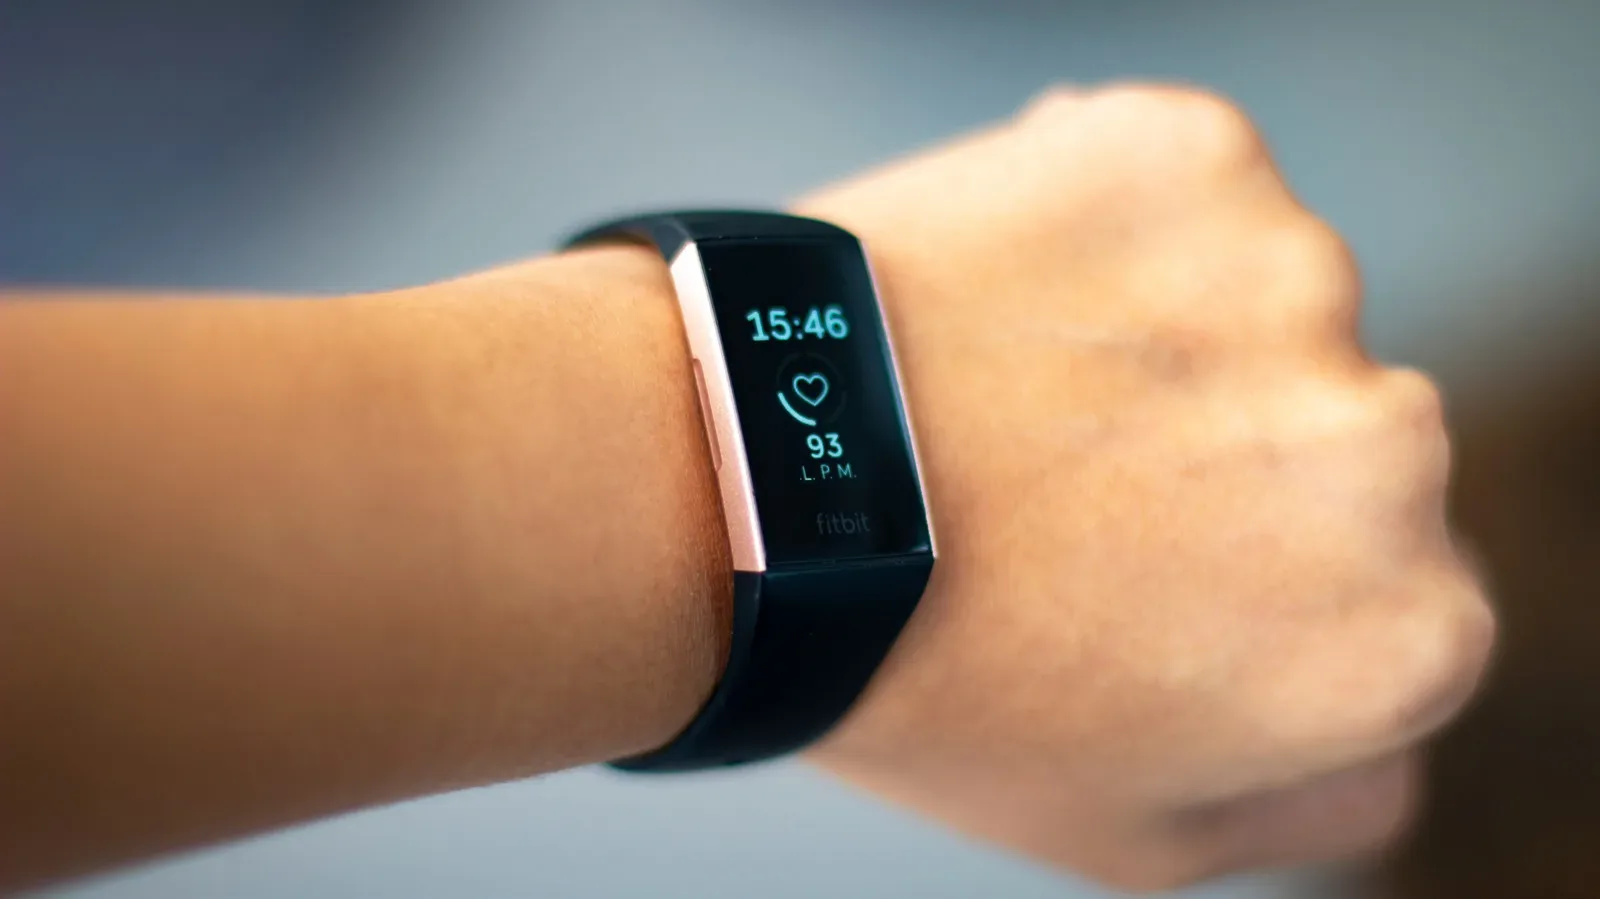
A Fitbit that will not sync, has stopped registering activity, or appears frozen can make a simple wearable feel remarkably complicated. The key is not to reach for a factory reset first. A restart and a factory reset serve very different purposes: one refreshes the device; the other erases local information and returns it to an out-of-box state.
That distinction matters most when the tracker contains activity that has not yet reached the Google Health app. A factory reset may be the move that gets a seriously misbehaving device usable again, but it is also an irreversible cleanup step for the information still held on the Fitbit itself. Treat it as a last-resort repair tool or a necessary privacy measure before selling, gifting, recycling, or otherwise passing the wearable along.
Restart first; reset only when the situation calls for it
A restart is a refresh. It is comparable to powering a device off and back on: its purpose is to clear a temporary problem without deliberately removing the user’s setup and locally held data. The method differs by Fitbit model, but a hard restart commonly involves holding one or more buttons until the screen resets.
It is the sensible first response when a Fitbit is failing to sync with the Google Health app or is not recording data as expected. A hard restart can also be useful when the display does not respond to taps or swipes, or when the device is stuck on one screen.
A factory reset, by contrast, removes unsynced settings and data from the wearable and restores its original state. In plain terms, it is less “try turning it off and on again” and more “wipe the device and begin pairing again.” It can be effective where a restart has failed, including a severe freeze or boot loop, but it should not be the routine answer to a minor sync hiccup.
Good reasons to perform a factory reset
- You are giving the Fitbit to another person or selling it. Resetting it prevents your locally stored information and personal settings from traveling with the device.
- You are recycling a non-functioning tracker. Clearing the wearable is a worthwhile data-privacy step before safe recycling.
- A major problem survives restarting. If a tracker is frozen, trapped in a boot loop, or otherwise cannot return to normal operation after a restart, a factory reset is an appropriate final troubleshooting measure.
The practical rule is straightforward: synchronize what you can before erasing anything. That helps preserve the information that matters, while also making the reset a deliberate choice rather than an accidental loss of recent activity.
What a Fitbit factory reset actually removes
The reset affects information stored locally, meaning on the tracker rather than in the companion app. That can include unsynced activities, morning alarms, goals, notification preferences, and other settings that have not been transferred off the device.
Information already synced to the Google Health app is not deleted by resetting the Fitbit. Steps, workouts, and other daily records that successfully reached the app should remain available there after the wearable has been wiped. This is why the last successful sync is so important: it divides what is safely retained in the app from what is still at risk on the tracker.
Related coverage includes How to Factory Reset a Fitbit Before Selling It or Fixing Major Problems.
After the reset, expect to set the wearable up again and begin the pairing and syncing process from scratch. Tracking may not immediately look normal again, so allow time for the device to resume accurately recording data.
Before a reset, check whether the data you care about has already synced. A factory reset is designed to clear what remains on the Fitbit itself, not to rescue unsynced records.
How to reset a Fitbit with a screen
For many Fitbit models with displays, the controls are located in the on-device settings menu. Navigate through:
- Settings
- About
- Device Info
- Clear User Data or Factory Reset
The wording can vary, which is important: “Clear User Data” and “Factory Reset” represent the same kind of consequential action here, not a harmless refresh. The tracker may ask for a confirmation press or for you to hold a button on the screen. Once the process completes, a slight vibration and the return of the Fitbit logo indicate that the reset has finished.
Fitbit Edge
On the Fitbit Edge, the menu path is shorter. Swipe down from the top of the screen, open Settings, then choose Clear User Data.
This is also a useful reminder that menu layouts can change between generations. If a familiar sequence does not appear on a different Fitbit, do not assume the reset capability is missing; look for the comparable clear-data or factory-reset option in that model’s settings or support documentation.
Older trackers may require a charger and a physical reset method
Older Fitbit trackers do not all offer a touchscreen menu. Depending on the device, factory reset instructions can involve connecting it to its charger, holding a physical button, or using a paperclip to access a reset point. Those extra steps are model-specific, so it is important not to apply directions intended for one tracker to another.
Fitbit Flex reset steps
The screenless Fitbit Flex is a clear example of the older approach:
- Connect the Flex sensor to its charger.
- Plug the charger into a computer using USB.
- Locate the black reset hole.
- Use a paperclip to press the hole for three seconds.
- Wait for the device to light up and confirm the reset.
The physical reset hole is a technical difference, not an invitation to improvise with any opening on any tracker. Use the documented procedure for the exact model in hand. For discontinued Fitbit devices that still work, the appropriate reset process can be found in online support material or through the Help area of the Google Health app.
Fitbit Air uses a different handoff model
The screenless Fitbit Air does not provide a traditional factory-reset option. Instead, placing it on its charger and holding the back button for 10 seconds—or until the status light flashes white—restarts the wearable.
For a change of ownership, its account-data handling works differently: when a new user pairs the Fitbit Air, the prior account data is cleared automatically. That automatic clearing does not make preparation irrelevant, however. If the tracker is being handed off, manually unpair it from the existing account first.
In the app, select the device from the top-left corner. Under System, select Disconnect & reset device. If the Air will not connect to the new phone, remove the old Bluetooth relationship on that phone as well. On an iPhone, that means going to Settings > Bluetooth, tapping the information icon beside the device, and choosing Forget This Device.
That sequence separates two concepts that are often confused. Unpairing ends the link between the wearable and the account or phone; forgetting it in Bluetooth removes the phone’s remembered connection; a factory reset clears data on a device where that option exists. With Fitbit Air, the ownership change relies on unpairing followed by the new owner’s pairing flow rather than a conventional on-device wipe.
A practical decision tree before you erase anything
- Try a restart if the problem is syncing, missing data, a frozen display, or temporary unresponsiveness. It is the lower-impact remedy.
- Confirm the tracker’s model. A screen-equipped Fitbit, a Flex, and an Air do not use the same process.
- Sync first if possible. The app preserves information that has already been transferred; unsynced activities can be erased.
- Choose the reset only for a major unresolved fault or a permanent handoff.
- Set up the tracker again afterward. Pair and sync from scratch, then give tracking time to settle.
The broader lesson is that account-linked hardware needs a clean separation between the physical device and the user who previously owned it. That principle also appears in other setup workflows, including Apple HomeView’s account-based setup approach. For Fitbit owners, the immediate task is simpler: make sure valuable data has synced, use the correct model-specific path, and reserve a full erase for the moments when it is genuinely warranted.