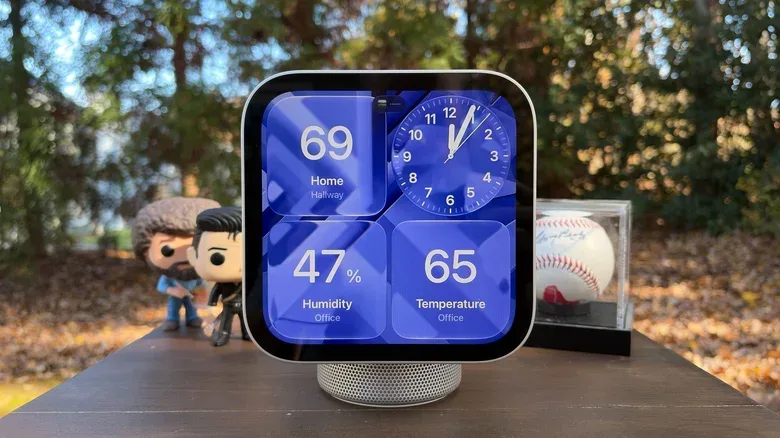
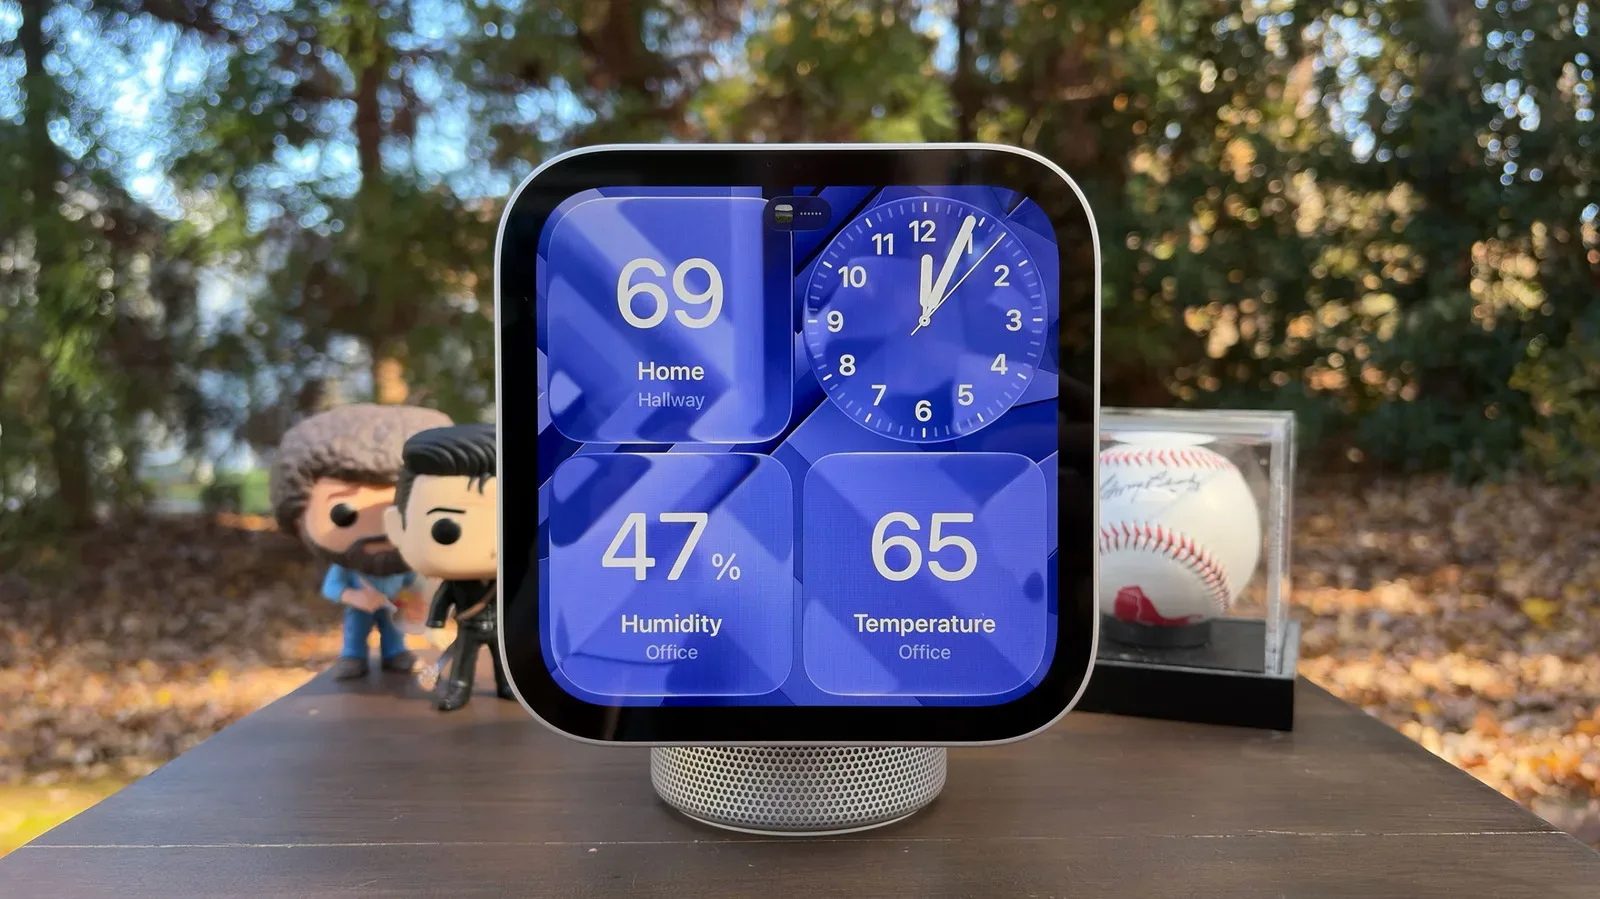
Apple’s HomeView smart display is designed around a slightly different premise from the usual screen that sits in a shared room: it relies on an iPhone or iPad rather than operating as a standalone app platform. That design makes the phone or tablet the starting point for setup, the source of compatible apps and an important part of the device’s privacy model.
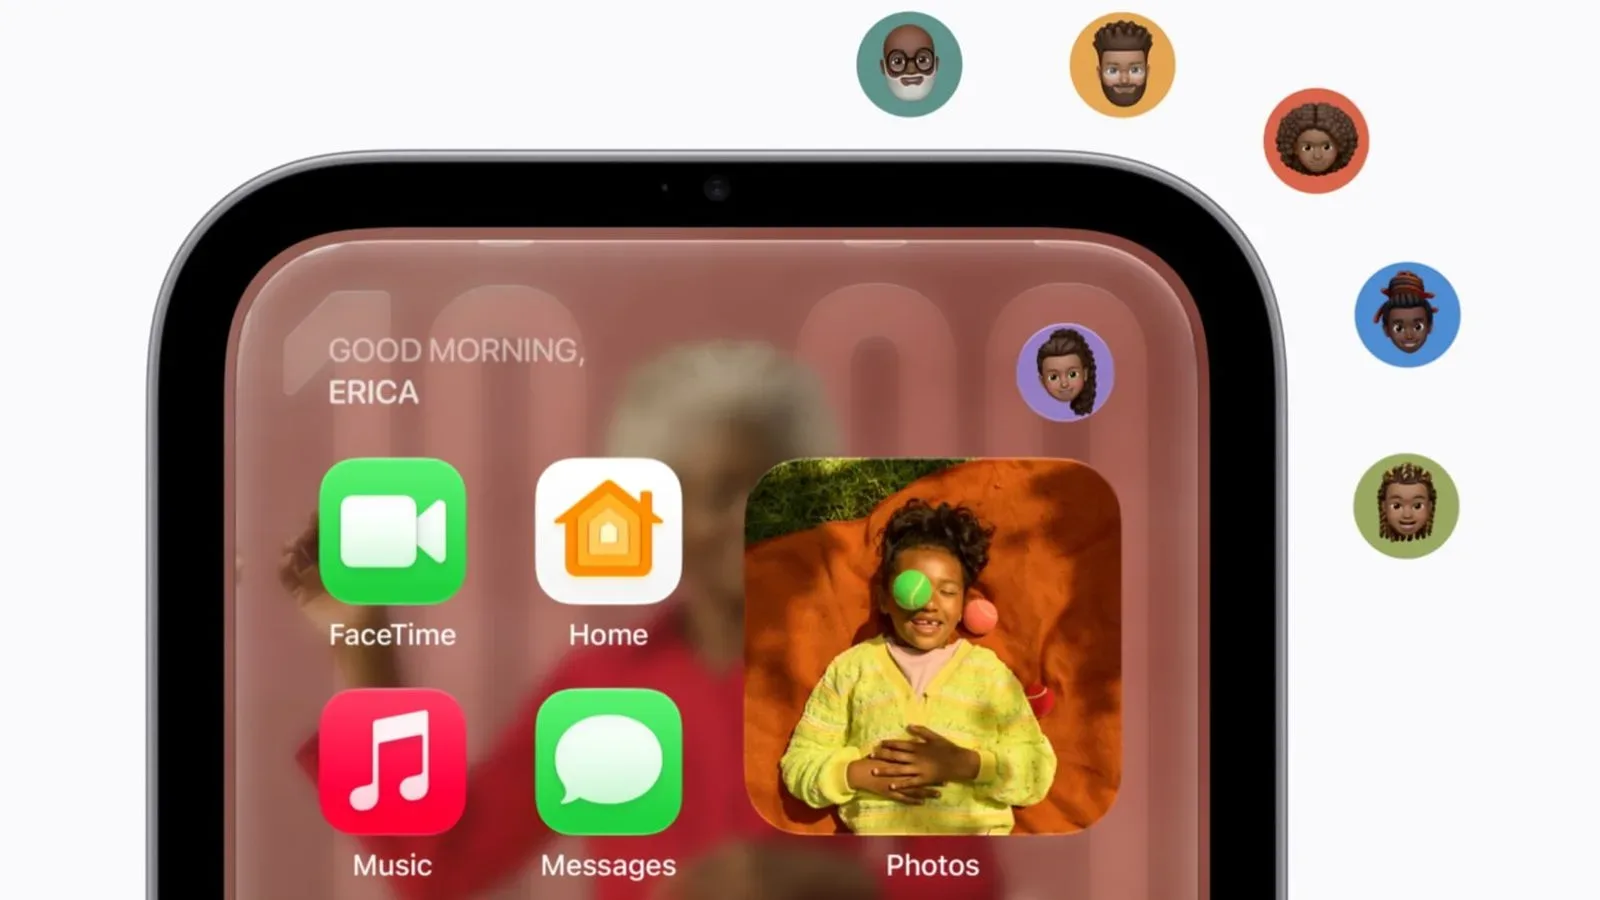
HomeView can mirror compatible apps from a paired iPhone or iPad, in an approach comparable to CarPlay. Apple’s own Calendar, Messages, Reminders and Weather are among the supported core apps. The display is not meant to independently hold a household member’s personal data, however. Messages, calendar reminders and similar information are intended to appear only after the display verifies the person in front of it and confirms that person’s paired iPhone or iPad is nearby.
That is an important distinction for a screen placed in a kitchen, living room or other shared setting. A display that anyone can glance at is useful for general household information, but it can become awkward quickly if one person’s private messages or schedule are simply exposed to everyone else. HomeView’s combination of facial verification and proximity to a paired mobile device is meant to separate a communal screen from a communal inbox.
What is required before pairing HomeView?
HomeView setup begins on an iPhone or iPad. The iPhone must run iOS 27.2, while an iPad needs iPadOS 27.2. A device that is not on the required software may prompt its owner to update during the process.
Apple Intelligence is also central to the fuller HomeView experience. The display uses Siri AI, the newer Apple Intelligence-powered form of Siri, for more conversational and useful responses. The supplied setup details describe it as always listening for Siri requests, so prospective users should understand that voice interaction is not merely an optional decorative extra here; it is one of the product’s main ways of working.
In practical terms: a household should decide which compatible iPhone or iPad will begin the setup, confirm that it has the appropriate operating-system update, and make sure its owner is comfortable with the device’s Siri and Apple Intelligence use. The person setting it up must also be the Resident (Owner) of the relevant Home in Apple’s Home app.
The fast setup method: bring the device close
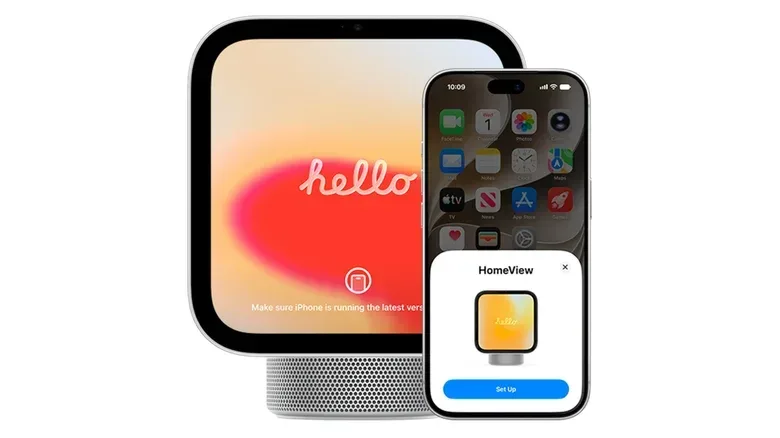
With HomeView switched on, unlock the iPhone or iPad and hold it near the display. A setup card should appear, much like the pairing prompt Apple users may recognize from new AirPods and other nearby Apple hardware. Follow the on-screen directions from there.
The proximity-based prompt is the simplest route, but it is not the only route. If the card does not appear, or it was dismissed accidentally, the manual path uses Apple’s Home and Find My apps to establish the conditions HomeView needs.
Related coverage includes How to Set Up Apple HomeView With an iPhone or iPad.
Manual setup checklist if the card does not appear
First, open the Home app. People who have never used it must create a new Home by tapping the plus icon, selecting Add New Home and naming it. The creator is listed as that Home’s Resident (Owner).
For an existing Home, use the ellipsis button in the upper-right area of the Home app, select the appropriate Home and verify that the setup device’s user is listed as its Resident (Owner). This is not simply a label: the owner role is the permission level identified for adding HomeView and later inviting other household members.
Next, open Find My and check the location-sharing setting. Shared From should say This iPhone or This iPad. If Find My instead offers Use This [device] as My Location, select it. Bluetooth and Wi-Fi should both be enabled before trying again.
Once those checks are complete, power on HomeView if necessary, unlock the iPhone or iPad and place it close to the display. A Set Up screen should then appear on the mobile device.
- Update the iPhone to iOS 27.2 or the iPad to iPadOS 27.2.
- Create or select the correct Home in the Home app.
- Confirm the setup user is the Home’s Resident (Owner).
- In Find My, set location sharing to the iPhone or iPad being used.
- Turn on Bluetooth and Wi-Fi.
- Bring the unlocked iPhone or iPad near the powered-on HomeView.
Why these steps matter: Bluetooth and Wi-Fi are the connections the setup flow explicitly calls for, while the Home and Resident (Owner) details identify the household space and the user authorized to manage it. Find My’s location-sharing selection is another stated prerequisite. If pairing seems to fail before any camera or passcode step begins, these are the settings worth checking instead of repeatedly moving the devices closer together.
Pairing the display and choosing its room
When the pairing prompt appears, the iPhone or iPad will ask the user to center HomeView in the camera frame so it can capture the animation shown on the larger display. It is also possible to choose Enter Passcode Manually, which makes HomeView display a four-digit code instead. The pairing process starts after the framing indicator turns green.
HomeView then needs to be assigned to a Home and a room. Choose the Home first, followed by the room where the display will be used. The room assignment is worth treating as more than a cosmetic label, because it identifies where this particular HomeView belongs within the household’s Home setup.
The display may require a software update as part of setup. Afterward, further prompts offer to match relevant settings from the iPhone, including the Wi-Fi network and Siri voice. Another prompt asks whether HomeView may show personal content such as messages. After the choices are made, an on-screen animation indicates that configuration is taking place.
Users should read that personal-content prompt carefully. The available information does not say that HomeView permanently hosts those messages; rather, personal material is only displayed after the required identity and nearby-device conditions are met. Still, agreeing to show personal content is a meaningful household preference, especially in a room with guests, children or frequent visitors.
Face and voice recognition are the privacy gate
After the initial mobile-device flow, the remaining personalization shifts to HomeView itself. The display requests Face and Voice Recognition setup. These recognition systems are how HomeView can personalize the experience and, crucially, how it can authenticate someone before showing messages and other personal information.
Voice Recognition involves reading several displayed prompts aloud. Facial Recognition asks the person to position their face in the on-screen camera frame and move it as directed, in a process likened to Face ID setup on Apple’s other devices. HomeView then presents a brief feature tutorial. When the Welcome screen appears, setup is complete.
Facial recognition, in this context, means the display uses a face-based identity check to distinguish a recognized user from someone merely standing near the screen. Voice recognition adds another personalized interaction method based on spoken prompts. Neither should be confused with a blanket permission for anybody in the room to see private material: the described system also requires the associated iPhone or iPad to be nearby before personal content is shown.
This layered approach has a clear trade-off. It aims to make a shared display more useful to several people without turning every notification into household information. At the same time, anyone who wants conversational Siri AI responses and individualized content will need to opt into the setup elements that enable those capabilities.
Adding household members: up to six users
A single HomeView supports as many as six users. The Resident (Owner) of the linked Home can invite them from the Home app by selecting the applicable Home, tapping the plus icon and choosing Add People. When prompted for a role, choose Resident so that person can access HomeView at any time.
The owner then enters the invited person’s Apple or iCloud account contact and sends the invitation. The recipient accepts it through the More section accessed from the Home app’s upper-right ellipsis menu.
- Open the Home app and select the Home connected to HomeView.
- Tap the plus icon, then select Add People.
- Assign the invitee the Resident role.
- Enter the person’s Apple or iCloud account contact and send the invitation.
- The invited person accepts through the Home app’s More area.
Acceptance alone does not finish that person’s HomeView enrollment. On the display, they swipe up to reach the Home Screen and tap the profile icon at the top right to select their account. Bringing their iPhone or iPad near HomeView produces a prompt with a Join button. They will then make their own decisions about matching their iPhone settings and allowing personal information to appear, before completing Voice and Facial Recognition.
That per-person sequence is a useful safeguard. A Resident can be permitted to use the display without automatically inheriting another person’s Wi-Fi preferences, Siri voice or personal-content choices. Each person completes their own pairing and identity-recognition process.
Switching people is intentionally simple once they are enrolled: one user swipes down from the Home Screen to exit, and another can take over by stepping in front of HomeView. The design is therefore aimed less at a single-owner gadget and more at a rotating household screen with individually protected views.
What HomeView’s setup model means for buyers
HomeView’s strengths and limitations follow from the same architectural choice. Because it mirrors compatible apps from an iPhone or iPad rather than running its own apps, its usefulness is tied closely to the Apple device ecosystem. The mobile device is not merely a remote control used once during installation; it is part of access to personal information and part of the display’s personalization logic.
For homes where several people already use iPhones or iPads, the six-user limit and separate Resident invitations provide a structured way to share a common screen. For a person expecting a fully independent display with its own separate app library, the fact that HomeView mirrors compatible mobile apps is the key expectation to set before setup begins.
It also makes device housekeeping relevant. HomeView requires current iOS or iPadOS versions and depends on the paired mobile hardware being available nearby for private content. Anyone reviewing how older Apple equipment fits into their household can also consult our guide to preparing an older Apple Watch for trade-in or resale.
Ultimately, HomeView’s onboarding is short when the initial requirements are ready: update the phone or tablet, ensure the correct Home ownership and Find My settings, turn on Bluetooth and Wi-Fi, then pair nearby. The more consequential choices arrive afterward, when each household member decides how much personal information the shared display may reveal and completes the recognition setup that keeps that information tied to them.