That outdated phone in the drawer may no longer be the ideal device for games, photos, or everyday messages, but its camera, screen, Wi-Fi connection, microphone, and battery still give it a remarkably practical second career. Put those parts together with a monitoring app and a charger, and an old Android phone, iPhone, or tablet can become a compact DIY security camera for an entryway, a pet’s favorite room, a package drop spot, or a home office.
It is not a magic replacement for a purpose-built, weather-rated security system. An aging handset has limits: its battery may be tired, its camera may struggle in difficult light, and it was never designed to hang outside through rain or extreme temperatures. But for indoor monitoring, or for watching an outdoor area from behind a window, it can be an inexpensive way to make use of hardware that would otherwise sit idle.
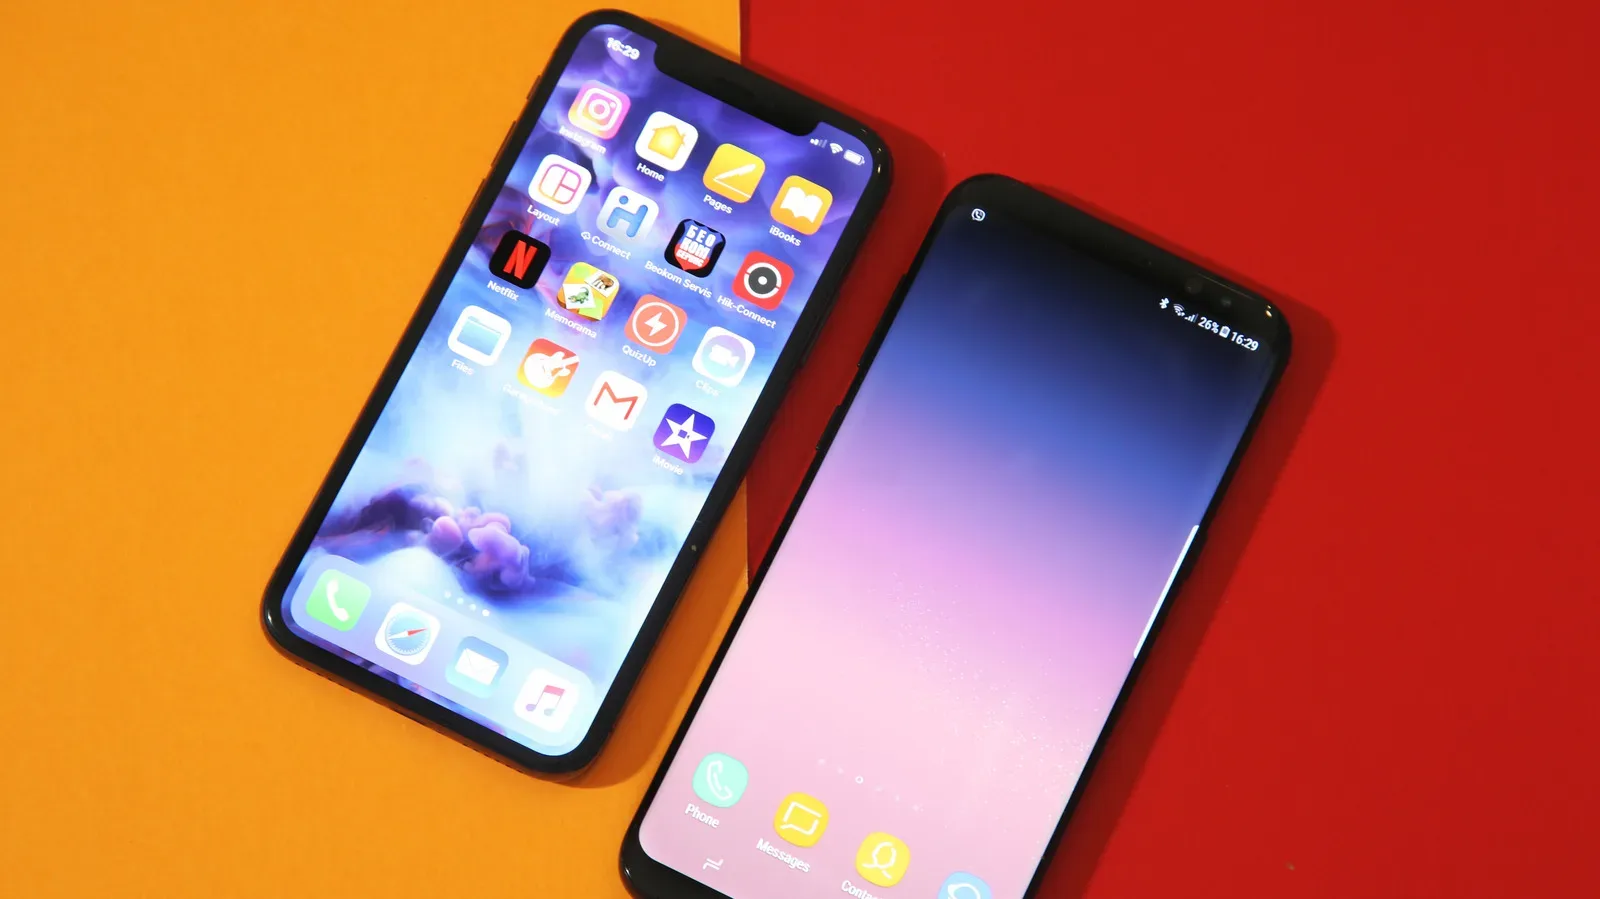
The basic recipe is simple. Keep one device as the viewer you carry normally, assign the older device as the camera, connect both to the internet, and leave the camera phone powered. AlfredCamera is one cross-platform option that works on iOS and Android, allowing an old Android device to pair with an iPhone, or the other way around.
What to gather before turning a phone into a camera
The setup does not call for drilling, wiring a new camera, or learning a surveillance-system dashboard. Still, a few small choices will make a major difference in whether the old device remains dependable after the novelty wears off.
- An old phone or tablet with a working camera, display, and internet connection
- Your current phone, which will act as the viewing device
- A stable connection; Wi-Fi is generally the sensible choice, though mobile data can work
- A charging cable and access to a power outlet
- AlfredCamera installed on both devices
- Optional but useful: a stand, mount, or long cable for a safer and more useful camera angle
Before committing to a location, inspect the old phone. Check that it can hold a connection and that the camera lens is clean. A device does not need to be fast to serve as a camera, but it does need to stay awake, connected, and pointed where you need it. A cracked screen may not matter much once the device is set up, while a damaged charging port or unreliable Wi-Fi connection can turn the project into an intermittent headache.
Location matters as much as the app. A low shelf might record feet, pets, and the underside of furniture; a high, stable position looking toward a doorway will usually provide a more useful view. Avoid aiming toward private areas, and consider who may appear in the frame before leaving the camera running. The goal is not to create a tiny surveillance state for the living room. It is to cover a particular practical need.
Set up AlfredCamera with one phone as viewer and the other as camera
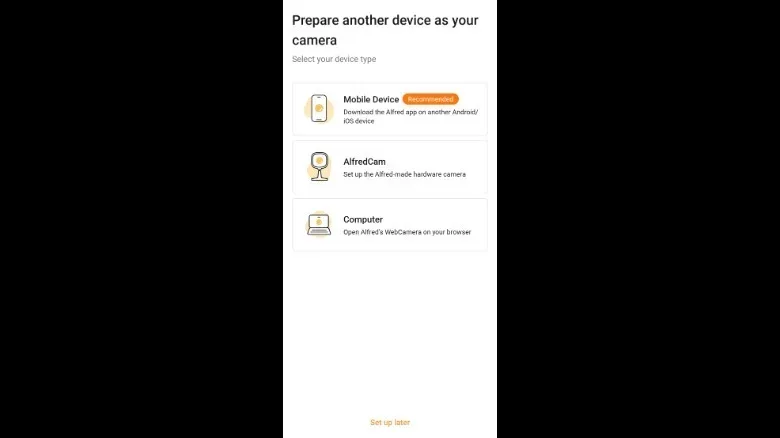
Install AlfredCamera on both the main phone and the retired device. On the phone you plan to carry, open the app, create or sign into an account, and choose the option to prepare another mobile device as the camera screen. The app presents a choice between signing into the same account on the second device or pairing through a QR code.
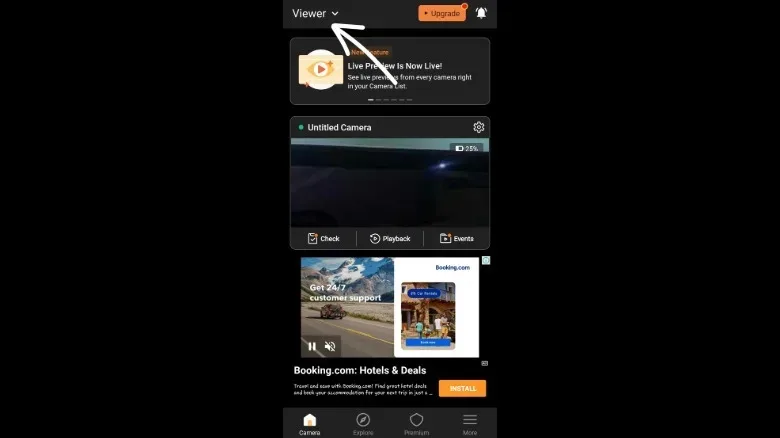
Move to the older phone, open the app there, and complete the pairing method you selected. Once paired, make sure the roles are correct: the current phone should be set as Viewer, and the older handset should be set as Camera. That distinction is worth checking before you mount anything. It is much easier to correct an accidental role swap while both phones are on the table than after one has been balanced above a door.
- Download AlfredCamera on the current phone and the older phone or tablet.
- On the current phone, sign in and select the option to add another mobile device as a camera.
- Choose account sign-in or QR-code pairing.
- Open the app on the old device and connect it using the chosen method.
- Confirm that the main device is in Viewer mode and the retired one is in Camera mode.
- Place the camera phone where it has power, a stable signal, and a clear view.
AlfredCamera’s no-cost tier is not limited to a bare live feed. It includes a loud siren, low-light viewing, two-way talk, and controls for switching between cameras or changing orientation from the viewer device. The free plan supports up to two cameras.
Its paid options add features for people who need broader coverage or longer saved history. The Standard tier starts at $5.99 per month and raises the camera count to four, while adding HD streaming, an eight-hour recording loop, 14 days of cloud storage, and detection categories for people, vehicles, and pets. Premium Plus is listed at $7.99 per month; it removes the camera limit and includes full HD, unlimited recording, and 30 days of cloud storage. Those plans may be useful, but they are not a requirement for simply repurposing one unused phone as a live camera.
Power is the first real test
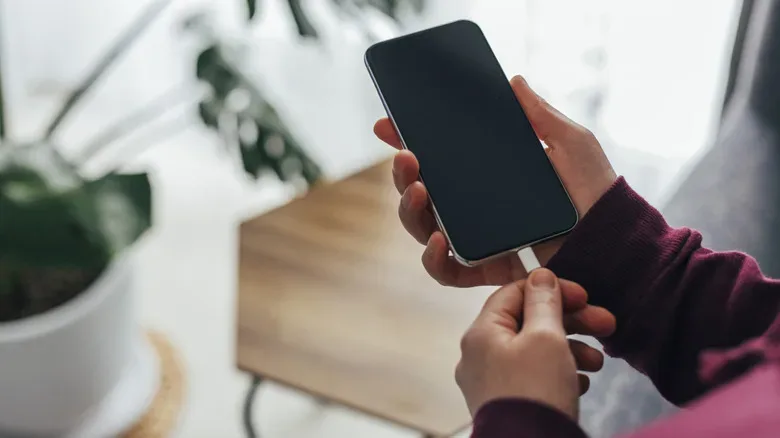
Old phones are notorious for weak battery life, and security-camera duty is not gentle work. A device that once needed several charges a day should not be expected to monitor a room continuously on its own battery. The practical approach is to locate it near an outlet and keep it connected to power. If the outlet is not in the ideal place, a longer charging cable may give you enough flexibility to frame the view properly.
That cable deserves a little planning. Keep it out of walkways and away from places where pets, children, doors, or furniture could snag it. A stable stand helps prevent the phone from slowly slumping into an unhelpful angle. It also makes future adjustments much easier than improvising with books, mugs, or the sort of precarious box tower that looks fine until the first vibration.
Continuous connectivity is equally important. A camera that frequently loses Wi-Fi cannot do much monitoring. If the planned location is in a weak-signal corner, reconsider the placement before blaming the phone. Network reliability also matters to a gaming household, especially if a live feed is competing for bandwidth with online play, downloads, or streaming. For more ways to assess network changes without immediately buying extra hardware, see our guide to better checks before adding a second router.
Protect the old device before it becomes an always-on device
Repurposing a phone does not automatically remove the information already stored on it. If there is nothing you need to preserve, a factory reset is a worthwhile preparation step. It can clear old accounts, saved passwords, personal files, and other data that has no business remaining on a device connected to Wi-Fi around the clock. It can also free storage for the camera app’s needs.
A reset is optional, not mandatory. If you have files to keep, back them up before erasing anything. If you decide not to reset, at least review which accounts remain signed in and remove what is unnecessary. Treat the camera phone as a dedicated appliance rather than a forgotten copy of your entire digital life.
Also review battery-optimization settings for AlfredCamera. Phones are often aggressive about closing background apps to extend battery life, which is normally useful but works against an always-available camera. Disable battery optimization for the camera app where the device’s settings permit it, then verify that the feed remains active. The point is not merely to see the preview while standing beside the phone; it is to ensure the camera stays available after it has been left alone.
Placement, lighting, and outdoor caution
Use the live view to fine-tune framing. Make sure the camera is pointed at the area you actually want to monitor rather than directly at a bright lamp or window glare. Low-light mode can help when viewing a darker space, but it cannot transform every old camera into specialized night-vision hardware. A modest amount of room lighting may make the view more useful than relying on a dark, noisy image.
If you are considering an outdoor angle, the safer approach is usually to place the phone inside, behind a window, rather than exposing it directly to the weather. A clear waterproof case can offer some protection in exposed locations, but it does not make every phone a dedicated exterior camera. Keep in mind that window reflections, glare, and nighttime lighting can affect what the camera sees.
Once the device is mounted, check the view at the times that matter: daytime, after dark, and when lights in the room are switched on or off. Test the two-way talk and siren only when doing so will not surprise someone nearby. Then leave the setup alone long enough to reveal any connection or power problem. The best DIY camera is not the one with the fanciest label; it is the one that remains charged, connected, correctly aimed, and ready when you need to look.