When a home surround system starts sounding underwhelming, the instinct is often to blame the speakers, receiver, or whatever box was most expensive. But a far less dramatic explanation is frequently sitting in plain sight: the room changed, the furniture moved, the speakers were aimed casually, and the system was never adjusted after installation.
That is good news for anyone using surround sound for movies, games, or television. The most meaningful improvement may not require replacing a single component. A room’s surfaces affect what reaches the listener; speaker placement affects the presentation of dialogue and effects; the subwoofer reacts differently in different spots; and receiver settings may not reflect the current layout at all. None of those issues are solved simply by buying a newer model.
The practical approach is to make one change at a time, listen from the main seat, and then keep or reverse the change. That makes it easier to identify what helped, rather than moving the couch, shifting every speaker, changing settings, and never knowing which decision made the difference.
Start with the room, not the shopping cart
Room acoustics means the way sound behaves after a speaker produces it: how much of it reaches the listener directly and how much reflects from nearby surfaces. Bare walls, tile floors, ceilings, and large windows can bounce sound around the room. Those reflections can make effects and dialogue less distinct, creating an echoey or muddied result even when the equipment itself is working properly.
This is not a minor consideration. Audio engineer Anthony Grimani, who has worked with Dolby Laboratories and Lucasfilm THX, has said that more than half of what people hear in a typical room can be reflected sound from walls, ceilings, and hard flooring. In other words, the room is not merely the place where a system lives; it is part of the listening chain.
The useful part is that improving the situation does not automatically mean turning a living room into a foam-lined studio. Everyday furnishings can break up or soften some of those hard reflective surfaces. A rug can help address a hard floor. Curtains can reduce the influence of broad windows. Artwork and framed photos can add less uniform wall surfaces. These are ordinary decorating choices, but they can also be meaningful audio choices.
There is no promise that one rug will transform every room, because room size, materials, and furnishings differ. Still, it is an inexpensive first step when a space is sparse and reflective. It also avoids a common trap: treating an acoustics problem as evidence that a larger or pricier speaker is required.
Put the front stage in a deliberate shape
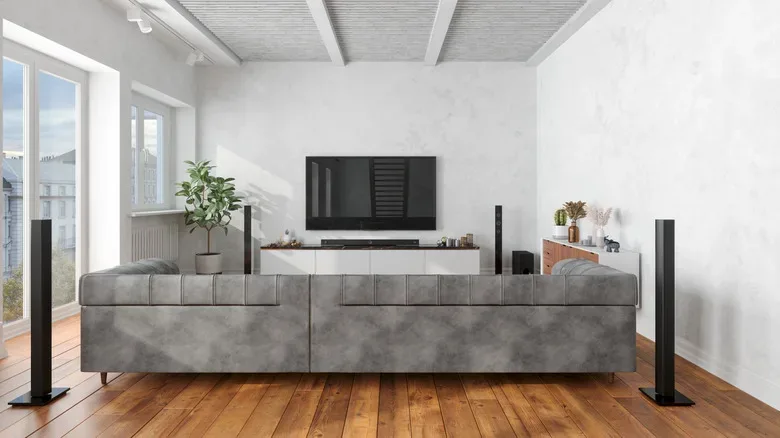
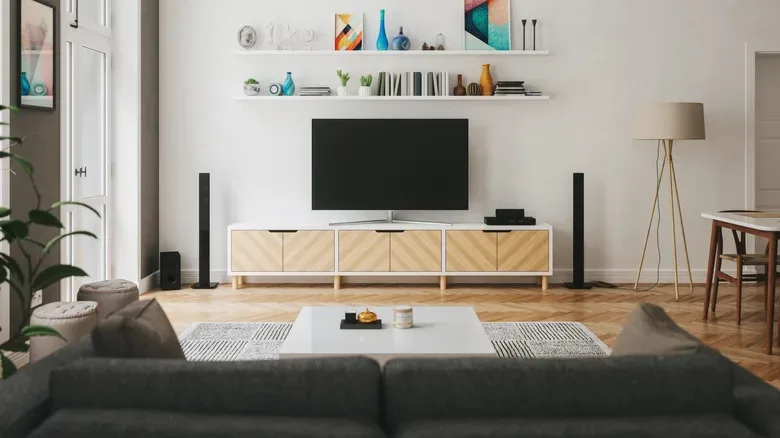
For the front left and right speakers, placement and direction work together. Each speaker should be roughly a foot away from side and rear walls. The distance between the two speakers should also be approximately the same as the distance from the speakers to the primary listening position. This creates a broadly balanced listening triangle instead of a front stage that is too narrow, too wide, or skewed toward one side of the room.
Then aim the speakers toward the main seat. This is often called angling or toeing-in the speakers: rather than allowing them to fire straight ahead regardless of where the audience sits, turn them so the primary listener is their target. Small adjustments can be worthwhile. The goal is not a mathematically perfect room—many living rooms simply do not allow one—but a layout where the left and right channels are serving the actual seating position.
The center channel deserves its own check because it carries most movie dialogue. Place it directly above or below the television and align it with the screen’s midpoint. It should be aimed toward ear level at the main seat. A center speaker that is merely wedged into a cabinet or pointed far above or below listeners can make voices feel disconnected from the screen or harder to understand.
These adjustments matter for gaming as much as film viewing. A game’s music, effects, and spoken scenes depend on a stable front presentation, and a properly centered dialogue channel can make story-heavy sessions less fatiguing. For players revisiting older titles or current releases, a better room setup may do more for the experience than another round of speculative gear changes. That broader appreciation of how games hold up over time also applies to a discussion of why Assassin’s Creed Brotherhood still feels familiar in modern open-world design.
Surround channels need to surround the seating area
The numbers in 5.1 and 7.1 describe channel layouts. A 5.1 system has five main speakers plus a subwoofer, while 7.1 adds two more main channels. The extra speakers are only useful when placed with their role in mind, not when placed wherever a shelf happens to be available.
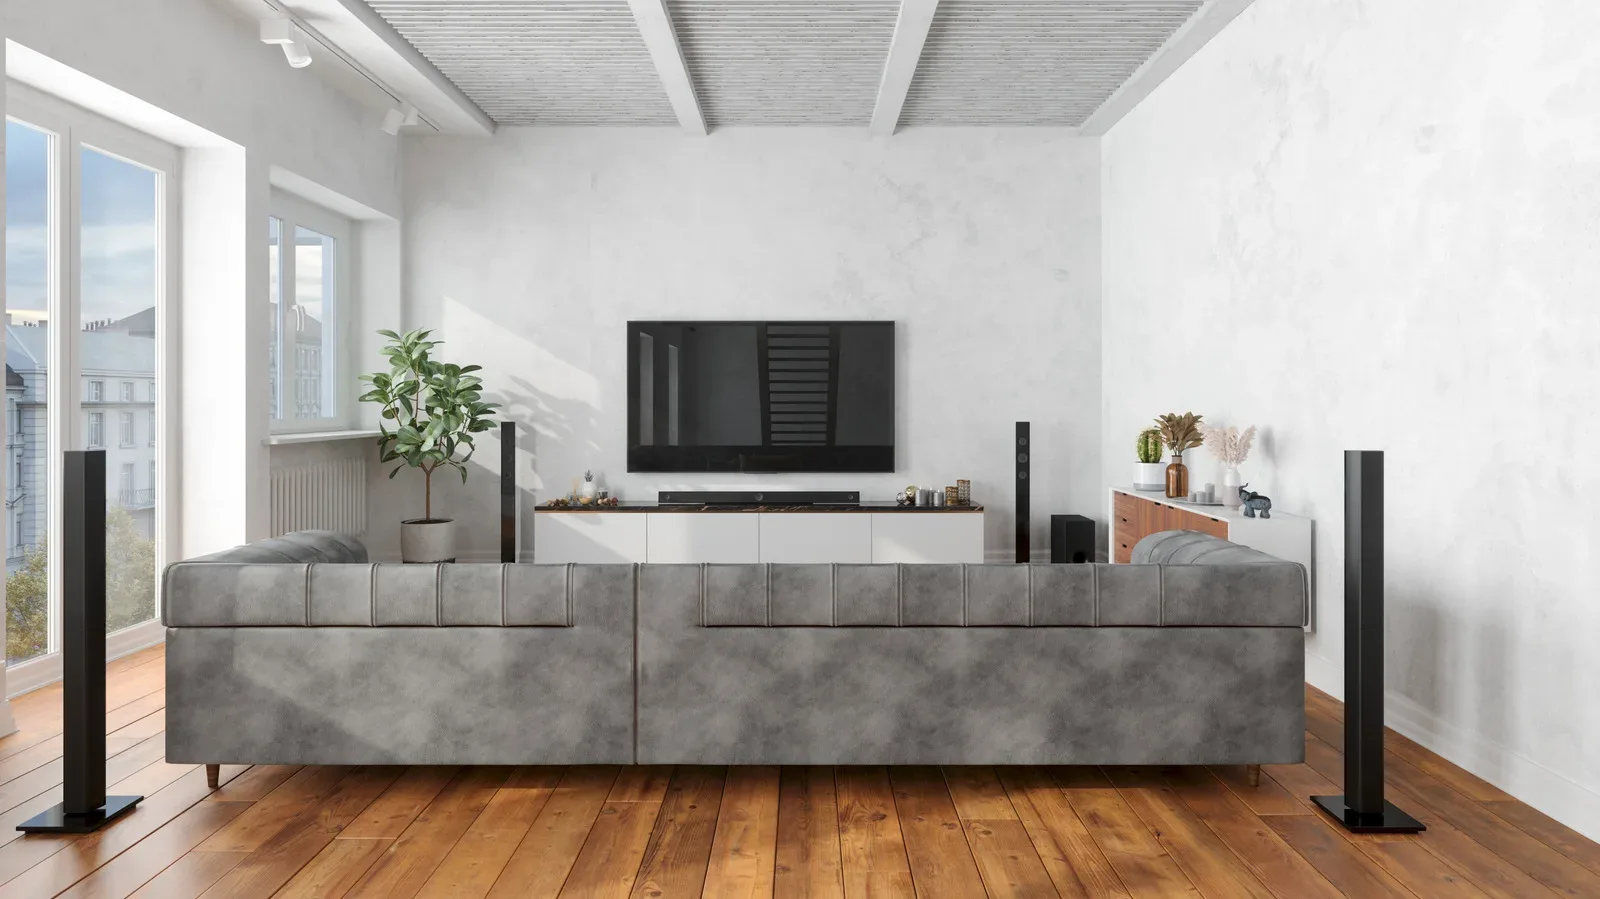
In a 5.1 system, surround speakers belong to the sides of the seating area. They should be directed at the primary seat and set at, or slightly above, ear level. This lets the system create a more intentional sense of sound around the listener rather than simply adding two more sources of noise elsewhere in the room.
With 7.1, the additional rear speakers should go behind the seating position. That distinction matters. Side surrounds and rear surrounds have different jobs in the layout, so putting every surround speaker along one wall or scattering them through the room undermines the intended arrangement.
Not every home can achieve ideal placement. A couch may be against a wall, room entrances may rule out stands, and shared spaces impose real limits. The useful takeaway is not that a setup is worthless unless it is perfect. It is that purposeful compromises are better than random ones. If a speaker must move, retain the core principles: keep channels positioned in relation to the listening area, keep them aimed toward that area, and avoid treating the room’s empty corners as automatic speaker locations.
Subwoofer placement is a listening exercise
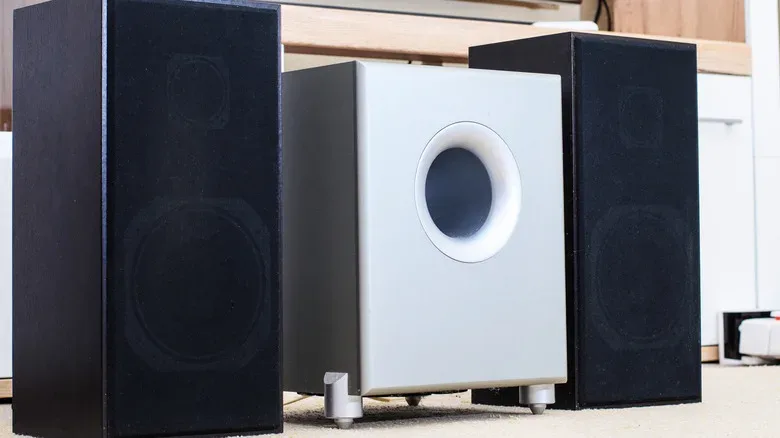
A subwoofer handles bass, and its location can have an outsized effect on how a system feels. Unlike the main speakers, a subwoofer is omnidirectional, so its orientation is generally less important than its location. Turning it slightly is unlikely to make or break the result. Moving it across the room, however, can.
There is no single correct spot for every home. Room dimensions, wall materials, furniture, and other surfaces all affect bass frequencies. That means a recommendation that works beautifully in one room may be unhelpful in another. The sensible option is direct comparison: place the subwoofer in two or three viable locations and listen from the main seat.
For a ported subwoofer, leave room for its vents. Do not box it in or press it tightly against a wall, because the ports need space. Beyond that limitation, experimentation is more valuable than assuming the first available corner is automatically the best location.
Listen for the qualities that matter in normal use: whether bass response changes as you move the subwoofer, whether it feels clearer, and whether the result works from the seating position where movies and games are actually experienced. The exercise does not need specialized language or a costly tool. It needs a few candidate locations and the patience to compare them.
Run calibration after changing the layout
Calibration is the receiver’s process of accounting for the speakers and room as they are now. It is easy to skip because it sounds technical, but many modern AV receivers include automatic calibration. Yamaha and Pioneer systems, for example, can send test tones through each speaker, measure the room’s acoustic response, and apply corrective filters automatically.
A corrective filter is an automatic adjustment intended to compensate for what the receiver measured. The important point is that calibration is not a magic upgrade and does not replace sensible placement. It works best after speakers, subwoofer, and seating are reasonably positioned. Running it before a major rearrangement and then never again means the receiver is working from an outdated picture of the room.
Manual calibration is also possible with a phone sound-level-meter app or an external meter. That route is for people who prefer a hands-on approach, but automatic calibration is a useful starting point precisely because factory settings cannot know the specifics of every room.
A practical order is simple:
- Make room and furniture adjustments.
- Set the front, center, and surround speakers in sensible positions and aim them at the main seat.
- Try a few subwoofer locations.
- Run the receiver’s calibration once the layout is settled.
- Listen again, then make further changes only if a clear issue remains.
This sequence prevents settings from becoming a substitute for placement. It also keeps the process manageable rather than turning a weekend of entertainment setup into an endless cycle of menu changes.
Check that the source is actually sending surround audio
Even a well-positioned setup cannot reproduce surround information if a connected device is sending only plain stereo. Check the audio decoding menu on each source and confirm that it is outputting a genuine surround format where available. Examples include Dolby Digital, Dolby Atmos, and DTS.
Audio decoding is the process by which the receiving equipment identifies and handles the audio format being sent. The distinction is important: a surround-capable receiver and a room full of speakers do not by themselves guarantee that the incoming signal contains surround audio. A source set to stereo can leave a user judging the physical setup without hearing the format it was built to reproduce.
This is a quick verification, but it should be done source by source. A console, streaming device, disc player, or other connected component may have its own audio-output settings. Confirming the setting is especially useful after changing devices, cables, receivers, or display hardware.
Move the couch and inspect the basics
The listening position is part of the system. If space permits, move the couch forward or backward by a foot or two and compare the change in clarity and bass response. A small shift can alter how the room sounds at the place where people actually sit. This is a low-cost test with a high potential payoff, especially if the seating has gradually migrated over time.
Older systems also deserve a physical cable check. Look for fraying or damage, including damage caused by pets. A worn cable is not a room-acoustics problem, but it is a basic reliability issue that should not be overlooked while diagnosing sound quality.
Finally, wired connections offer greater consistency and sound quality than Wi-Fi or Bluetooth, so use wired connections where practical. That is not a demand to rebuild every convenient wireless setup. It is a useful priority when the goal is dependable home-theater performance and a wired option is available.
The larger lesson is refreshingly unglamorous: surround sound often benefits from maintenance rather than replacement. Improve the room’s reflective surfaces, place and aim speakers around the actual seating area, test the subwoofer rather than guessing, recalibrate the receiver, confirm the incoming format, and reassess where the couch sits. Those steps address the parts of a system that are most likely to have changed since the day it was first plugged in.