A lost blue dot is a tiny modern tragedy. You are standing outside the venue, the phone insists you are a block away, and turn-by-turn directions begin offering the kind of confidence normally reserved for a game NPC pointing directly into a wall. On Android, inaccurate positioning is not always a sign that the phone’s GPS hardware has failed. It can be a settings, permissions, connectivity or calibration issue—and there is a sensible order for checking each one.
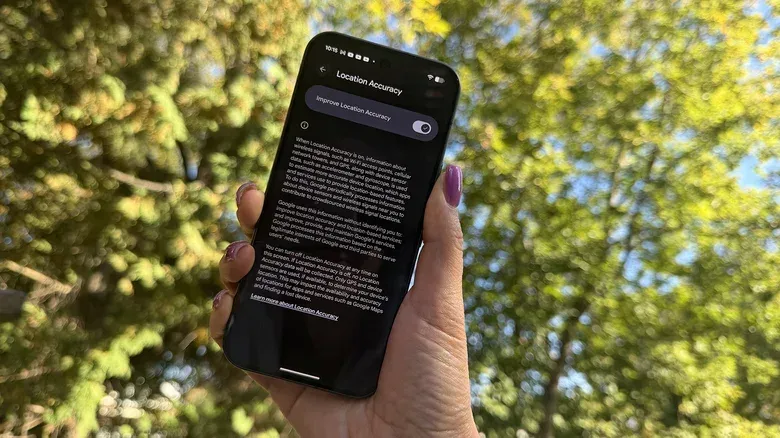
The key setting is Location Accuracy, previously called Google Location Services. When it is enabled, an Android device can combine GPS with Wi-Fi signals, cellular network and tower information, and onboard sensors. That wider mix is particularly valuable indoors and around tall buildings, where a clean GPS signal may be unavailable or obstructed.
For anyone who uses a phone for navigation, meeting up with friends, dropping a location pin, finding a parked car or handling a real-world game errand, the distinction matters. A phone that knows the broad neighborhood is not necessarily useful when an app needs to determine which entrance, street corner or floor-adjacent landmark you are near.
Start with Android’s Location Accuracy setting
On most phones running Android 12 or newer, the relevant route is:
- Open Settings.
- Select Location.
- Open Location Services.
- Select Location Accuracy.
- Enable it.
Devices using Android 11 or earlier generally place it at Settings > Location > Advanced > Location Accuracy. Menu wording can vary somewhat between phone makers, but Location is the useful starting point.
With Location Accuracy turned off, the handset is restricted to GPS and its own sensors for positioning. With it active, Android can make use of available GPS, Wi-Fi and cellular inputs, alongside sensors including the accelerometer, barometer and gyroscope. This does not mean every signal will be equally useful everywhere. It means the device has more information available to estimate where it is and, in some cases, which way it is facing.
What those signals actually contribute
GPS is the familiar satellite-based element of phone navigation. It is foundational, but it is not invincible. Dense urban areas full of tall buildings can interfere with how clearly the phone receives a GPS signal. Indoors, GPS may not be available at all.
Wi-Fi and cellular information provide additional positioning clues. The phone can use available wireless signals and cellular towers alongside GPS rather than relying on a single source. That is why a usable network connection can matter when the blue dot is behaving badly, even though GPS itself is central to navigation.
Related coverage includes How to Improve Location Accuracy on an Android Phone.
Device sensors add further context. An accelerometer detects motion, a barometer measures atmospheric pressure, and a gyroscope helps track orientation. Together with wireless and GPS data, those sensors can assist the phone in developing a more useful location estimate and sense of direction.
This combined approach is especially relevant for the places that routinely create navigation confusion: a large indoor space, a busy mall, or streets enclosed by high-rise buildings. The practical lesson is straightforward: a weak or blocked GPS signal does not automatically leave the phone without options, but those options depend on Location Accuracy being enabled.
Why the setting uses more than your phone alone
Location Accuracy is supported by anonymously collected information about wireless signals and sensors from devices. In broad terms, the system uses crowd-sourced estimated location data to improve results. The idea resembles crowd-sourced traffic information in navigation apps, or Bluetooth-based item trackers that can use nearby devices to help identify where keys or a wallet were left.
That explanation is useful because it clarifies why disabling the setting can reduce accuracy even if location is otherwise switched on. GPS and the handset’s sensors can still work, but the device is no longer drawing on the broader set of available location inputs described above.
It is also worth separating system location from app permission. Turning on Android location services does not by itself guarantee that every map, game or utility app is allowed to access location. Visit Settings > Location, then find App location permissions or the equivalent menu on the device. Confirm that the individual apps that need positioning are enabled to use it.
That two-layer check prevents an easy mistake: diagnosing a map problem as bad GPS when the relevant application simply does not have access to location. Location services must be enabled at the phone level, and the app must be permitted to use them.
Google Maps troubleshooting: read the blue dot
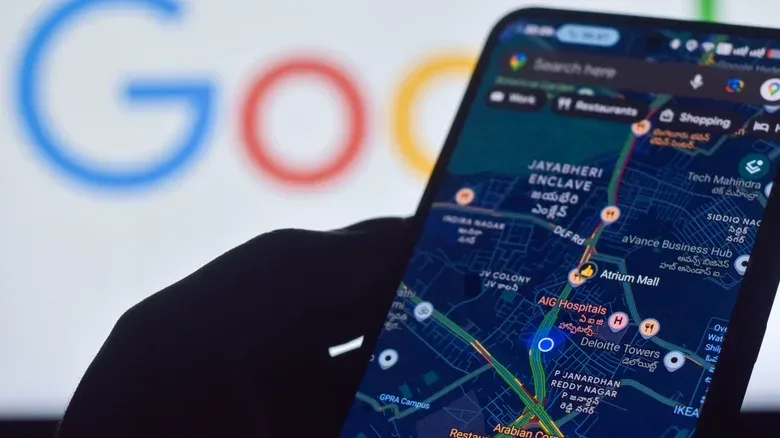
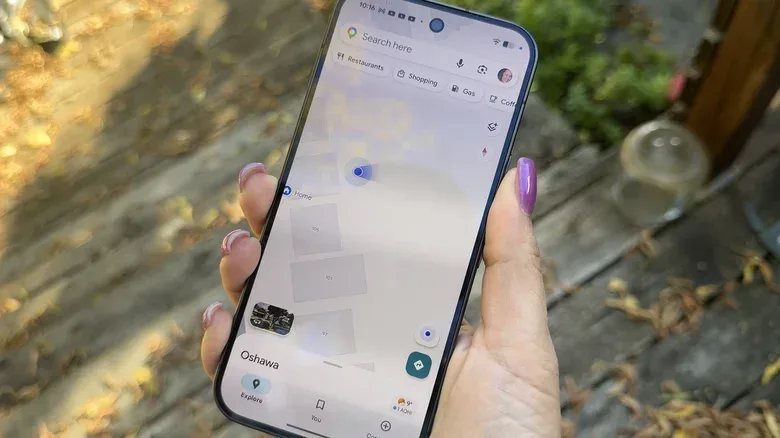
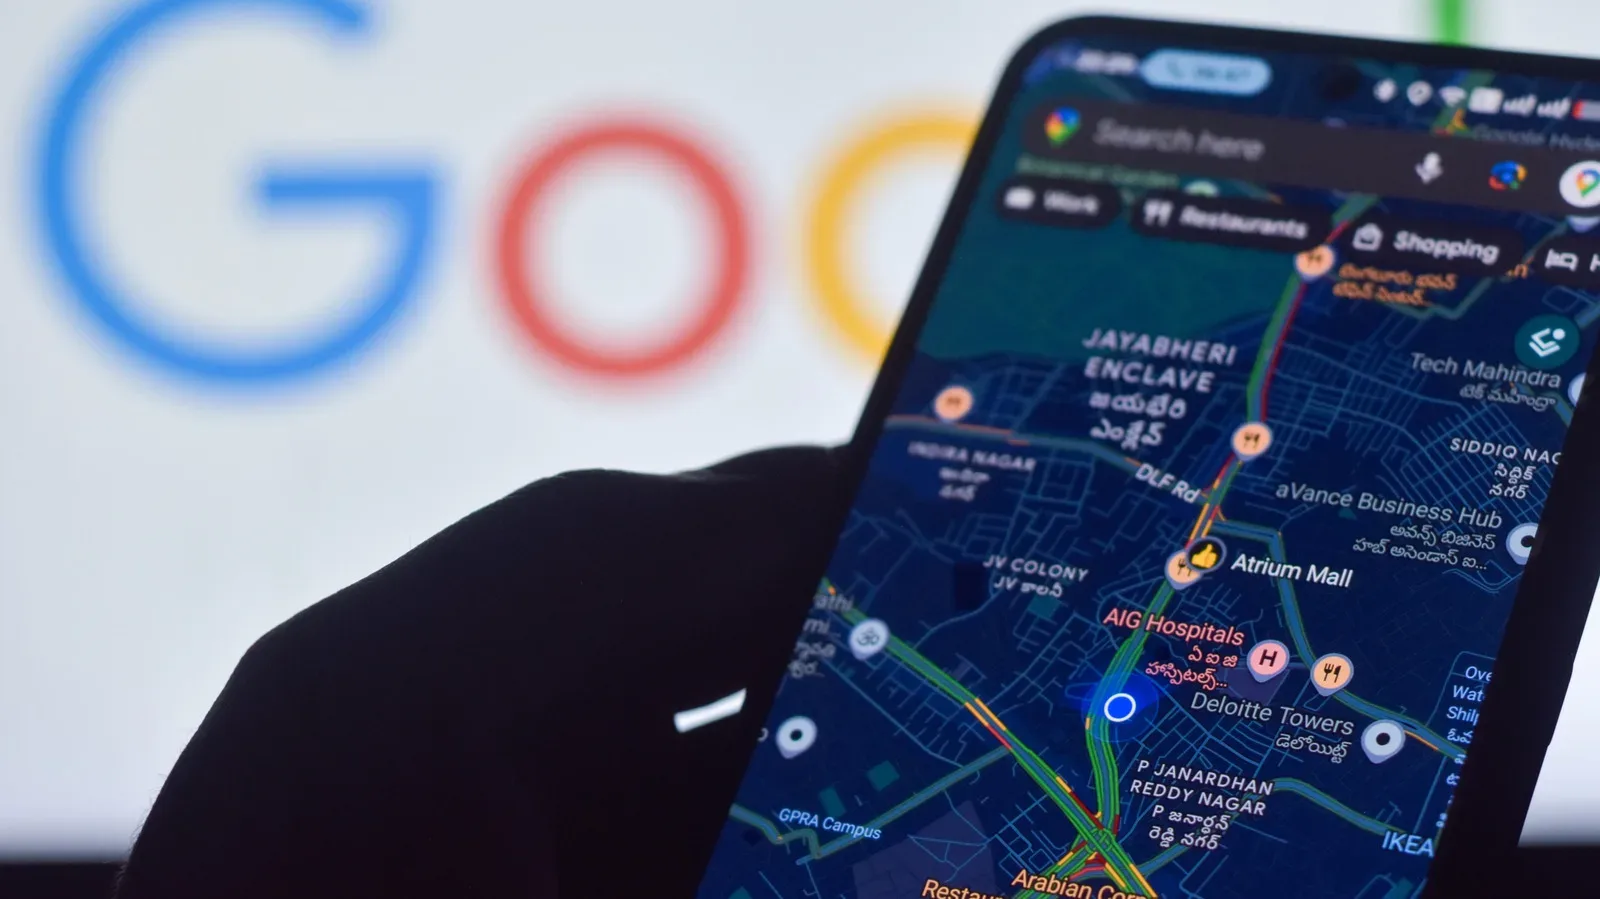
Google Maps offers a visible clue when it cannot establish a precise position. The blue dot represents the user’s location; a light-blue circle around it indicates uncertainty. Maps may also display a “low accuracy” message. In practical terms, the wider uncertainty indicator means Maps is not confident enough to pin down the exact spot.
Use this checklist before assuming something more serious is wrong:
- Go to Settings > Location and make sure Use location is on.
- Enable Location Accuracy through the appropriate Android menu for the device’s version.
- Confirm Google Maps has location permission in the app-permissions menu.
- Check that the phone has an active Wi-Fi or mobile-data connection.
- Make sure Airplane Mode is not enabled.
- If the current Wi-Fi signal is weak, disconnect from it and try cellular data instead.
The connectivity steps are not cosmetic. Since Location Accuracy can use Wi-Fi and cellular-network information, a weak Wi-Fi connection may be less helpful than a functioning cellular-data connection. This is a quick variable to test when Maps seems stuck with an imprecise position.
Calibrate before you start walking in circles
Once the settings and connection basics are sorted, Google Maps provides two calibration approaches described for improving location accuracy.
One uses Lens in Maps. Stand near a recognizable landmark or a specific venue, find that location in Maps, choose View, and point the phone’s camera at the place. This gives Maps additional context about where the user is, which can help it guide the next stage of navigation more precisely.
The other approach uses the phone’s compass. In Google Maps, move the phone in a figure-eight motion a few times. The goal is to improve compass calibration, which may help strengthen the location reading and remove the light-blue uncertainty circle from around the blue dot.
Calibration is not a magical substitute for a usable signal. Think of it as correcting the phone’s directional understanding after verifying that location is on, Location Accuracy is active, permissions are present and the device has a viable connection. If Maps is locating the user generally but appears unsure of orientation, the compass step is the logical one to try.
When the location is completely wrong
A dot that is merely surrounded by a blue accuracy circle is different from a location that is wildly incorrect. If the phone reports a previous location rather than the current one, the likely issue is that it does not have a working signal for where the user is now. It may be falling back on where it last had usable location information.
The most practical remedy is physical, not hidden in another settings submenu: move to a nearby location where reception may be stronger. Shut down the troublesome app completely, relocate, then open it again. A different position can change the quality of the available signal, especially indoors or in a dense built-up area.
This is an important reality check for any navigation workflow. Software settings can let Android combine more sources of information, and calibration can help Maps interpret direction more effectively. Neither can force a strong positioning signal through an environment where the relevant signals are blocked or unavailable.
A useful routine for phone-based navigation
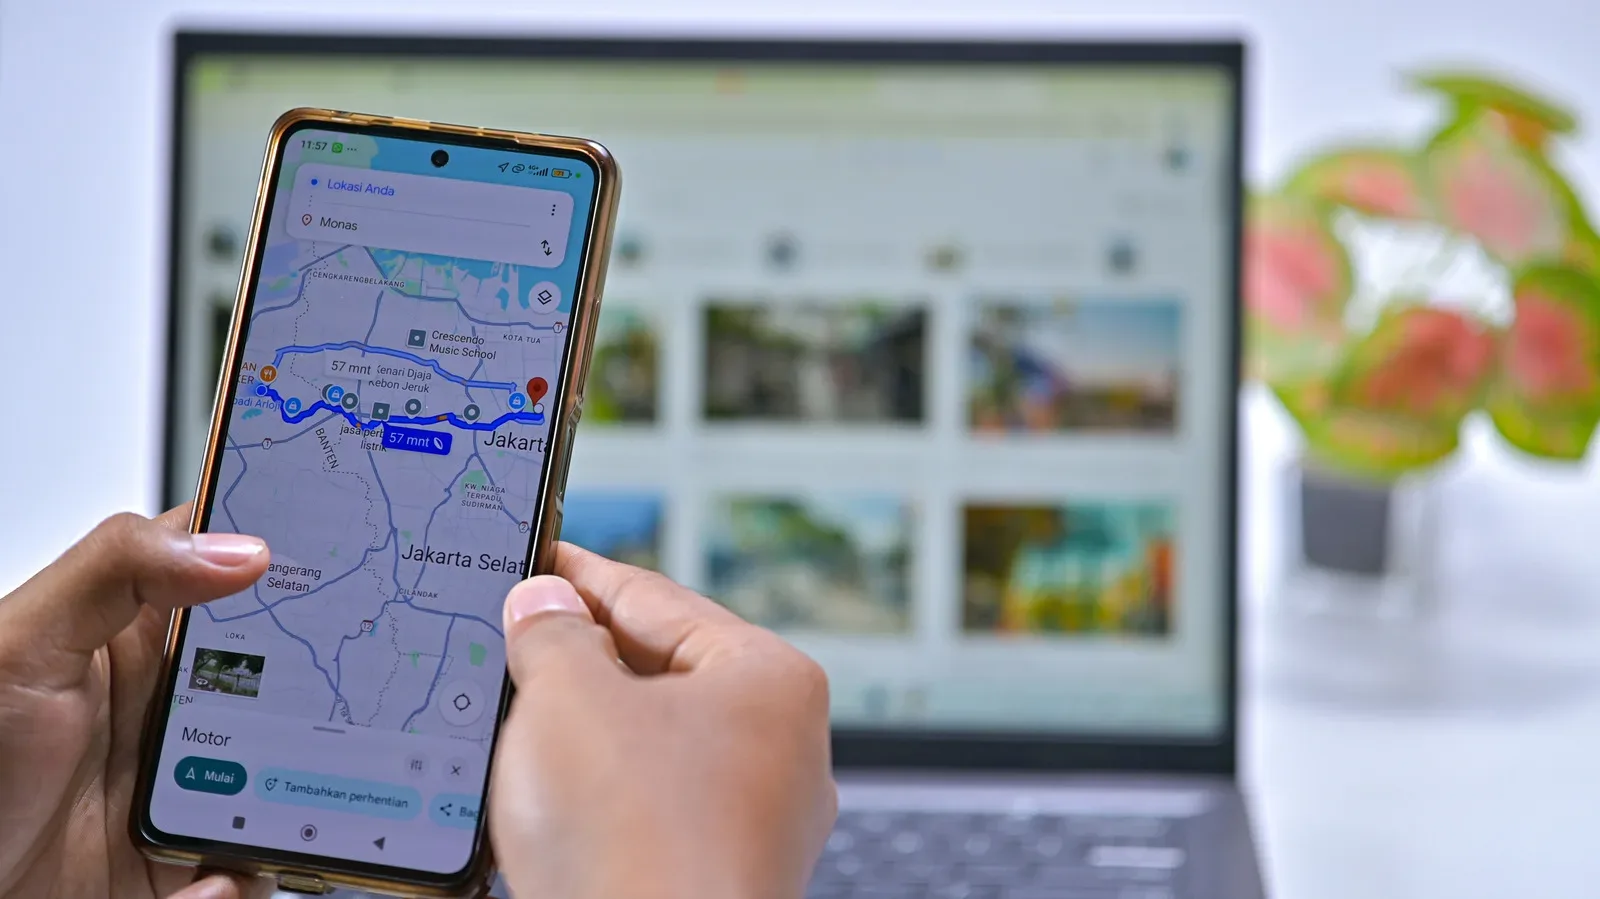
For players, travelers and anyone who treats a smartphone as an everyday navigation tool, the best response is a short escalation path rather than random toggling. First, verify that system-wide location and the app’s own location permission are on. Second, enable Location Accuracy so GPS can be supplemented by wireless signals and sensors. Third, check Wi-Fi, mobile data and Airplane Mode. Fourth, calibrate with Lens in Maps or the figure-eight compass motion. Finally, move somewhere a signal may be stronger and restart the app.
It is a modest maintenance task with broad consequences. Better positioning can mean more reliable directions, a more dependable shared pin, a recoverable parking spot, or a clearer answer when an app needs to know whether you are actually at the location on screen. Mobile devices are becoming ever more central to gaming as well—see the growing push for full games on phones and tablets—but the unglamorous phone fundamentals still matter. Before blaming the map, give Android the signals, permissions and calibration it needs to find you.