Valor Mortis does not appear interested in easing anybody gently into its first-person Soulslike rhythm. Early areas combine punishing combat, optional quests, concealed items and hazards that are deliberately not meant to be solved the moment they appear. The useful adjustment is not merely “play better”; it is learning what the game wants you to prioritize now, what it expects you to return to later, and where a little preparation can turn a wall into a manageable fight.
This early-game guide focuses on the systems and routes that make the opening stretch less costly. The central idea is simple: favor a fast, precise melee option, spend time where rewards can be safely repeated, upgrade your healing before treating every Catalyst as spare cash, and check the scenery before charging into a crowd. That will not make every encounter painless, but it should make failures more informative and subsequent attempts more survivable.
Start thinking of the Rapier as your precision tool
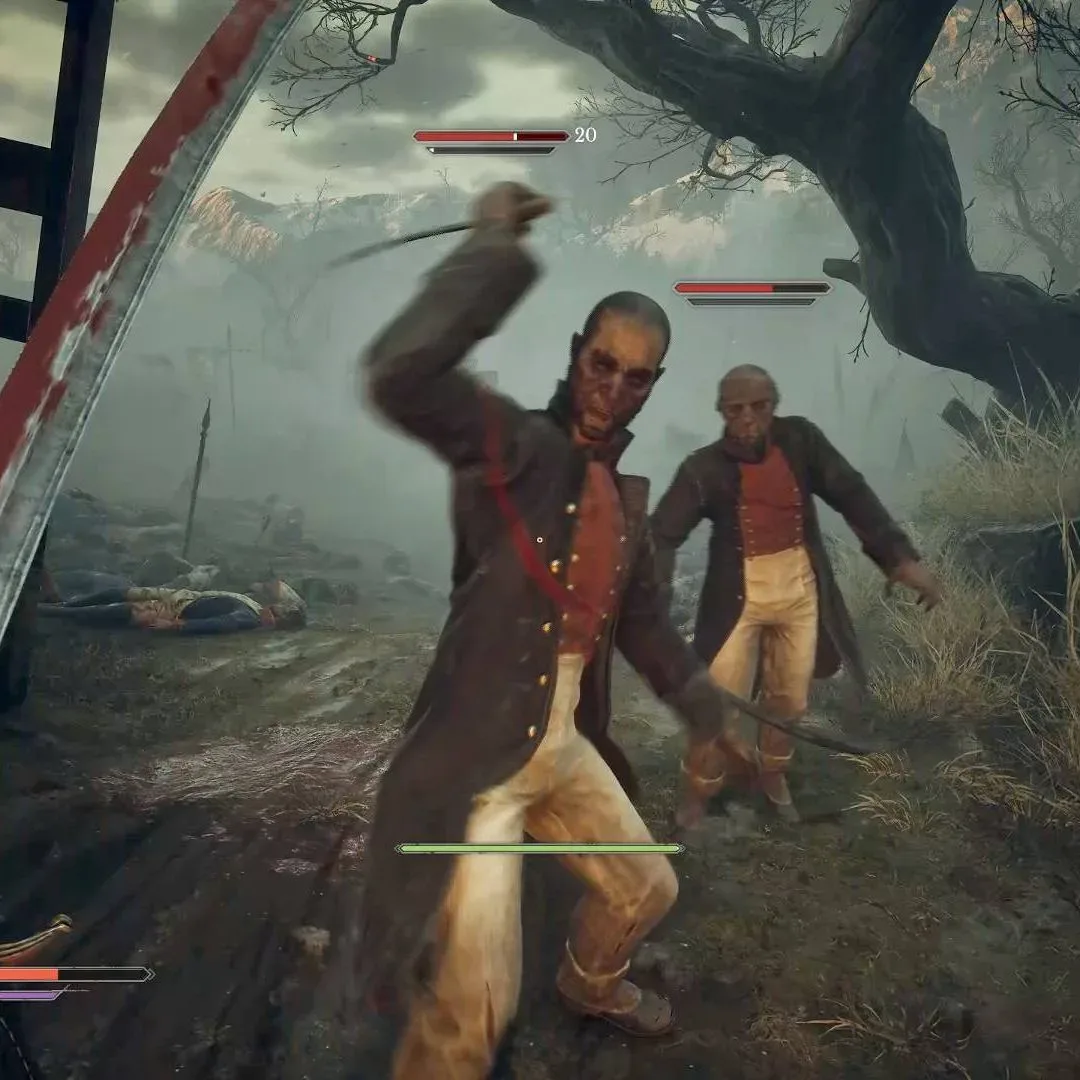
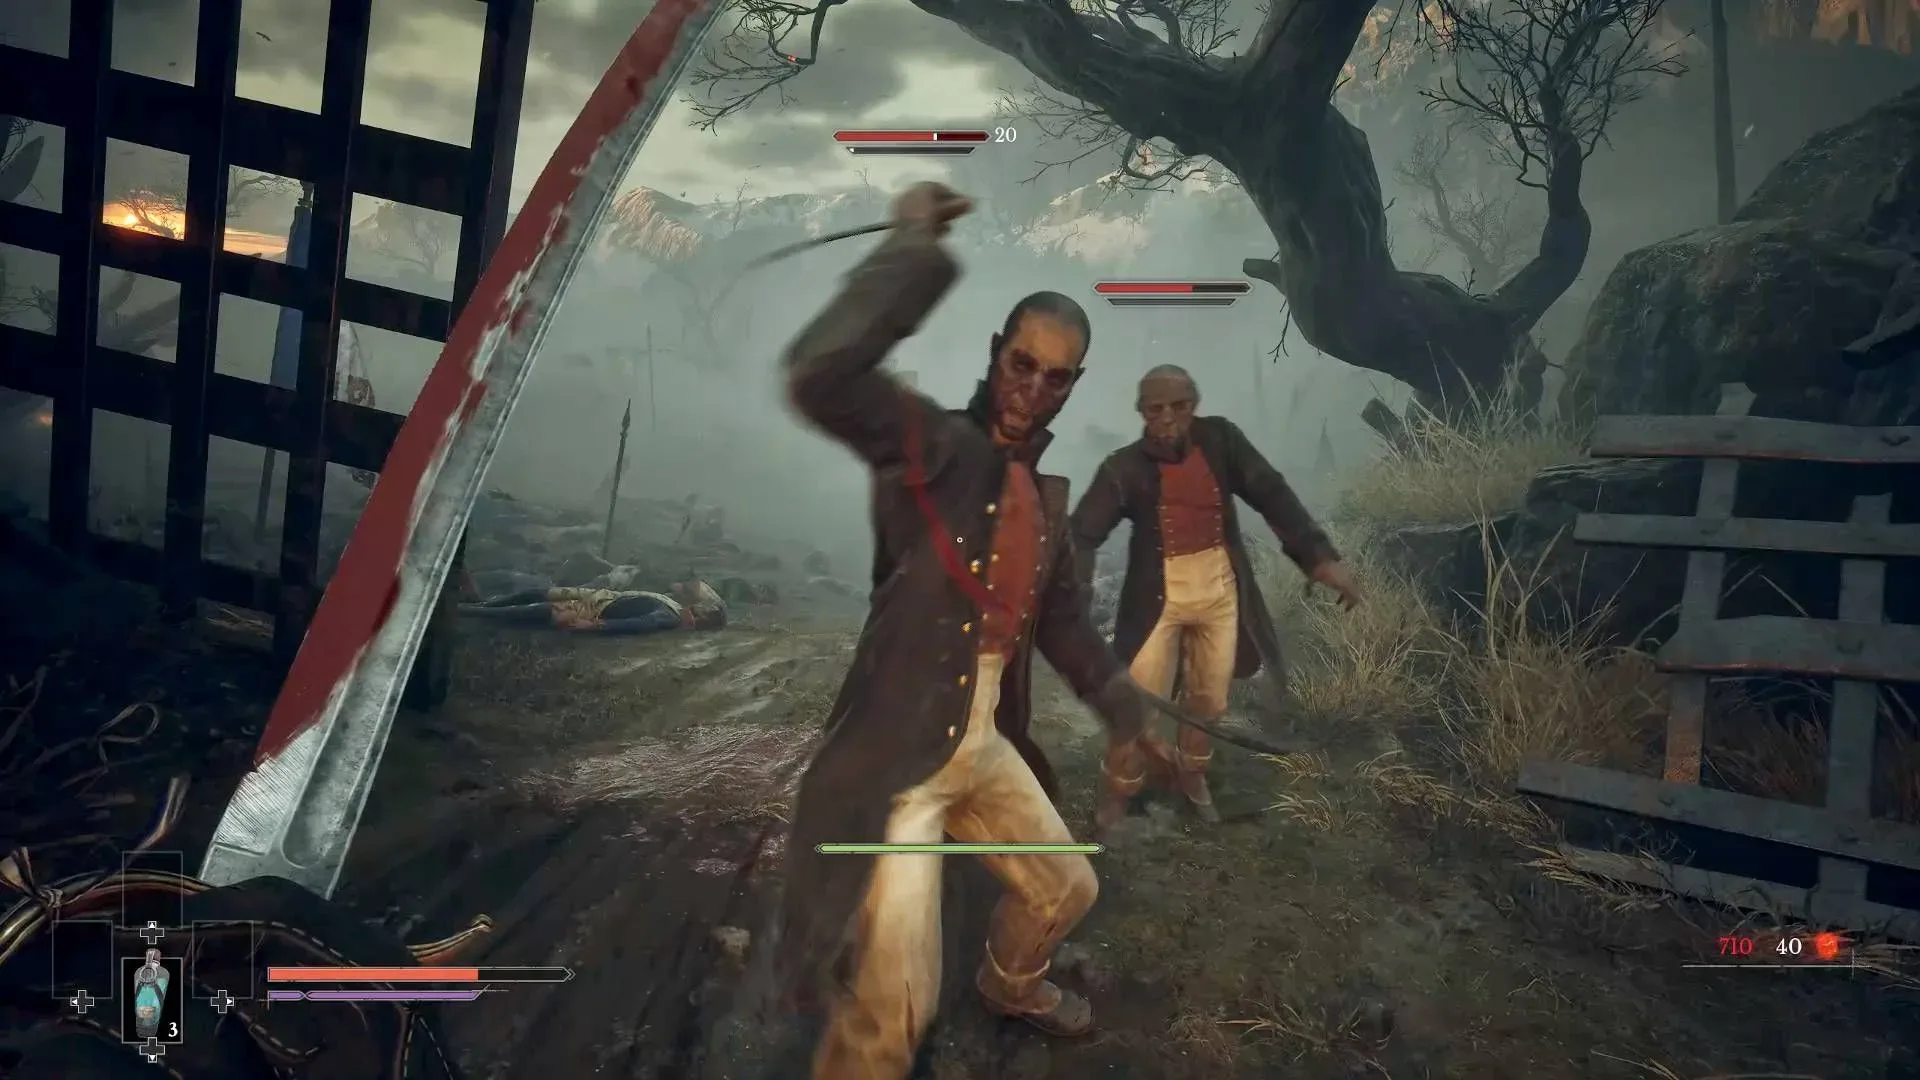
The Saber is the melee weapon available at the start, and it remains a valid option. But the Rapier, obtained early in the journey, is especially valuable for players trying to establish a dependable combat routine. It attacks quickly, excels at direct thrusts and offers quicker, more forgiving parrying opportunities.
Parrying is the act of timing a defensive response to an enemy attack rather than simply absorbing or avoiding it. In a difficult action game, a weapon that makes those timing windows feel more accessible can matter as much as raw damage. The Rapier’s speed also makes it a strong fit for bosses and durable one-on-one opponents, where repeatedly committing to slower attacks can leave little room to react.
Its other major strength is its relationship with enemy weak points. These are typically recognizable as glowing orange growths on an opponent’s head, chest or back. A well-placed Rapier thrust can hit them directly for considerable damage. Against lesser enemies, destroying a weak point may be enough to finish the fight in one or two hits.
That establishes a helpful priority list when a foe comes into view:
- Look for the orange weak point before swinging indiscriminately.
- Position yourself for a straight-line thrust at the head, torso or back, depending on where it appears.
- Use the Rapier’s speed to disengage or parry if the target begins an attack.
- Only settle into a longer exchange if a clean weak-point strike is not available.
There is a practical first-person benefit here: a direct thrust can be easier to place precisely than a broad melee swing when the target is in front of you. That does not mean the Saber is obsolete, nor does it promise every enemy will politely present its vulnerable spot. It means the Rapier provides an efficient answer to the game’s visible weak-point design. If a tough encounter feels as though it is taking too long, examine whether you are fighting the enemy’s health bar rather than its exposed vulnerability.
For broader character-building priorities, the site’s Valor Mortis early skills guide is a useful companion read, particularly for players considering how endurance and stamina affect their margin for error.
Related coverage includes Valor Mortis Beginner's Guide: Early Tips for Surviving the First-Person Soulslike.
Marketplace barn: a repeatable early Catalyst route
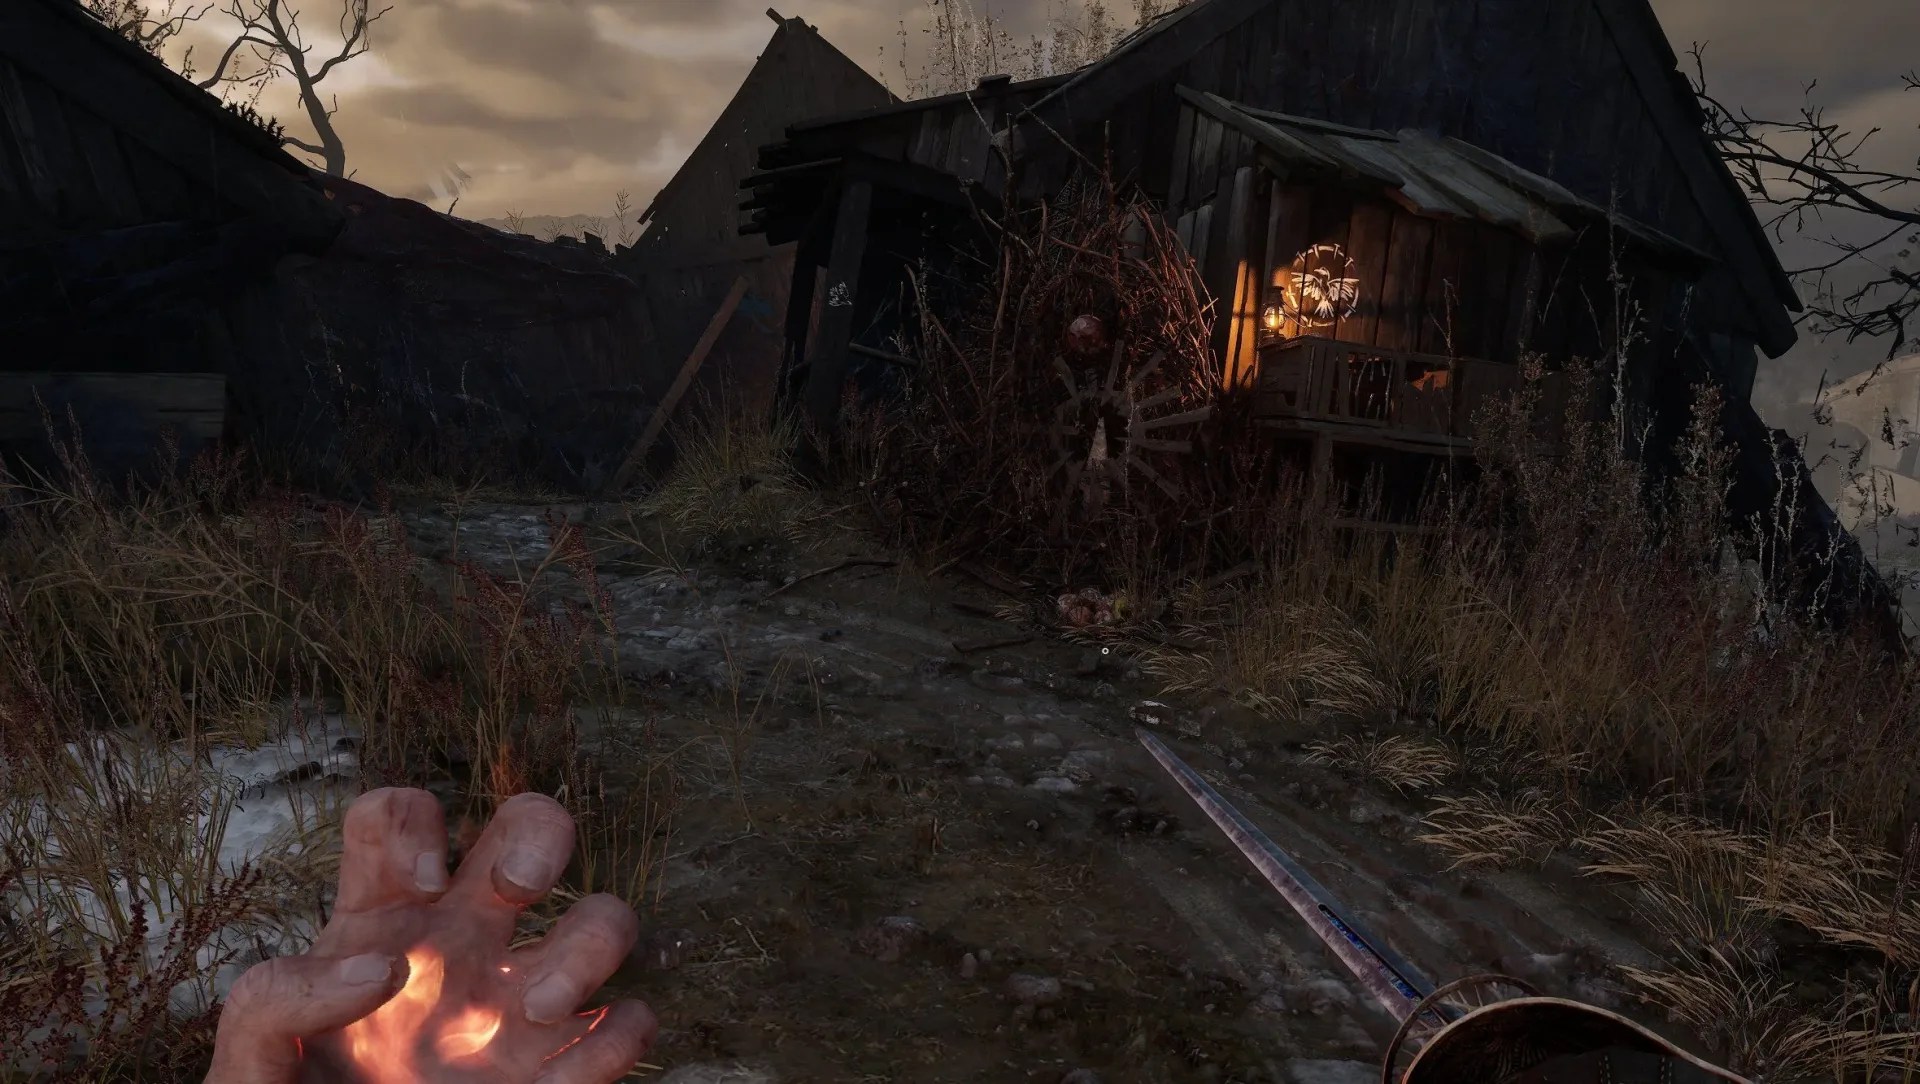
Valor Mortis becomes more demanding over successive chapters, with the difficulty noticeably increasing around Chapter 3. If your damage, healing supply or comfort with enemy pressure feels behind the curve, there is an early repeatable Catalyst farm close to the Marketplace lantern.
Catalysts are the game’s experience-point resource. They are used for progression and can also be spent on certain useful upgrades. The Marketplace route works because the lantern is close to a barn occupied by a group of standard enemies, allowing the encounter to be reset with little downtime.
How to run the Marketplace barn farm
- Fast travel to the Marketplace lantern.
- Find the barn beside the lantern.
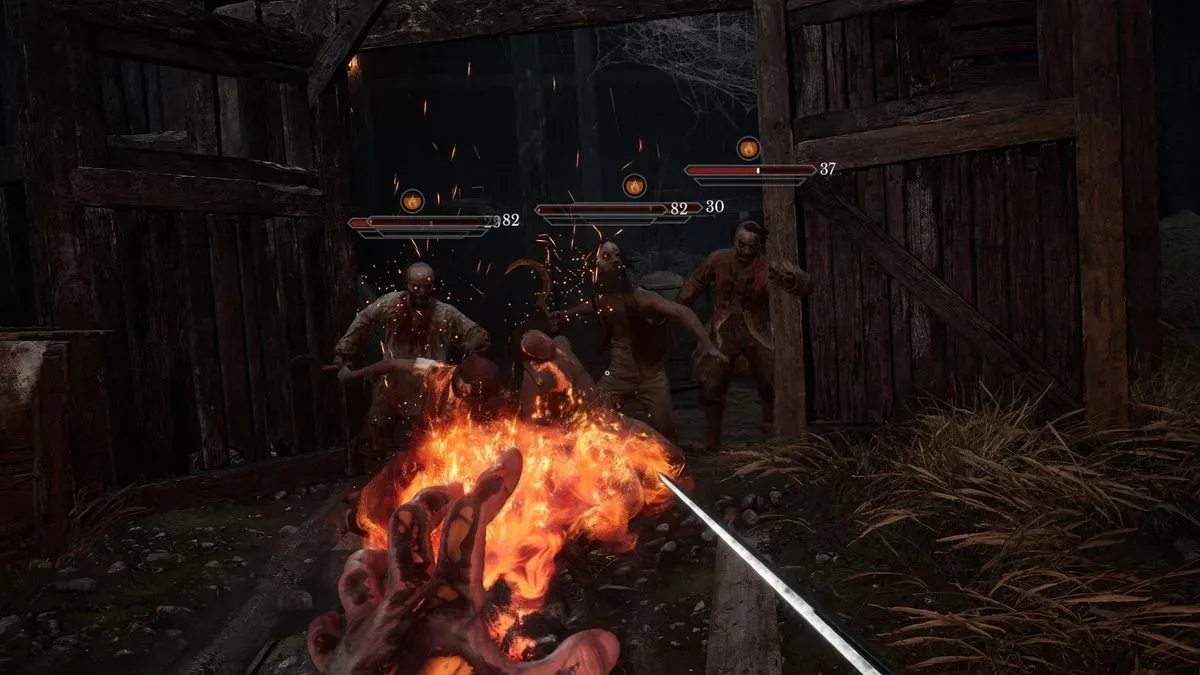
- Equip Fire Transmutation before approaching.
- Move toward the entrance until the enemies rush out.
- Use the barn doorway to funnel the group into a narrow space.
- Set the pursuing enemies on fire.
- When the group burns down, collect the 600 Catalysts awarded.
- Rest at the lantern to reset the enemies, then repeat as needed.
Transmutations are abilities that can be upgraded, and Fire Transmutation is the crucial component of this method. Rather than trading blows with several enemies at once, the doorway constrains their approach and lets the fire affect the pursuing group together. The enemies’ tendency to charge becomes an advantage: they cluster themselves into the space where the fire can do its work.
The route’s value is not only the 600 Catalysts per clear. It gives players a controlled setting to accumulate a few levels before moving into tougher content. In a game built around punishing encounters, that is preferable to repeatedly throwing yourself at a difficult route while underprepared and losing progress through avoidable deaths.
Do not mistake farming for a mandatory chore, though. A handful of extra levels is the practical aim described here, not an instruction to stay in the barn indefinitely. Use the loop when you need a specific purchase, want a safer buffer for the next chapter, or need material upgrades. Then return to exploration with a clear purpose for the resources earned.
Spend Catalysts with survival in mind
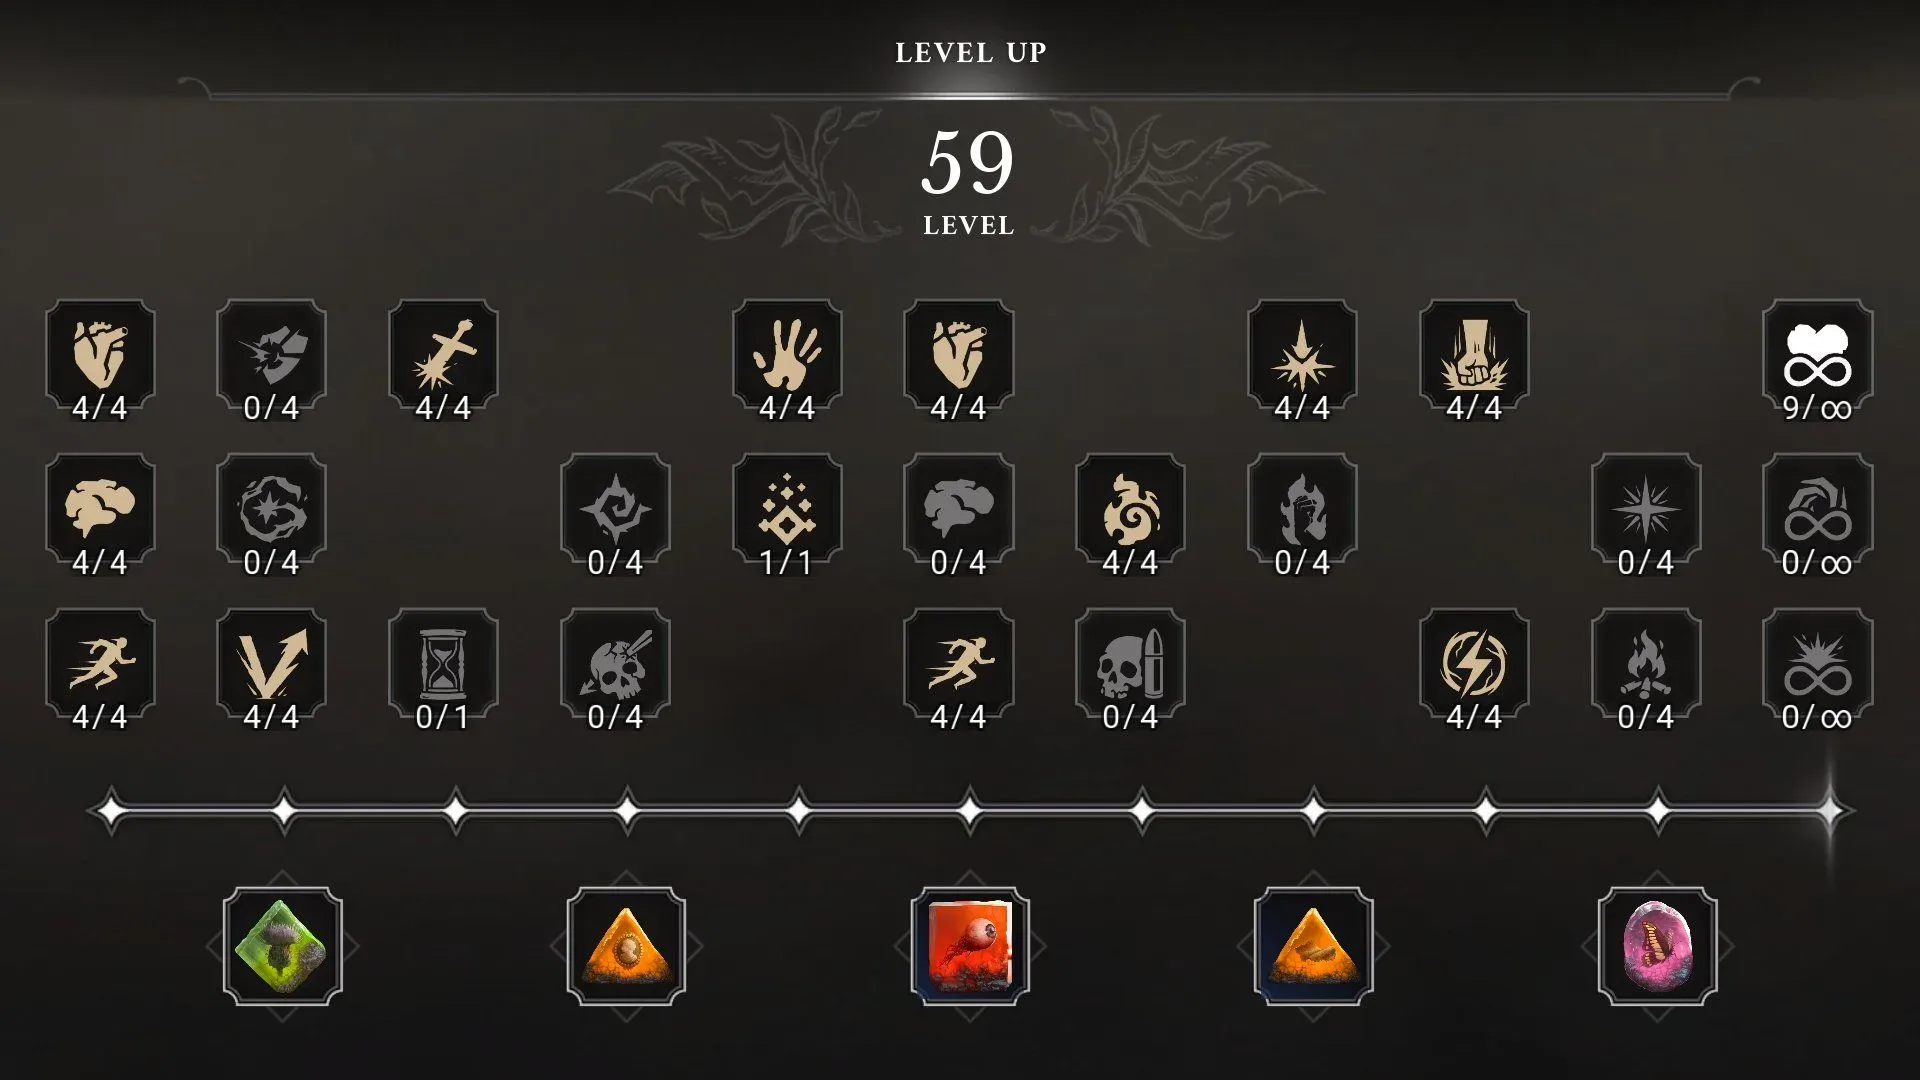
Once the church becomes available in the opening hours, Louis’s Laboratoire sells flask upgrades for Catalysts. These upgrades improve two essentials: how many flasks can be carried and how much healing each flask provides.
That makes flasks a high-value early investment. More effective healing does not just help during bosses. It also gives more freedom while exploring optional paths, learning enemy patterns and coping with the occasional ambush. A player with inadequate healing may be forced to retreat after a single bad exchange; a player with a larger or stronger supply has more chances to recover and continue.
The upgrades cost a meaningful amount, so inventory management becomes relevant. Catalyst Clots can be used to gain additional currency. If you are close to a flask upgrade and have Clots on hand, this is a sensible moment to use them rather than leave a major survivability improvement out of reach.
Louis and James also offer weapon and Transmutation upgrade materials. This creates a straightforward early resource decision:
- Buy flask improvements when healing capacity is the immediate issue.
- Buy weapon materials when enemies are surviving too many clean attacks.
- Buy Transmutation materials when an ability such as fire is central to your approach, including the Marketplace farm.
In practice, these needs overlap. Better fire capabilities support the Catalyst route; Catalysts from the route can fund flasks and materials; stronger healing and damage make the next exploration push less punishing. The key is to avoid treating the church vendors as an afterthought. A return visit can convert accumulated resources into direct improvements in both offense and resilience.
Green poison gas is a future problem, not an early challenge
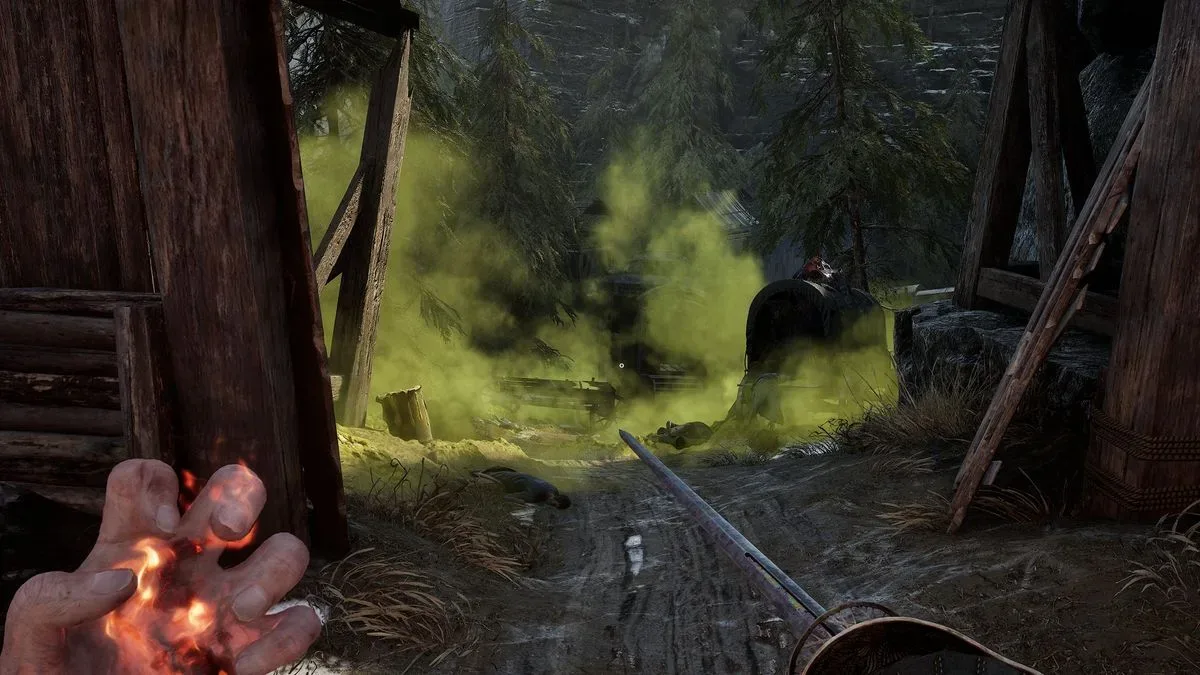
Green poison gas is one of the opening game’s clearest signals that not every visible route is currently accessible. Crossing it early results in death. The appropriate response is to mark the location mentally and continue onward rather than burn resources trying to force passage.
This is an important exploration lesson. A barrier is not necessarily a secret test of execution or a sign that you missed an obscure trick in the nearby room. In this case, progression eventually provides a way to move through the gas much later in the game. Until then, the hazard is functioning as a boundary.
That does not make those green-mist areas unimportant. They are worth revisiting once traversal through the gas becomes possible because they can contain strong optional items. The trade-off is that the reward paths are guarded by some of the game’s toughest combat encounters.
A useful habit is to keep a short return-later list while exploring:
- Green poison zones that currently cause immediate death.
- Doors, side passages or rewards you can clearly see but cannot safely reach.
- Optional areas where the enemy resistance seems disproportionately high for your current progress.
The practical implication is restraint. Skipping poison gas now is not missed content; it is efficient route planning. When the required ability arrives, returning with improved flasks, weapon upgrades and more experience with the combat system should make those optional challenges far more realistic.
Before engaging a crowd, inspect the room
Not every group encounter in Valor Mortis needs to be solved at sword point. The pistol can activate glowing objects in the environment, and some of those objects are traps designed to change the fight before it begins.
The possible results include releasing a cart that barrels through enemies or dropping heavy boxes onto distant snipers. These interactions can be conspicuous, but some are placed well enough that they are easy to overlook in the middle of a tense approach.
Make environmental scanning part of the encounter routine, especially when you see a large group:
- Stop outside the enemies’ immediate range if possible.
- Look at ground level for glowing targets near the crowd.
- Check above the enemies for suspended or elevated objects.
- Look along the route between you and the group for anything that could be released or moved.
- Use the pistol to trigger the trap before committing to melee.
This is not merely a way to save ammunition or speed up a fight. It is a way to reduce chaos. A group of enemies is more dangerous when several attacks arrive from different angles; a cart or falling object may remove some of that pressure at range. Likewise, a trap that eliminates snipers can prevent ranged damage from complicating a close-quarters encounter.
There will be situations with no obvious glowing trigger. In those cases, the scan still costs less than immediately walking into a multi-enemy brawl. If the room offers no mechanical advantage, proceed ready for a conventional fight—ideally with the Rapier equipped, weak points in mind and enough flasks to survive mistakes.
An efficient early-game loop
The opening hours become more manageable when these pieces reinforce one another. Explore normally, but do not force poison-gas routes. When you encounter a hard section, reassess whether it needs better execution, better upgrades or simply a later return. Use the Marketplace barn when you have a concrete reason to build Catalysts, then take that currency to the church for flasks and upgrade materials.
In combat, let the Rapier’s direct thrusts and quick parry options guide your approach to high-priority enemies, particularly bosses and durable single foes. For crowds, check for pistol-activated traps before engaging. The game provides routes around some pressure; using them is not avoiding the challenge so much as recognizing the tools placed in the level.
Valor Mortis asks players to observe: observe where enemies are vulnerable, where groups can be bottlenecked, where a lantern makes a farming route repeatable, where resources can be exchanged for survivability, and where an environmental hazard says “come back later.” Those observations are the foundation of a steadier first-person Soulslike run.