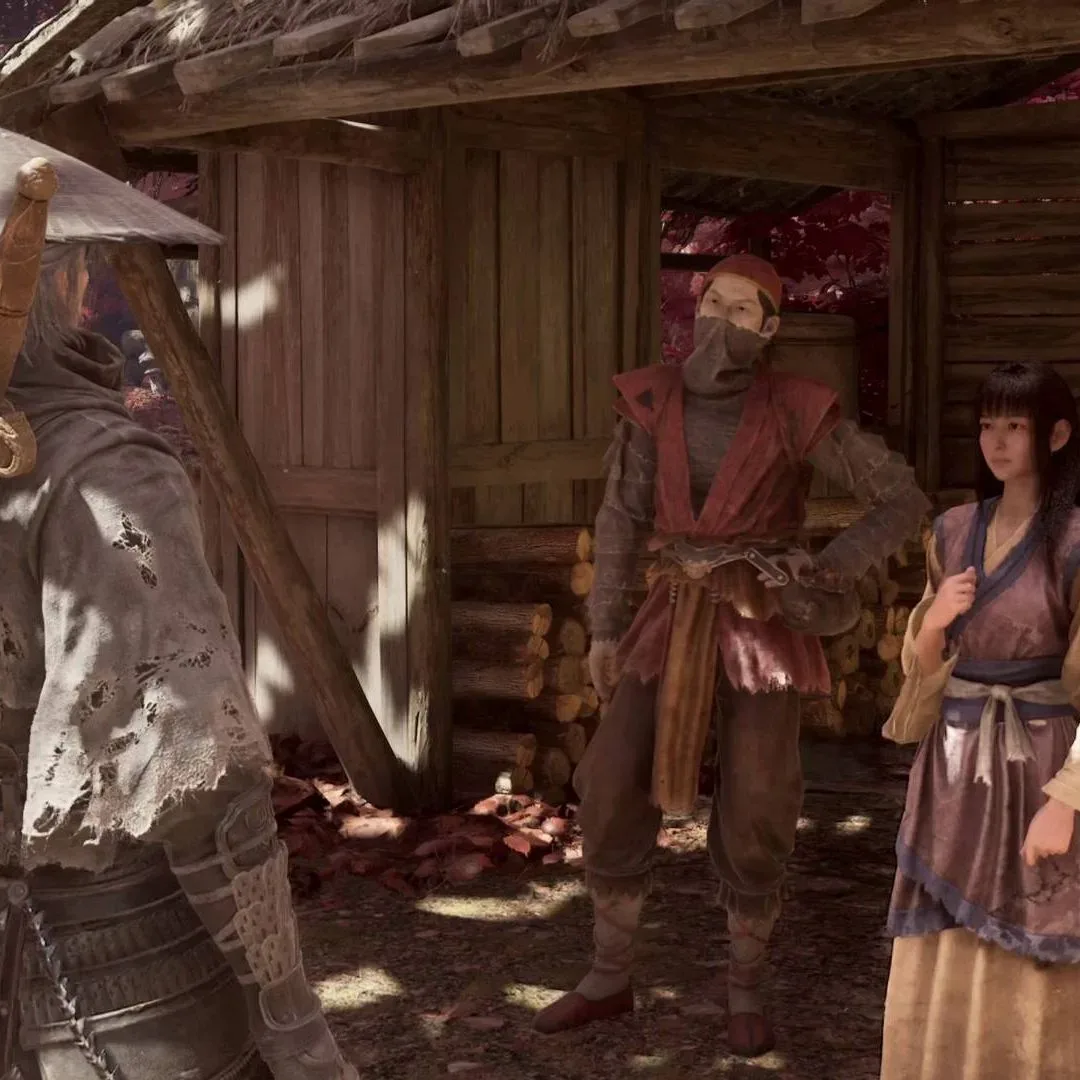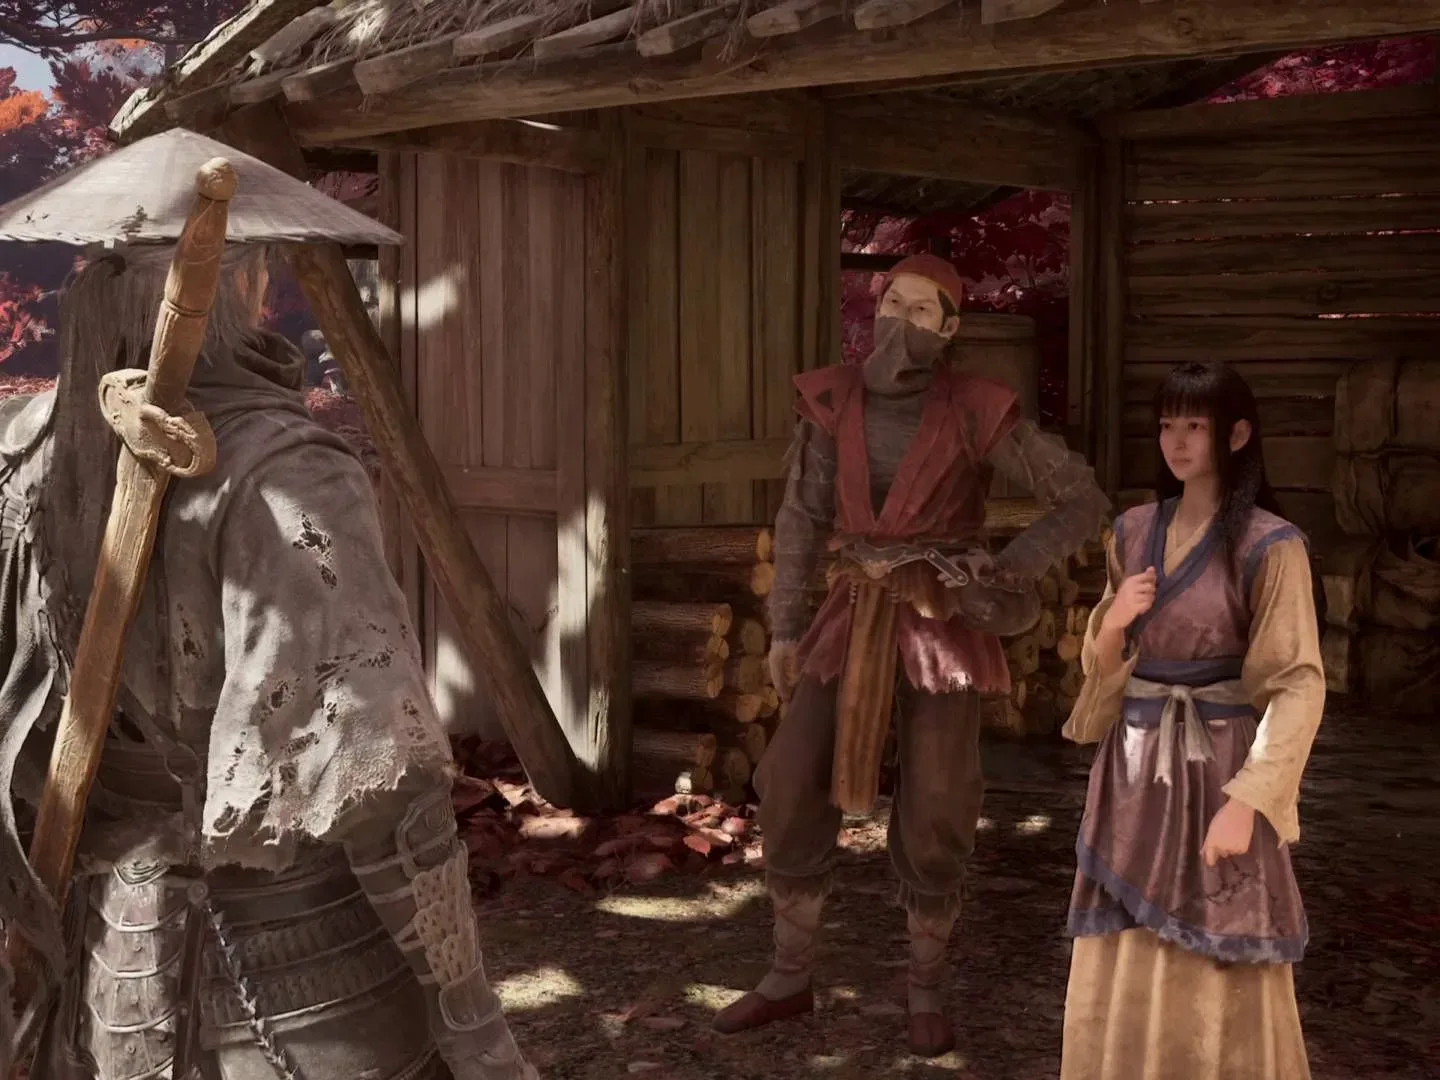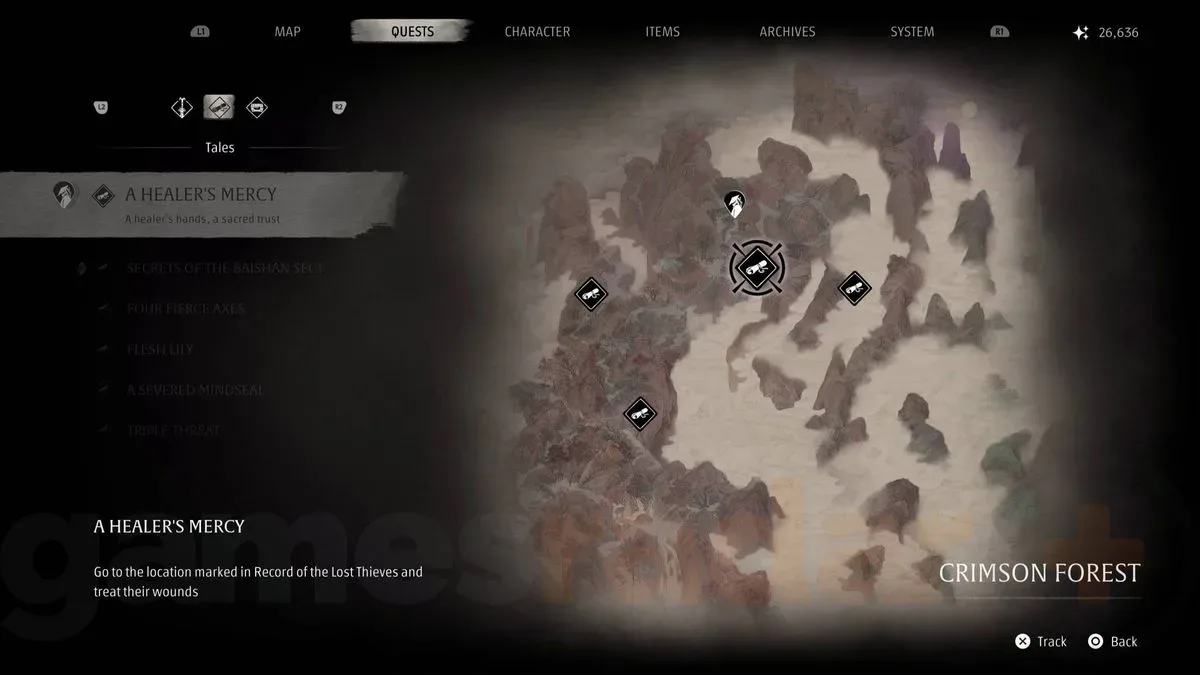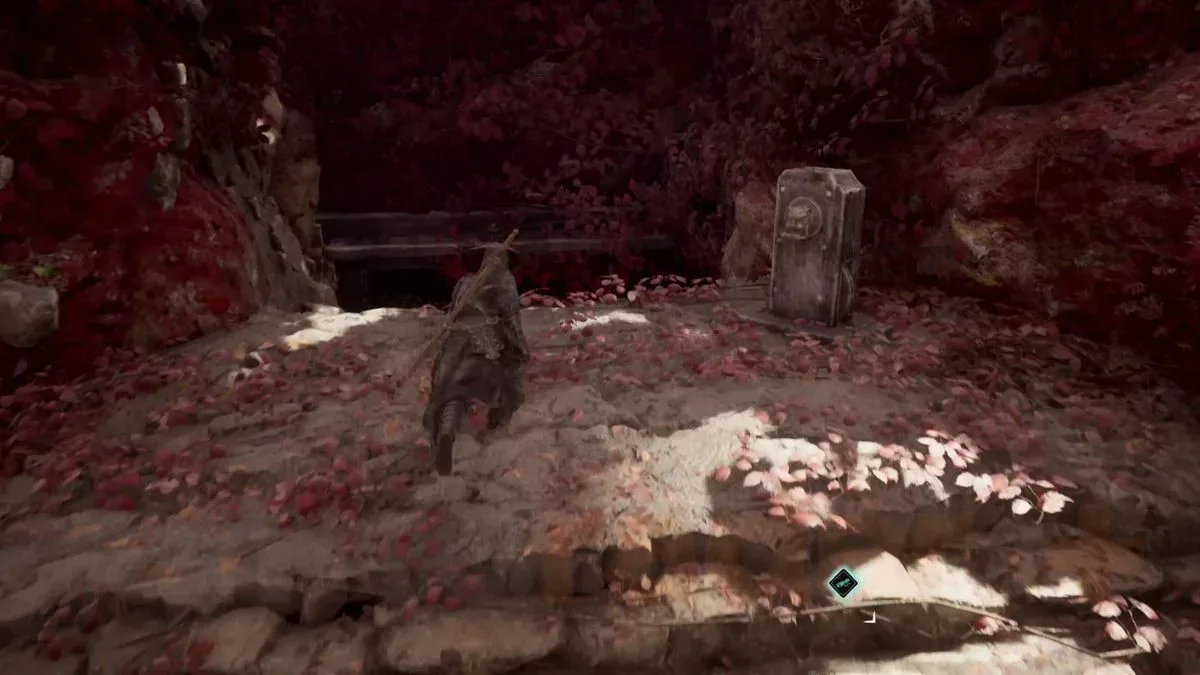
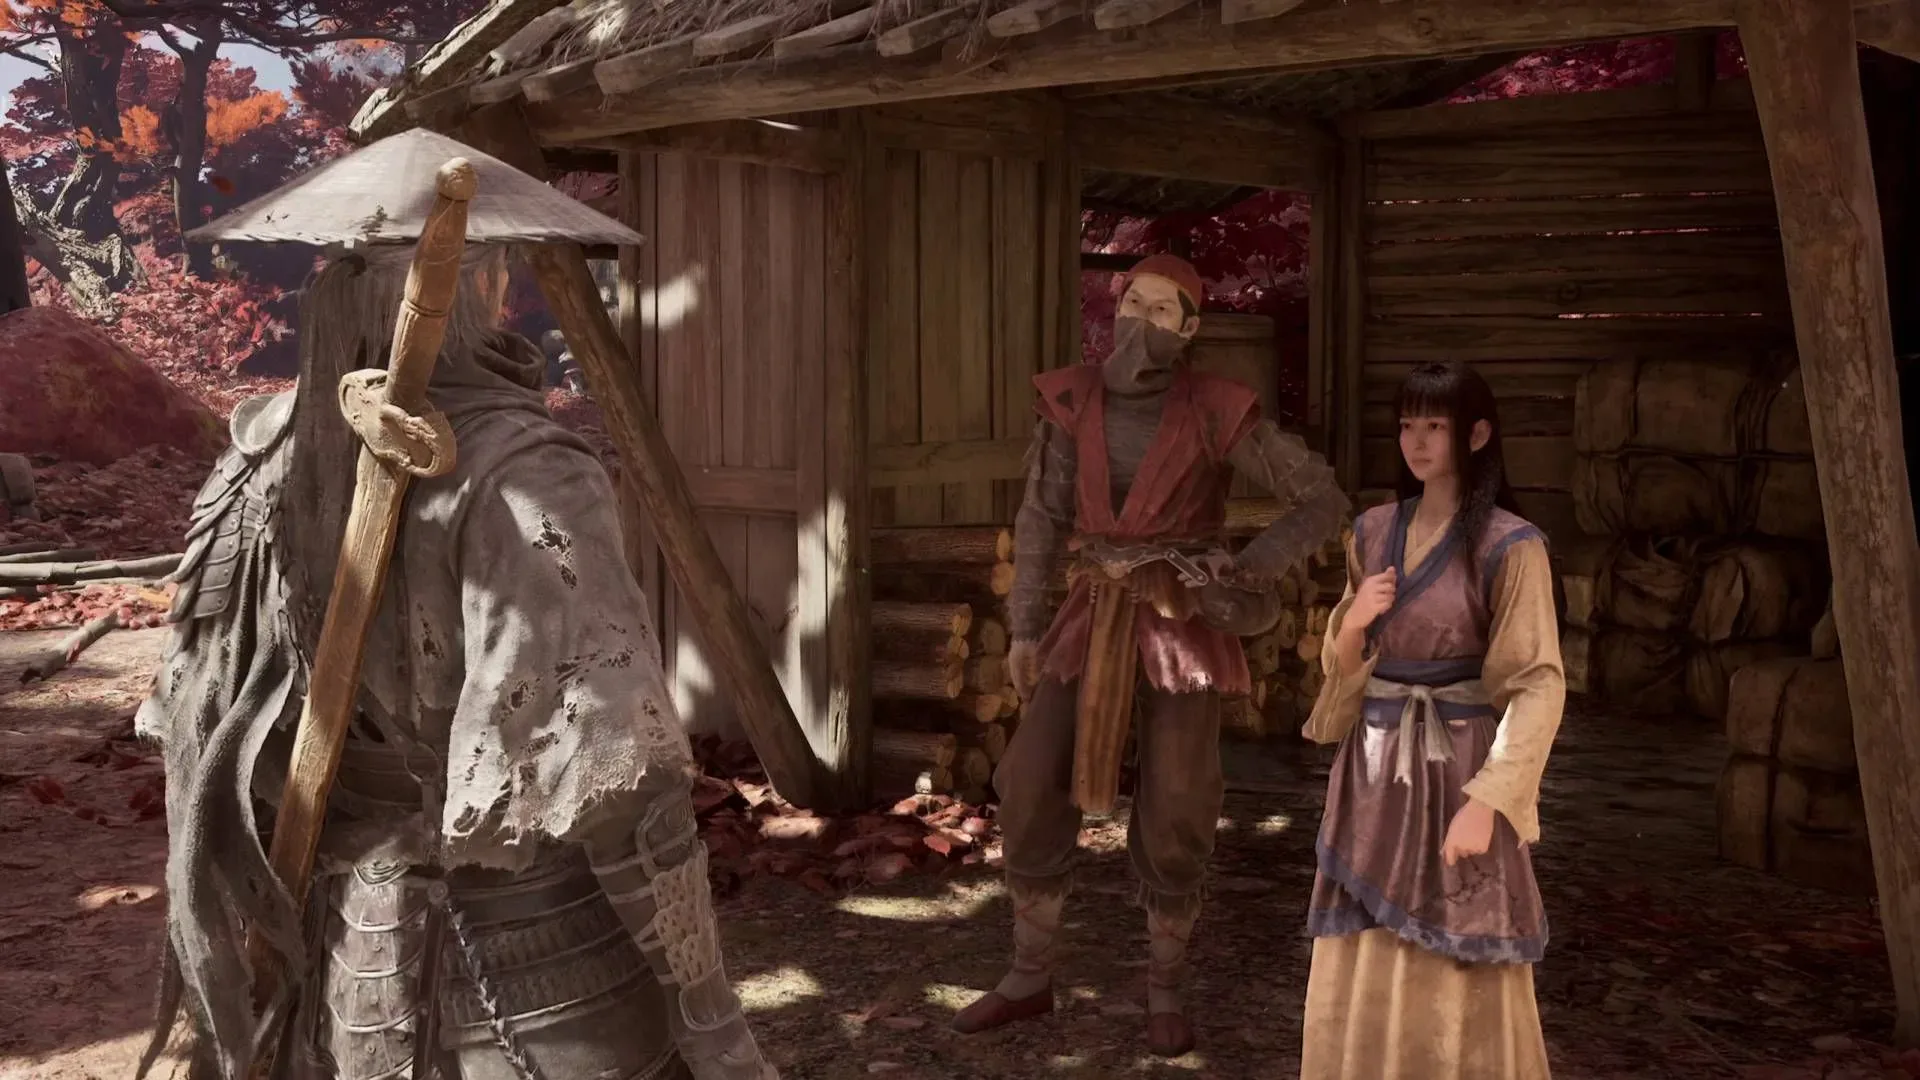
Phantom Blade Zero’s A Healer’s Mercy is a time-sensitive side quest with an unusually harsh consequence: push too far through the Crimson Forest story path and the four injured thieves die, ending the mission and apparently locking away its unique reward. The quest’s map markers identify the general search area, but they do not solve the important navigation problem: one thief is behind a locked dungeon door, and the key is tucked away through the Cliffside Lodge basement.
The safest approach is simple. Treat A Healer’s Mercy as priority business once it becomes available, complete it before proceeding beyond the Crimson Forest’s Cliffside Lodge area, and make a deliberate detour through the lodge to collect the Thieves’ Camp Dungeon Key. The quest is not about winning a difficult fight or managing a limited supply of pills. Once each injured thief is found, speaking to them automatically gives them Yu’er’s medicine.
That makes the task a navigation challenge with a missable-state warning attached. Finish all four rescues, return to Yu’er at the Thieves’ Camp, and the reward is the Calming Gourd Accessory. Its effect is particularly practical: using medicine clears a broken-guard state and prevents Sha-Chi consumption for three seconds.
Do this before advancing through Crimson Forest
The crucial rule is to help every thief before reaching the end of the Crimson Forest region. A cautious cutoff is the Cliffside Lodge: the required people and dungeon key are all accessible at or before that point, so there is no advantage in pressing onward first. In fact, advancing the main route is the one action that puts completion at risk.
In games with missable side content, the wording “before the end of the region” matters. It does not necessarily mean a clearly labeled point of no return will appear the moment danger begins. The practical takeaway is to pause the main objective, sweep the nearby camp and lodge routes, and only resume story progression after reporting back to Yu’er.
On PS5, the map offers a useful but deliberately imprecise aid. Select a thief marker, then swipe up on the touch pad to place a corresponding marker in the world. Think of that marker as a bearing rather than a precise pin: it narrows the direction, while terrain, tunnels, doors and vertical paths still determine the actual route.
A Healer’s Mercy: fast completion order
The route below minimizes backtracking while naturally obtaining the key required for the final rescue.
- From the Outlaw Trap Bell, rescue Lean Monkey through the opened pit and tunnel.
- Return to the Outlaw Trap Bell area and enter the Memory Flower cave for Flying Rat.
- Travel to Cliffside Lodge, enter its basement and search the upper dirt path for the Thieves’ Camp Dungeon Key.
- Use the basement-connected route to reach Slippery Eel.
- Return to Thieves’ Camp, unlock the dungeon and speak to Night Raven.
- Report back to Yu’er for the Calming Gourd Accessory.
The first two rescues are close to the Outlaw Trap Bell. The latter half revolves around Cliffside Lodge and the dungeon key, so collecting the key before returning to camp is the cleanest way to avoid an unnecessary trip.
Related coverage includes Phantom Blade Zero: How to Complete A Healer's Mercy Before It Fails.
Lean Monkey location
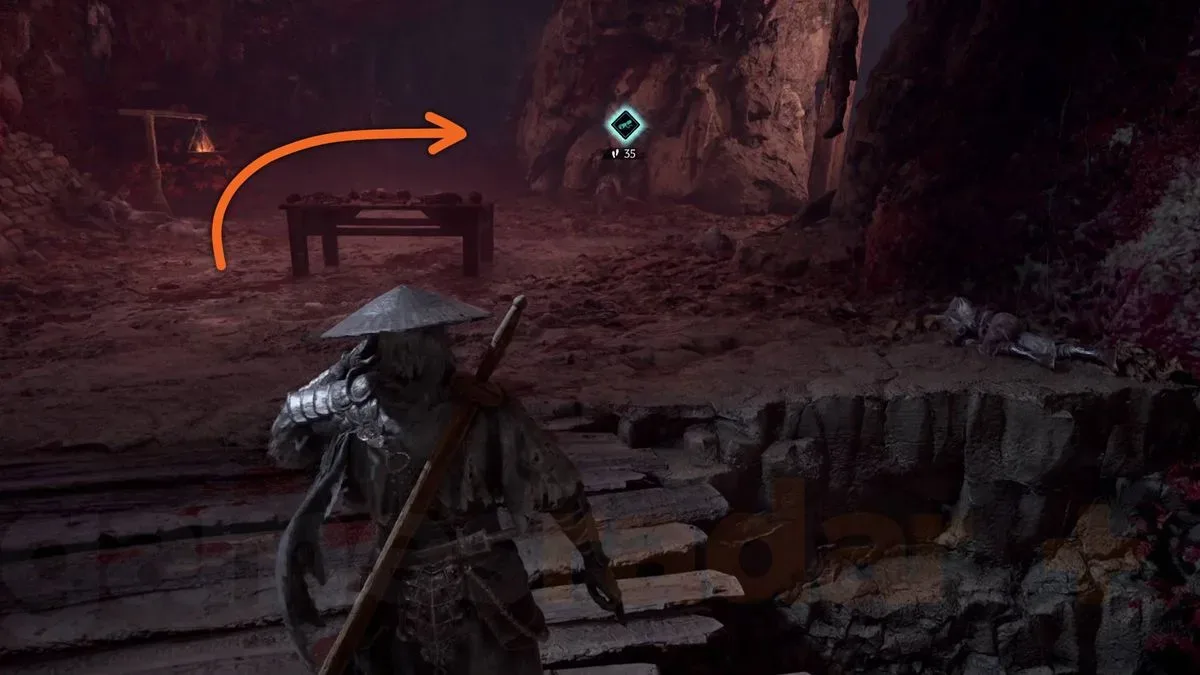
Start at the Outlaw Trap Bell. Nearby is a pit that must have been opened with the Crimson Forest Tunnel Crank. Drop down into it, then look for a table positioned near a wooden bridge. Lean Monkey is in the tunnel beyond that table.
There is no special delivery menu or separate interaction requirement here. Speak to Lean Monkey and Yu’er’s life-saving pills are handed over automatically. That same pattern applies to every thief in the quest, so do not spend time hunting for a manual-use prompt or trying to equip the medicine.
The useful landmark sequence is: Outlaw Trap Bell, opened pit, wooden bridge, table, tunnel. If a world marker seems close but does not lead directly to the target, the lower path through the pit is the missing piece.
Flying Rat location
Return to the Outlaw Trap Bell and take the path to the right. Enter the large cave marked by a blue Memory Flower outside. This cave is also beside the uphill route connected to the quest involving the Nimble Thief questions, making it an easy location to recognize if that path is already familiar.
Flying Rat is not deep inside the cavern. Shortly after entering, look left for machinery. The thief is on the ground beside it. Speak to Flying Rat to administer the medicine automatically.
This is the most direct rescue of the four, but it is also an example of why a map marker alone can be insufficient. The cave entrance itself, rather than the exact interior position, is the main navigation clue. The blue Memory Flower provides the visual confirmation that the correct cave has been found.
How to get the Thieves’ Camp Dungeon Key
The key is mandatory for Night Raven, but collecting it also fits neatly into the path to Slippery Eel. Head to Cliffside Lodge, which lies not far beyond the Thieves’ Camp.
First, locate the crank on the lodge’s upper floor. It opens access to the basement. Once underground, search thoroughly rather than rushing along the first obvious route. The Thieves’ Camp Dungeon Key is on a dead body placed on the upper dirt path in the basement.
This is the quest’s major gate. Slippery Eel can be reached by a nearby ladder route, but the dungeon key cannot be skipped: it is only available through the Cliffside Lodge basement. Picking it up now prevents the common mistake of finding three thieves, returning to camp, then discovering the fourth is inaccessible without retracing the whole lodge route.
What “upper dirt path” means in practice
The basement has enough structure to make a quick pass unreliable. Do not assume that reaching an exit or a ladder means the dungeon key has been collected. Check the raised dirt route and the corpse on it before leaving. The key is an item pickup, not something awarded merely by opening the basement or reaching Slippery Eel.
That distinction is important because the quest contains two closely related objectives: help Slippery Eel, then unlock the Thieves’ Camp dungeon for Night Raven. The first can be approached from the ladder, while the second absolutely depends on the basement search.
Slippery Eel location
After obtaining the Thieves’ Camp Dungeon Key, continue along the basement route to its end and open the door there. It leads to a small clearing along the cliff, where Slippery Eel is sitting.
There is a wooden ladder nearby that can be used to climb out. It also provides a quick way down to Slippery Eel’s clearing if all that is needed is the rescue itself. However, descending that ladder first does not solve the key requirement. The lodge basement remains essential because it is the sole route to the Thieves’ Camp Dungeon Key.
In short: the ladder is a shortcut for the person, not the solution for the quest. Clear the basement and take the key before treating the cliff route as complete.
Night Raven location
With Slippery Eel helped and the key in hand, return to the Thieves’ Camp. Use the Thieves’ Camp Dungeon Key on the dungeon door. Night Raven is immediately easy to spot after entering: the final injured thief is lying on the ground to the left.
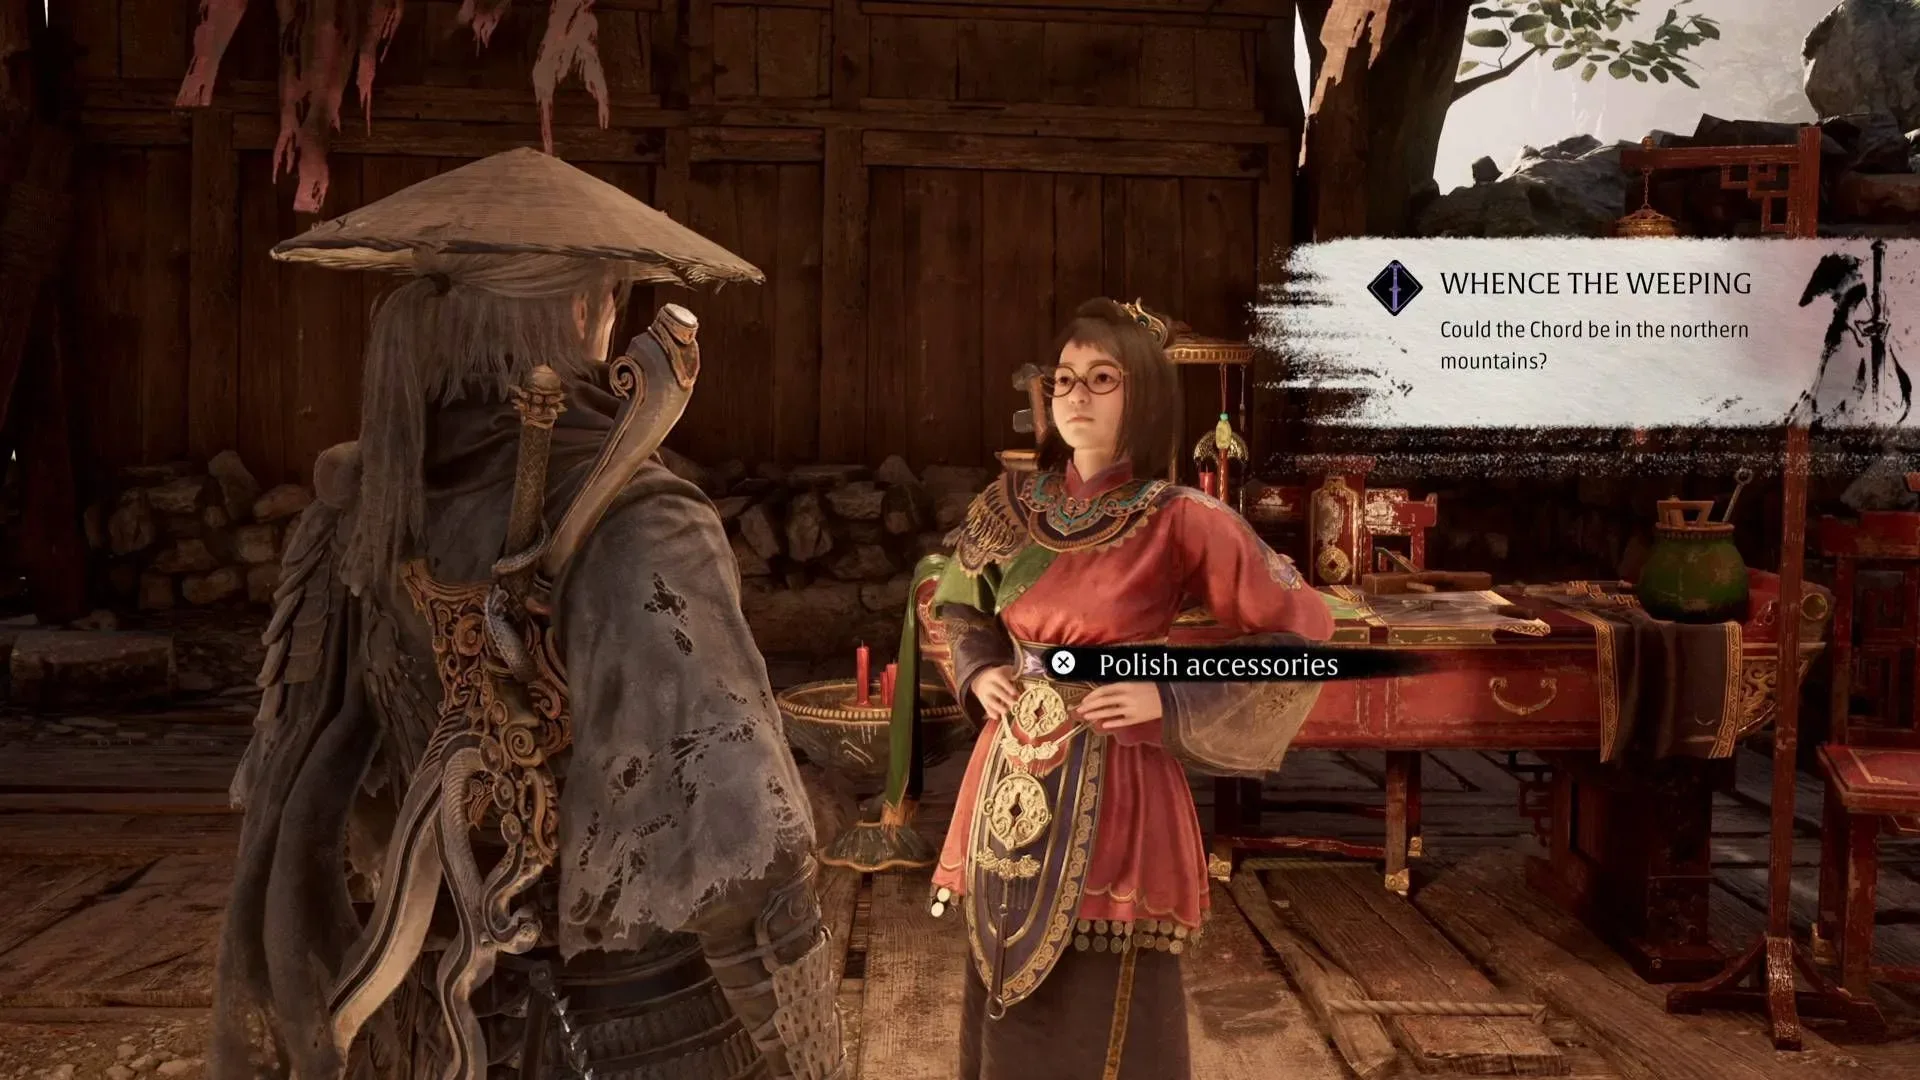
Speak to Night Raven to complete the fourth and final rescue. At that point, the urgent part of A Healer’s Mercy is over, but do not forget the formal quest turn-in. Return to Yu’er in the Thieves’ Camp to receive the reward.
Optional dungeon exploration and the Bastion shield Phantom Edge
The dungeon is more than a doorway to Night Raven. It also contains additional valuables, including one of Quick Hand Zhang’s Crimson Forest treasures, two Sha-Chi Amber Fragments and the Brass Chest Guard Accessory.
Some of that exploration is conditional. Access to certain loot and to the small Lakeside Arch Bridge area beyond the dungeon requires the Bastion shield Phantom Edge. A Phantom Edge is a specific combat ability or tool; in this case, Bastion’s relevant function is blocking crossbow-bolt traps. Without it, the safest interpretation is that these portions of the dungeon are not yet fully explorable.
That does not prevent completion of A Healer’s Mercy itself. Night Raven is at the dungeon entrance area, while Bastion is relevant to deeper optional routes and their trap hazard. Players missing the shield should still rescue Night Raven and report to Yu’er rather than delaying a time-sensitive quest for optional loot.
For a broader reminder that route design can deliberately make navigation part of the challenge, see our look at how an Ocarina of Time remake proposal preserved Hyrule’s detours. Crimson Forest’s issue is smaller in scale, but the same general lesson applies: a destination marker is not always a complete route.
Calming Gourd Accessory reward explained
After saving Lean Monkey, Flying Rat, Slippery Eel and Night Raven, return to Yu’er in the Thieves’ Camp. Completing A Healer’s Mercy awards the Calming Gourd Accessory.
The accessory triggers when medicine is used and provides two effects:
- It recovers the player from having their guard broken.
- It stops Sha-Chi from being consumed for three seconds.
A broken guard is the vulnerable state created when defensive pressure overwhelms a character’s ability to keep blocking. Recovering from it at the same time as healing can turn medicine into both a survival tool and a defensive reset. Meanwhile, a three-second pause on Sha-Chi consumption can create a short window in which this resource is preserved rather than drained.
The evidence available indicates there may be no alternate way to obtain the Calming Gourd if the mission fails. That makes the reward more significant than ordinary optional loot. Even players who do not plan around guard breaks or Sha-Chi immediately have a strong reason to secure it while the Crimson Forest rescue window is still open.
Checklist before leaving Crimson Forest
- Lean Monkey: rescued in the tunnel beyond the table near the wooden bridge, accessed via the Outlaw Trap Bell pit.
- Flying Rat: rescued inside the large Memory Flower cave to the right of Outlaw Trap Bell.
- Thieves’ Camp Dungeon Key: collected from the corpse on the upper dirt path in Cliffside Lodge’s basement.
- Slippery Eel: rescued in the cliff clearing beyond the basement route’s door.
- Night Raven: rescued on the left immediately after opening the Thieves’ Camp dungeon.
- Yu’er: visited after all four rescues to finish the quest and claim the Calming Gourd Accessory.
The key point is urgency, not combat difficulty. Handle the four conversations, make the Cliffside Lodge basement search non-negotiable, and turn in the quest before Crimson Forest progression closes the opportunity.