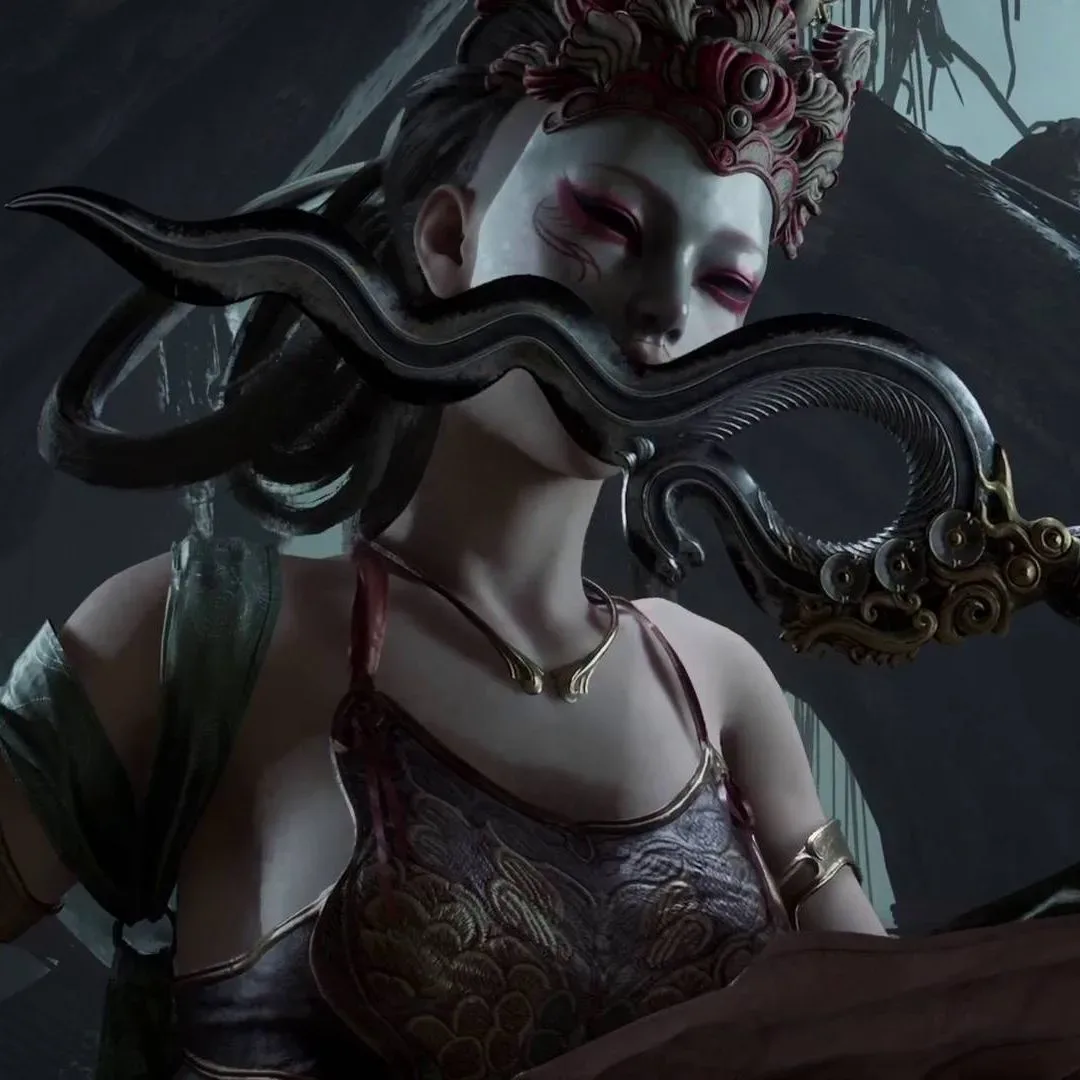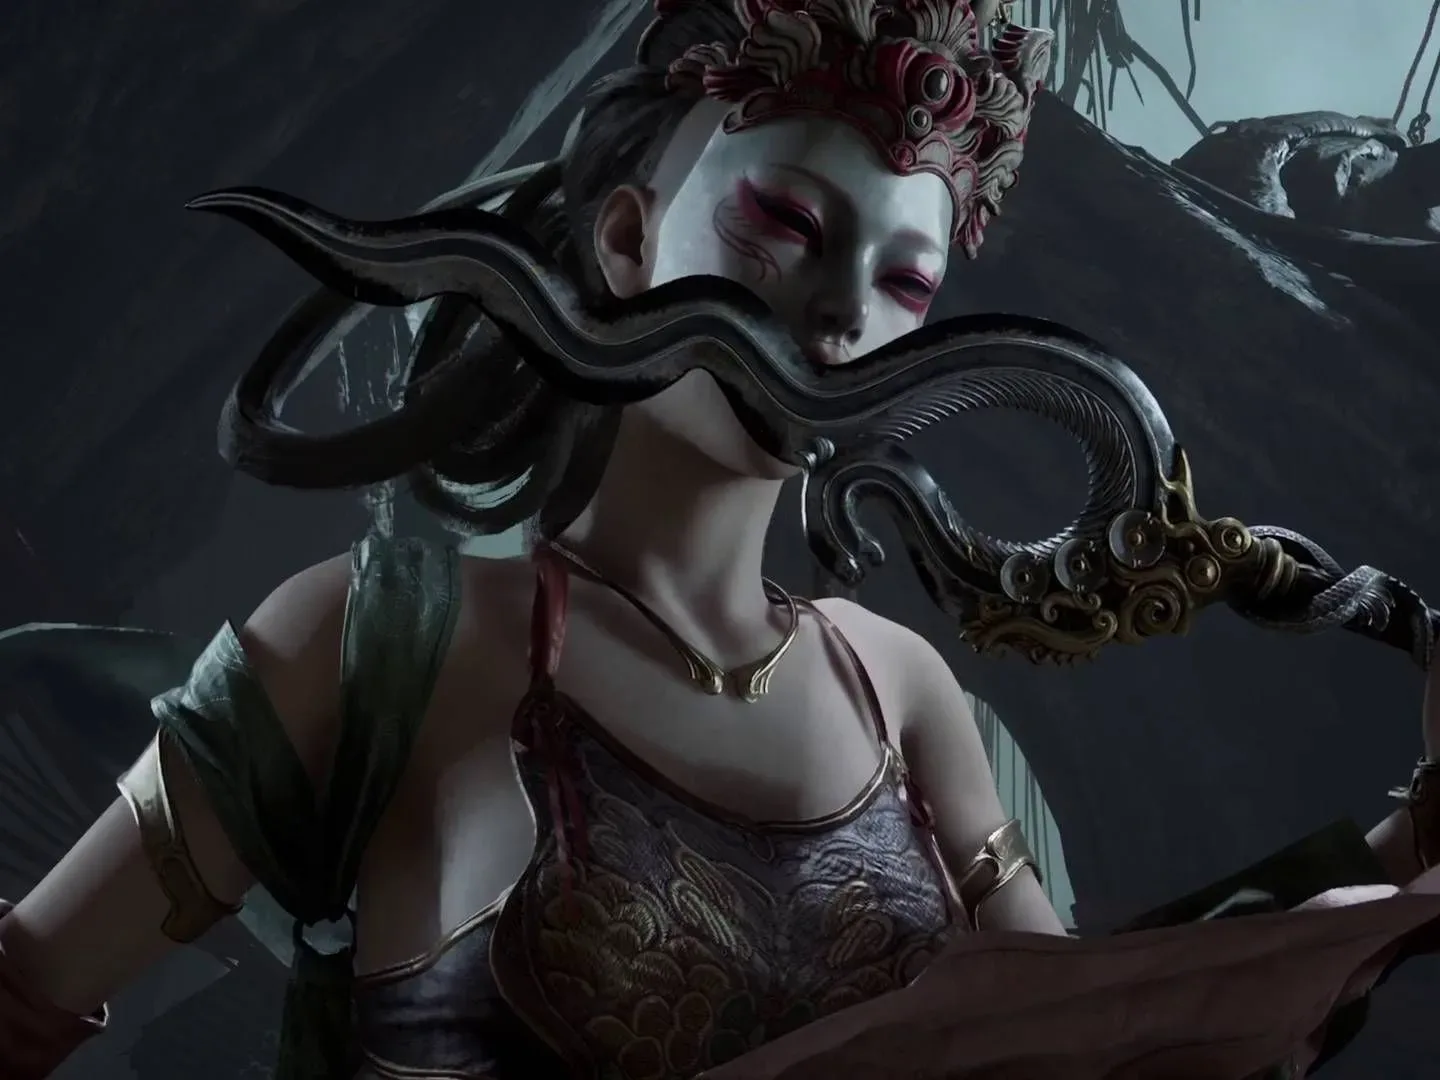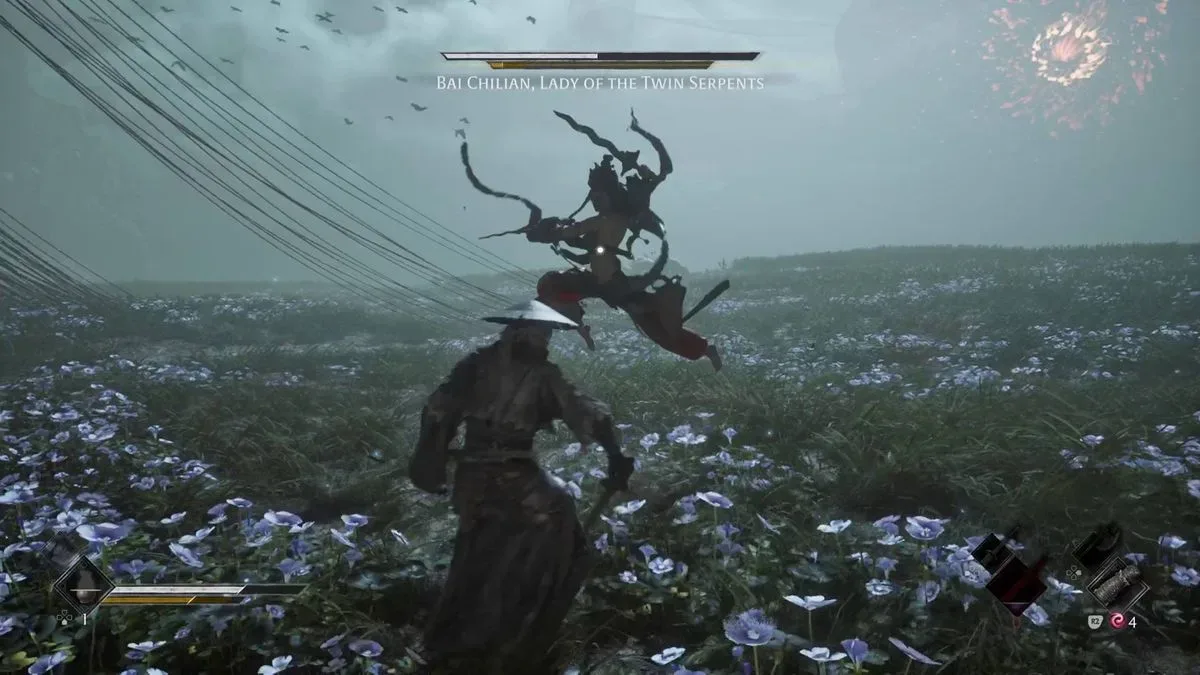

Bai Chilian, the Lady of the Twin Serpents, is a mandatory story boss in Phantom Blade Zero and a fight built to punish impatience. She moves between ranged pressure, sudden melee strings and teleporting repositioning, while her ribbon-snake attacks can make both spacing and camera control feel uncomfortable. Beating her is less about chasing every opening and more about waiting for readable approaches, protecting your own Sha-Chi, and converting a guard break into meaningful damage.
The encounter has two distinct fights. Depleting Bai Chilian’s first health bar leads to her Sacrificial Serpent form, which uses a substantially different set of attacks and movement options. Fortunately, there is a checkpoint before phase two. That matters: phase one is where players can learn the core rhythm without having to replay it every time they are defeated by the faster follow-up form.
Before the fight: understand the win condition
The central mechanic to watch is Bai Chilian’s Sha-Chi bar. In practical terms, this is her guard or posture resource. Meeting attacks with blocks and, where timing permits, parries reduces that bar. Once it breaks, Bai Chilian is staggered and vulnerable to a concentrated offensive sequence. That window is the fight’s main source of reliable damage.
This means the safest game plan is not necessarily to attack whenever Bai Chilian is at range. Her mobility lets her switch quickly from projectile-style pressure to close combat, so blindly advancing can carry the player into the very attacks they need to avoid. Instead, establish some room, let her commit to an approach, and use defense to create the opening.
Players who have already overcome the Three-Faced Puppet should have useful preparation for this style of encounter: respond to attacks with deliberate defense, then capitalize decisively once the enemy’s guard is gone. Bai Chilian is fast, but many of her phase-one strikes have visible windups. The encounter asks for recognition rather than constant aggression.
Phase 1: fight Bai Chilian on your terms
Do not over-chase her
The most important adjustment is to let Bai Chilian initiate. She regularly alternates between ranged and melee combinations. Running at her during that transition can leave you exposed to the ranged portion of her kit or put you in a bad position for the next teleport.
Hold a measured distance instead. When she closes in, block or parry the attacks you can recognize. A parry is a precisely timed defensive response; it is valuable here because it helps wear down Sha-Chi. A block is the less timing-dependent defensive choice and is preferable when an attack is unfamiliar, when the camera has become unhelpful, or when survival is more important than forcing a perfect response. The immediate goal is to get Bai Chilian to exhaust her own guard, not to win a race of ordinary weapon hits.
- Give Bai Chilian space to begin an attack sequence.
- Use her approach to identify the windup rather than swinging first.
- Block consistently and parry the attacks whose timing you have learned.
- When Sha-Chi breaks, close in and turn the stagger into a full damage opportunity.
Evade the ribbon snakes instead of contesting them
Several of Bai Chilian’s moves summon large snakes formed from ribbons that crash toward the player. These are primarily positioning checks. The practical response is to leave the impact zone quickly, generally by dodging rather than trying to stand your ground.
Related coverage includes How to Defeat Bai Chilian in Phantom Blade Zero.
The complication is that Bai Chilian may teleport and shift around during these attacks. That movement can drag the camera into an awkward angle and make a straightforward escape harder to judge. When this happens, simplify the decision: focus on creating distance from where the ribbon snakes will land, rather than trying to preserve ideal lock-on positioning or retaliate immediately. Surviving the sequence preserves the chance to return to the fight’s defensive rhythm.
This is one of the moments where restraint has a tangible payoff. A missed attack against a mobile boss costs time. A mistimed response to multiple large snakes can cost the entire attempt.
Respect the black-and-white warning
Bai Chilian’s most dangerous phase-one sequence begins with a Sha-Chi-draining strike marked by a brief black-and-white effect on the screen. She can rapidly connect it into a lethal attack signaled by a red flash. The threat is particularly severe because she can begin the sequence after a teleport, making it arrive with very little warning if the player is already committed to an attack.
There is no indicated trick that makes this chain harmless. Treat it as a permanent emergency cue. Whenever Bai Chilian teleports or reappears nearby, be ready to dodge sideways instead of assuming there is a free opening. Sideways movement is specifically useful because it moves the character out of the line of the incoming follow-up while avoiding the instinct to retreat directly into uncertain space.
Phase one rewards calm defense. Bai Chilian’s conventional attacks can be learned, but her Sha-Chi-draining chain is the reason not to treat any teleport as harmless downtime.
Best weapons for the first form
Jagged Steel is especially effective because Bai Chilian, as a human boss, can suffer its bleed damage. Bleed is a damage effect that continues to add pressure beyond the immediate weapon strikes. The best time to use it aggressively is after a guard break, when Bai Chilian cannot immediately retaliate. That pairing—defensive Sha-Chi damage first, then rapid Jagged Steel offense—fits the encounter’s structure well.
The Outlaw Warblade is another strong option, but it comes with a meaningful drawback: its self-wounding property makes it riskier. It may suit a player comfortable with the trade-off, but it is not the conservative recommendation for someone still learning a boss that already has devastating burst damage. The Wooden Sanguine remains useful as a parrying tool at this point, so players who have built their approach around its defensive utility do not need to abandon it simply because Bai Chilian is a human opponent.
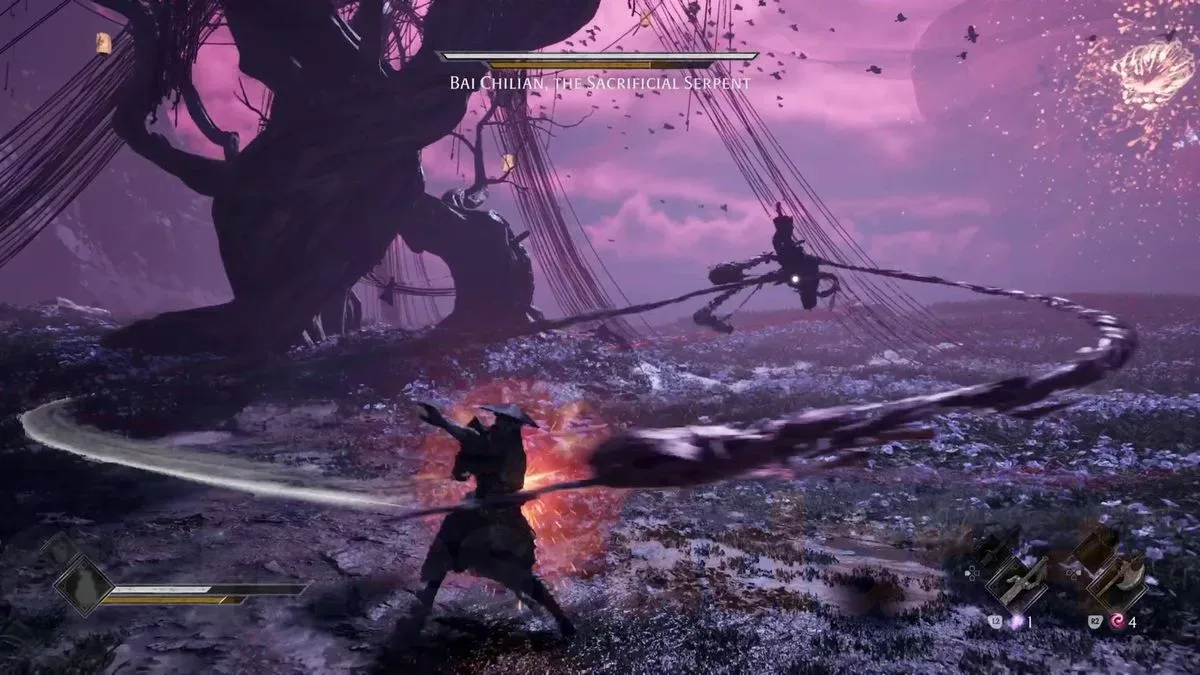
Phase 2: the Sacrificial Serpent changes the pace
At zero health, Bai Chilian transforms into the Sacrificial Serpent and the battle begins again from the checkpoint. Her moveset changes sharply: she can swing around the arena on puppet-like strings and gains faster, less predictable pressure. The imagery makes the fight feel like a combat version of a puppet performance—an appropriately strange contrast with the deliberate puppet-show aesthetic discussed in this look at a deliberately puppet-styled game presentation—but the gameplay takeaway is simple: phase two provides fewer comfortable opportunities to gamble on tight timing.
The broad strategy remains intact. Defend, reduce Sha-Chi, trigger a guard break, then attack. What changes is the balance between blocking and parrying.
Favor blocks when her new attacks become chaotic
The Sacrificial Serpent can launch quick sucker punches with attached ribbon snakes and can transform into a spinning, blender-like attack that travels around the arena. These attacks are harder to predict and have more demanding parry timing than much of phase one. Trying to parry every hit can turn a stable run into a sudden defeat.
Blocking is therefore often the more dependable choice. This is not a failure to engage with the combat system; it is a tactical use of the system’s safer defensive layer. Use parries where the timing is clear, but preemptively block the fast or visually cluttered attacks. Since the battle still revolves around wearing down Bai Chilian’s Sha-Chi, steady successful defense remains productive even when a perfect parry is unrealistic.
Exploit guard breaks immediately
Phase two has a stricter requirement after a stagger: reach Bai Chilian at once. If more than a couple of seconds pass before the player starts attacking, she can recover, resume moving and begin attacking again. The guard break is not an invitation to hesitate, heal, or wait for a more comfortable angle. It is a short-lived damage appointment.
- Recognize the Sha-Chi break.
- Move directly toward Bai Chilian without delay.
- Begin attacking as soon as you reach her.
- Continue pressure while she is unable to retaliate and her Sha-Chi begins to regenerate.
This is also why overly distant positioning can have a cost. Space is useful when defending against her rushes, but standing so far away that a guard break cannot be punished wastes the resource you spent the previous exchange building. Try to maintain a safe mid-range position: far enough to read attacks and dodge ribbon-snake impacts, close enough to reach a staggered target promptly.
Let the Illusion of the Chord help
After roughly 20% of Bai Chilian’s phase-two health has been removed, an Illusion of the Chord appears to assist. This aid makes the process of breaking Bai Chilian’s guard significantly easier. Its arrival changes the practical priorities of the rest of the fight: survival and clean defense become even more valuable, because staying alive long enough to receive the help lowers the burden of winning every exchange alone.
Rather than changing into an all-out attacker once the ally appears, keep looking for the same strong pattern: defend through dangerous movement, watch Sha-Chi, and charge in when the break happens. The assistance improves the opportunity; it does not eliminate Bai Chilian’s ability to recover if the player is slow to capitalize.
Ignore the large idle snakes
The Sacrificial Serpent can summon multiple large, idle ribbon snakes while sitting in the center. Each snake can be destroyed, and doing so removes a substantial amount of Bai Chilian’s Sha-Chi. That sounds like an obvious priority, but it is generally more efficient to stay out of danger and allow the Chord to launch its large Sha-Chi-damaging projectile.
Once that attack has done its work, move in for the resulting opening. This avoids spending time individually destroying targets while Bai Chilian controls the center of the arena. It also preserves the fight’s most reliable rhythm: evade the set piece, let the guard resource collapse, then punish the boss herself.
Rewards and the Crimson Forest point of no return
Defeating both forms awards the Broken Illusory Pipa, a key story item connected to the Whence The Weeping quest. The victory also grants the White Serpent & Crimson Viper dual-wield weapon and the Resonance Talisman Accessory, which raises maximum Sha-Chi. Both rewards have obvious practical value for the encounters ahead: the swords offer a new dual-wield option, while more maximum Sha-Chi gives the player a larger reserve in a combat system where that resource is central to defense and guard interactions.
This boss also ends the Crimson Forest region, with the player moved immediately to the next area. Before committing to the victory, it is worth making sure unfinished business in the region has been addressed. In particular, the available guidance identifies A Healer’s Mercy and the Nimble Thief questions as things players may want to complete first.
Bai Chilian can look overwhelming because her attacks are quick and her movement is erratic, but the fight is structured around a manageable lesson: make her come to you, distinguish parryable patterns from situations that call for a simple block or dodge, and never squander a Sha-Chi break. Carry that discipline into the Sacrificial Serpent form, react instantly to staggers, and the Lady of the Twin Serpents becomes a demanding but readable barrier rather than a chaotic wall.