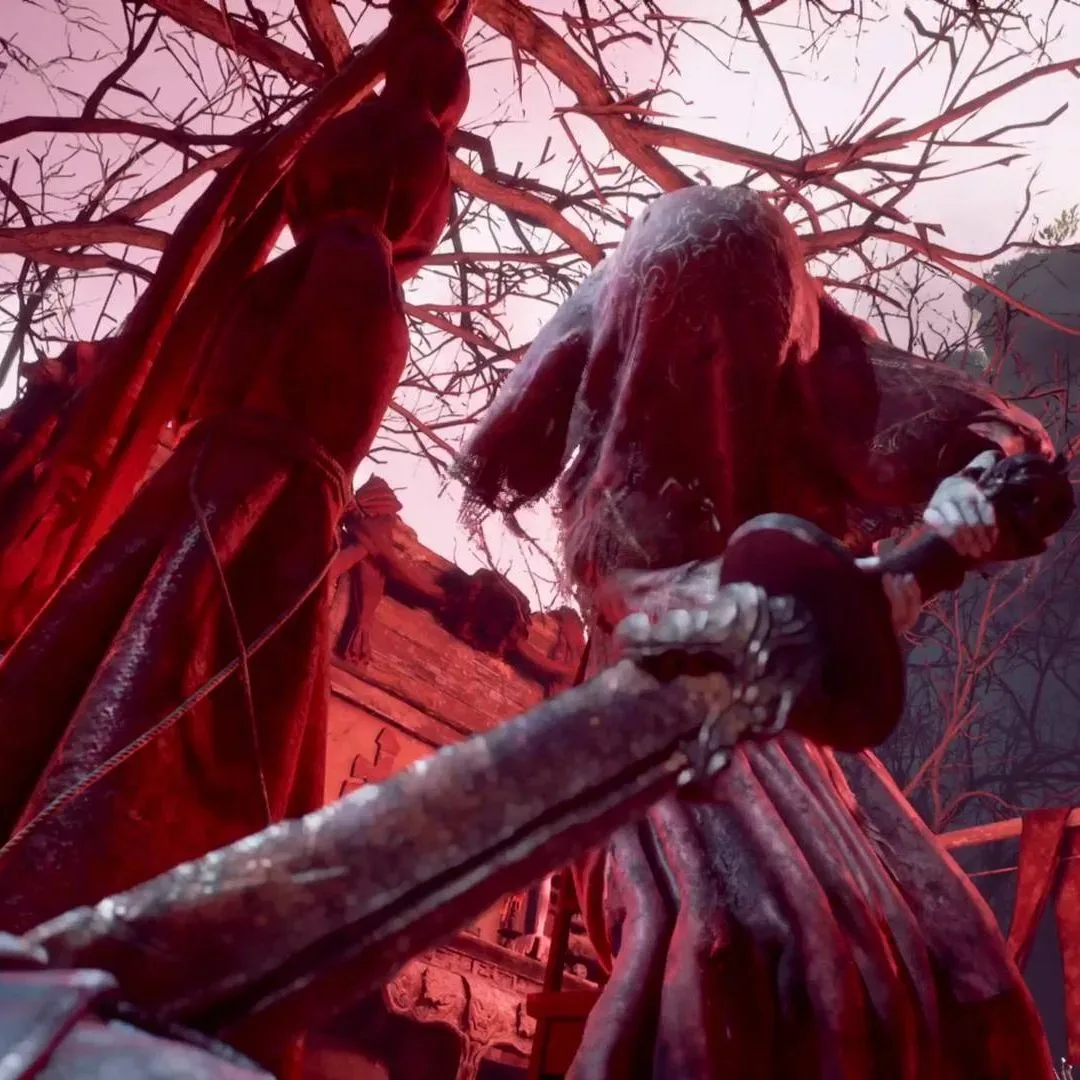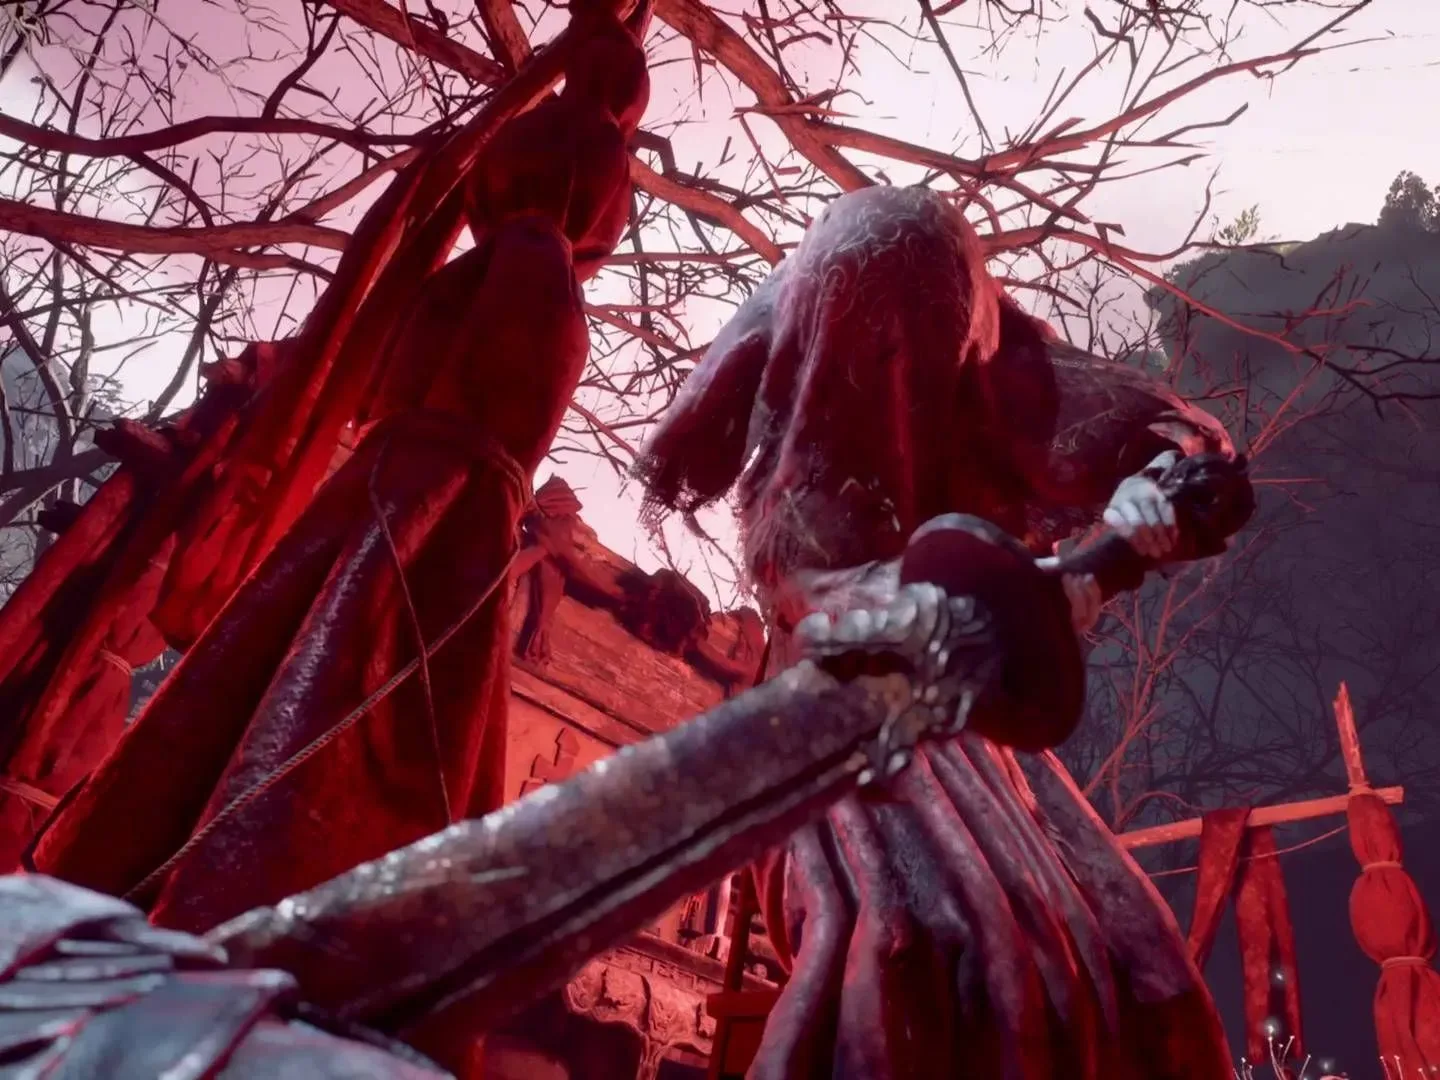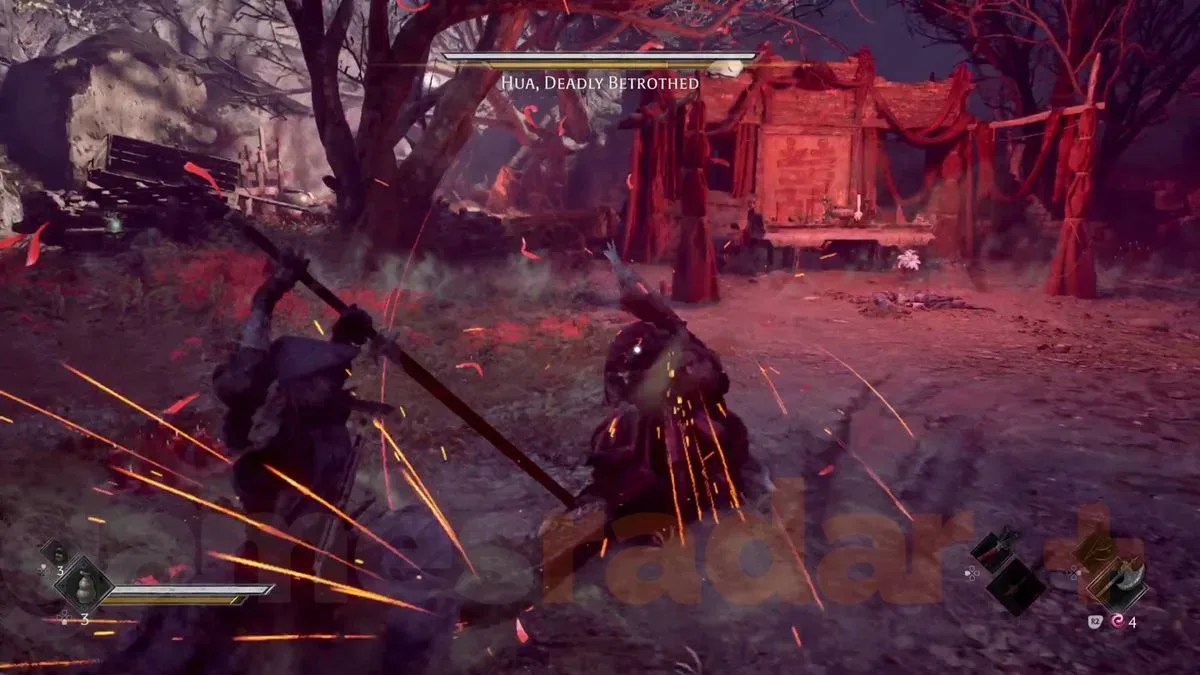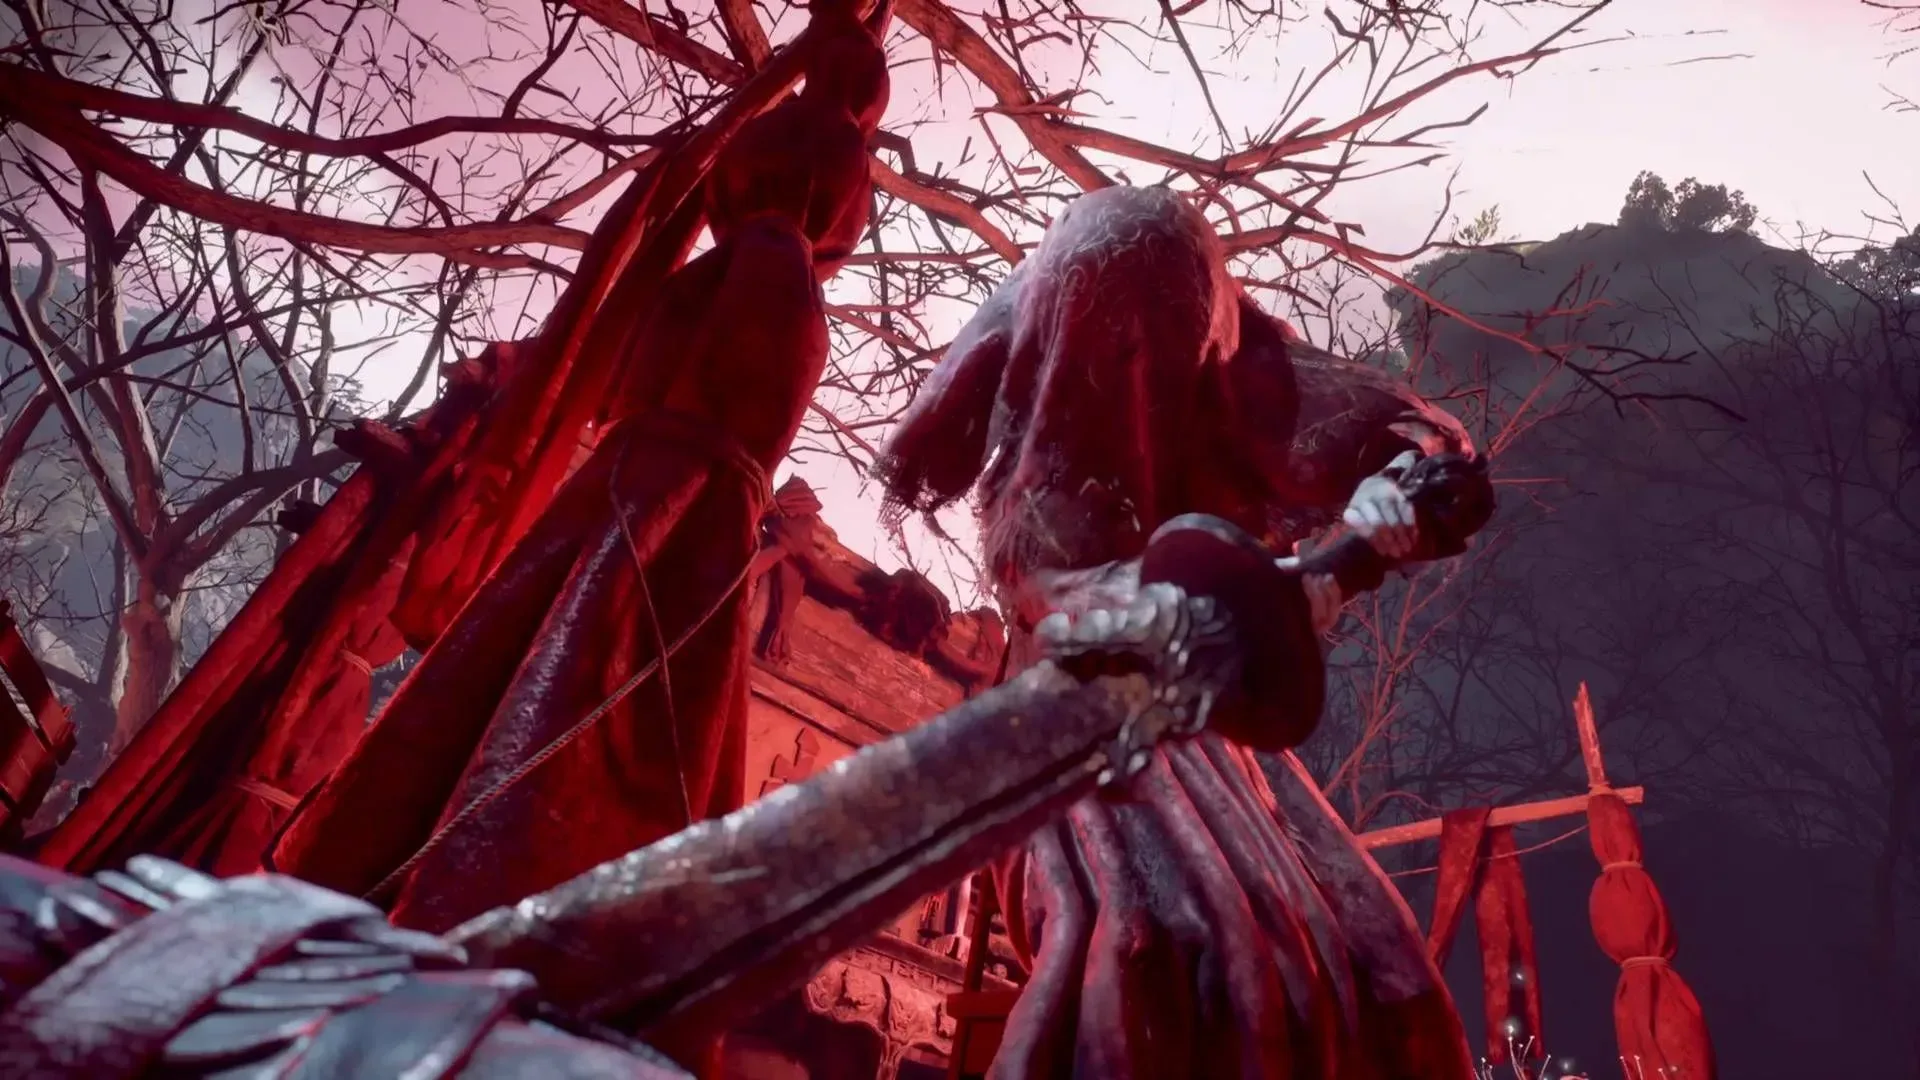
Hua, the puppet bride, is an optional early boss in Phantom Blade Zero, and she is designed to make a player manage more than the sword directly in front of them. Her huge blade gives many attacks a broad reach, while her summoned flowers create areas that drain Sha-Chi, pursue the player, or explode around her. The encounter becomes much more manageable once its priorities are separated: parry the ordinary sword strings, leave hazardous ground immediately, and save a dodge for the clearly telegraphed grab.
This is not a fight that requires a particular weapon. A strong result comes from recognizing what Hua is asking for at each moment rather than trying to force constant offense. Her slower movement can create openings, but the arena hazards and a few suddenly fast attacks punish standing still or responding to every move with the same defensive option.
Hua’s fight is primarily about Sha-Chi management
Sha-Chi is central to this encounter because Hua repeatedly attacks it through both her weapon pressure and flower effects. The practical implication is simple: preserving it matters as much as avoiding direct health damage. A player who remains in a draining flower patch, unsuccessfully attempts to parry her severe overhead strike, or gets caught by a red flower can rapidly become vulnerable to a guard break.
A guard break is the state Hua herself can be pushed into by effective parries, but it is also the danger the player wants to avoid. When the player is guard broken, Hua has an opportunity to continue attacking while their defenses are compromised. Therefore, the goal is not to parry absolutely everything. It is to use parries where they are reliable and to choose movement, blocking, or dodging for the attacks that specifically punish parry-first habits.
Hua’s combat loop has a clear rhythm:
- Make space whenever flowers turn the floor or surrounding air into a hazard.
- Meet her regular wide sword swings with parries to damage her Sha-Chi guard.
- Identify the exceptional moves: the teleporting strike, the black-and-white overhead slam, and the red-flash grab.
- Attack during the recovery created by a missed heavy blow or a successful guard break.
- Reset positioning instead of chasing extended damage through dangerous flower patterns.
This makes Hua a positioning check as much as a reaction check. Her slow pace can tempt a player to remain close, but the safer approach is to stay mobile enough that the arena’s changing threats never quietly drain Sha-Chi in the background.
Parry Hua’s normal sword strings whenever the timing is clean
Most of Hua’s large-sword offense consists of broad, relatively deliberate slashes. These are the attacks that should form the backbone of the player’s defense. The swings may look intimidating because of the weapon’s size and arc, but their comparatively readable timing makes them good parry opportunities, including when she uses combinations.
Repeatedly parrying these ordinary attacks deals meaningful damage to Hua’s Sha-Chi guard. That pressure is valuable because a broken guard gives the player a proper punish window rather than a risky, improvised attempt to trade hits. In other words, parrying does not merely prevent incoming damage here: it creates the fight’s safest offensive opportunities.
Related coverage includes Phantom Blade Zero: How to Defeat Hua, the Deadly Betrothed.
The Wooden Sanguine sword is a useful option for players who have it and want to emphasize this plan, as it provides substantial guard-break damage through parries. It is a recommendation rather than a requirement. Hua can be defeated without it or any other specific armament, so players should not assume they need to abandon the encounter solely because their preferred weapon is equipped.
Do not let the teleport erase your timing discipline
Hua’s teleport is one of the few elements that can disrupt an otherwise straightforward parry routine. She can reappear at a new angle and attack right away. The danger is not just speed; it is the altered camera and orientation. A player who has been comfortably reading forward-facing sword arcs may be caught by the sudden shift in position.
When Hua vanishes, prioritize locating her before committing to an attack. Treat the reappearance as a fresh exchange rather than the continuation of the previous rhythm. React to the immediate strike after she comes back instead of swinging preemptively. That small reset can stop a player from taking avoidable hits while trying to maintain offensive momentum.
The overhead slam is an opening, not a parry test
Hua has a particularly dangerous overhead attack that briefly turns the screen black and white. The critical rule is to not parry this slam. Trying to do so drains a very large amount of Sha-Chi and can leave the player guard broken, creating the exact opening Hua wants.
Instead, avoid the slam and observe what follows. As a heavy attack, it leaves Hua with a longer recovery period. That recovery is a controlled chance to land a couple of slashes and then return to a safer position. It is better to take that limited, dependable punishment than to gamble vital Sha-Chi on a parry that produces the wrong outcome.
This distinction illustrates the most important tactical adjustment for the encounter: a parry-focused strategy is powerful, but it is not universal. Recognizing the one attack that reverses the expected parry reward prevents the fight from spiraling after a single bad decision.
Red flash means dodge: Hua’s grab is too costly to challenge
Hua has a red-flash attack that signals her grab. It deals substantial damage, so it should be answered with a dodge rather than a parry. The grab is especially dangerous because it may appear after one of her combinations, when a player is already primed to parry another sword swing.
Build a deliberate pause into the end of her combos. Rather than automatically answering every final beat with a parry attempt, watch for the red-flash cue and be ready to dodge away. This is a case where anticipation is more useful than aggression. Getting a little less damage after a combo is far preferable to being caught in the move that can erase a major portion of health.
The white flower pattern makes this grab even more important, because a white flower can briefly incapacitate the player and give Hua an immediate chance to perform it. Dealing with the projectile correctly is therefore also part of defending against the grab.
Know every flower pattern before trying to extend a combo
Hua uses three mechanically distinct flower hazards. Their colors, placement, and movement matter. The safest rule is not to treat all floral effects as background decoration; identify which type is present, then choose the appropriate response.
Red flower patches: leave the ground before the detonation
Red flower patches and rings on the arena floor steadily drain Sha-Chi while the player stands in them. They eventually explode as well. Move out of these zones as soon as possible. Staying to complete a combo is rarely worthwhile because the resource drain can turn later defensive exchanges against the player.
There is one visual wrinkle: lighter-red flowers already present in the arena are not the same threat and do not drain Sha-Chi. The harmful summoned patches and rings are the ones to prioritize escaping. Learning that difference helps avoid wasting movement while still respecting the effects that actually endanger the player.
Large white flowers: block them or dodge them before Hua capitalizes
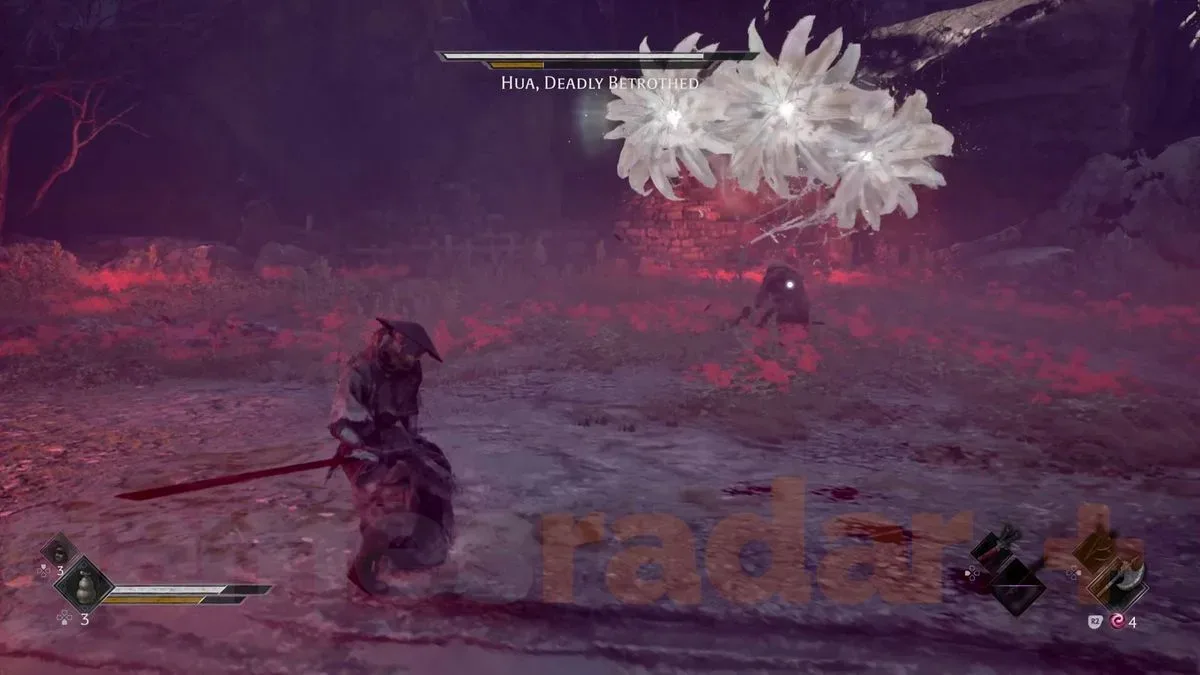
Hua can release several large white flowers that aggressively seek the player. A hit briefly incapacitates the target, and Hua can then immediately use her grab. Blocking is the preferred answer, though dodging can also work.
Because these flowers can set up one of her most punishing moves, do not become so focused on Hua’s sword that the projectiles go unaddressed. Stabilize the situation first: block or evade the white flowers, regain awareness of Hua’s location, and only then resume the normal parry-and-punish plan.
Large red flowers: create distance from Hua and the eventual explosion
Large red flowers deal damage and drain Sha-Chi on contact. They may orbit Hua before converging and exploding. Their behavior means close-range pressure is particularly risky while they are active. Maintain distance until the effect resolves rather than trying to fight through it.
In practical terms, this is a temporary change from the usual strategy. Normal sword strings invite measured proximity and parries. Orbiting red flowers call for restraint. Back away, let the convergence and explosion pass, then re-engage when the immediate area is no longer saturated with threats.
A conservative winning plan
If the fight feels chaotic, simplify it into a short set of decisions. Keep moving whenever flower effects appear. Parry the big ordinary slashes to wear down Hua’s guard. Never parry the black-and-white overhead slam. Dodge the red-flash grab. Block or dodge the pursuing white flowers. Step away when large red flowers gather around Hua.
That plan may not produce the quickest victory, but it reduces the fight to repeatable responses and protects Sha-Chi, the resource Hua attacks from multiple directions. Once Hua’s guard breaks, take the available punish phase; after that, do not assume the advantage lasts forever. Return to spacing and hazard awareness as the fight resets.
Weapon level can make this battle take longer. If the encounter becomes an exhausting war of attrition, there is no requirement to finish it immediately. Hua is optional, and players can return after completing more of Weeping Creek Valley. More progression in the area may make the eventual win less punishing without changing the underlying strategy.
Rewards and cleanup after defeating Hua
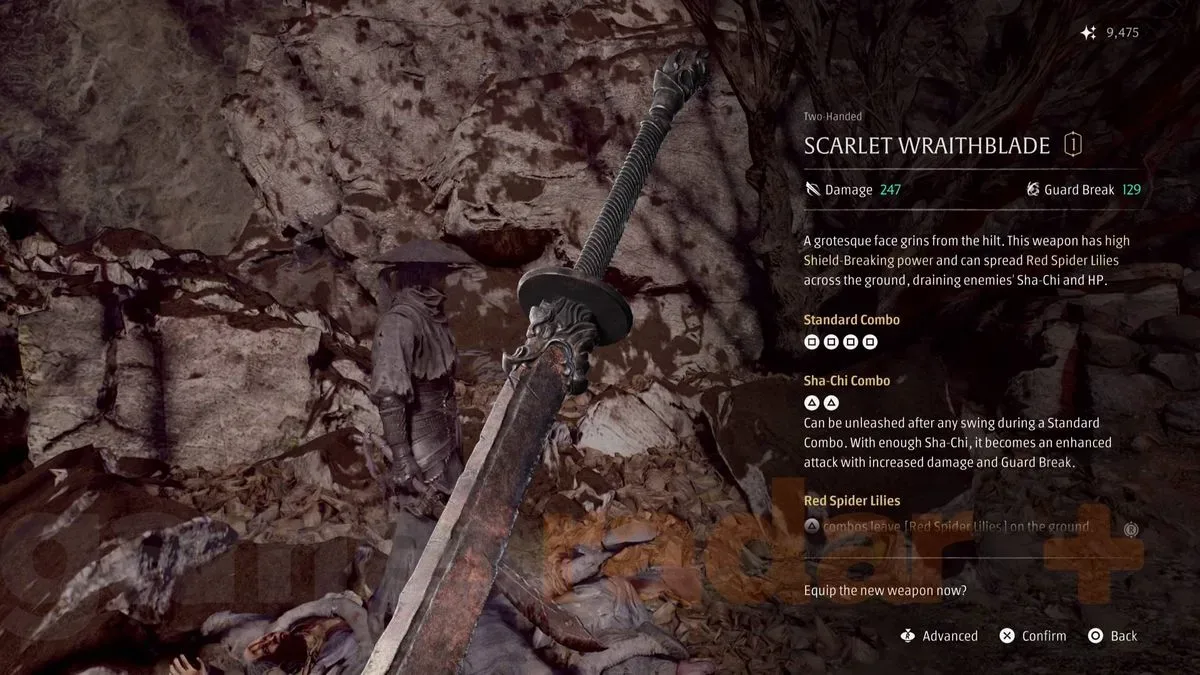
Beating Hua awards the Scarlet Wraithblade, a heavy weapon whose Sha-Chi attacks summon the same sort of draining flower patches used during the boss battle. The reward is fitting: the encounter teaches exactly why flower placement can control an arena, then hands the player an armament that applies that pressure in return.
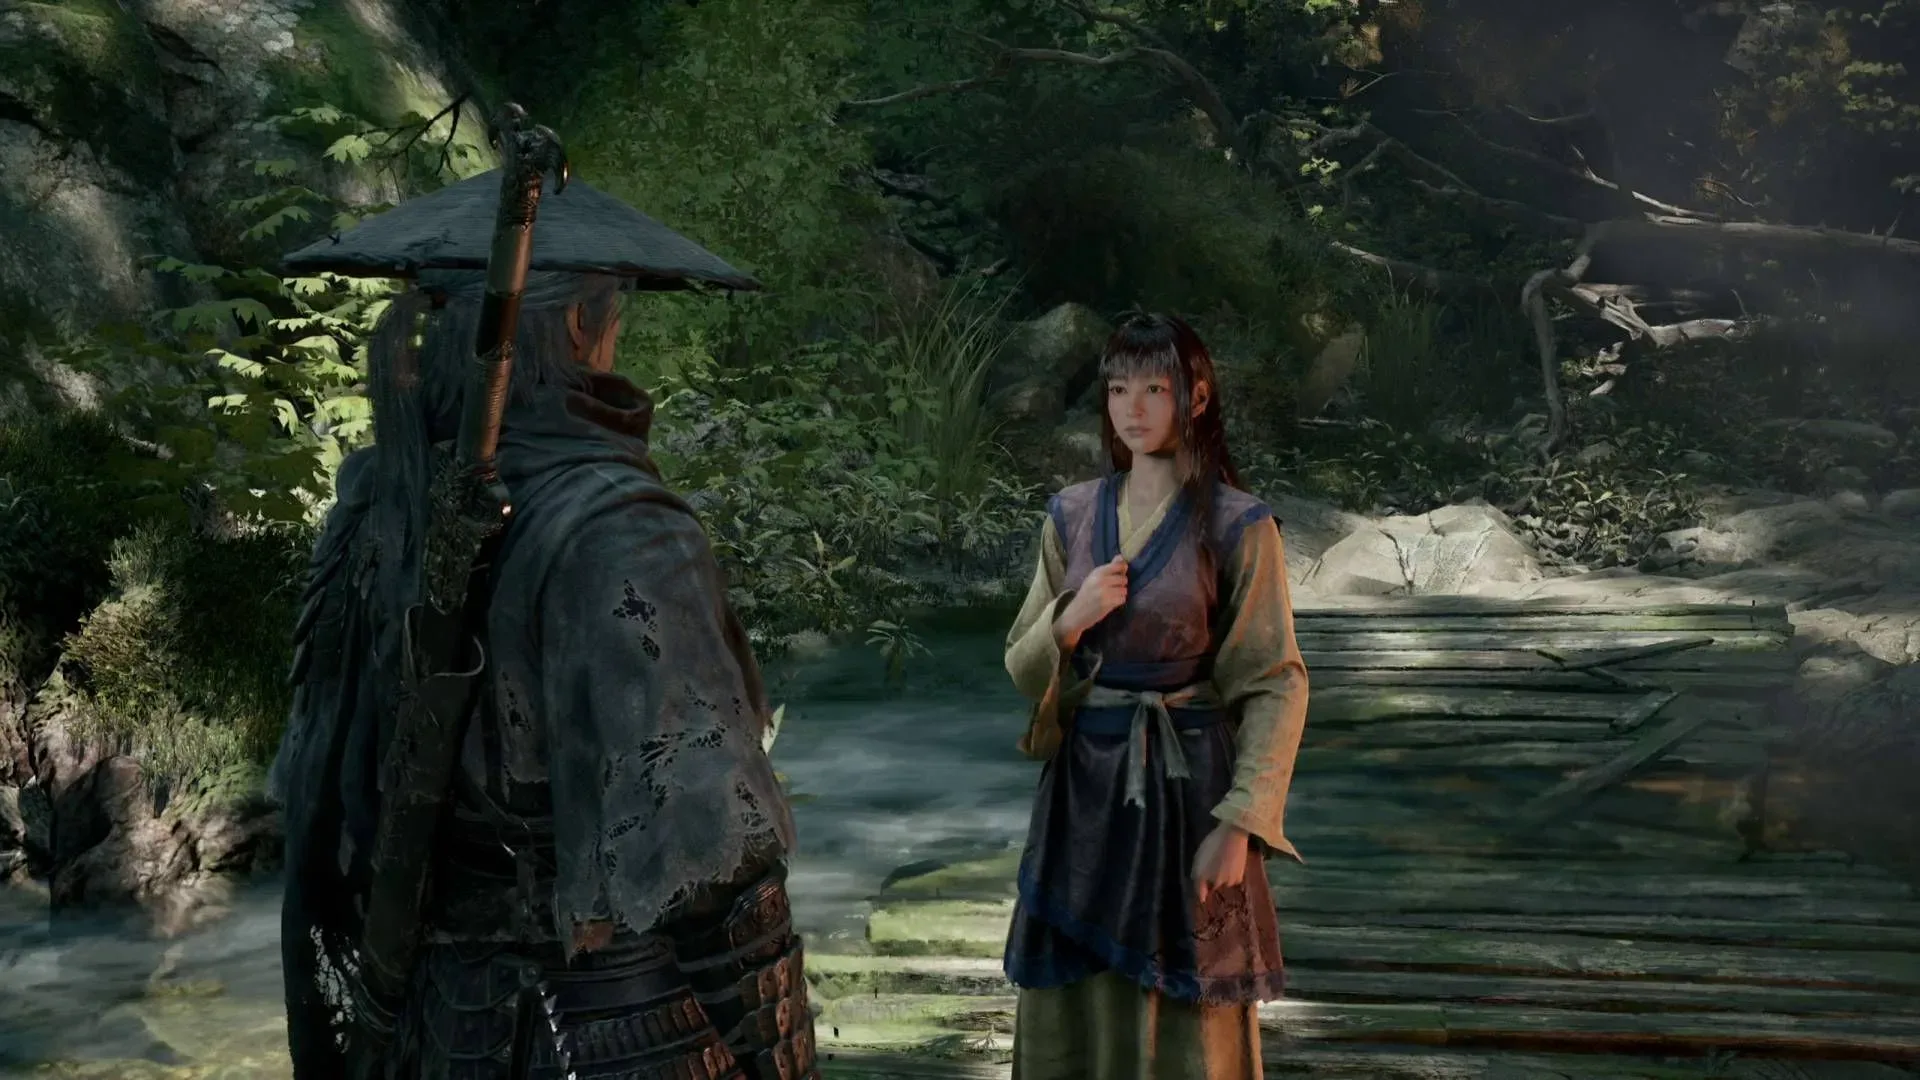
Before leaving the boss arena, collect the Flesh Lily requested by Yu'er. Players should also gather the remaining book pages needed to complete the Hua The Bride book. These are easy details to overlook after a difficult optional fight, especially when attention is fixed on the weapon reward.
Weeping Creek Valley contains further tasks and discoveries, including a cell key, while the Whence The Weeping quest is not something players need to worry about. For a broader reminder of how changing hardware has shaped the way people play, see Joking Joystick’s history of original portable gaming systems.