
The short answer: spare Arnold if you want progress toward a Restrained criminal profile. If you kill him after cornering him at Key Lento Marina, the game warns that it contributes to a Violent profile. Killing him during the vehicle pursuit contributes to a Ruthless profile. The cutscene that follows is the same regardless, so this is a role-playing and profile decision rather than a branching-story lockout—at least at this point in the mission.
“Hey Arnold!” presents an early Chapter 1 choice that is less about finding the one objectively correct button prompt and more about deciding what sort of criminal record Jason is building. Brian may have dispatched the group to deal with a disrespectful business associate, but the instruction Jason receives at the marina—effectively to make Arnold stop talking—leaves room for interpretation. That little gap is where the mission’s major decision sits.
There are three meaningful outcomes to keep straight: letting Arnold go, executing him after the chase, or taking him out while he is still trying to escape by truck. Each outcome is connected to a distinct criminal-profile direction. That makes the timing of the kill as important as the kill itself.
Which Arnold choice should you make?
Choose Spare if your priority is the Restrained profile. Choose the on-foot execution at the marina only if you specifically want a more Violent profile. Choose to kill Arnold during the driving pursuit only if you are deliberately pursuing the Ruthless designation or simply prefer the faster resolution.
- Spare Arnold: adds to the Restrained criminal profile.
- Kill Arnold at the marina: adds to a Violent criminal profile.
- Kill Arnold during the car chase: adds to a Ruthless criminal profile.
- Immediate story result: the subsequent cutscene remains unchanged.
For players worried about missing a radically different scene or an immediately altered mission route, the available result is reassuringly simple: none of the three options changes the next cutscene. There is no supplied evidence here of a reward difference, a separate follow-up mission, or a different short-term plot sequence. The confirmed distinction is the criminal-profile contribution.
How the decision begins in “Hey Arnold!”
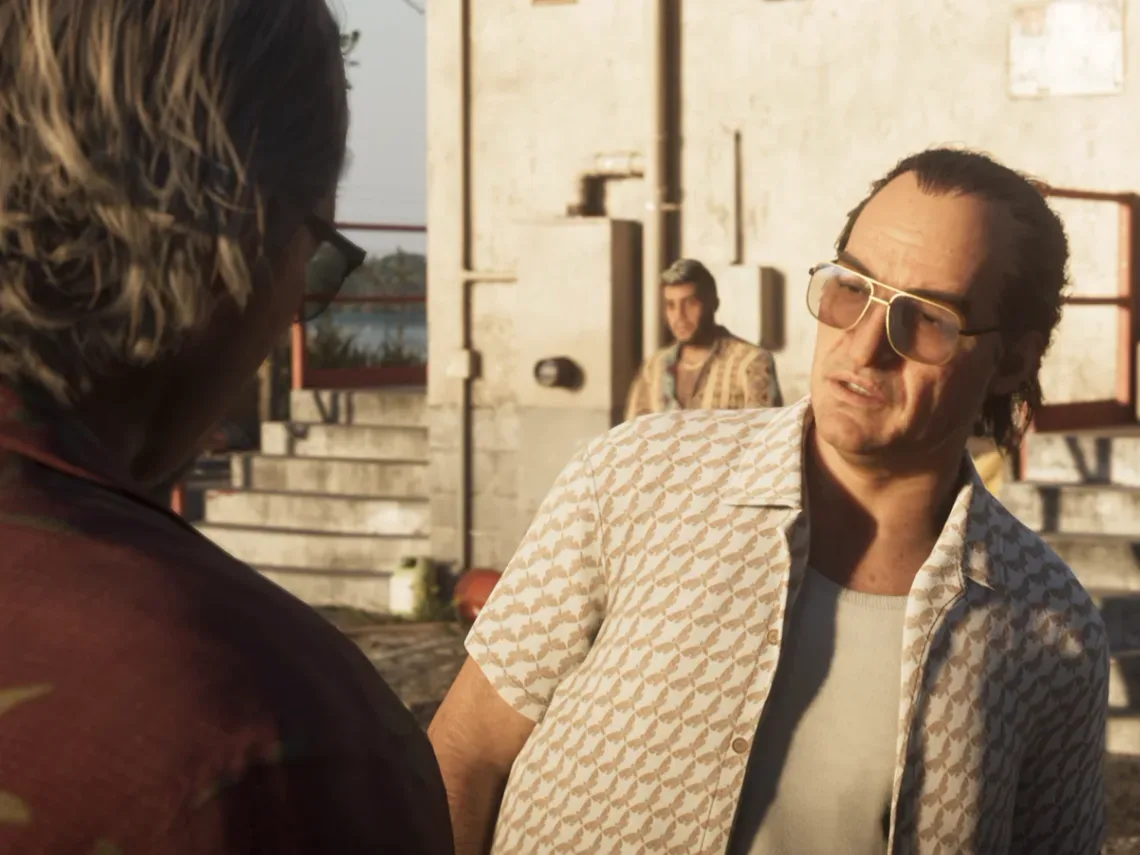
The mission follows Brian’s associate Arnold after he goes dark in Chapter 1. Jason, Brian, and Cal track him to the radar station near the Aerostat. The confrontation reveals that Arnold is unhappy with Brian’s drug-dealing methods. Tempers rise, Arnold and his crew pile into a pickup, and the encounter becomes a high-speed chase.
That opening matters because it explains why the choice is framed as a response to a business dispute rather than a random open-world encounter. Arnold has challenged Brian’s operation, fled, and prompted Jason to pursue. Yet the final order is not an explicit demand to execute him. At Key Lento Marina, Brian tells Jason to silence Arnold and says to do what is necessary. The ambiguity lets the player decide whether intimidation is enough.
In practical terms, players should decide their intended profile before aggressively firing during the chase. Shooting Arnold or his vehicle can resolve the situation early, but it is also the route that marks the action as Ruthless. If you want the marina decision prompt—and especially if you intend to spare him—keep the pursuit going until Arnold abandons the truck.
Related coverage includes GTA 6: Should You Spare or Kill Arnold in 'Hey Arnold!'?.
How to spare Arnold
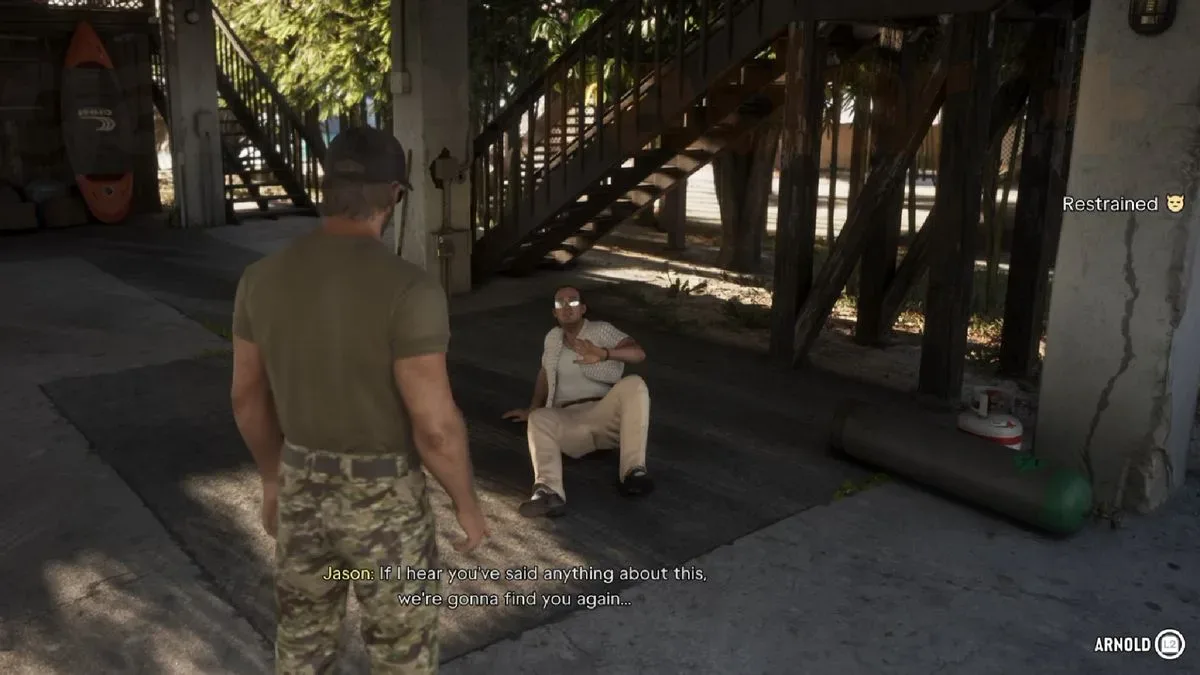
To spare Arnold, complete the vehicle chase to Key Lento Marina. Arnold leaves his vehicle and runs, turning the sequence into an on-foot pursuit. Follow him until Jason can tackle him or until Arnold reaches the end of the pier. Either way, he eventually has nowhere left to run and begins pleading for his life.
At that interaction, hold L2 on PlayStation or LT on Xbox, then press X on PlayStation or A on Xbox to select Spare. Jason threatens Arnold instead of killing him, and Arnold escapes. Brian is not made aware that Jason allowed him to live.
The profile result is a contribution to Restrained. In the narrow context of this mission, “restrained” does not mean Jason refuses to participate in Brian’s coercive work. He has still taken part in the pursuit and threatened Arnold. It instead distinguishes a choice to stop short of lethal force once Arnold has been neutralized and is no longer escaping.
This is the cleanest selection for anyone role-playing Jason as controlled, pragmatic, or reluctant to turn every confrontation into a body count. It is also the obvious route for players trying to see how a Restrained profile develops over several choices. Since the next cutscene is unchanged, sparing Arnold does not require accepting an immediate narrative penalty.
How to kill Arnold at the marina
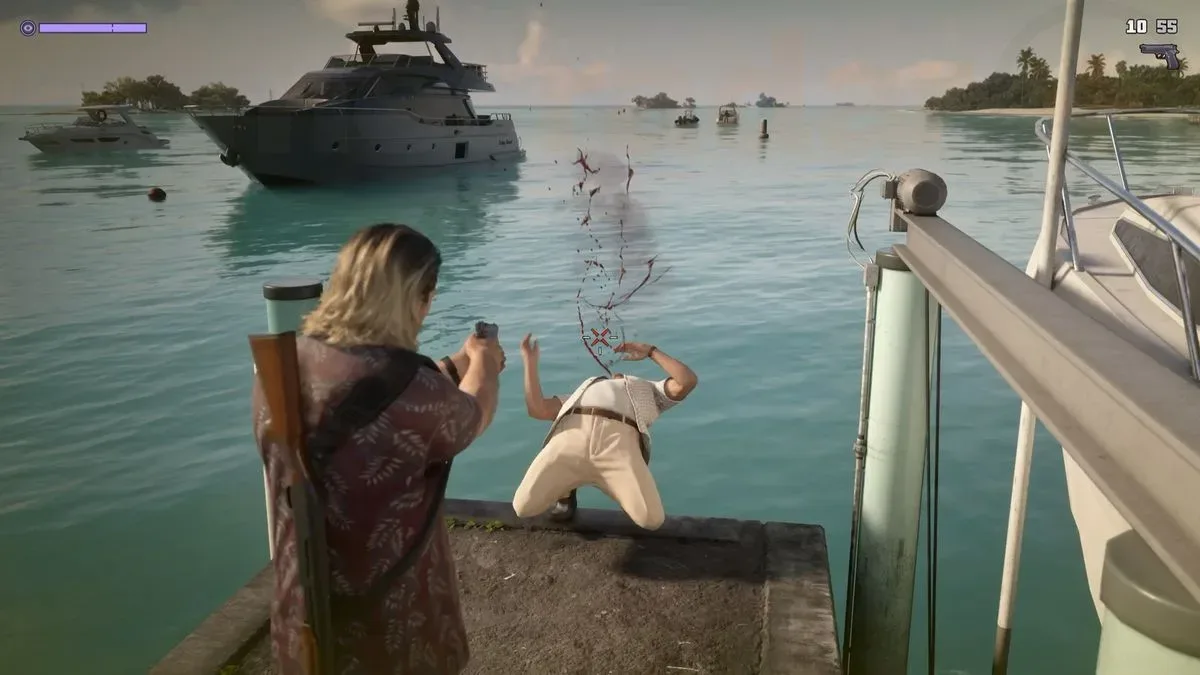
If you reach the marina and chase Arnold to the pier, you can make the lethal choice after he is caught and begins begging. Rather than choosing Spare, execute him with a weapon.
This route triggers a warning that indiscriminate violence contributes toward a Violent criminal profile. The wording is useful because it separates this action from the Ruthless path. Arnold is captured, exposed, and unable to continue fleeing at that moment; killing him is therefore treated as an unnecessary escalation rather than as a quick, aggressive means of ending a live pursuit.
Players pursuing a Violent profile should not confuse this option with attacking the pickup during the chase. Reaching the pier is essential if the desired outcome is Violent rather than Ruthless. The mission gives you time to make the distinction, but only if you avoid ending the chase with gunfire.
There is also a tonal difference worth acknowledging. The marina execution is a deliberate response to Arnold’s plea. The game classifies it accordingly. That may suit a playthrough where Jason is being shaped as harsh and punitive, but it is not the fastest way through the objective.
How to get the Ruthless profile result
The quicker option is to kill Arnold while he is still in the pickup during the car chase. Shooting him, the vehicle, or otherwise ending the escape before the marina leads to the Ruthless criminal-profile contribution.
“Ruthless” is the mission’s label for a violent solution taken during the active pursuit. Mechanically, this lets players skip Arnold’s final run through the marina and his plea at the pier. That can be appealing if the only goal is speed, but it also means giving up the later interaction and selecting a different profile direction than the marina execution.
There is no indication that Ruthless yields a superior immediate story branch, extra reward, or unique following cutscene. Its confirmed advantage is efficiency: the chase ends without the foot-pursuit portion. Its trade-off is the profile effect.
What the criminal profiles mean here
A criminal profile is the game’s label for the behavioral direction accumulated through decisions like this one. “Hey Arnold!” demonstrates that the system is not merely asking whether Jason kills someone. It tracks the context and method of that choice.
- Restrained: Jason applies pressure and makes a threat but permits Arnold to leave alive.
- Violent: Jason kills Arnold after capturing him at the marina.
- Ruthless: Jason kills Arnold during the flight itself, choosing an expedited lethal resolution.
The available information confirms contributions to these profiles, not a full map of every long-term consequence. It would be premature to claim that one choice permanently locks quests, alters every relationship, or determines the ending. What is clear is that the game distinguishes these acts in its profile system even when it keeps the next cutscene consistent.
That is useful design information for a first playthrough. You do not need to restart the mission simply because you fear an instantly different cinematic outcome. Instead, treat the choice as an early statement of your intended approach. If you are preserving a particular profile, the relevant decision is direct and readable.
Best approach before starting the chase
If you want to spare Arnold, keep weapons out of the equation during the vehicle pursuit and follow him all the way to Key Lento Marina. Once the chase becomes an on-foot sequence, stay on Arnold until the tackle opportunity appears or he reaches the pier’s end. Then use the L2/LT interaction and select Spare with X/A.
Players who want a specific lethal profile should similarly plan ahead: wait for the pier if you want Violent, or fire during the vehicle pursuit if you want Ruthless. The mission is less about reflexively choosing violence than recognizing that when it happens changes how the game categorizes it.
For other GTA 6 settings that may make vehicle sequences more comfortable to follow, see our guide to adjusting or disabling motion blur in GTA 6.
Arnold choice recap
Spare Arnold is the best pick for a Restrained criminal profile and requires reaching him at the marina, then choosing the interaction prompt. Kill him at the pier is the route to a Violent profile. Kill him in the truck chase is the faster route and contributes to Ruthless. In all three cases, the next cutscene is the same.
So the question is not which option saves the story. It is which profile Jason should be building. For players who do not want to commit to a more severe profile this early, let Arnold run, catch him at the marina, and spare him.