One of the early house projects in GTA 6 asks you to repair a broken railing at Jason’s home in Key Lento. It sounds like the kind of five-second job that should be impossible to miss. The snag is not the repair itself; it is that the railing is visible from one part of the property while the usable interaction point is on another level.
If you have walked up to the wooden barrier near the deck chairs and found no prompt, you are looking at the correct damaged section from the wrong side. The repair point is down on the lower decking, beside the ladder.
Railing repair location at Jason’s house
- Go to Jason’s house in Key Lento.
- Head through the glass sliding doors near the TV to reach the rear wooden deck.
- Look ahead toward the deck chairs. The damaged-looking wooden railing is in that direction, but do not try to repair it from this upper side.
- Turn left.
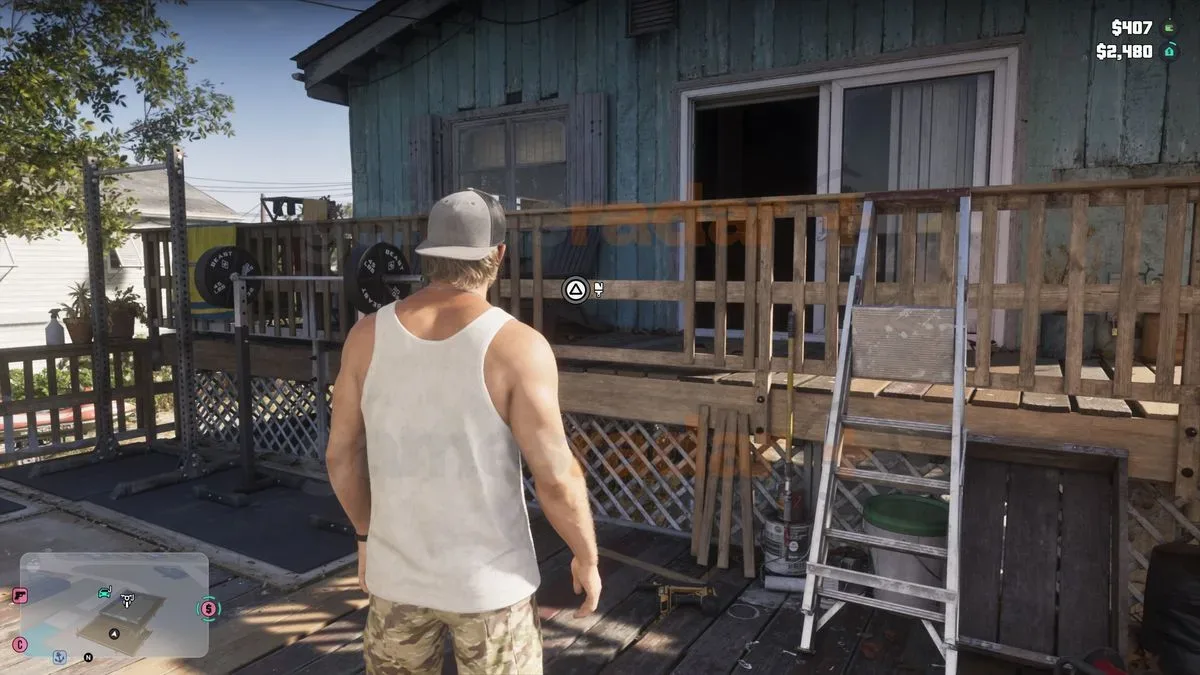
- Use the stairs on the right to go down to the lower deck, where the gym equipment is located.
- Face toward the house and move to the railing on the left side of the ladder.
At this position, a paintbrush icon should appear. That icon is the interaction cue: it tells you that the nearby fencing is the particular section the project recognizes. It is not enough to stand near any part of the upper-deck railing, even if the broken panels are plainly in view.
How to complete the repair
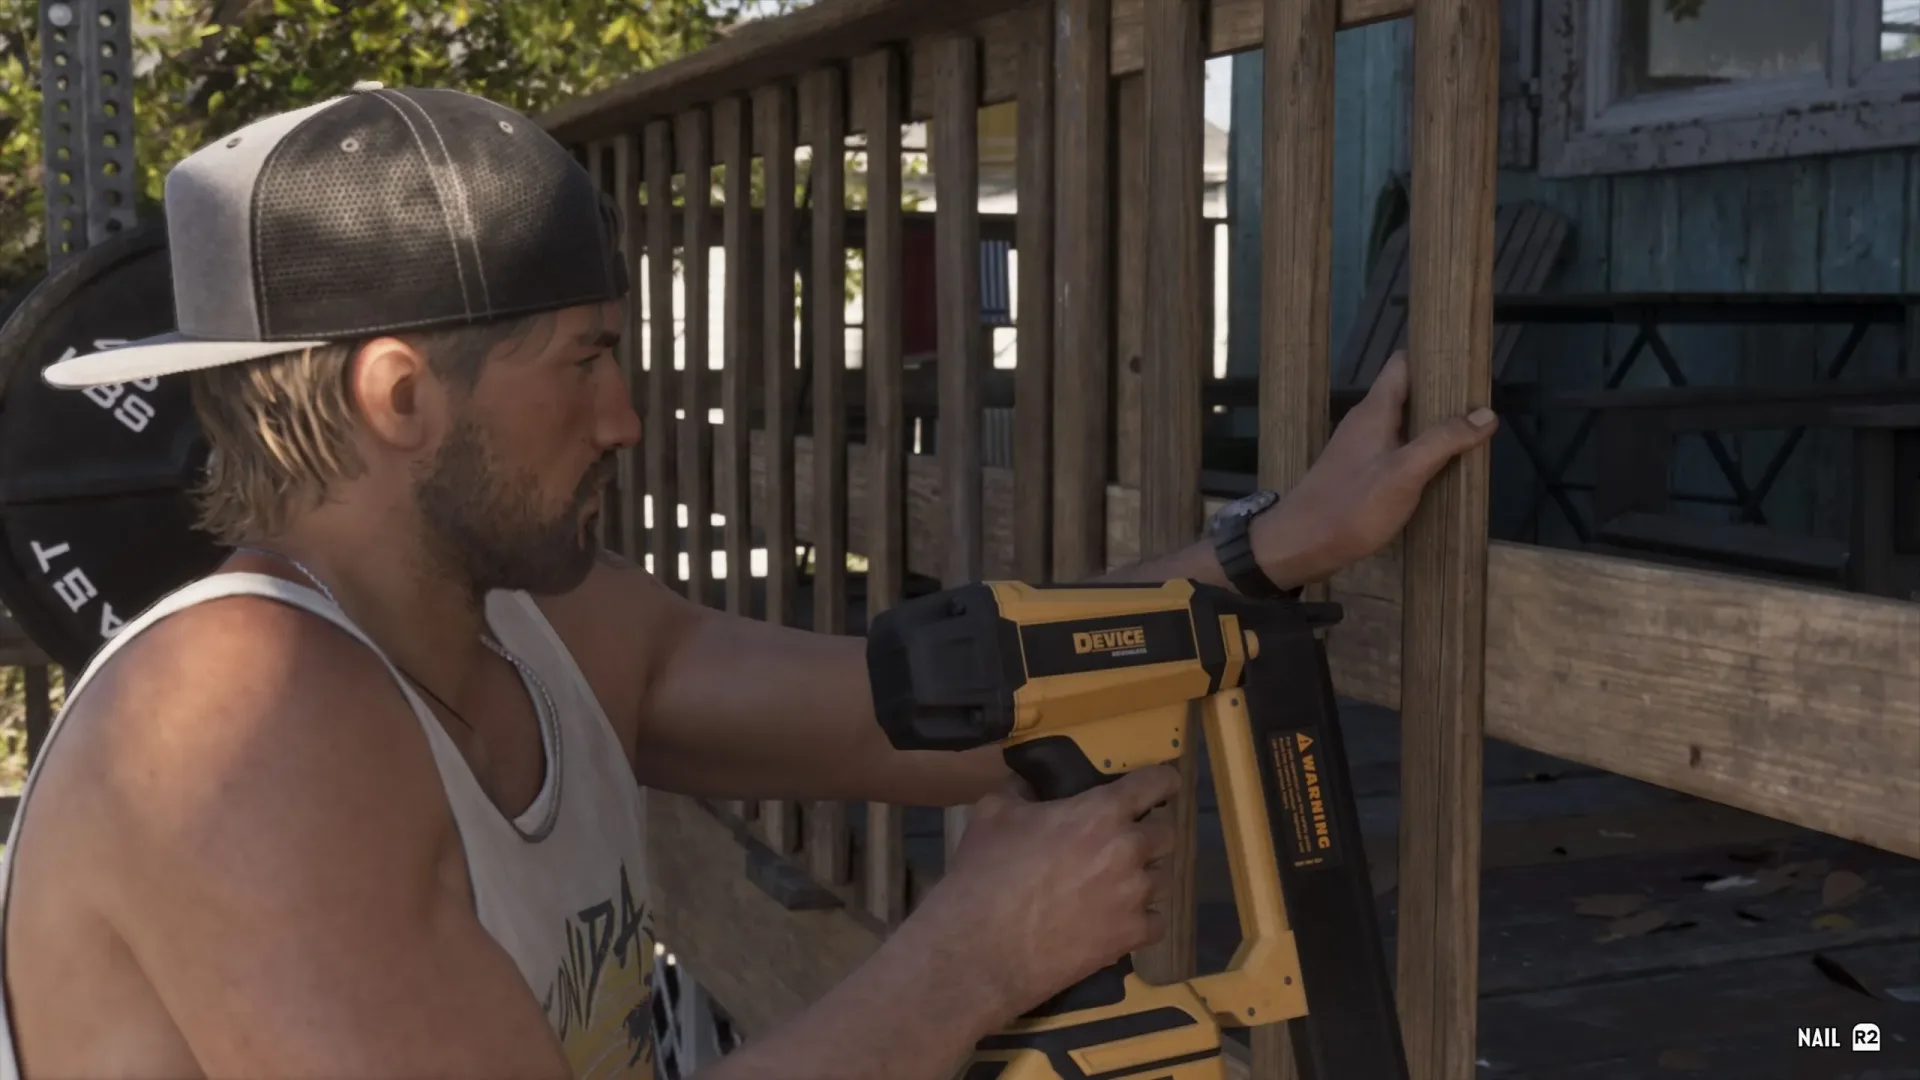
Once the paintbrush icon appears, hold the interact button to begin fixing the railing:
- PlayStation: hold Triangle.
- Xbox: hold Y.
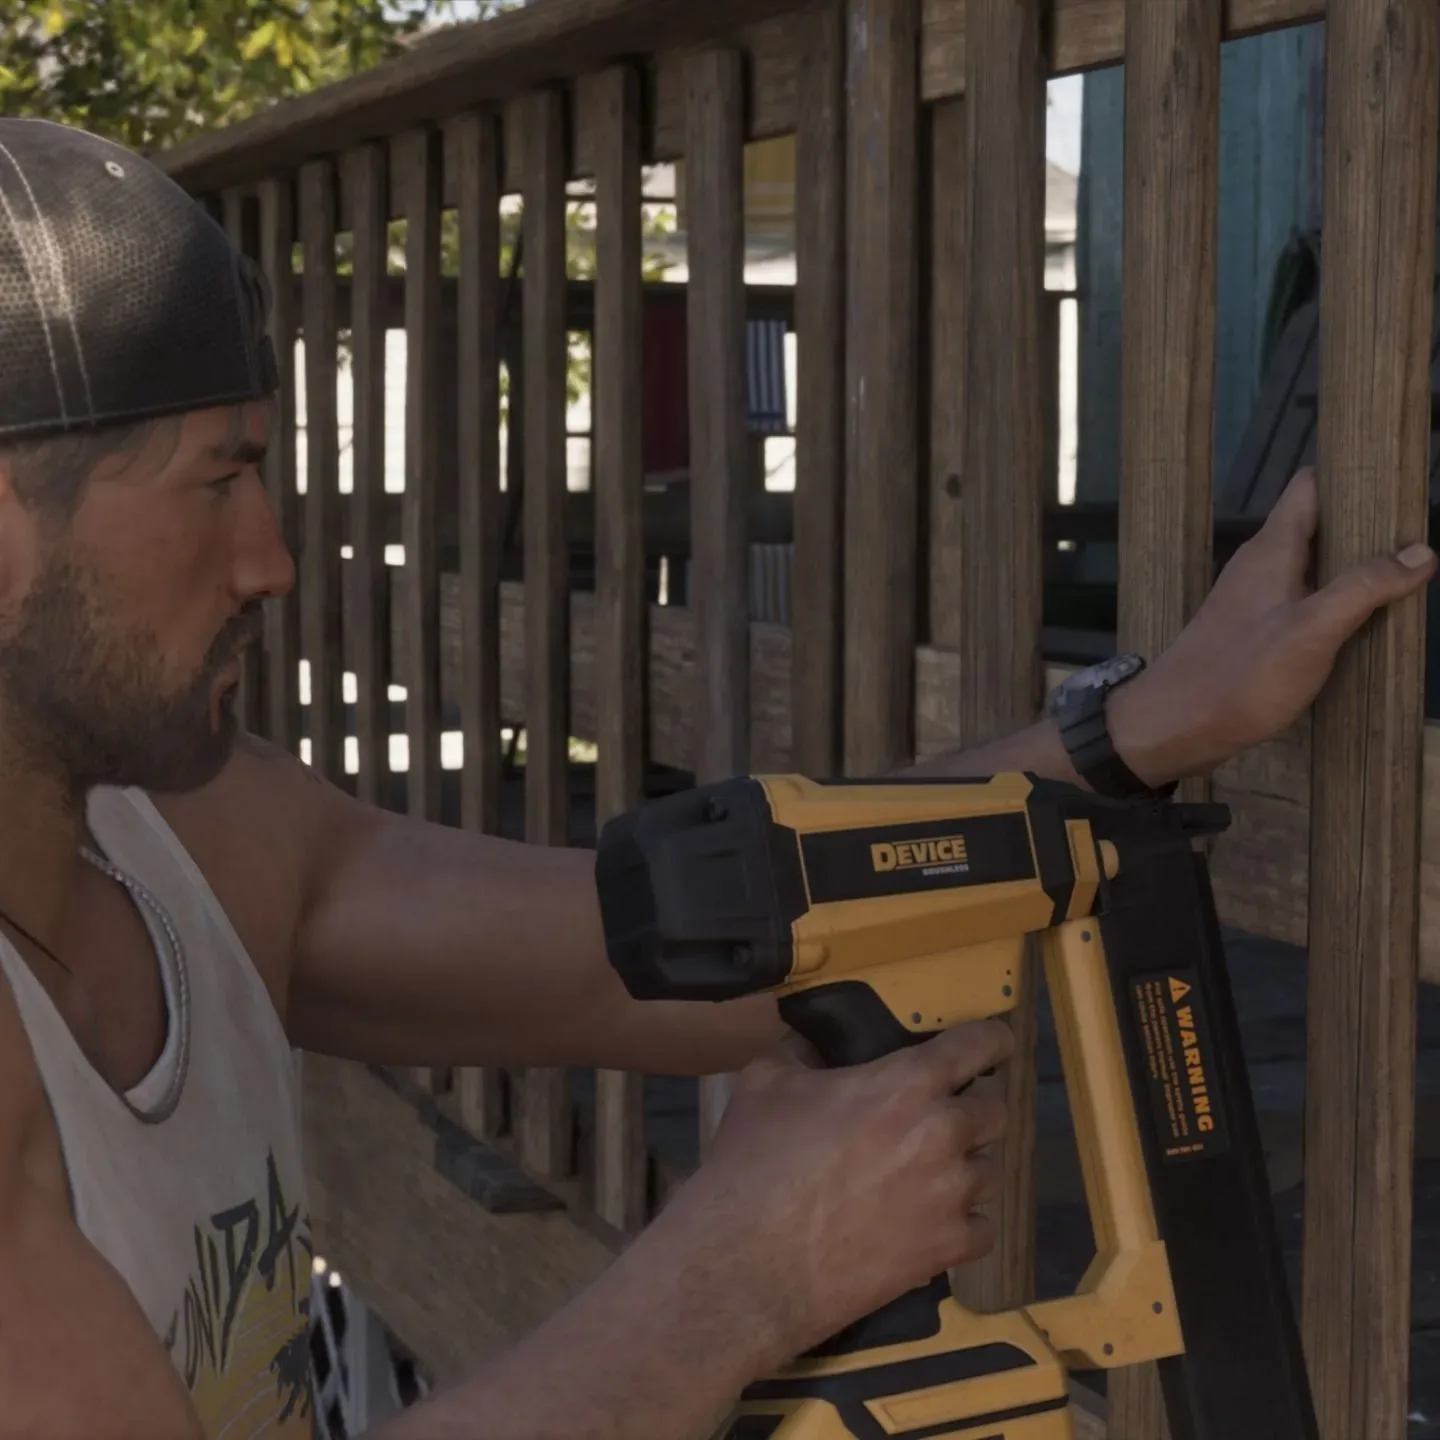
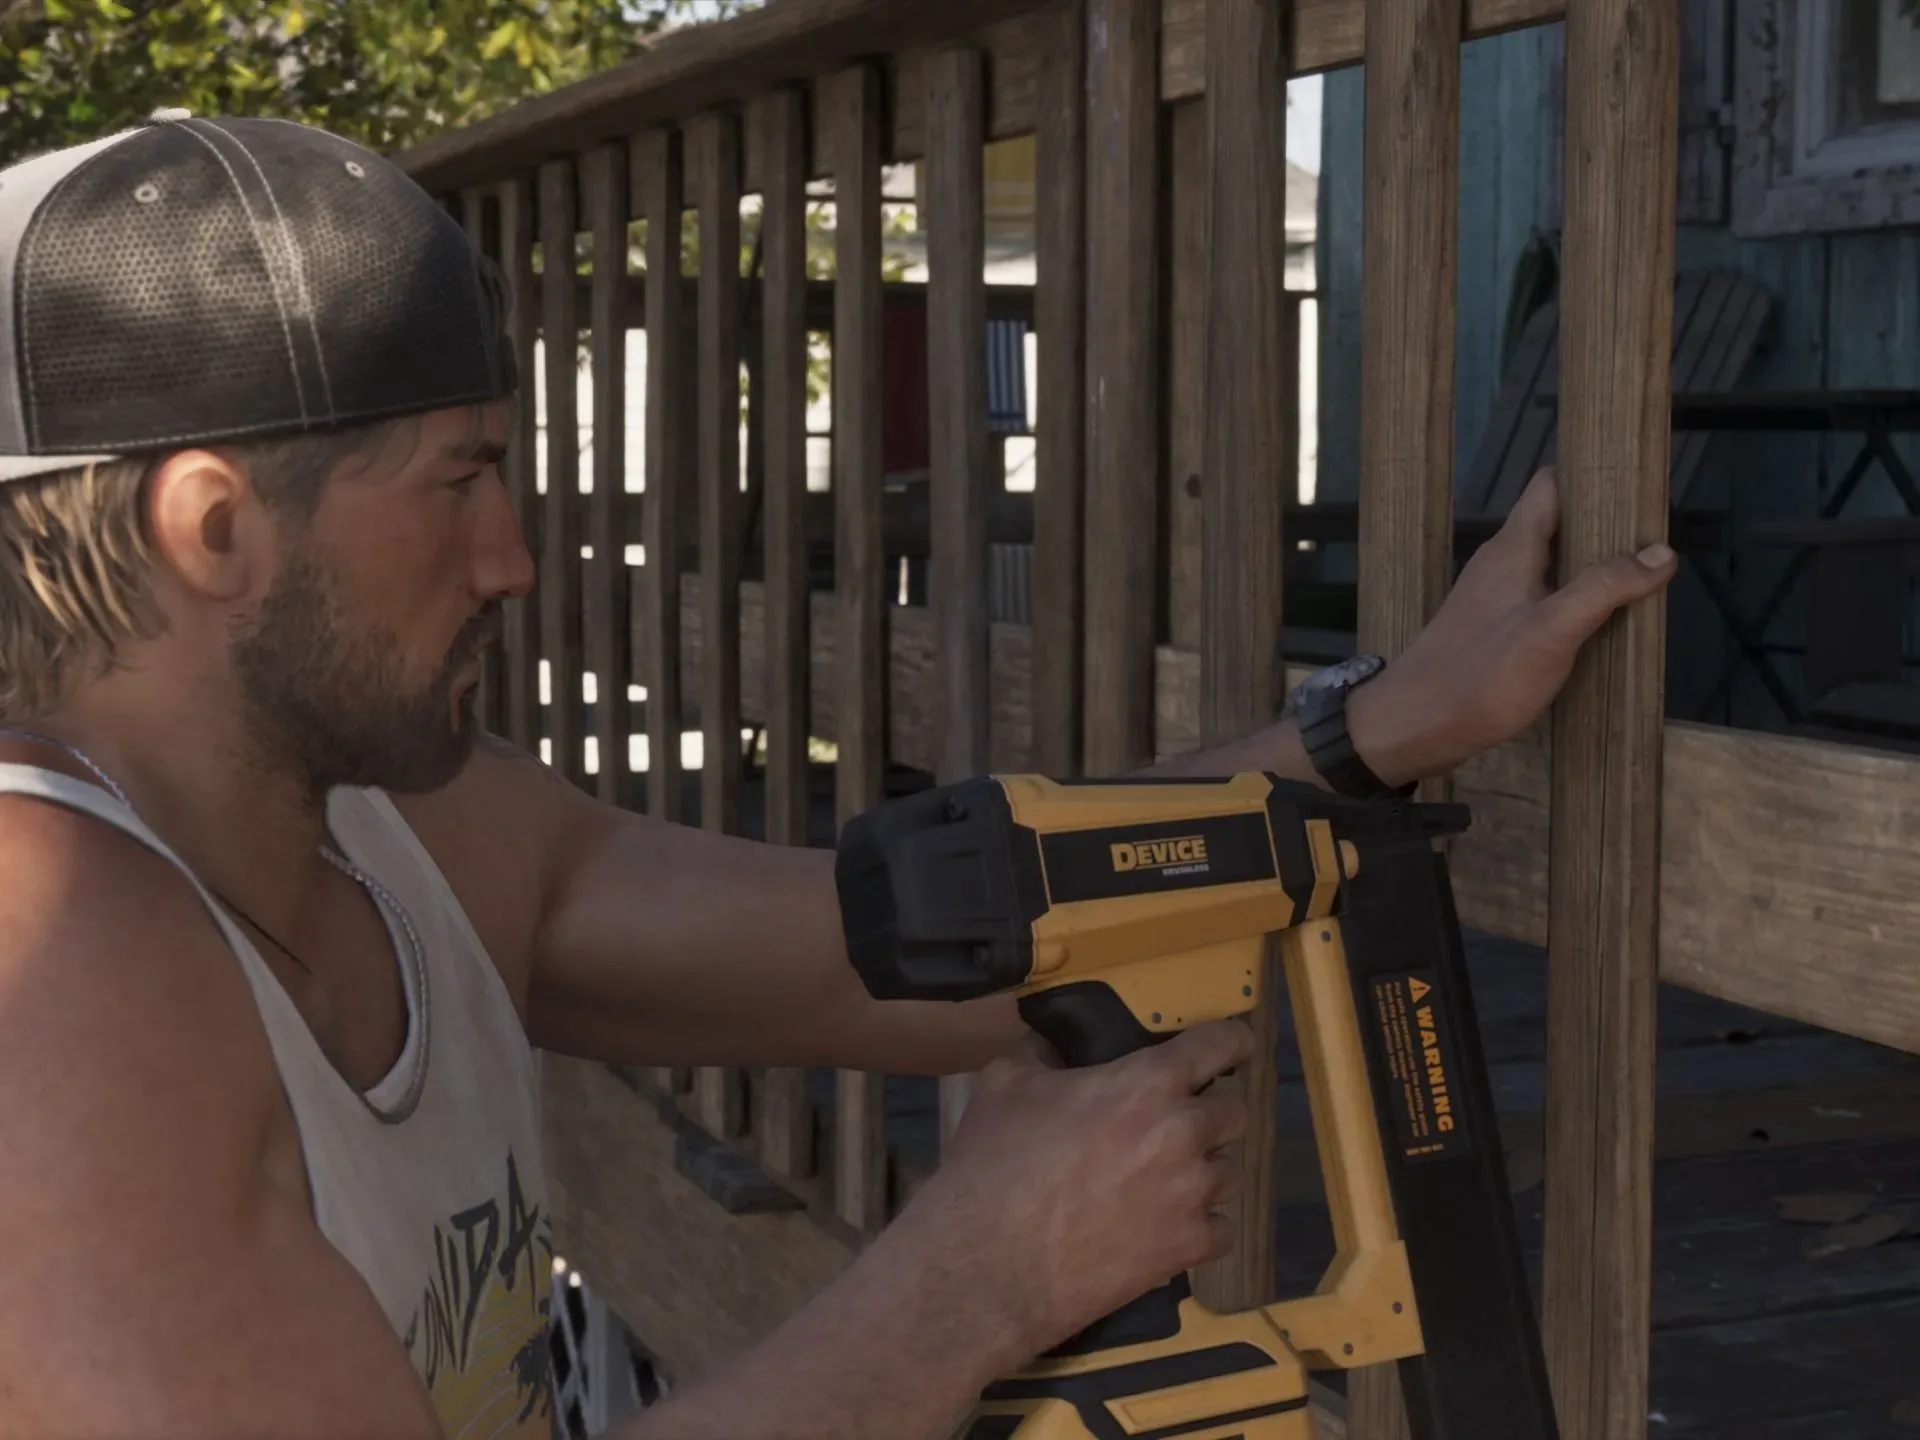
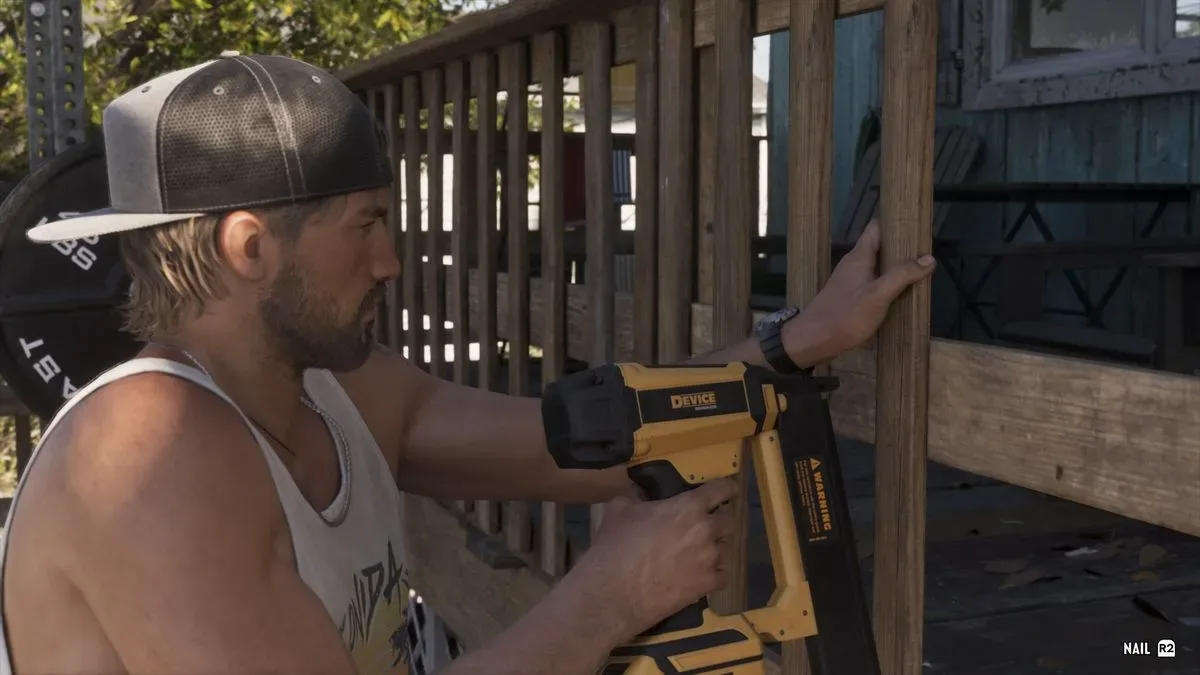
The repair then asks for repeated nailing inputs. Press R2 on PlayStation or RT on Xbox each time the prompt appears. Continue until the animation and prompts finish. The railing project should then count as completed.
Quick route if you are already on the back deck
For the shortest possible version: leave through the sliding doors, turn left, take the right-hand stairs down, then approach the rail to the left of the ladder while facing the house. Wait for the paintbrush symbol before holding Triangle or Y.
The important distinction is between the visible damaged railing and the interactive repair position. The former is near the deck chairs on the upper level; the latter is accessed from the lower deck near the gym equipment. Trying the upper side can make it seem as though the task is bugged or unavailable, when the game is instead expecting Jason to approach from below.
Why the railing can be easy to overlook
House projects use environmental placement rather than a single menu-based checklist. That makes the house feel like a place Jason is physically restoring, but it also means the camera angle and deck layout matter. In this case, the target is especially misleading because the railing is directly ahead when you step outside. The natural response is to walk toward it from that deck level. The actual interaction space is not there.
Related coverage includes GTA 6: How to Find and Repair the Railing at Jason's House.
The lower section has two useful landmarks: the gym equipment and the ladder. Use them to orient yourself rather than searching every inch of the perimeter. Once you are at the lower deck, face the house, locate the ladder, and check the railing on its left. If there is no paintbrush icon, adjust your position slightly along that section instead of returning to the deck chairs.
What the paintbrush icon means
The paintbrush icon is the game’s visual confirmation that a house-project action can begin. In practical terms, it is more reliable than judging the wood panels by appearance. The damaged railing may be noticeable from a distance, but the icon identifies the exact spot where the interaction is registered.
For this project, the sequence has two stages:
- Initiation: hold Triangle or Y after finding the paintbrush icon.
- Repair inputs: press R2 or RT whenever prompted to nail the replacement panels into place.
Do not confuse holding the first button with the whole repair. The hold starts the action, while the trigger prompts represent the work of fastening the new panels. Missing or stopping before those prompts are completed means the railing may not be finished yet.
Where this fits in the early house-project sequence
The railing is one of five projects available during the first chapter, when Jason is repairing the home before Lucia leaves prison. The complete set consists of:
- Fixing the steps
- Fixing the leaky roof
- Fixing the wall
- Painting the wall
- Fixing the railing
These jobs are optional, rather than mandatory progress gates. Still, completing them has a later positive effect on the game’s relationship status. That makes the railing worth clearing even if it initially seems like minor cosmetic maintenance. The work is part of turning the property from a run-down home into a more comfortable, weatherproof space for Jason and Lucia.
That relationship benefit also changes the best approach for players who are otherwise focused on the main path. There is no need to force the project the instant it appears, but it is sensible to finish it while you are already working through the other four repairs. Clearing it at the same time avoids leaving an incomplete task behind simply because its entry point was unintuitive.
Troubleshooting: no repair prompt on the railing
If the game is not offering an interaction, check these points in order:
- Confirm you are behind the house. Start from the glass sliding doors near the TV.
- Go downstairs. The relevant repair point is on the lower decking, not on the upper deck beside the chairs.
- Use the ladder as your landmark. Face the house and inspect the railing to the ladder’s left.
- Look for the icon first. Only hold Triangle or Y once the paintbrush symbol appears.
- Finish every trigger prompt. Use R2 or RT as directed until the nailing sequence ends.
This is primarily a positioning problem, not a demanding repair minigame. The controls are straightforward once the correct side of the rail has been found.
A small early-game task with a bigger purpose
Repairing the railing is a compact example of GTA 6 tying a simple environmental activity to character progression. On the surface, Jason is replacing panels in a fence. In the wider first-chapter context, the optional work contributes to the condition of the shared home and can improve the relationship outcome later.
That does not mean every visible repairable-looking object is a target. The useful rule here is to follow the game’s interaction language, especially the paintbrush indicator, rather than treating visual damage alone as an instruction. The broken rail near the deck chairs tells you what needs attention; the lower-deck prompt tells you where Jason can actually do it.
For more GTA 6 context beyond this early Key Lento objective, see our coverage of the game’s Japanese-version content and language changes.