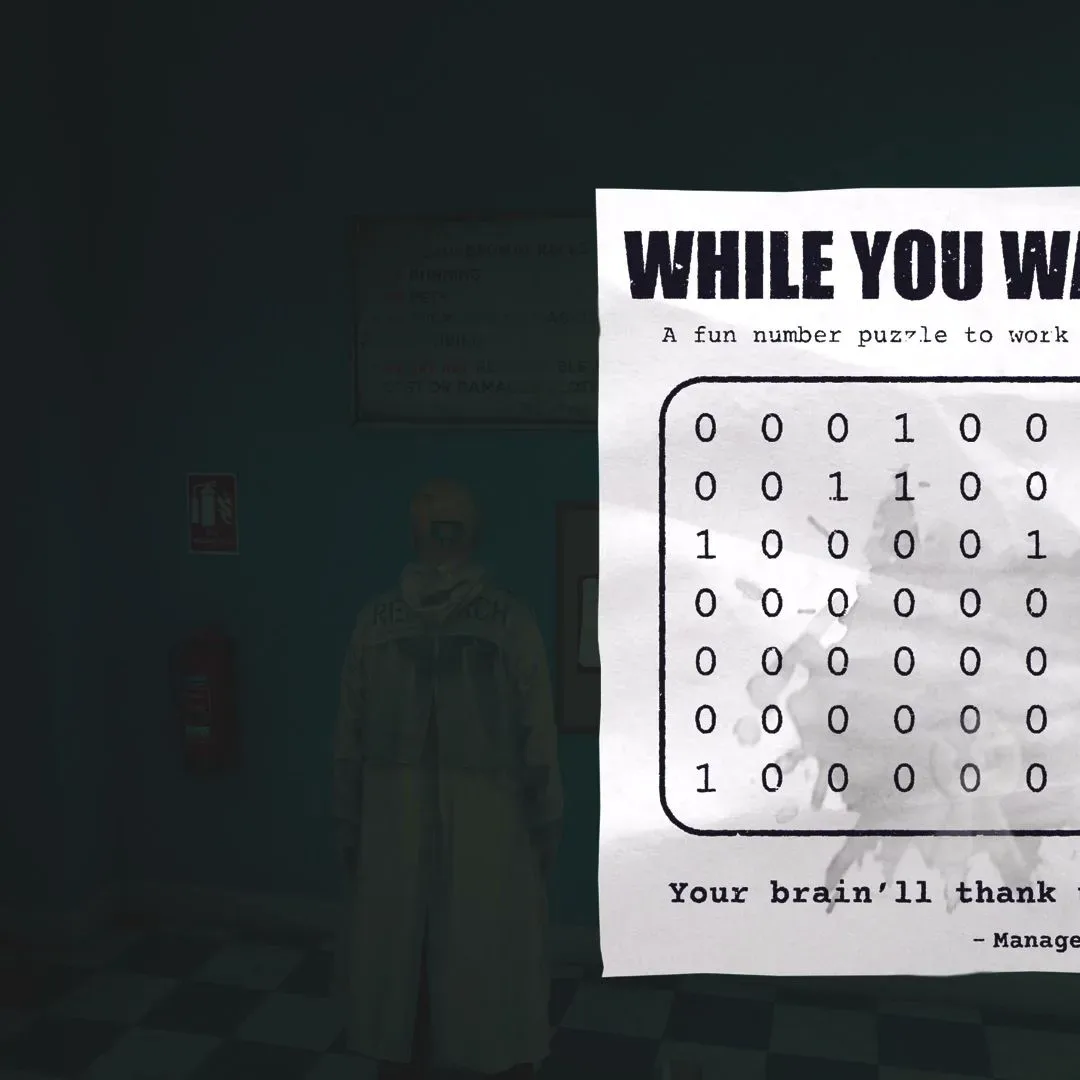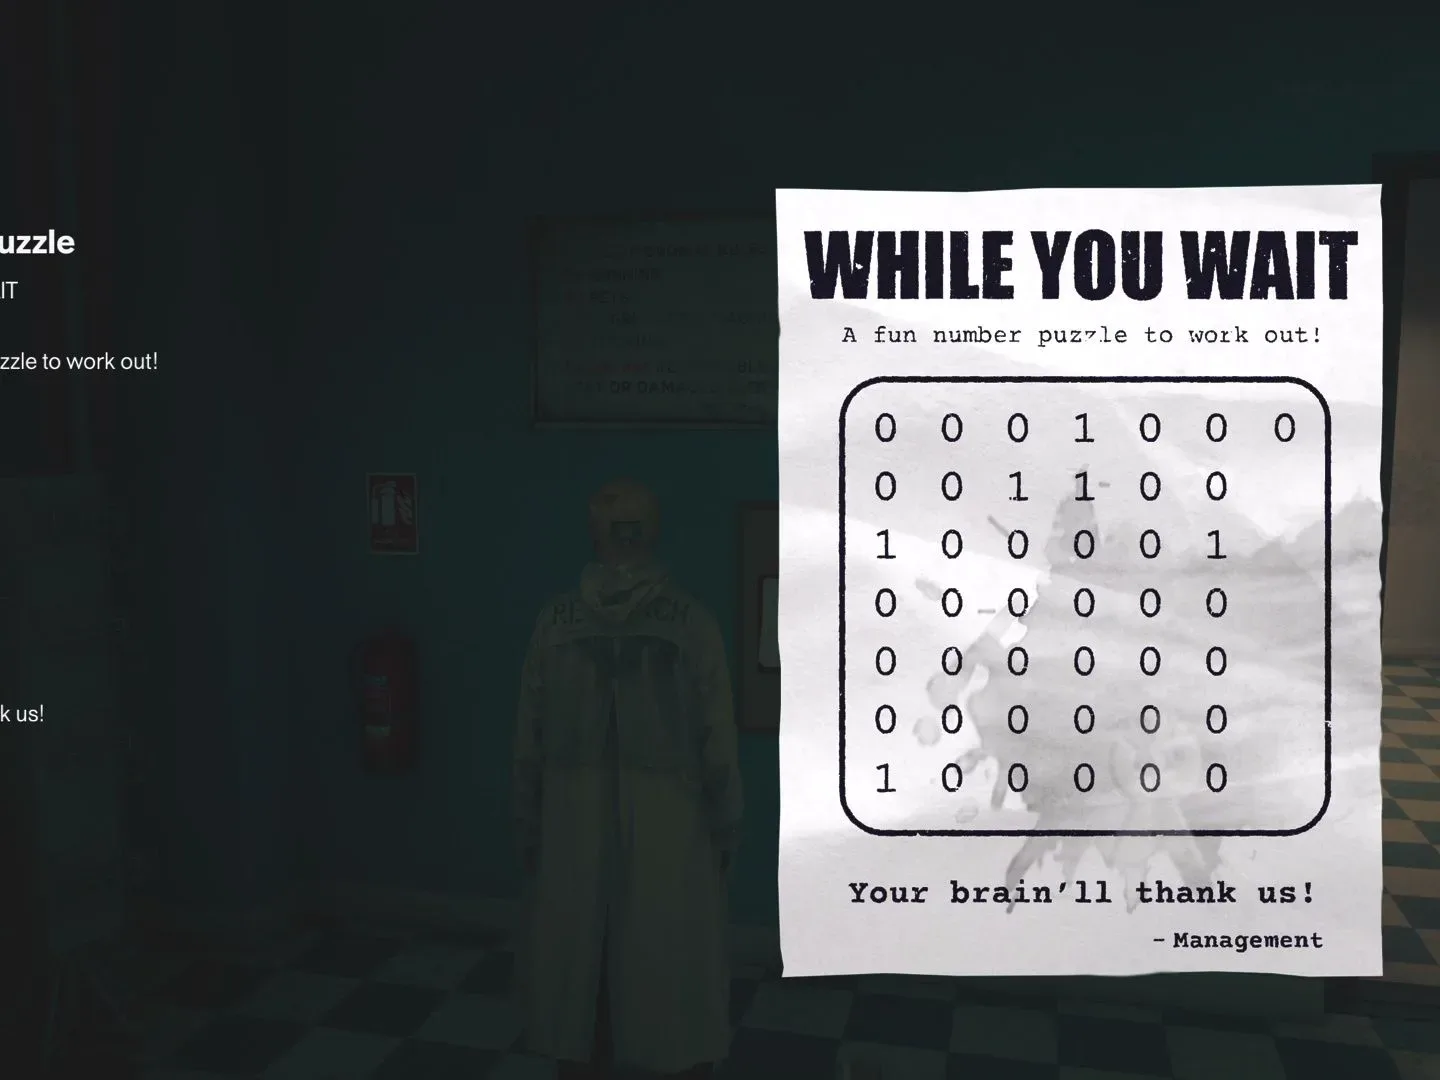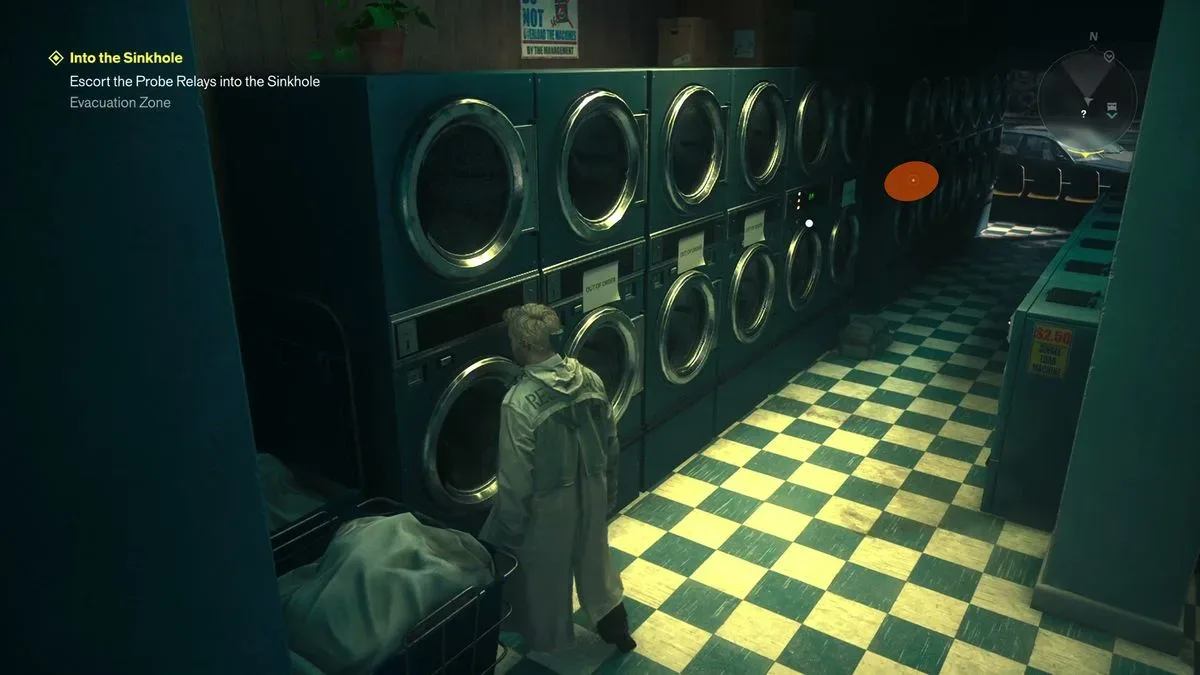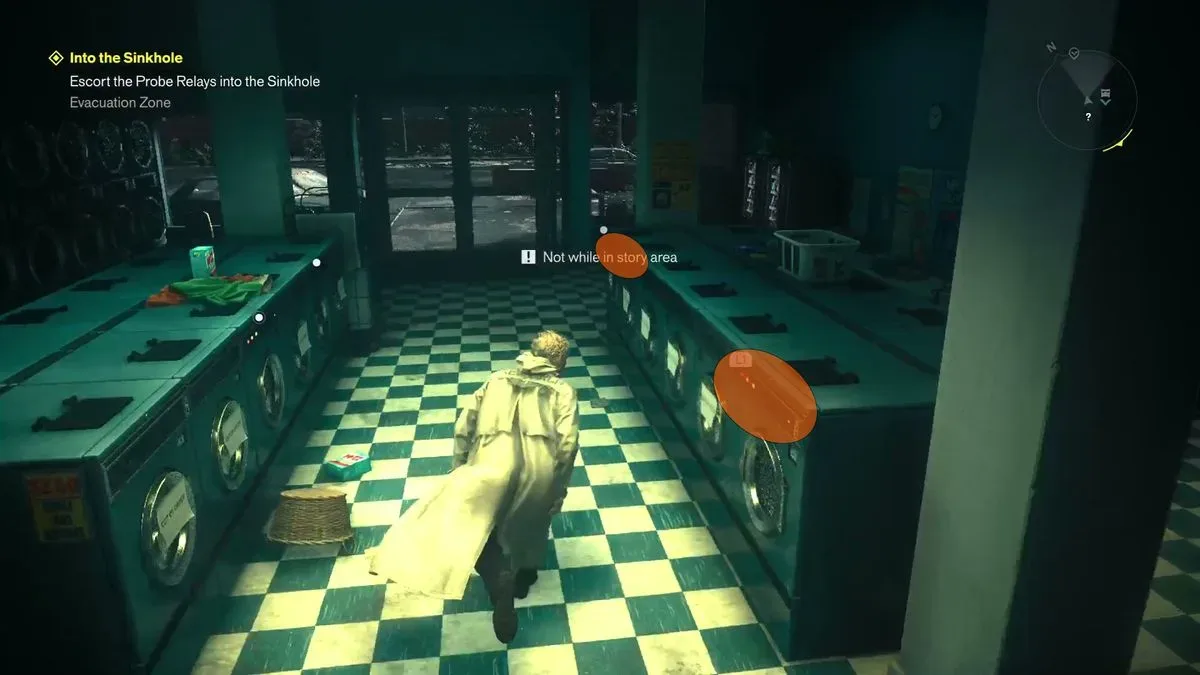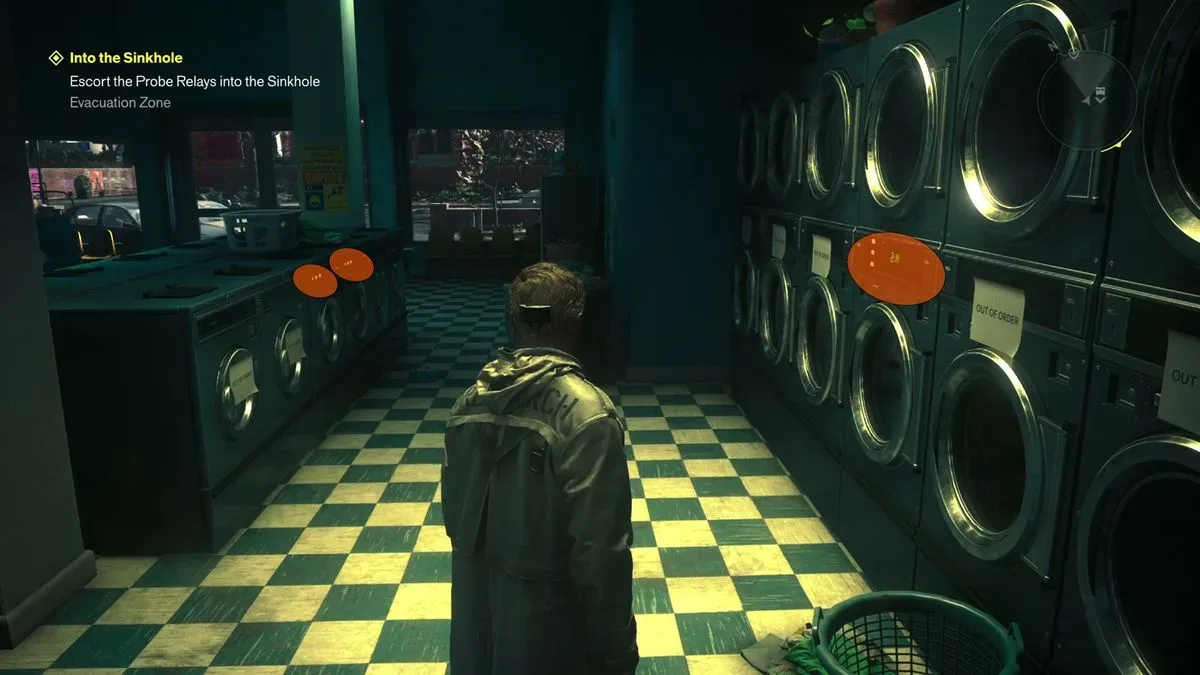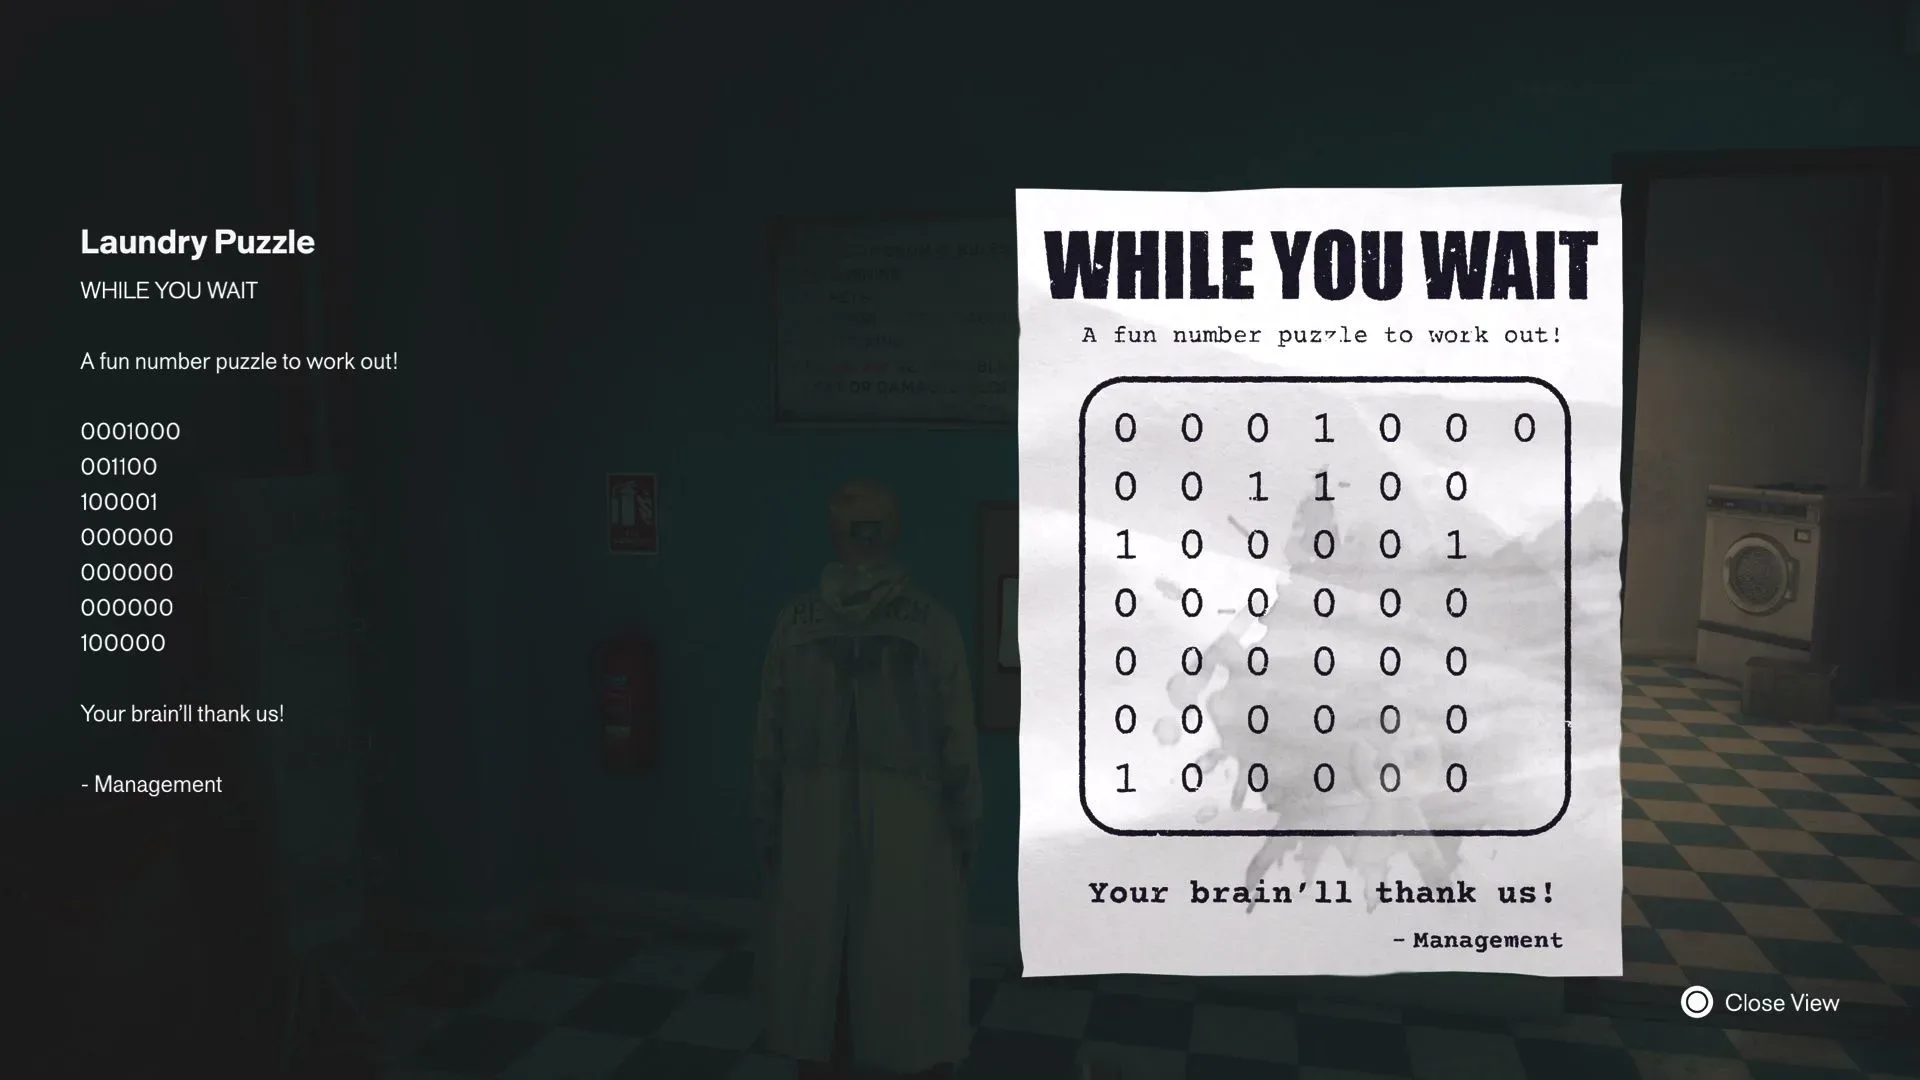
The washing machine puzzle in Control Resonant turns a Laundry full of appliances into a compact logic test. The clue is a wall note containing a grid of ones and zeros, while the answer is spread across the room in six rows of washing machines. Rather than being decoration or an unsolved bit of office-admin horror, that number grid is an operating map.
The key is simple: read every 1 as a machine that should be switched on. A 0 means the corresponding machine should remain off. Match the note’s rows to the physical rows of machines, make the required activations, and a secret door opens in the Laundry backroom.
Completing the puzzle grants access to a hidden area with several collectibles and a crate containing a Health Upgrade Point. That makes this more than a scenic side puzzle: it is worth solving before moving on if you want the upgrade resource and the items tucked behind the concealed entrance.
Washing machine puzzle solution
Use the rows below from the Laundry entrance outward. The west-side row is Row 1 and the east-side row is Row 6. For rows described as having no machines active, ensure that every available machine in that row is switched off.
For more context, explore LEGO Dragon Ball: Shenron & Goku Brings the Eternal Dragon to a 1,764-Piece Display Set.
- Row 1, west/left side: Turn on the washing machine immediately beside the break in the middle of the row.
- Row 2: Leave every machine off.
- Row 3: Leave every machine off.
- Row 4: Turn on the two end machines: the one nearest the entrance and the one furthest from it.
- Row 5: Turn on the two adjacent machines in the middle.
- Row 6, east/right side: Turn on the middle machine.
Once the pattern is correctly set, check the Laundry backroom for the newly opened secret door. Go through it to reach the hidden space, collect the items inside, and open the crate for the Health Upgrade Point.
How the Laundry clue works
This is a binary-style environmental puzzle. Binary is a system that uses only two values, commonly written as 0 and 1. Here, the game uses those values in their most approachable form: 1 means active, and 0 means inactive. Players do not need to convert binary into decimal numbers, perform a calculation, or decipher a codeword. The poster is a direct visual layout for the machine switches.
The possible sticking point is not mathematics but orientation. The clue represents rows of physical objects rather than a sequence to enter at a terminal. Treat it as a floor-plan-like instruction sheet: find the matching row in the room, then switch on only the positions represented by ones.
The Laundry’s inactive rows matter just as much as the active ones. Rows 2 and 3 are deliberately blank in the required configuration, so turning on a machine there will spoil the arrangement. Likewise, some visible machines may not be interactable; they are not additional steps. Focus on the machines that can actually be switched and leave any unmarked position off.
A quick, low-confusion route through the room
If the visual arrangement is making the wall note difficult to parse, use a methodical sweep instead of trying to memorize the entire pattern. Start at the west side and work row by row toward the east:
- Set Row 1’s machine beside the central gap.
- Verify Rows 2 and 3 are completely off.
- Activate both extreme machines in Row 4.
- Activate the adjacent middle pair in Row 5.
- Activate the central machine in Row 6.
This approach reduces the chance of accidentally treating the room like a single left-to-right line. It also makes a reset easier. If the door does not open, revisit the rows in order, paying particular attention to the two empty rows and to Row 4’s placement: its two active machines belong at opposite ends, not near the middle.
What opens after you solve it
The solution unlocks a secret door in the Laundry backroom. Behind it is a secret area containing several collectibles and a crate with a Health Upgrade Point. The upgrade point is the clearest practical reason to complete the puzzle, while the extra collectibles reward players who are checking the environment rather than only pursuing the immediate route forward.
Because the door is in the backroom, do not expect the reward to appear directly among the washing machines. Solve the appliance pattern first, then move away from the main Laundry floor and inspect the backroom. The environmental change is the game’s confirmation that the configuration has been accepted.
Why the ones-and-zeros note is easy to misread
Games often use a grid of symbols for several different puzzle languages: coordinates, keypad inputs, pathing, truth tables, or pattern matching. In this case, the symbols are neither a numerical password nor an order in which every machine must be pressed. They are a state diagram. Each machine must end in the right state at the same time.
That distinction is useful when troubleshooting. An order-based puzzle cares about the sequence of inputs. A state-based puzzle cares about the final board. The Laundry puzzle is presented as the latter: the note identifies which machines are running and which are not. Take your time comparing each row against the intended finished layout rather than attempting to recreate a rapid input sequence.
The presence of a gap in Row 1 also reinforces why players should map the clue to the actual room instead of assuming every printed position is a usable appliance. The practical instruction is location-based: activate the machine next to the central break on the west-side row.
The possible FBC Terminal connection
The Laundry’s 1-and-0 motif may have a lore connection to the FBC Terminals in Control Resonant, which ask players questions. That connection is not established as a confirmed requirement for solving the washing-machine room, so it is best treated as an interpretive thread rather than a hidden extra step.
For the Laundry itself, the evidence needed to proceed is entirely local: the note, the rows of machines, and the concealed backroom door. You do not need to solve Terminal questions to apply the on/off pattern described above. Still, the shared language of binary choices makes the comparison a reasonable detail to keep in mind while exploring.
Players looking for another environment-based secret-door puzzle can also consult this Control Resonant painting puzzle guide. The Laundry puzzle’s own answer, however, remains straightforward: set the indicated machines on, keep the rest off, then check the backroom.
Checklist before leaving the Laundry
- Row 1 has only the machine beside the middle break activated.
- Rows 2 and 3 have no active machines.
- Row 4 has its nearest and furthest machines activated.
- Row 5 has the two adjacent central machines activated.
- Row 6 has only its middle machine activated.
- The secret door has opened in the Laundry backroom.
- You have searched the hidden area for its collectibles and opened the Health Upgrade Point crate.
With that done, the Laundry’s mysterious poster has fulfilled its only real duty: turning a room full of washing machines into a very odd, very rewarding switchboard.