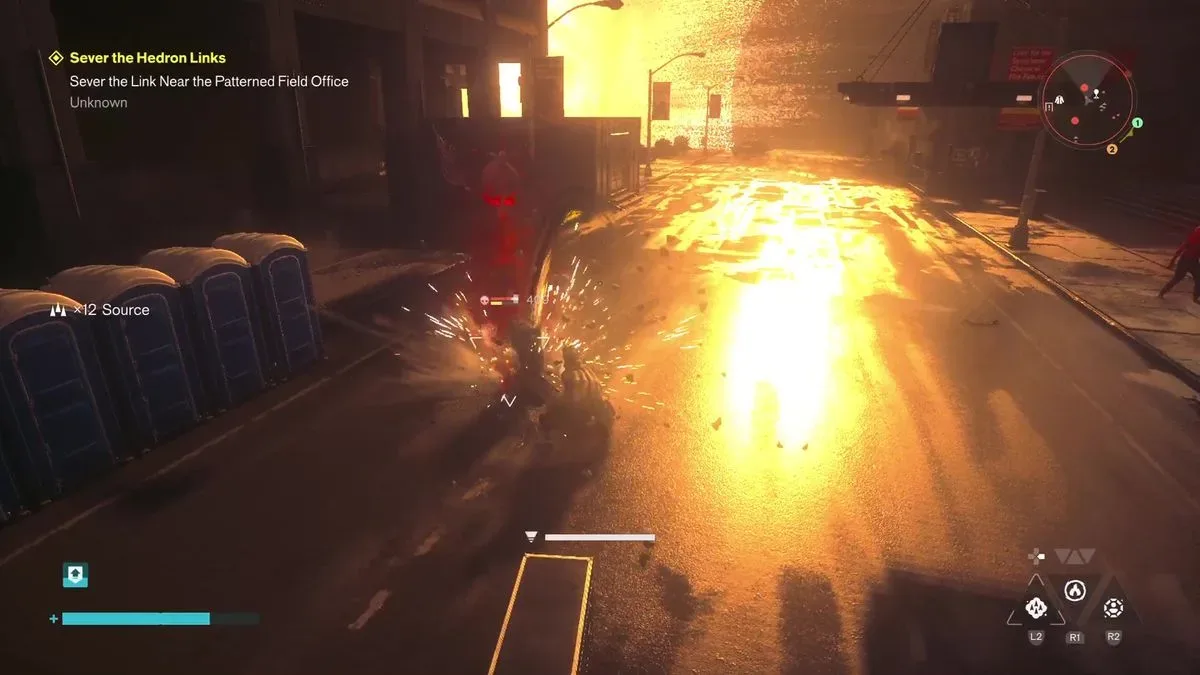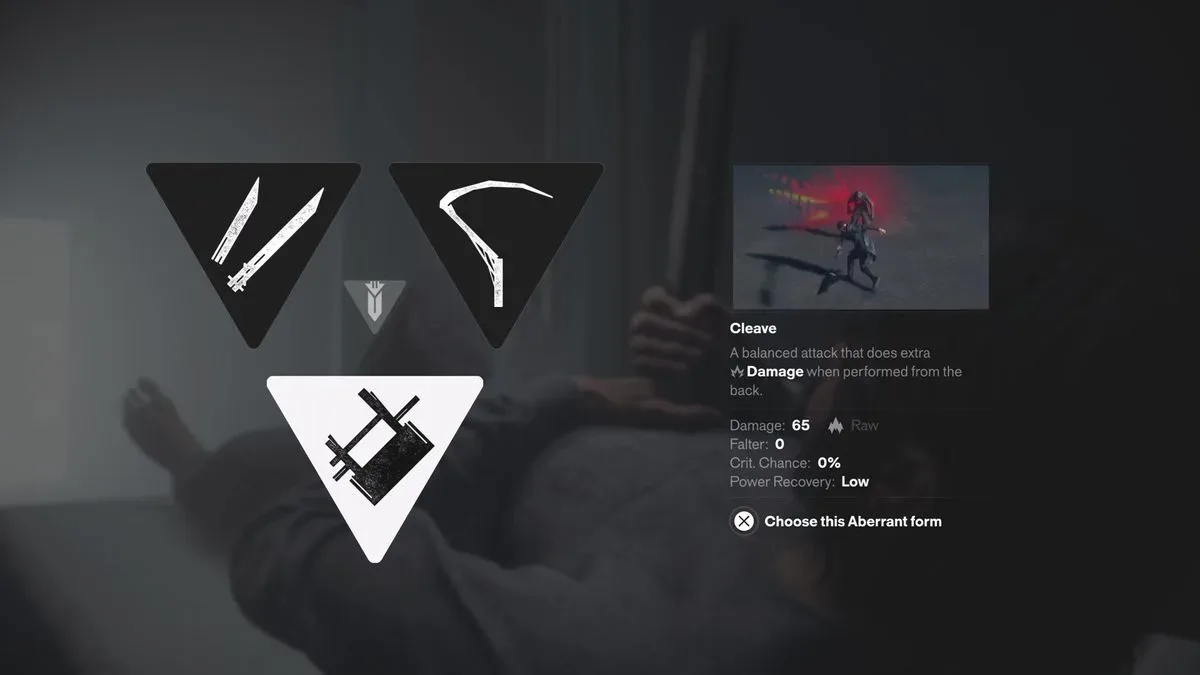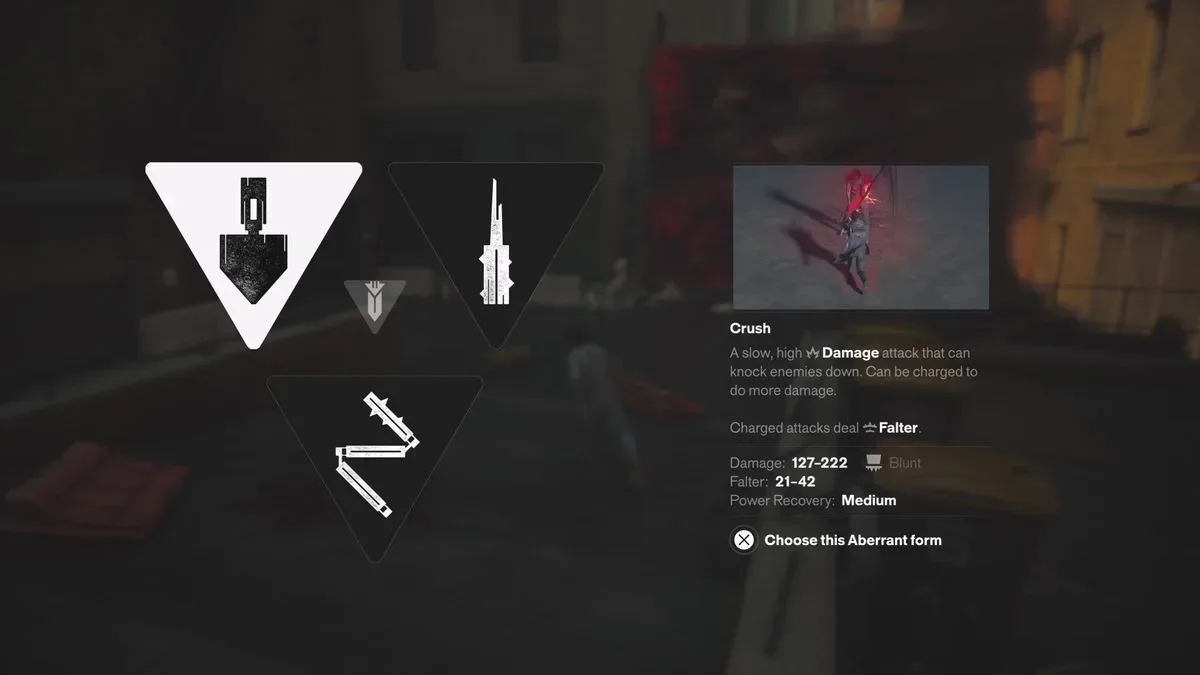
Choosing an Aberrant Form in Control Resonant is not merely a question of which weapon looks coolest while being swung at a hostile supernatural inconvenience. The form selected determines the role Dylan’s weapon takes in combat: whether it is a balanced blade, quick dual daggers, a crowd-clearing scythe, a crushing hammer, a mobile whip, or a precision-minded drill.
There are three primary forms and three secondary forms. One of each is provided when those choices first arise, while the remaining options must later be unlocked. For players looking for the least conditional, most broadly useful pairing, Cleave is the strongest primary choice and Crush is the standout secondary choice.
That does not make every alternative a trap. Strike has a clear place for players who value rapid attacks and movement, Glaive offers substantial damage and wide swings, Extend favours agility and multi-target reach, and Drill can serve deliberate attacks aimed at weak points. The rankings are instead about consistency: how reliably each form provides damage, control, and safety across ordinary fights without demanding a narrow setup.
The short answer: choose Cleave and Crush
- Best primary Aberrant Form: Cleave. It combines useful speed and damage, while its increased damage from behind supports an evasive approach.
- Best secondary Aberrant Form: Crush. The hammer delivers very high damage and Falter buildup, and can keep many enemies locked down through repeated hits.
This pairing covers a practical range of needs. Cleave is the weapon to rely on when the fight does not immediately call for a specialist tool. Crush is the option to bring out when an opponent needs to be staggered, pressured, and prevented from retaliating.
The important technical term here is Falter. The available information describes Crush as doing massive Falter damage and suggests that high Falter impact can set up an execution at the end of a hammer sequence. In practical terms, the hammer’s value is not just its raw hit damage. It actively pushes enemies toward a vulnerable state, then exploits that state before they can regain control.
That creates a particularly favourable loop against opponents susceptible to its attacks: hit them repeatedly, build Falter, deny their chance to escape or counterattack, and potentially end with an execution. A suitable Combo Finisher can further increase the payoff. Players deciding how to support that part of their loadout can consult the Control Resonant Combo Finishers guide.
Primary Aberrant Forms ranked
1. Cleave: the most dependable all-purpose primary
Cleave takes the top spot because it avoids the major compromises attached to the other primaries. It is neither the absolute fastest form nor the single highest-damage option, but it has enough speed and power that it does not feel narrowly built for only one scenario.
Its additional damage against enemies hit from behind is the deciding benefit. Control Resonant encourages evasive play, and an enemy’s back will regularly become available when Dylan moves around threats rather than trying to absorb every exchange face-on. Cleave turns those openings into greater damage without requiring an intricate combo condition or an unusually specific target.
Related coverage includes Control Resonant: Best Aberrant Forms and Weapon Rankings.
That makes the form welcoming for a first selection, but it is not simply the “beginner” choice. A balanced weapon is valuable when a player does not yet know what a coming encounter will ask of them. Cleave can keep up pressure on one target, fits an evasive rhythm, and retains enough force that landing a safe opening feels meaningful.
Who should pick it: players who want a primary weapon that works in most encounters, those still learning enemy behaviour, and anyone who naturally dodges or repositions for rear attacks.
Why it wins: it has no prominent practical weakness in the described role. Its strengths—speed, damage, and backstab reward—are applicable often, rather than being saved for crowds or precision weak-point moments.
2. Strike: quick, critical-hit focused daggers
Strike is a strong runner-up, not a failed version of Cleave. These dual daggers place speed and agility ahead of per-hit damage, and carry a stated 30% critical-hit chance. That makes them a credible choice for players who prefer to isolate a target, strike quickly, and stay mobile rather than committing to more deliberate swings.
The distinction between Strike and Cleave is less about a simple good-versus-bad divide than about consistency of outcome. Strike’s critical-hit element means some of its performance is tied to crits, while its lower damage emphasis means a player is leaning harder on its pace and mobility. Cleave’s rear-damage benefit is also conditional, but it aligns with the broader evasive behaviour the game encourages.
Strike therefore has a clear identity: make fast contact, retain agility, and focus attention on individual enemies. It should appeal to players who find heavy attacks disruptive to their timing or who want their primary form to feel quick even before considering a secondary weapon.
Who should pick it: players who prize speed, mobility, quick individual-target pressure, and its critical-hit chance.
What to remember: it is a solid alternative rather than a mandatory downgrade, but Cleave is the safer recommendation when there is no firm preference for a fast dagger style.
3. Glaive: high damage and broad swings, with a speed cost
Glaive is the scythe-shaped primary form. It offers the highest damage of the three primaries, uses wide sweeping strikes that can connect with multiple foes, and can push enemies away. On paper, that is a persuasive list of advantages for crowded encounters.
The trade-off is slower movement. Since speed and positional freedom matter from moment to moment, the Glaive’s large hits come with a greater commitment than Cleave or Strike. The form is best suited to groups of weaker enemies where a wide swing can produce value across several targets at once.
Its third-place rank is not a claim that area damage lacks worth. Rather, Dylan eventually has access to powers that can cover the same crowd-management role. When a weapon’s defining advantage overlaps with tools available elsewhere in the kit, a general-purpose primary such as Cleave becomes more appealing as an all-around default.
Who should pick it: players who enjoy deliberate heavy strikes and want their primary weapon to affect multiple weaker targets.
Why it ranks lower: its slower handling is a constant cost, while crowd control becomes less exclusive once other powers are available.
Secondary Aberrant Forms ranked
1. Crush: the hammer that turns pressure into control
Crush is the clear first choice among the secondaries. This giant hammer delivers huge damage, but its real edge is the combination of high Falter impact and the ability to stunlock many opponents.
A stunlock is a sequence in which successive attacks keep an enemy unable to respond or escape. It is a powerful safety tool because an enemy that is continuously staggered is not actively striking back. With Crush, that can allow Dylan to continue a hammer combo against an affected opponent with relatively little danger, rather than trading blows.
The hammer is also not presented as suffering from an excessively slow wind-up, which matters enormously for a heavy weapon. A weapon can boast exceptional impact and still be awkward if it cannot begin attacks in time. Crush avoids that worst-case concern while retaining the benefits usually associated with a heavy option.
Its high Falter pressure gives the form an additional route to a strong finish. The source material indicates that the resulting combo may lead into an execution. That means Crush’s attacks are doing multiple jobs at once: immediate damage, control over the target’s ability to fight back, and progress toward a vulnerable state.
Who should pick it: almost anyone who wants the most effective secondary overall, especially players looking for a reliable answer to resilient single opponents.
Best use case: commit to hammer pressure when an enemy can be kept in hit-stun, then capitalize on Falter and any compatible Combo Finisher.
2. Extend: agile reach with a demanding charge attack
Extend takes the shape of a sweeping whip. It is the least damaging secondary form, but it can affect several enemies and is the most agile option in its category. That contrast makes it a playstyle selection rather than a raw-power pick.
Its charge attack needs particular care: it locks Dylan in place and requires correct timing. This is a meaningful restriction for the form that otherwise advertises mobility. Players cannot assume that every whip action preserves their freedom to reposition. The charged move asks for a deliberate opening and carries risk if used when an enemy is ready to punish a stationary target.
Extend may still be the right secondary for a player who dislikes heavy hammer commitment and would rather prioritize movement and broad reach. It just asks more from the player’s timing while returning less direct damage than its competitors.
Who should pick it: players who want a quick secondary capable of tagging multiple targets and are comfortable judging when a charge attack is safe.
3. Drill: a precision option with escalating commitment
Drill is a spear-like secondary that rams into opponents. It begins quickly, but its later strikes need slower combo buildup to get the most from it. This makes it the clumsiest of the three secondaries in ordinary use.
There is a potential niche: precision shots at weak points. When those opportunities arise, Drill can offer value to players who prefer exact target selection. But weak-point opportunities are necessarily more situational than the broad control offered by Crush, and the slower continuation of Drill’s combos makes it harder to recommend as the default selection.
Who should pick it: players who specifically want to target weak points and are willing to manage a combo that becomes more cumbersome after its fast opening.
Why it finishes third: its best application is narrower, and it has more handling friction than either Crush or Extend.
When the weapon choices happen and how to change them
The primary and secondary decisions do not arrive at precisely the same point. The three secondary forms are chosen after leaving the Oldest House, within the game’s first hour. Control Resonant gives Dylan one primary form and one secondary form for free when those choices are made.
The initial selection is important because the other four forms need to be unlocked later, but it is not permanent. Outside combat, open the pause menu, enter the loadout, and switch the equipped primary or secondary form from among the options already unlocked.
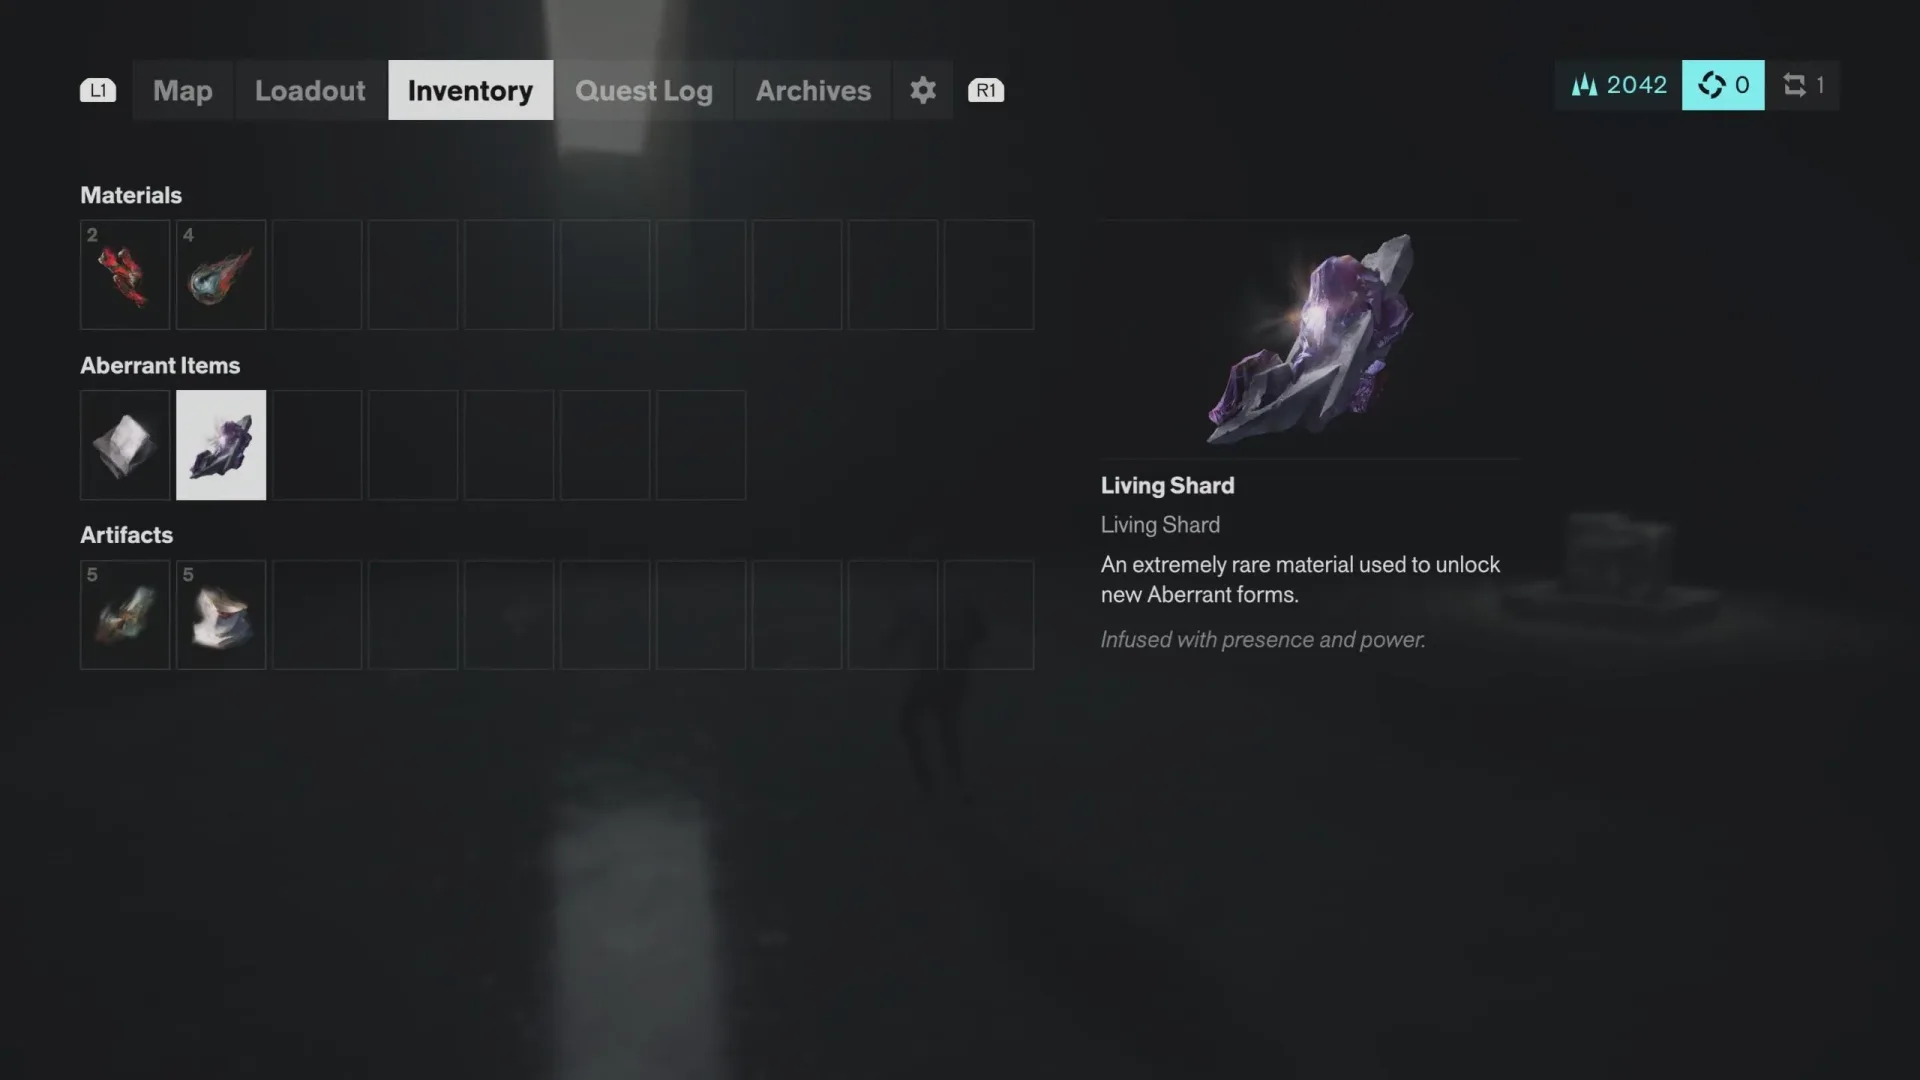
The additional forms are purchased in the Gap hub zone using rare Living Shards. Those shards can be bought from vendors or earned as rewards for certain major quests. Since rare resources are involved, the most practical approach is to avoid unlocking a form solely because it occupies the next slot in the list. Match the purchase to a real need: Glaive for broad heavy swings, Strike for speed, Extend for agility and reach, or Drill for its weak-point focus.
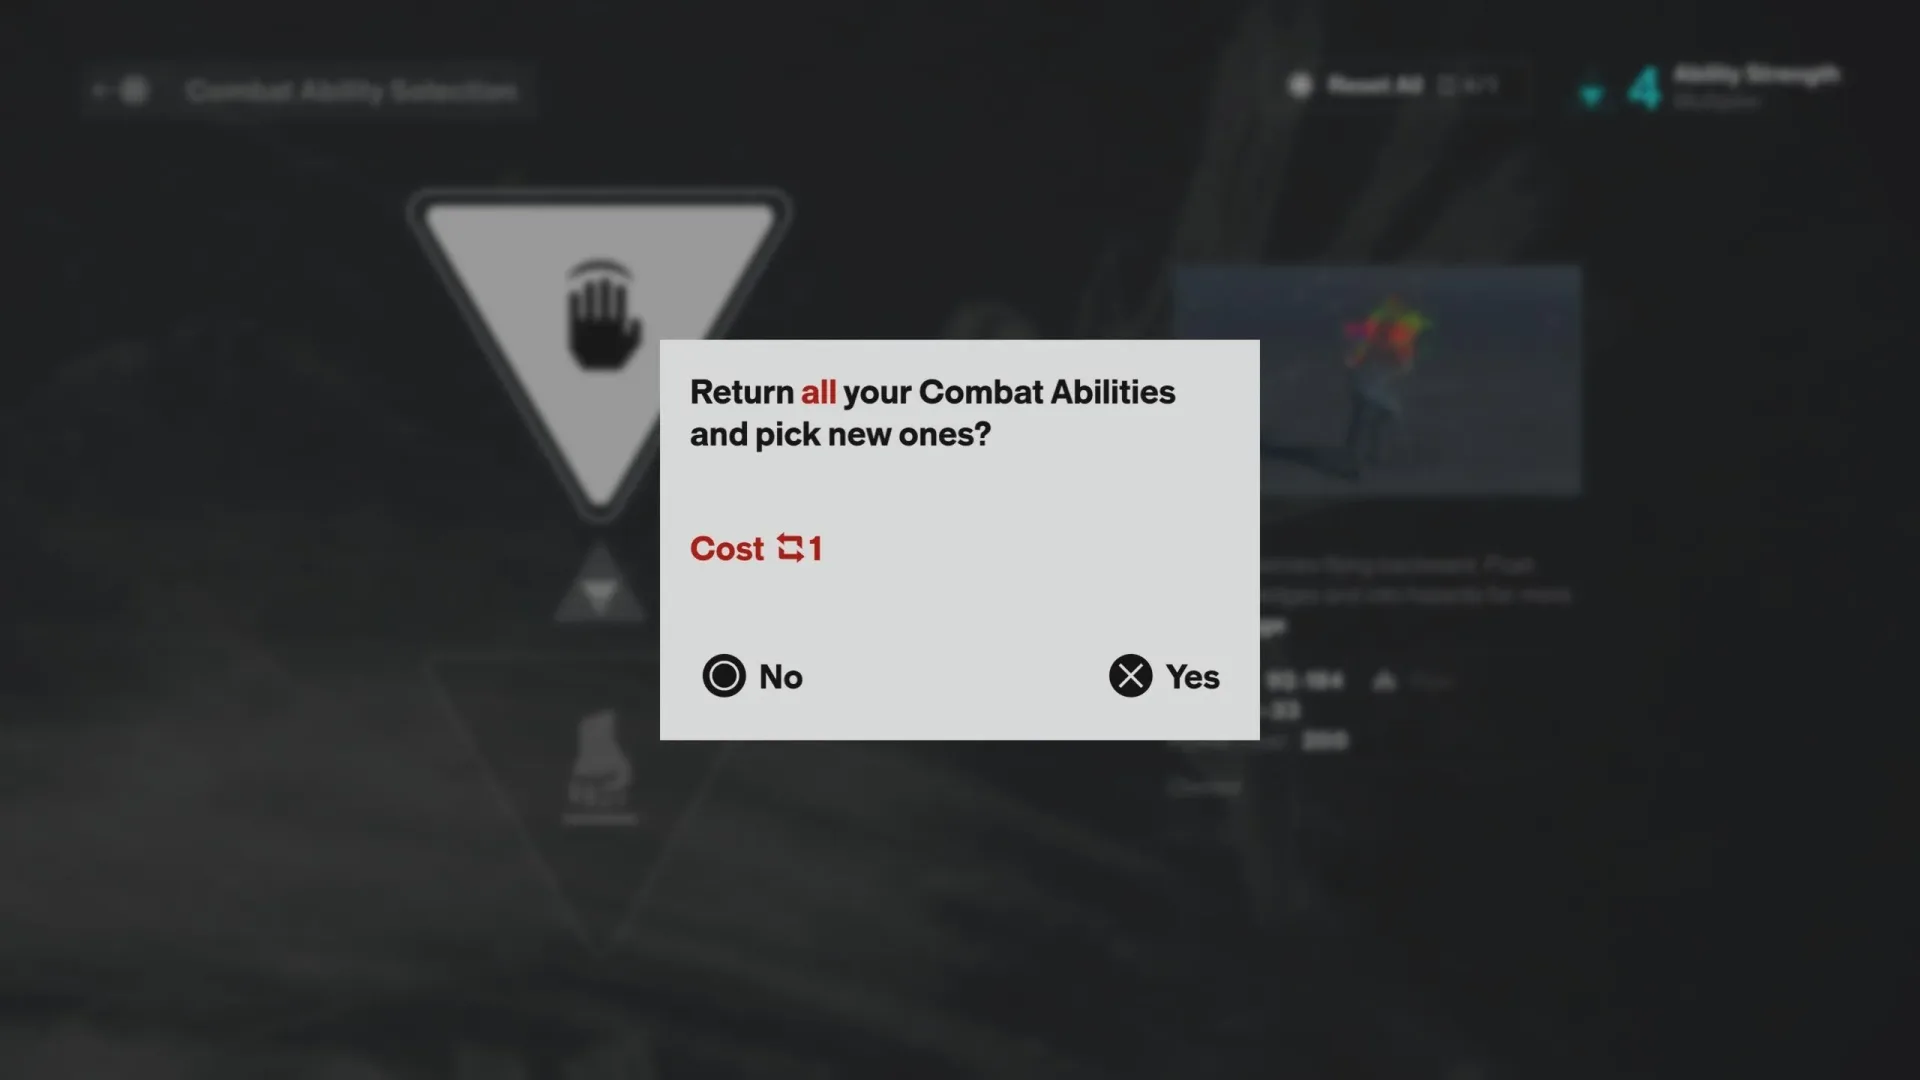
There is also a respec route through Reset Items. Players who want to reconsider an earlier decision should understand their limitations before spending one; the dedicated Reset Items guide explains how to respec Dylan without wasting them.
A practical selection plan
- Take Cleave as the primary if there is no strong preference. It is the best universal fit and rewards the evasive movement already useful in combat.
- Take Crush as the secondary for its enormous Falter output, strong direct damage, and capacity to stunlock many targets.
- Unlock specialists later, not automatically. Strike suits speed, Glaive suits broad heavy attacks, Extend suits agile multi-target play, and Drill suits weak-point targeting.
- Swap outside combat before forcing a mismatch. The loadout system means an unlocked form can be changed without permanently abandoning another one.
- Be conservative with rare resources and resets. Living Shards fund the extra forms, while Reset Items offer a way to revise choices rather than erase the cost of every impulse.
For the widest range of players, Cleave and Crush are the cleanest answer because they offer effectiveness without requiring the user to build every encounter around a single gimmick. Cleave remains useful while moving around enemies, and Crush can turn an opening into a long, punishing sequence. The other forms are worth considering once their particular strengths match the way a player wants Dylan to fight.