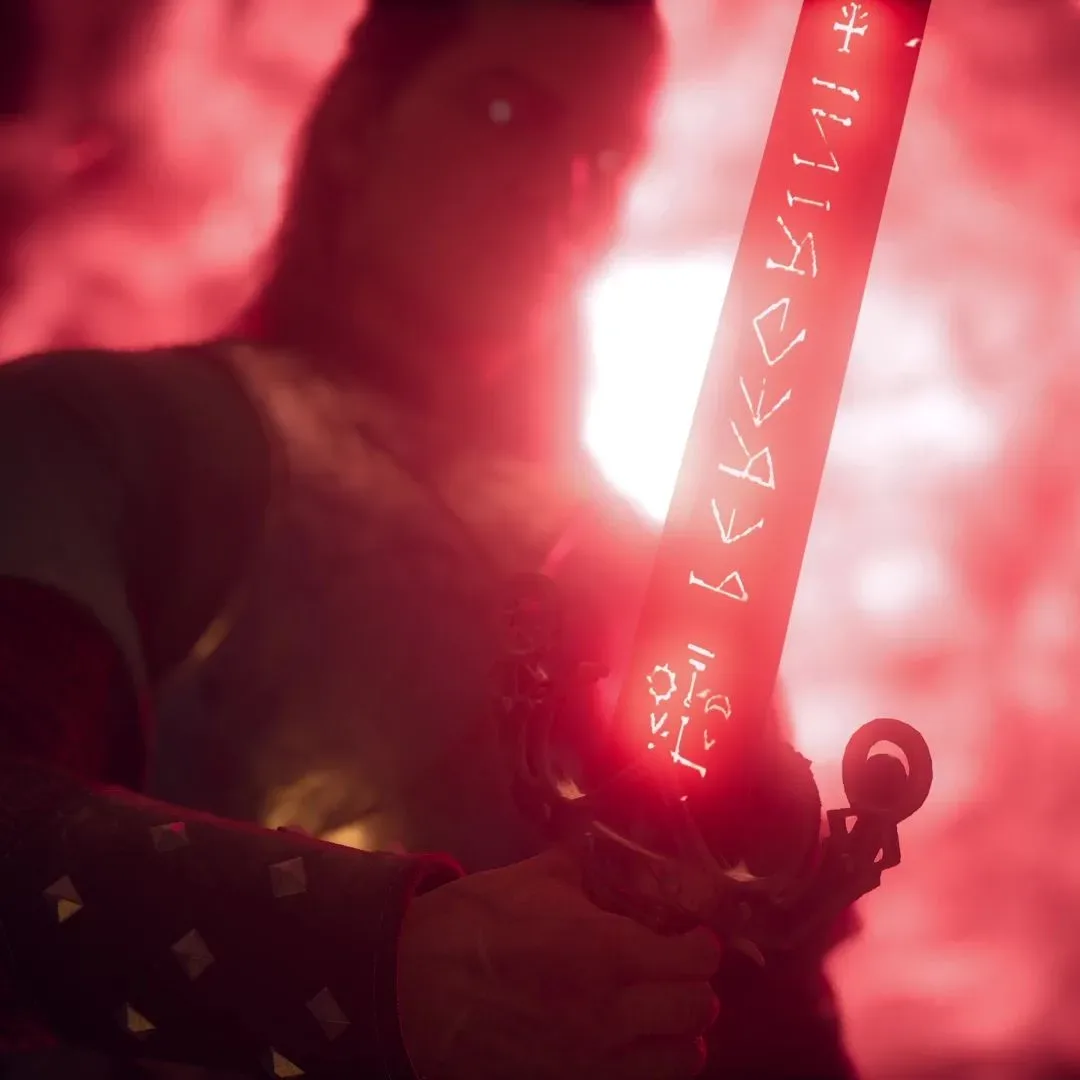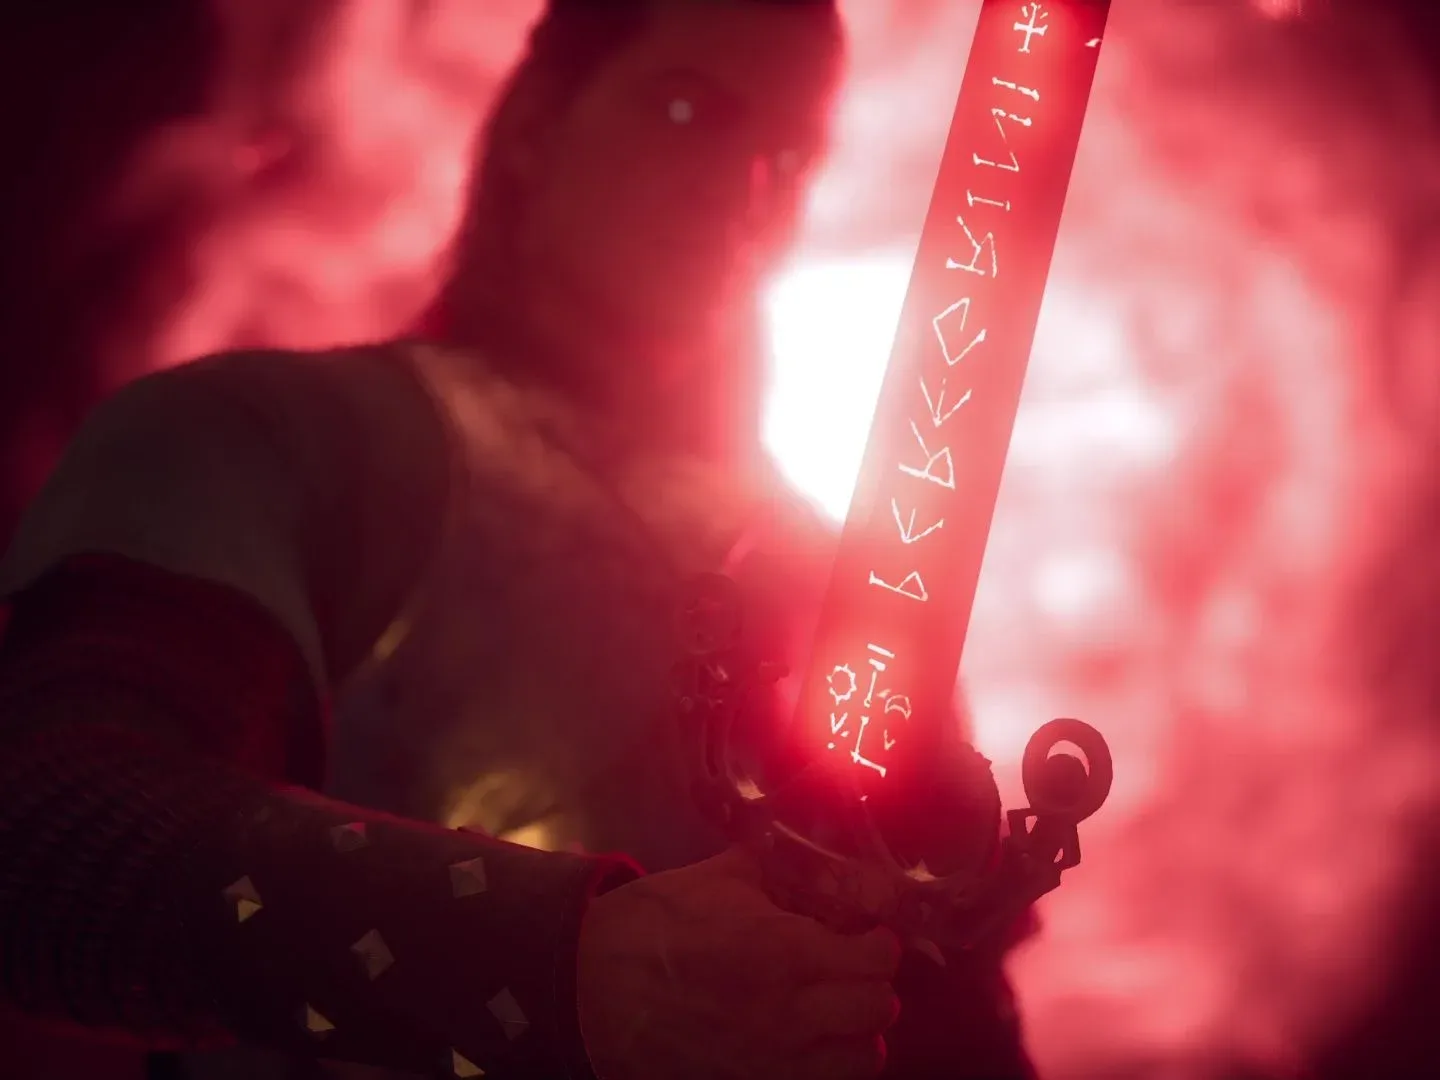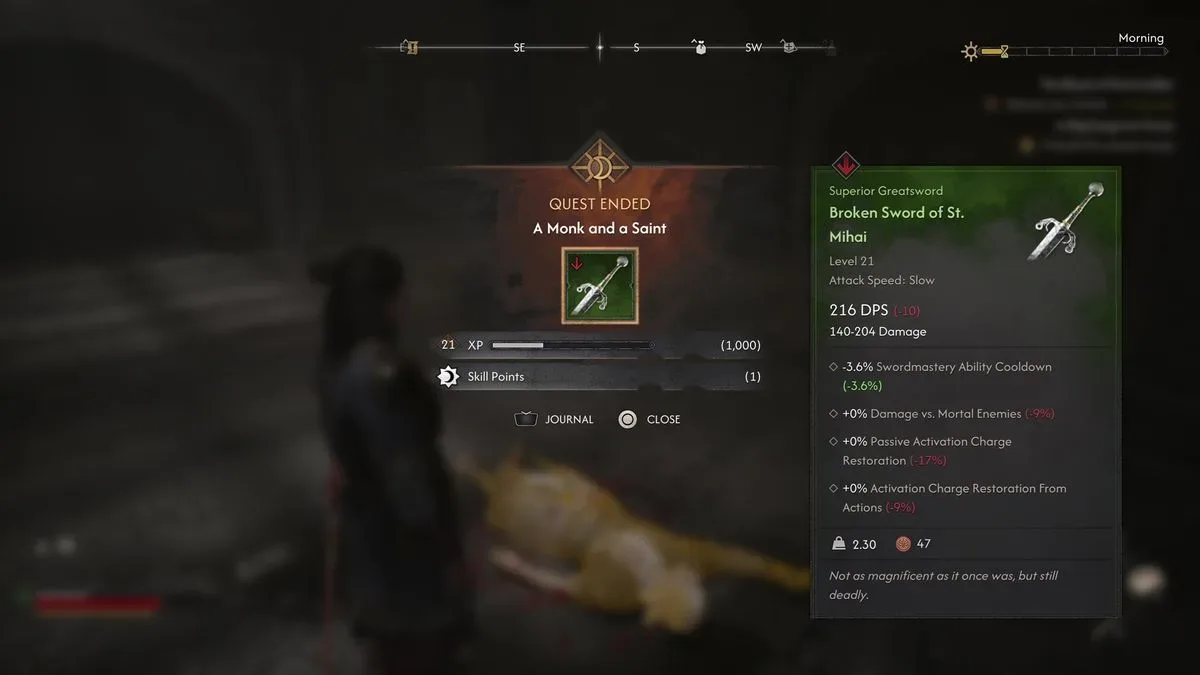
Finding every Sword Shard in The Blood of Dawnwalker is a longer detour than the usual “open chest, receive sword, immediately look heroic” routine. The payoff is the Broken Sword of St. Mihai rebuilt and then tempered into the Imbued Sword of St. Mihai, a Legendary Greatsword with especially useful properties against supernatural foes.
The route spans Svartrau Cathedral, three distant locations across Vale Sangora, a specialist smith in the far north-west, and a final combat encounter at an ancient site. It can feel vague at first because the relevant quest, Forge It Anew, does not initially stamp all three shard caves onto the map. Once one has been found, however, environmental clues and cave maps make the larger scavenger hunt much easier to manage.
Start with A Saint and a Monk in Svartrau
The Sword of St. Mihai quest chain begins with A Saint and a Monk, which leads Coen into Svartrau and eventually toward its cathedral. The early portion involves locating a scholar by using Focus mode around the city walls in the Middles District, following the markings that point toward the cathedral.
If the quest is not yet available, progressing Anca’s storyline is one reliable route. Continue past St. Tryna’s, complete Echoes of Silenced Bells, and work through the book research in Beyond the Words. This route can also contribute to Anca’s romance path, although there may be other ways to unlock the cathedral investigation.
When the quest takes Coen to Svartrau Cathedral at night, do not assume the glowing crypts outside are the entire answer. They are an important destination, but Coen needs more identifying information before selecting St. Mihai’s resting place. Exploring caves connected to a nearby well or reading in the cathedral library can add atmosphere and context, yet those activities do not advance this specific objective.
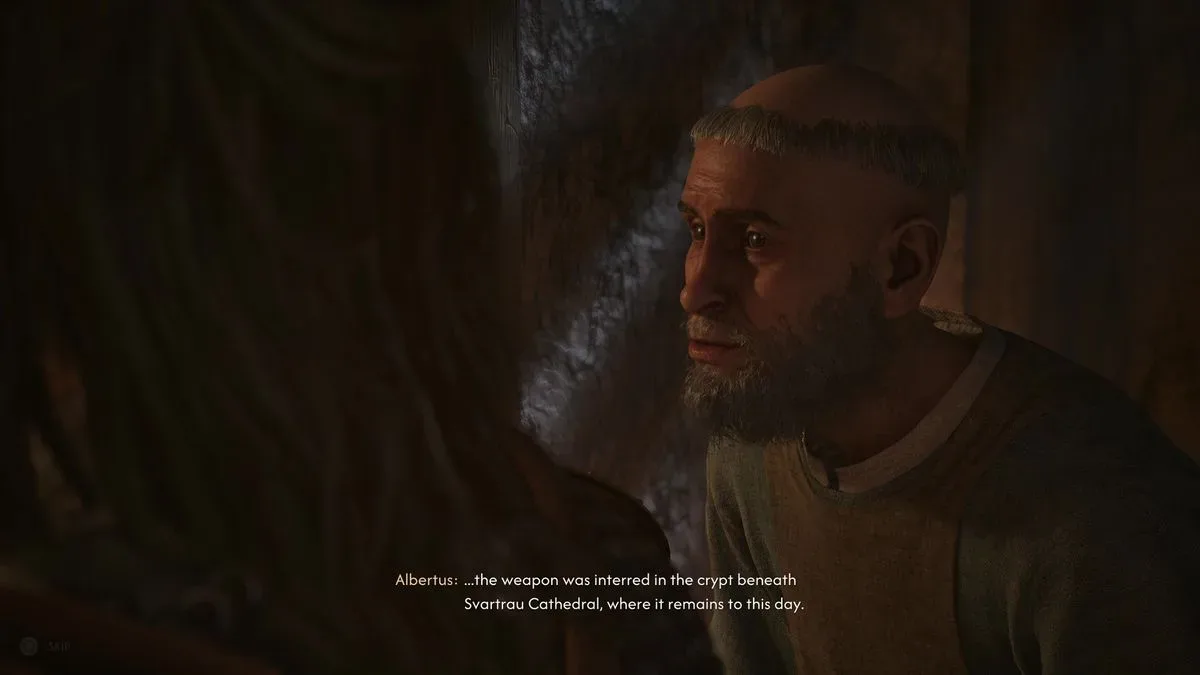
The crucial route into the cathedral is the belltower scaffolding on the side opposite the crypts. Inside, Xanthe is a serious threat, though avoiding her is possible. Look up and inspect the interior ceiling frescos to discover St. Mihai’s emblem. That mark provides the missing lead needed to make sense of the crypt search.
Collect the rooftop key before leaving the cathedral. It offers a convenient exit nearer the crypts. After entering the correct crypt and surviving the fighting inside, Coen receives the Broken Sword of St. Mihai. This begins Forge It Anew, the quest that asks for three silver Sword Shards and a craftsperson capable of putting the weapon back together.
How Sword Shard discovery works
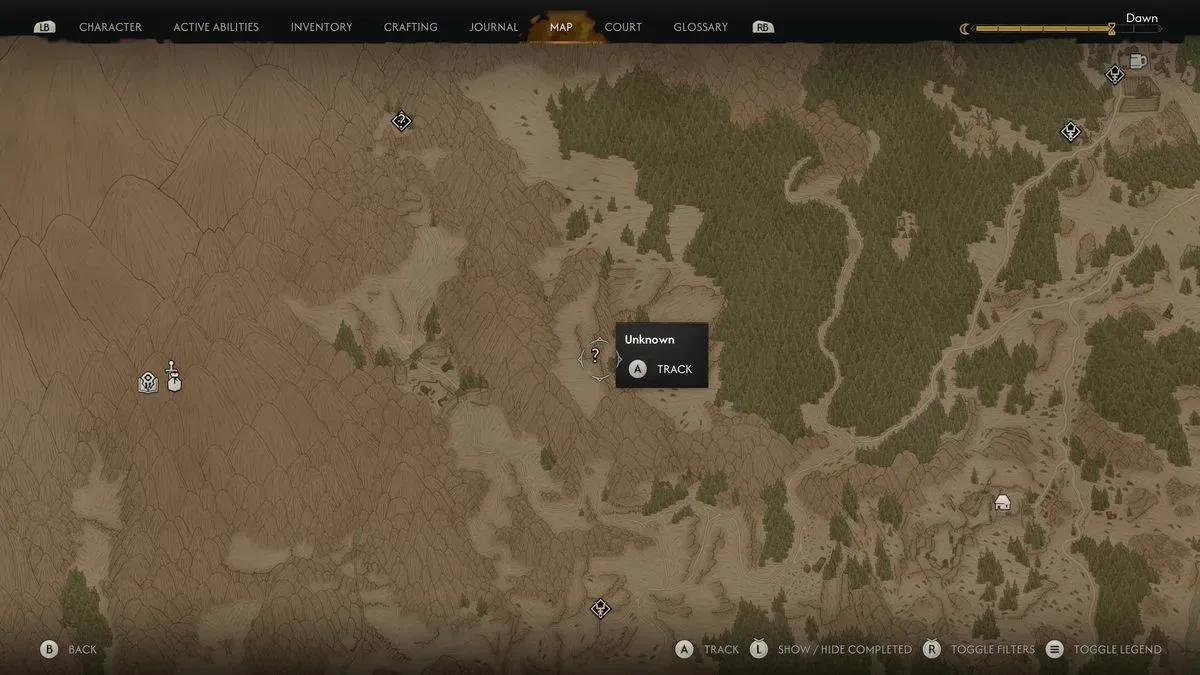
The three Sword Shards are spread among caves in Vale Sangora. The quest log may appear unhelpfully broad until you approach the right area, at which point a Forge It Anew sub-objective should appear in the Journal. More importantly, each shard cave includes information that helps identify the other locations. Finding any one cave can therefore turn an intimidating map-wide search into a more directed expedition.
There is no required order for the shards. Players who enjoy carefully clearing a region can begin wherever their travels have taken them, while anyone after a fast restoration can treat the following list as a direct route. This is a useful reminder that a checklist is often less about removing exploration and more about preventing the sort of map loop where a player revisits the same empty ravine three times with increasing confidence that it is “definitely different now.” The impulse has a familiar shape, much like the collector’s cycle of deciding to buy one small thing.
Western Sword Shard: the Munch-Munch cave
The first shard location lies in the western wilderness of Vale Sangora, near Uriash territory and beneath prominent crags. Coming at the area from the west makes the approach more practical, since the cave is tucked under those rocky formations rather than presented as a big obvious landmark.
Inside waits a large kobold named Munch-Munch, who guards the shard. Prepare for this as a dedicated fight rather than a minor interruption. After taking the shard, inspect the wall markings in the cave. Beyond their narrative value, they help reveal or confirm the quest-circle areas for the other two Forge It Anew sites.
North-east Sword Shard: follow the patrol trail
The second Sword Shard is in the north-east. It may be suited to lower-level characters, but the entrance is easy to overlook despite that likely intent. Focus mode is the key tool here: search for evidence left by a guard patrol that had been hunting kobolds, then follow that evidence to the hidden cave.
The interior contains multiple kobolds, fallen soldiers whose bodies can be looted, and the shard itself. As at the western cave, make time to examine the markings before leaving. They reinforce the web of directions between the three sites and contribute pieces to the broader history surrounding St. Mihai’s weapon.
South-east Sword Shard: the cave is only the first clue
The south-east objective is the exception to the simple “arrive, fight, loot shard” pattern. The intended cave is in the south-east of Vale Sangora, but the shard is not waiting inside. Evidence at the location indicates that Xanthe’s forces already took it for one of her nearby camps.
Follow the indicated trail from the cave to that camp. The enemies here are difficult, so this portion may call for more preparation than the first two caves. Once the camp has been cleared, search the main tent to recover the final shard. If the quest seemed to have gone wrong because the cave was empty, it has not: the empty cave is the trailhead, not a dead end.
Bring all three shards to the Uriashi Blacksmith
With all three pieces collected, travel to the Uriash Hermit, a blacksmith with a rune-powered forge. She is located in the very north-west of the map, excluding the village used during the prologue. Her location is close enough to the starting region that players may encounter her quite early, but she will not meaningfully engage with the sword restoration until Forge It Anew is active.
Be cautious with haste powers around the hermit. Using them can frighten her, temporarily preventing interaction. It is a small mechanical wrinkle, but one that can produce a baffling few seconds of apparently broken conversation prompts if Coen arrives at the forge moving like a supernatural blur.
Give the Uriashi Blacksmith the complete set of Sword Shards. She reforges the broken blade, but the weapon has not yet reached its final form. Her next instruction points to a cave a short distance farther north-west, where the sword can be blessed or tempered.
Temper the reforged sword at the ancient site
The final cave is marked by red vines that previously made it inaccessible. Now that the reforged sword quest is active, Coen can destroy the growth with the prompted action and enter. The cave contains the familiar red supernatural light seen at other ancient locations, turning the finale into a compact combat-and-platforming sequence rather than a quiet smithing errand.
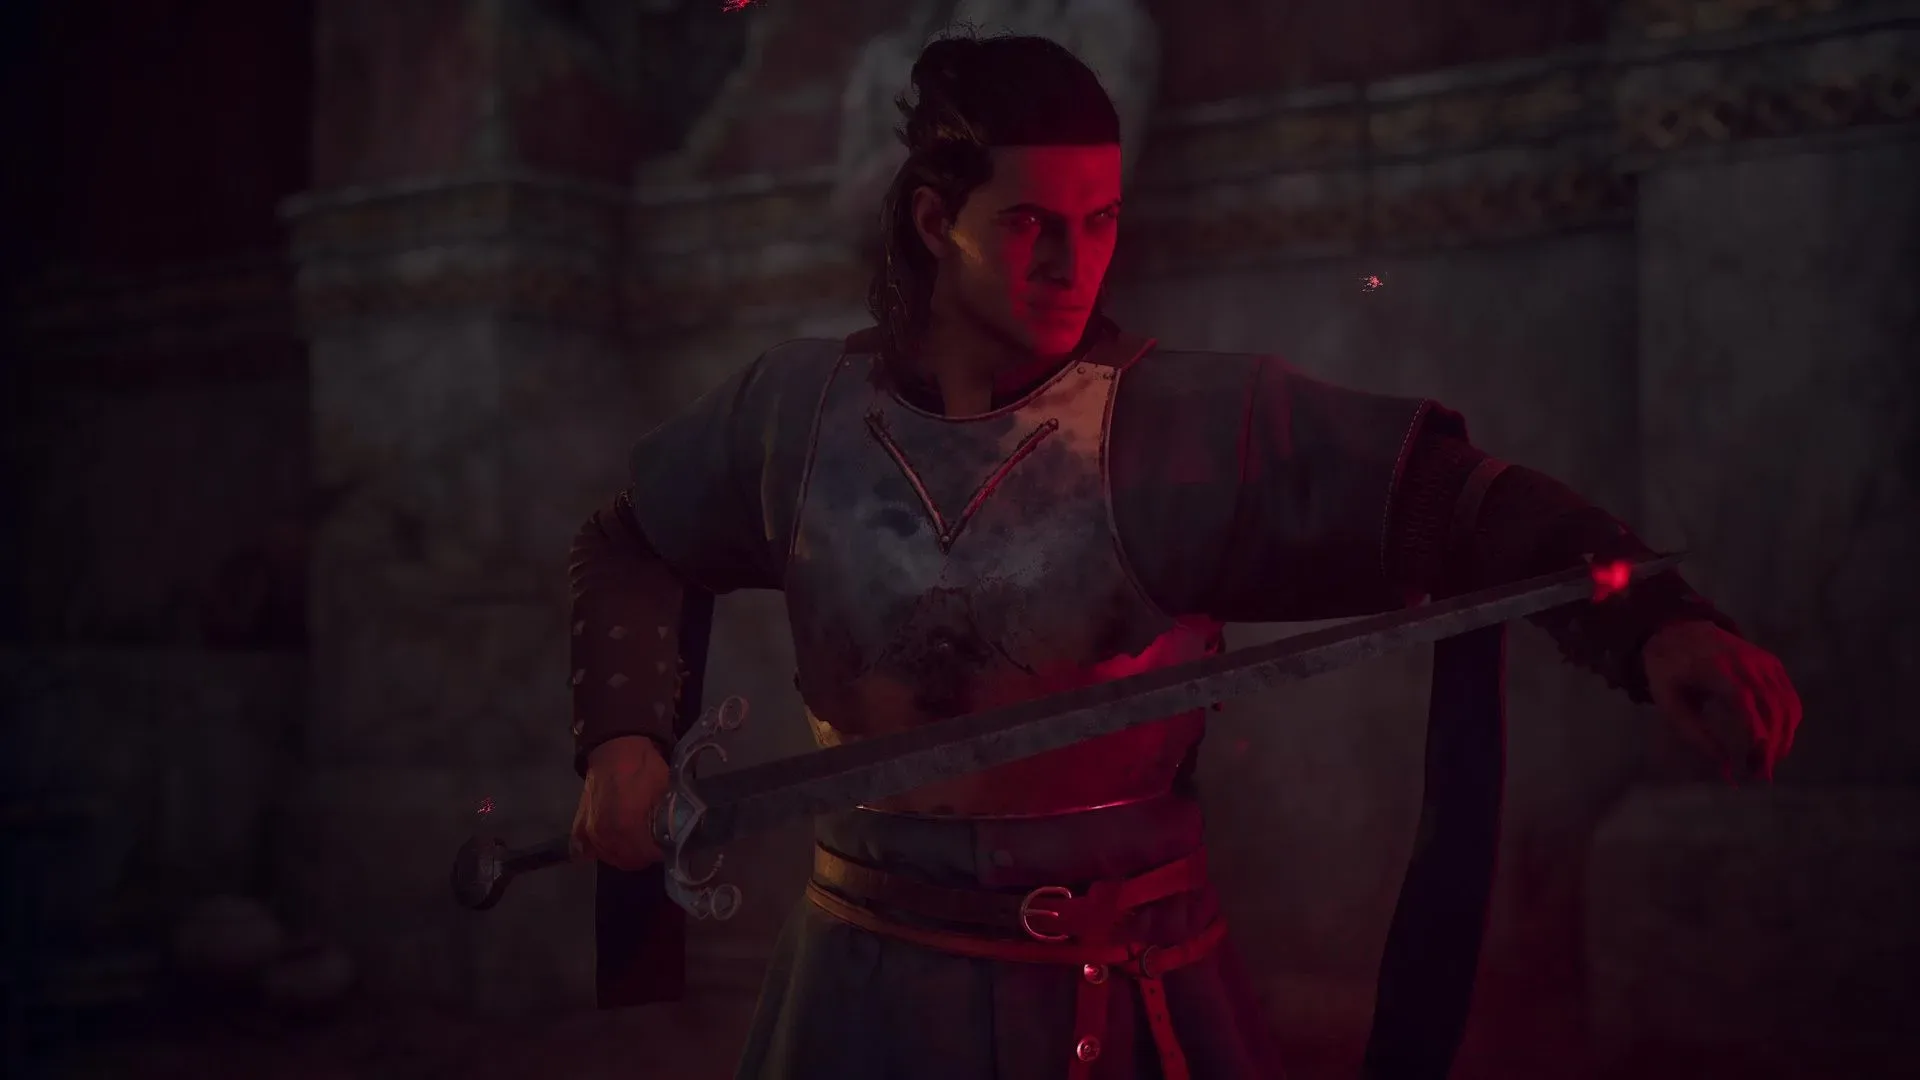
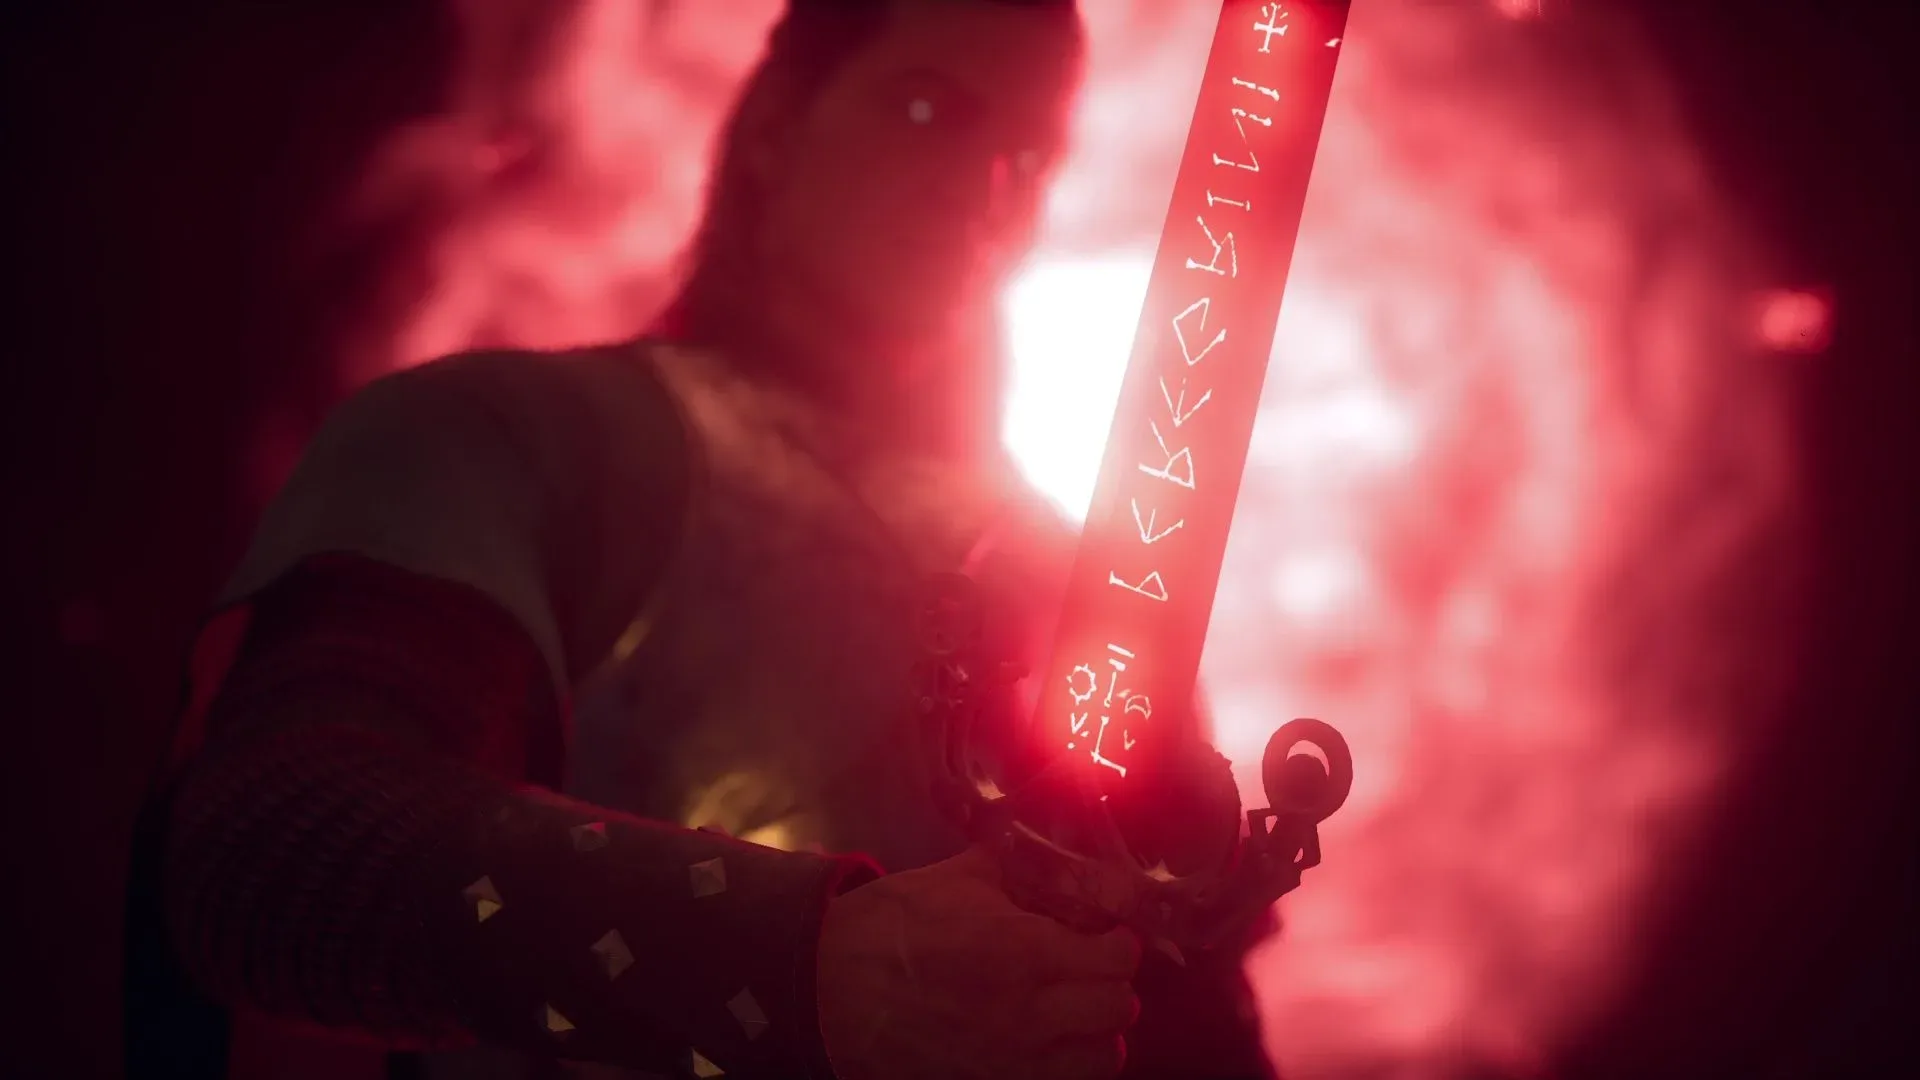
Expect spectral opponents along the route, including the Echoing Anger mini-boss. Clear the enemies and proceed through the short set of platforms to the ancient site. Interacting with it tempers the weapon and upgrades it into the Imbued Sword of St. Mihai, classified as a Legendary Greatsword.
The weapon’s exact level scales with Coen’s level when it is obtained, as with much of the game’s loot. Its notable strengths include increased damage against supernatural enemies and a higher critical-hit rate. The sword is especially appealing for a Swordmastery-oriented build, though selecting complementary perks remains important if the goal is to get the most from its damage profile.
It is not necessarily an automatic replacement for every possible setup. Players invested in upgraded talons may still find claws compelling, so the final choice comes down to build priorities and encounter preferences. Think of the Imbued Sword of St. Mihai as a major anti-supernatural option rather than a commandment etched into the inventory screen. And should a friend be watching the shard hunt unfold from the sofa, the process may inspire a refresher on the written-down rules of couch multiplayer—particularly the one about not announcing a cave entrance after someone has spent ten minutes looking for it.
Quick Sword of St. Mihai checklist
- Unlock and complete the Svartrau steps of A Saint and a Monk.
- Enter Svartrau Cathedral via the belltower scaffolding.
- Inspect the ceiling frescos for St. Mihai’s emblem.
- Use the rooftop key, search the crypt, and obtain the Broken Sword of St. Mihai.
- Collect shards in the west beneath crags near Uriash territory, in the north-east via the guard-patrol trail, and at Xanthe’s south-east camp.
- Visit the Uriashi Blacksmith in the far north-west with all three shards.
- Enter the nearby red-vine cave, defeat its spectral enemies and Echoing Anger, then interact with the ancient site.