Drift is useful shorthand, but it is not a diagnosis. A stick that does not rest at neutral, a mechanism that feels physically loose, a game that ignores small inputs, and an adapter that changes the signal can all produce frustratingly similar results.
Before opening a collector-grade controller or ordering a replacement, record what happens, when it happens, and where it happens. The console, controller, game, adapter and startup procedure are all part of the test. A careful description often reveals whether you are looking at mechanical wear, centering behavior, software filtering or a problem in the connection path.
Start with the symptom, not the replacement part
A useful fault report describes an observable behavior rather than naming an internal component. The character moving left while the stick is untouched is more useful than declaring that a potentiometer has failed, because the same symptom can come from a neutral offset, a game’s input rules, an adapter setting or a worn mechanism. Likewise, a stick feeling loose describes a physical sensation but does not establish that the controller is failing electrically.
Separate five observations whenever possible: movement while untouched, the feel of the stick around center, how smoothly it responds to gradual pressure, whether it reaches every direction at full tilt, and whether it returns to the same neutral position after release. These can occur together, but they do not mean the same thing. A controller may have some mechanical play yet still work acceptably, while another may feel solid but report an unwanted offset through a particular adapter.
- Record the exact console and controller style.
- Name the affected stick or axis, including the C Stick on a GameCube controller.
- Describe the symptom without guessing at the failed part.
- Note whether the problem is repeatable after releasing and moving the stick again.
Identify the complete signal path
Original Nintendo 64, GameCube and Dreamcast controllers should not be treated as interchangeable versions of one design. The Nintendo 64 controller has an analogue Control Stick. A GameCube controller has a main Control Stick and a separate C Stick. The Dreamcast manual identifies its Analog Thumb Pad separately from the D-Button. Those differences matter when you describe a fault and when you look for documentation.
Also write down everything between the controller and the game. That may include an original console port, a third-party replacement cable, a console adapter, a USB interface, an emulator or a per-game configuration profile. A controller that behaves correctly on original hardware but incorrectly through an adapter has a different evidence pattern from one that fails in both places.
Adapters can translate values, apply dead zones and use different calibration procedures. The raphnet GameCube-to-N64 documentation discusses controllers that do not always recenter exactly at zero, an optional dead-zone feature and multiple joystick value-conversion modes. Those settings can alter sensitivity or diagonal behavior without changing the controller’s physical mechanism. Other adapters may use different menus, button combinations or firmware behavior, so do not transfer instructions between products.
- Write the platform, game edition and controller model or style.
- List every adapter, converter or software layer in use.
- Test the same controller through a second connection when available.
- Do not apply instructions for one adapter, console or controller to another product.
Check neutral before judging the stick
Startup handling is especially important for older controllers. The Super Mario 64 Nintendo 64 manual warns that the Control Stick should be left centered when the console powers on because the startup position can become the neutral reference. It also identifies holding L and R while pressing Start as the in-game method for resetting the stick’s neutral position. That documented procedure applies to the Nintendo 64 context; it should not automatically be transferred to a GameCube, Dreamcast or third-party adapter.
The Sonic Adventure Dreamcast manual gives a similar but platform-specific warning: avoid touching the Analog Thumb Pad or triggers while turning on the system, because doing so can interfere with controller initialization. If a controller behaves normally after a clean power cycle but acts incorrectly when the stick is touched during startup, the first lead is centering or initialization rather than proof of worn internal parts.
Repeat the startup check with the stick untouched. Then, if the original software documents a reset or recalibration action, use only that documented procedure. Do not press random button combinations based on advice for another model. Calibration controls can vary by adapter firmware and may change the behavior of an otherwise healthy controller.
- Power down using the normal system procedure where practical.
- Keep the stick and relevant triggers untouched during startup.
- Repeat the test after a clean restart.
- Record whether the symptom changes after the documented neutral reset.
Inspect mechanical behavior without opening the shell
External observation can distinguish several kinds of physical wear without proving which internal part is responsible. With the controller disconnected or the game paused, gently move the stick through its range. Notice whether it has a visible or tactile wobble around center, feels rough in one direction, returns slowly, or stops short of the same outer position. These are separate descriptions, not interchangeable evidence.
Nintendo’s developer guidance notes that standard Nintendo 64 controllers have some mechanical play around the stick’s center and that the amount varies between controllers. Therefore, any looseness is not automatically a failure. The more useful question is whether the play is unusually inconsistent, accompanied by unreliable input, or changing over time.
The same guidance distinguishes neutral behavior from maximum-range behavior. Stick resolution and maximum range can deteriorate after extended use, so a controller might center reasonably while failing to produce the expected full movement at the edge. Conversely, a controller may reach full tilt but return inconsistently to neutral. A screenshot of a character or camera cannot identify which pattern is present.
Keep the inspection noninvasive. The Super Mario 64 manual warns against spilling liquid or placing foreign objects into the Control Stick. Do not add lubricant, insert improvised material or open a collector controller merely to confirm a suspicion. Those actions can create a new problem and make later diagnosis harder.
- Move slowly in each direction and compare the feel.
- Release the stick repeatedly and observe whether it returns consistently.
- Compare small, medium and full movements rather than only maximum tilt.
- Do not use liquids, tools or inserted objects as a diagnostic shortcut.
Separate centering errors from dead-zone behavior
A centering error means the system or software receives a small input when the stick is supposed to be at rest. A dead zone is a range of small values that the game or adapter deliberately ignores. These can conceal one another. A dead zone may make a slightly offset stick appear stationary, while a narrow dead zone may expose the offset as unwanted movement.
Increasing a dead zone can reduce visible idle movement, but it also discards legitimate small inputs. That tradeoff matters in games built around gradual steering or subtle movement. A setting that makes a menu cursor stop wandering may make fine control feel blunt. Treat such a change as a documented configuration choice, not proof that the controller has been repaired.
A fault that appears only after passing through an adapter may be caused by value conversion or calibration. A fault that remains on original hardware and through multiple signal paths is stronger evidence of a controller-side issue, although it still does not identify a particular internal component. A fault that stays with one console port or one adapter points elsewhere.
Write down the conditions under which the symptom disappears. No idle movement after an adapter dead-zone adjustment is a more useful report than calling the controller fixed, especially if small movements now feel less responsive.
- Check untouched neutral before changing any dead-zone setting.
- Use only the exact documentation for the adapter or software in question.
- Compare idle behavior with slow, deliberate movement.
- Record what precision was lost if a dead zone hides the symptom.
Use Super Mario 64 for center and range observations
Super Mario 64 is useful because its movement relies on the Nintendo 64 Control Stick for both direction and subtle changes in movement. Its manual explains that Mario moves in the direction of the stick and moves faster as the stick is tilted farther from center. That makes the game suitable for observing gradual response, but it is not a numeric controller tester. Character acceleration, camera behavior, terrain and game rules all affect what appears on screen.
Begin with the stick untouched and observe whether Mario receives unwanted movement. Next, use a slow, consistent push in one direction, release it, and repeat. Compare the four primary directions before trying diagonals. A controller that behaves differently after release-to-center cycles may have a centering problem. One that responds normally at small pressure but fails to produce the expected broad movement at full tilt may have a range or translation issue.
Use the documented Nintendo 64 neutral-reset procedure only in its proper context, then repeat the same observations. If the behavior changes after a correct reset, record that fact rather than concluding that the controller is permanently fixed. If the game remains inconsistent, test another known-good controller or connection before buying a part.
Avoid judging the controller from one missed jump, camera turn or character animation. Those events combine game logic with input, so they can suggest a problem but cannot establish one.
- Test idle, slow, medium and full movement separately.
- Compare primary directions before diagonals.
- Repeat the test after a documented neutral reset.
- Do not treat one in-game mistake as an instrument reading.
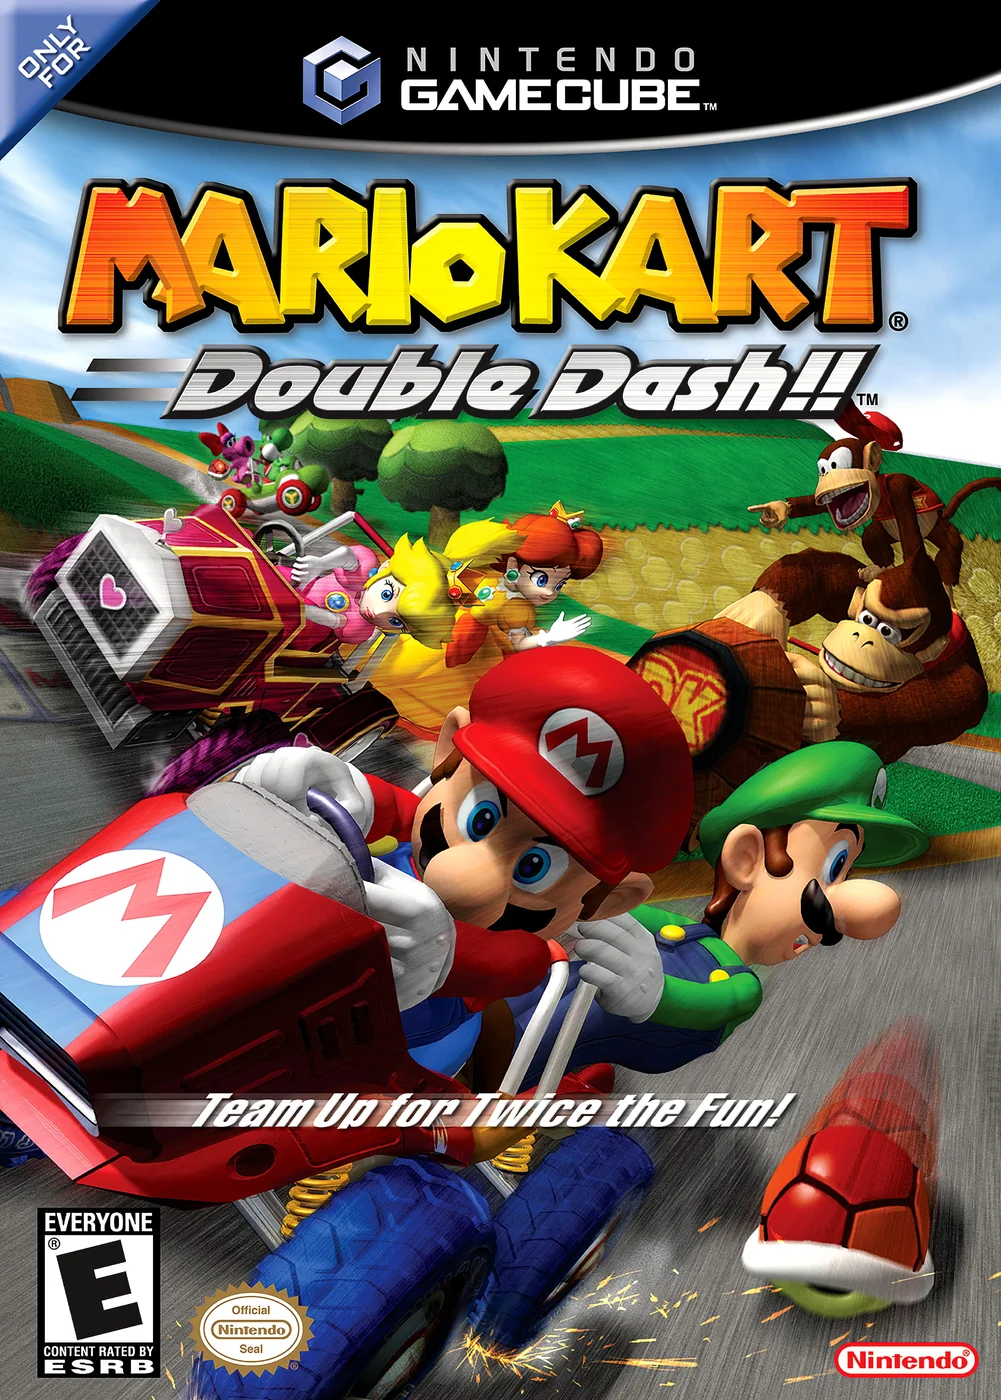
Use Mario Kart: Double Dash!! for gradual steering
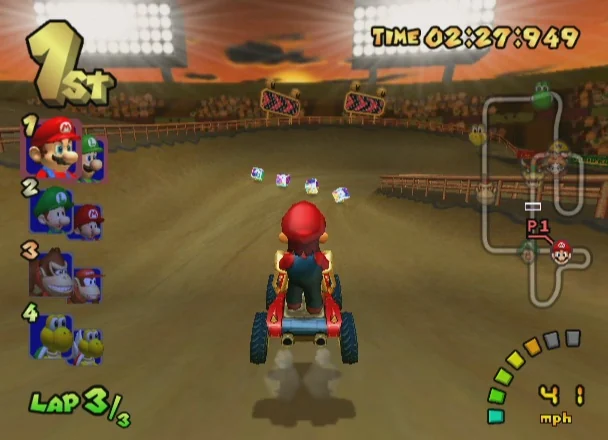
Mario Kart: Double Dash!! provides a different observation because its manual describes steering as proportional to how far the GameCube Control Stick is tilted. That makes gradual steering comparisons valuable. The question is not whether one lap was fast or slow; it is whether small, medium and full stick movements produce distinct, repeatable responses through the same setup.
Identify whether you are testing the main Control Stick or the C Stick. Saying only that the GameCube controller drifts leaves an important detail out. With the vehicle in a safe, repeatable situation, compare a slight left input, a moderate left input and a full left input. Repeat on the right. Then release the stick and check whether the response stops consistently. The same test can reveal a dead zone that swallows small inputs, a translation setting that compresses the range, or a physical problem that affects one direction more than another.
Racing performance is not a diagnostic measurement. Track layout, steering assistance, collisions and the game’s own handling can obscure a small difference. Use the game to generate repeatable observations, then compare with another controller, another adapter path or a documented configuration option.
If the main stick behaves normally but the C Stick does not, report that separately. Different controls on the same pad do not automatically share the same fault.
- Name the exact GameCube stick under test.
- Compare slight, moderate and full tilt in both directions.
- Repeat the test after returning fully to center.
- Compare with another controller before blaming the console.
Use Sonic Adventure for pressure and initialization clues
The Sonic Adventure Dreamcast manual describes light pressure on the Analog Thumb Pad as walking and continued pressure as running. That makes the game useful for observing whether a controller distinguishes gradual pressure levels. It also supplies a platform-specific startup precaution: avoid touching the Analog Thumb Pad or triggers while the Dreamcast is powering on.
Start with a clean power cycle and leave the pad untouched. Check whether the character remains still, then apply light pressure and gradually increase it. Repeat in more than one direction. If light movement is consistently ignored but stronger movement works, the cause could be a game threshold, an adapter dead zone or a range-conversion issue. If the character moves without contact, record that separately as an idle-neutral symptom.
Do not interpret the walk-to-run change as proof of a particular electrical value. The game decides how input becomes movement. The useful evidence is repeatability: does the same pressure sequence produce the same result, and does touching the pad during startup change it?
Dreamcast-to-USB or other modern connection hardware may add another calibration layer. Test the original connection path when possible, and identify the adapter if the original console is not being used.
- Power on without touching the pad or triggers.
- Compare light pressure with continued pressure.
- Repeat the sequence in multiple directions.
- Record whether the problem exists only through modern connection hardware.
Use comparison tests to locate the fault
Three patterns are particularly useful. If the problem follows one controller between systems and adapters, the controller becomes the leading suspect. If several controllers show the same behavior on one console port or adapter, inspect that shared path instead. If one controller works on original hardware but fails through a particular adapter, investigate that adapter’s calibration, mapping and conversion settings before replacing the controller.
A second known-good connection is more informative than repeating the same test in the same configuration. Change one variable at a time: keep the game and controller constant while changing the adapter, or keep the adapter and game constant while changing the controller. Changing everything at once prevents you from knowing what fixed or caused the symptom.
Some adapters expose additional behavior beyond simple button mapping. The Cube64-DX project documents selectable joystick scaling and response curves, as well as recalibration procedures that require the GameCube stick, C Stick, L button and R button to remain untouched. This illustrates why the exact adapter documentation matters. A setting that is useful on one product may not exist on another.
For a collector, the goal is not to force a definitive internal diagnosis from external evidence. The goal is to narrow the purchase decision. You may conclude that the original controller is probably usable, that a documented adapter setting deserves investigation, that one port should be avoided, or that a replacement or specialist repair is reasonable. Those are practical conclusions even when the exact worn component remains unknown.
- Change one variable at a time.
- Test a known-good controller or known-good connection when possible.
- Separate controller-following faults from adapter- or port-specific faults.
- Keep the original configuration notes for future comparison.
Write a useful fault report before buying anything
A precise report protects you from buying the wrong replacement. Include the platform, game edition, controller model or style, affected stick, connection path and startup procedure. Then describe the symptom in observable terms: unwanted idle movement, inconsistent centering, rough or loose travel, missed small inputs, reduced full-range response, or a fault that appears only through an adapter.
Add the comparison result and repeatability. A useful Nintendo 64 report might state that the main stick moves right while untouched after a clean startup, that the documented neutral reset changes the symptom temporarily, and that the same controller shows the issue in two games. By contrast, a report that says small inputs disappear through a GameCube-to-N64 adapter points toward the signal path and its settings.
A good report also records what you did not test. If you have not compared another controller, say so. If the adapter documentation has not been checked, do not present its setting as the answer. Honest limits make the next troubleshooting step clearer and prevent a speculative diagnosis from becoming a costly repair.
- Platform and game edition.
- Controller model, stick or axis affected.
- Original connection, adapter or software path.
- Startup procedure and any documented reset used.
- Exact repeatable symptom.
- Comparison with another controller, port or adapter.
- What changed after each test.
Choose the least destructive next step
Continue using the controller if the behavior is minor, repeatable only in one game and does not interfere with the controls you need. Investigate a documented adapter setting when the fault appears only after conversion, but preserve the original setting first so you can reverse the change. Try another compatible port or known-good cable when the symptom follows the connection rather than the controller.
Consider replacement or specialist repair when the controller consistently fails across original hardware and multiple games, has worsening return-to-center behavior, cannot reach expected directions, or has physical damage that makes use unreliable. Even then, your observations should guide the purchase: a replacement intended to solve a neutral problem may not solve a full-range problem, and a new controller will not correct a faulty adapter.
Avoid opening a valuable original controller solely because a game screenshot looked wrong. External testing can narrow the possibilities, but it cannot confirm which internal gear, sensor, spring or contact is responsible. If the evidence points inside the shell, use a repair guide appropriate to the exact model or seek qualified assistance rather than improvising.
- Prefer reversible settings and comparisons first.
- Save the original adapter or emulator configuration.
- Match the proposed fix to the observed symptom.
- Do not claim an internal diagnosis that external checks cannot prove.
Drift becomes much more useful once you replace it with a sequence of observations: what the stick does at neutral, how it responds through its range, whether it returns consistently, and which part of the signal path changes the result.
Test with the correct startup procedure, compare one variable at a time, and keep the controller, game and adapter identified. That approach may lead to a replacement, a documented configuration change or no action at all, but it gives you a defensible reason for the decision.