The Arbiter Armor is one of the biggest equipment pursuits in The Blood of Dawnwalker. Tied to the quest A Bulwark Against Darkness, the set requires a scavenger hunt across Vale Sangora, a visit to a specialized blacksmith, and a final ritual that turns into a combat encounter. It is a long chain, but the resulting equipment is designed to support both sides of the protagonist’s build: human by day and vampire by night.
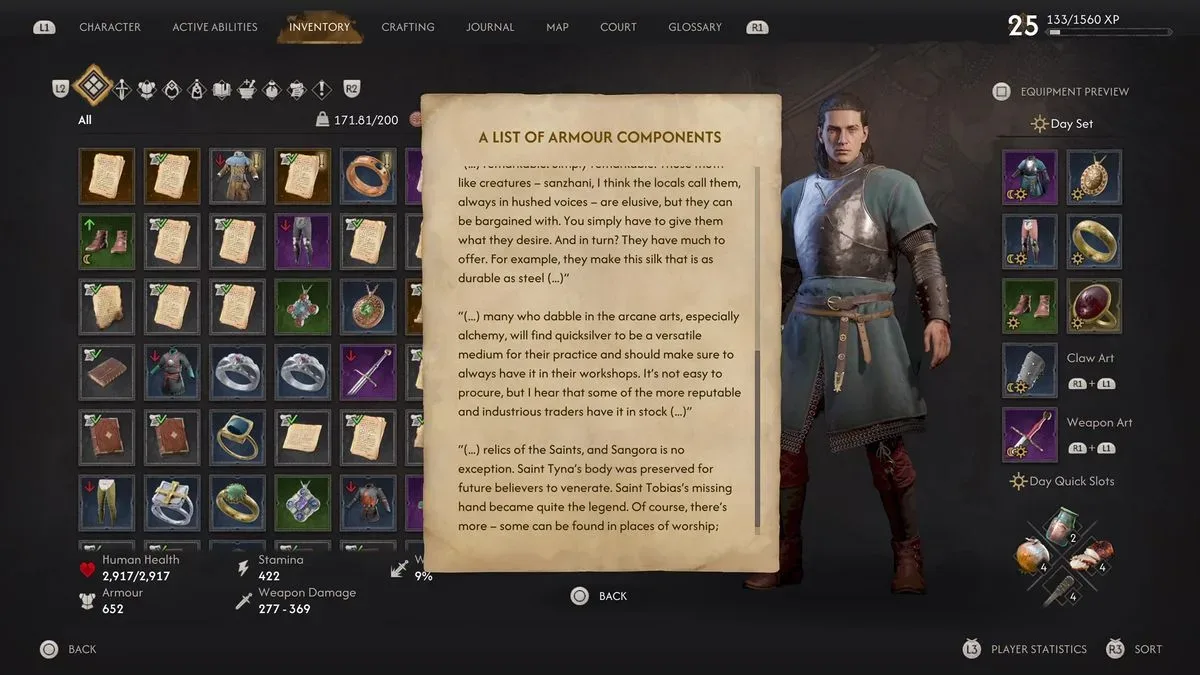
The job begins only after acquiring and reading a Smuggler’s Letter. The note identifies four items needed for the construction: a Bundle of Silk Threads, a Relic of a Saint, a Flask of Quicksilver, and a Moult of a Large Lizard. Some have more than one possible acquisition route, while others currently appear to have a single known location. That distinction matters: players who have advanced certain companion or faction quests may already be holding a valid relic, while the quicksilver and lizard moult call for specific detours.
Below is a complete route through the available component locations, the relevant quest connections, and what to expect once the Uriashi Blacksmith begins work.
How A Bulwark Against Darkness begins
The quest is activated by the Smuggler’s Letter rather than by a conventional quest-giver introduction. One documented way to receive it is reaching Infamy Level 4 and then speaking with Anca at the Crossroads Inn. Anca indicates that a letter has arrived. There is also an exploration-based route in which a smuggler hands over the note in Svartrau.
For more context, explore Jack Lowden Bond Rumors Get Louder as Slow Horses Co-Stars Drop 007-Flavored Hints.
Those are not necessarily the only triggers. The important checkpoint is reading the letter itself, because that is what lays out the four-part shopping list and directs the player toward finding a blacksmith able to unite the materials. If the quest has not appeared at the inn, it may be worth continuing to explore Svartrau and progressing other activities instead of assuming the quest is permanently unavailable.
Before beginning the cross-map collection work, consider the character’s armor proficiency perks. The Arbiter set’s value is closely connected to a build that can benefit from its broad defensive and transformation-oriented bonuses. Obtaining the armor early is still useful, but investing in the proficiencies that complement it should make the eventual reward feel more meaningful.
The four Arbiter Armor materials at a glance
- Bundle of Silk Threads: obtainable through the Come Hither quest’s Murohn encounter, or purchasable through Pearly and Precious.
- Relic of a Saint: several relics may qualify, including the Saint’s Tibia and the Relic of St. Tyna.
- Flask of Quicksilver: found in Aurelius’ tower after the Home Sweet Home portion of the Rebel storyline.
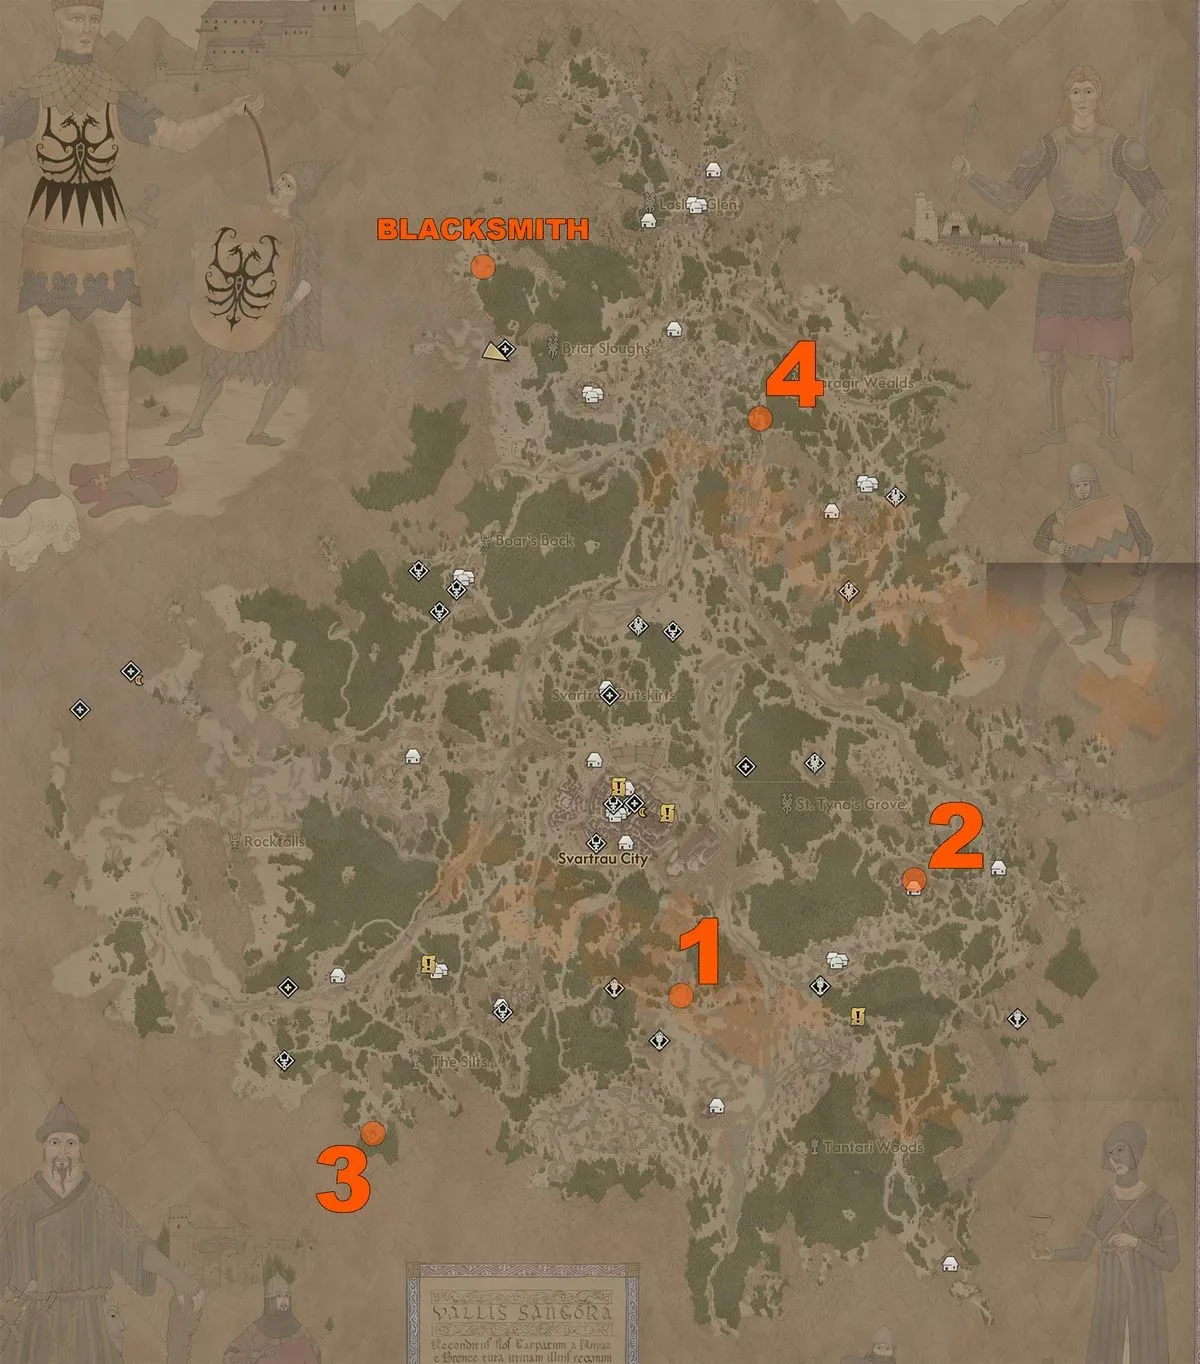
- Moult of a Large Lizard: located in an unmarked Tatselwurm cave east of the Briar Sloughs.
The most efficient order is dependent on which questlines are already complete. Players who have tackled Anca’s monastery material may have the relic requirement covered immediately. Likewise, anyone following the Rebels will likely reach Aurelius’ tower organically. The silk threads are flexible enough to fit wherever they are most convenient, while the moult generally merits a deliberate expedition.
Bundle of Silk Threads: the free route and the costly shortcut
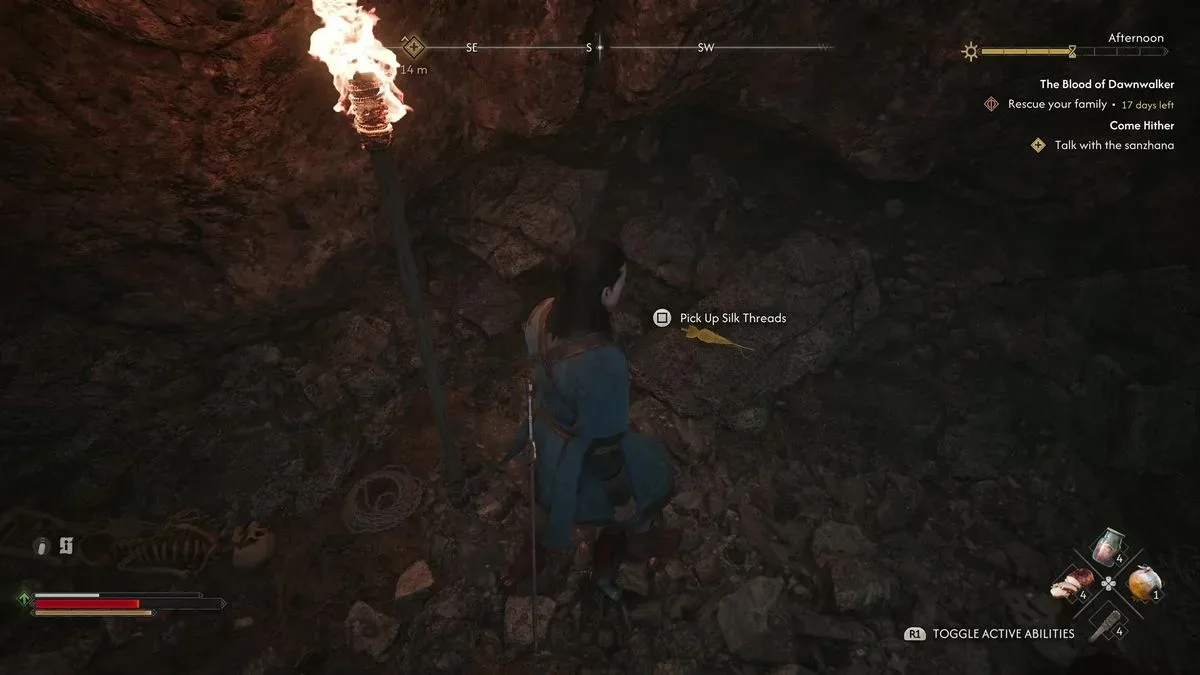
Two known Bundles of Silk Threads can be found through Sanzhana-related content in Vale Sangora. The straightforward no-cost route is attached to Come Hither. That quest leads to a cavern where the player must face a Murohn boss. Once the arena has been dealt with, inspect the rocks in the area: a Bundle of Silk Threads can be collected there without a purchase or an added penalty.
This is likely the preferable route for most players, especially if Come Hither is already in the quest log. It converts an existing boss stop into progress toward the armor, rather than draining resources for a material that can be found in the field.
The alternative appears during Pearly and Precious. One of the fairies can sell the threads for 6,000 Denarius. That path is useful for players who would rather avoid or postpone the Murohn cave, though the price is substantial for a component with a freely obtainable version. If conserving Denarius is a priority, take the boss-arena bundle. If time, quest order, or combat preparation makes the purchase more convenient, the fairy’s stock remains a valid option.
Relic of a Saint: use the right spare relic
The saint relic slot is the least rigid part of the recipe. Multiple qualifying relics are available, which makes it possible to proceed even if one quest opportunity was missed. However, not every relic is equally expendable. Some may have a practical role beyond serving as armor material, so it is worth checking an item’s function before giving it to the blacksmith.
The most notable early candidates come from Anca’s Echoes of the Silenced Bells quest at St. Tyna’s Monastery. The Saint’s Tibia can be picked up from a body beside the building where soldiers are sheltering. The same questline can also provide the Relic of St. Tyna, the amulet sought by those soldiers.
While the Relic of St. Tyna can satisfy the crafting requirement, using an amulet that has an active purpose may not be the best trade. The Saint’s Tibia is the cleaner choice when available. This is also a point where earlier decisions in the monastery storyline, including the choice involving burning notes, may affect what a player has already collected.
If St. Tyna’s options are unavailable or reserved for another purpose, there are further possibilities. A relic can be found in Lacra’s The Night of Horrors quest, and Vicho in Svartrau can sell relics. These alternatives make the component more forgiving than the quicksilver flask or the lizard moult; the key is simply to arrive at the blacksmith with one accepted saint-associated relic.
Flask of Quicksilver: search the top of Aurelius’ tower
The Flask of Quicksilver is more constrained. At present, the known flask is in Aurelius’ tower in the southern section of the map. Access is naturally tied to the Rebel questline, which eventually sends the player to the tower during Home Sweet Home.
After that quest is completed, go to the tower’s highest room. The target is in the ritual chamber: look to the left of the hanging golem and check the table or desk there. The Flask of Quicksilver is resting on that surface.
This detail is easy to overlook because the room’s larger visual feature is the suspended golem. Rather than treating the tower as a location to clear once and leave behind, make a quick sweep of the top floor after Home Sweet Home. Players pursuing the armor before the Rebels have taken them south will need to advance that storyline first.
Moult of a Large Lizard: an unmarked cave east of the bog
The final material is the Moult of a Large Lizard, and its known location is not marked as a formal destination. Head to the border region around the Briar Sloughs and Maragir Wealds, focusing on the area east of the Briar Sloughs bog. There is an unmarked cave containing several Tatselwurms.
Clear the creatures before searching the rear of the cave. The moult is an abandoned shed skin found at the back, and Focus mode helps distinguish it from the cave’s scenery. Like the quicksilver, this currently seems to have just one known viable source, so do not discard it after collecting it.
For players organizing their route, this is a good component to save until the character is ready to handle a clustered monster encounter. It does not appear to require an accompanying named quest, but that freedom is balanced by the lack of map marker. Bring the objective up in the journal, travel east of the bog, and be methodical about checking caves rather than looking for a prominent quest icon.
Bring every component to the Uriashi Blacksmith
With all four materials secured, travel to the Uriashi Blacksmith in the northwest. Players who previously pursued the legendary weapon path may already know this NPC, as her services are involved in that broader equipment progression. If you are building a complete endgame loadout, this armor hunt pairs naturally with the sword-focused Forge It Anew quest and the legendary Sword of St. Mihai.
The blacksmith does not simply exchange the ingredients for a finished set. Handing over the materials initiates a ritual, followed by fights against spirit wolves and a bear boss. Have healing, a prepared combat build, and upgraded current gear ready before starting. The encounter is positioned far enough into the game that players should have the fundamentals for dealing with both enemy types, but it is still the final barrier between a full inventory of rare components and the reward.
Once the ritual is complete and the enemies are defeated, the blacksmith provides four enhanced pieces:
- Enhanced Armor of the Arbiter for the chest slot
- Enhanced Shin Guards of the Arbiter for the leg slot
- Enhanced Bracers of the Arbiter for the arm slot
- Enhanced Boots of the Arbiter for the foot slot
Why the Arbiter set is worth the detour
The Arbiter Armor is the striking set seen in the game’s cover and promotional imagery, but it is more than cosmetic. Its bonuses are built for both daytime human play and nighttime vampire play, giving it unusually broad value compared with gear that leans heavily into only one side of the character. The set is presented as a top-tier armor goal, making A Bulwark Against Darkness a priority for players who want a defense-first foundation without giving up flexibility.
Do not treat the crafting reward as permanently finished the moment it is received. Keep the individual pieces upgraded as character level rises, or their defensive edge will fade against late-game threats. With the armor maintained and relevant proficiency perks selected, the Arbiter set can remain a centerpiece of both day and night configurations rather than a trophy that quickly ends up in storage.
For a separate perspective on the same materials-and-ritual route, see this Arbiter Armor crafting overview. The essentials remain simple: obtain the Smuggler’s Letter, secure one valid example of each of the four requirements, return northwest to the Uriashi Blacksmith, survive the ritual’s wolf and bear battles, and upgrade the finished equipment as the adventure continues.