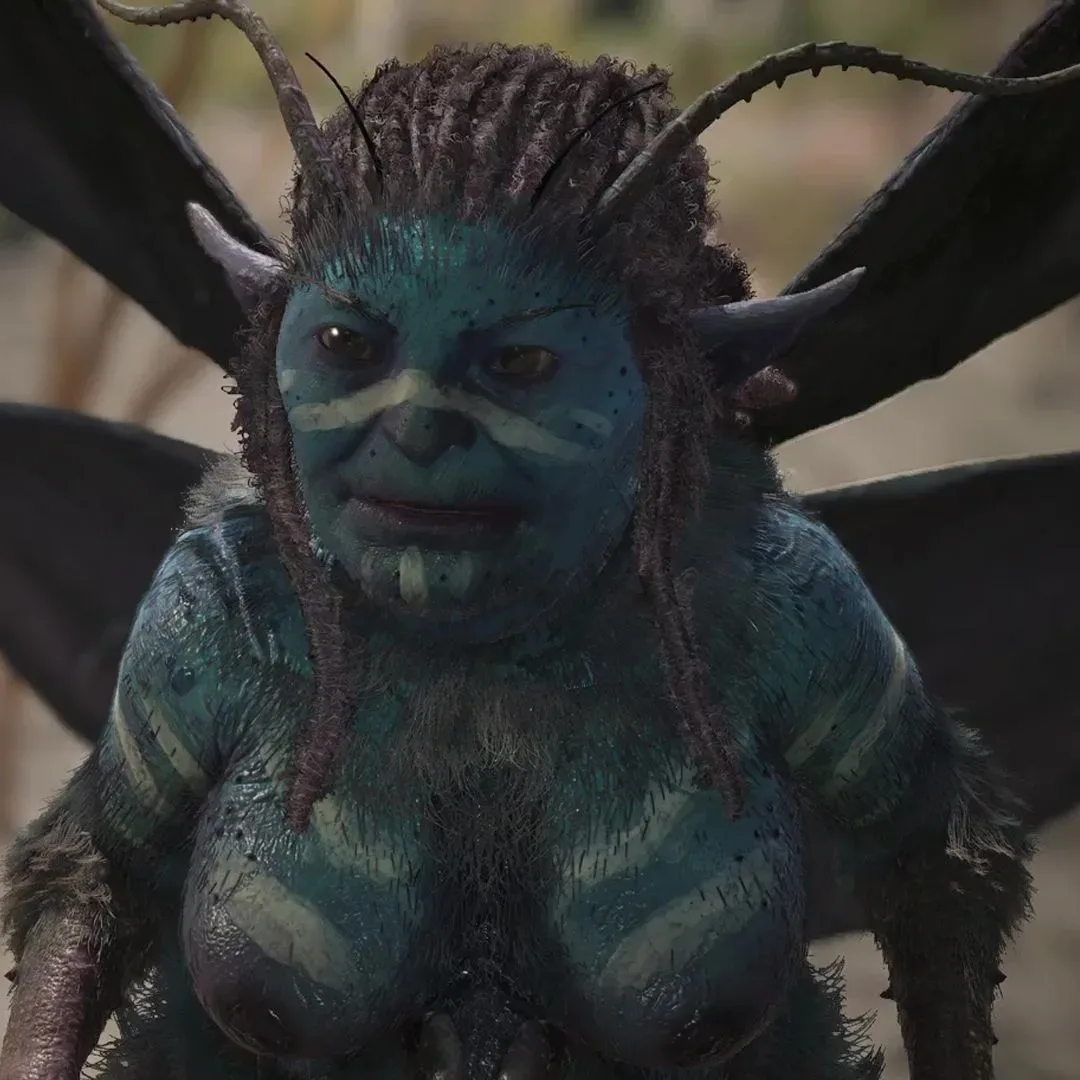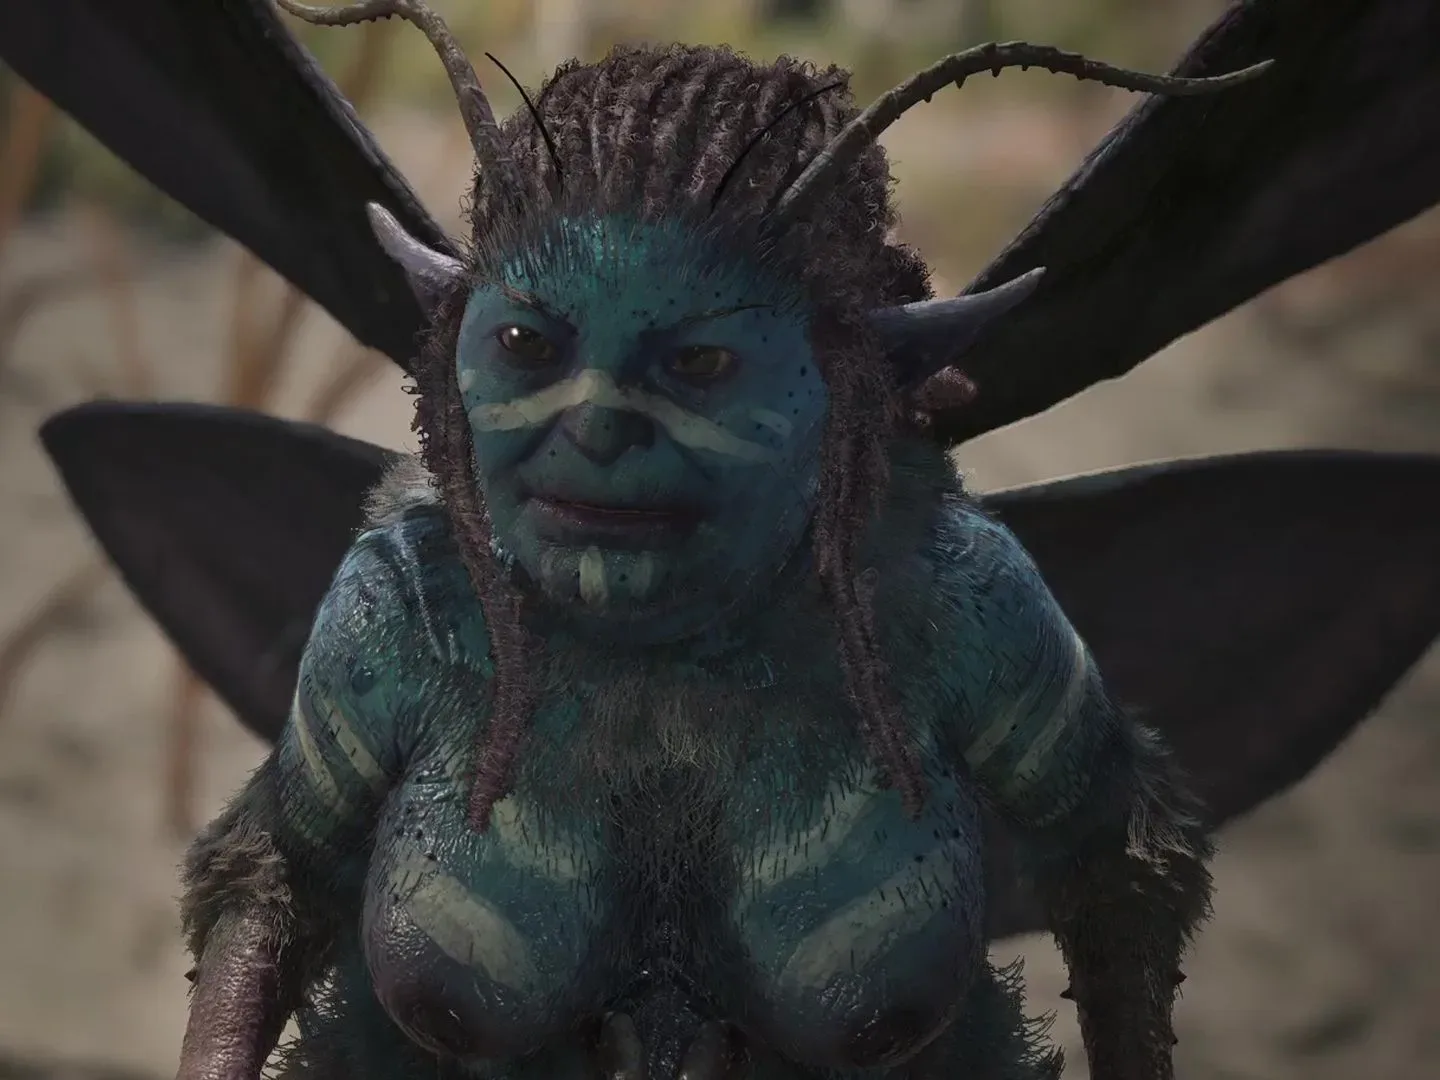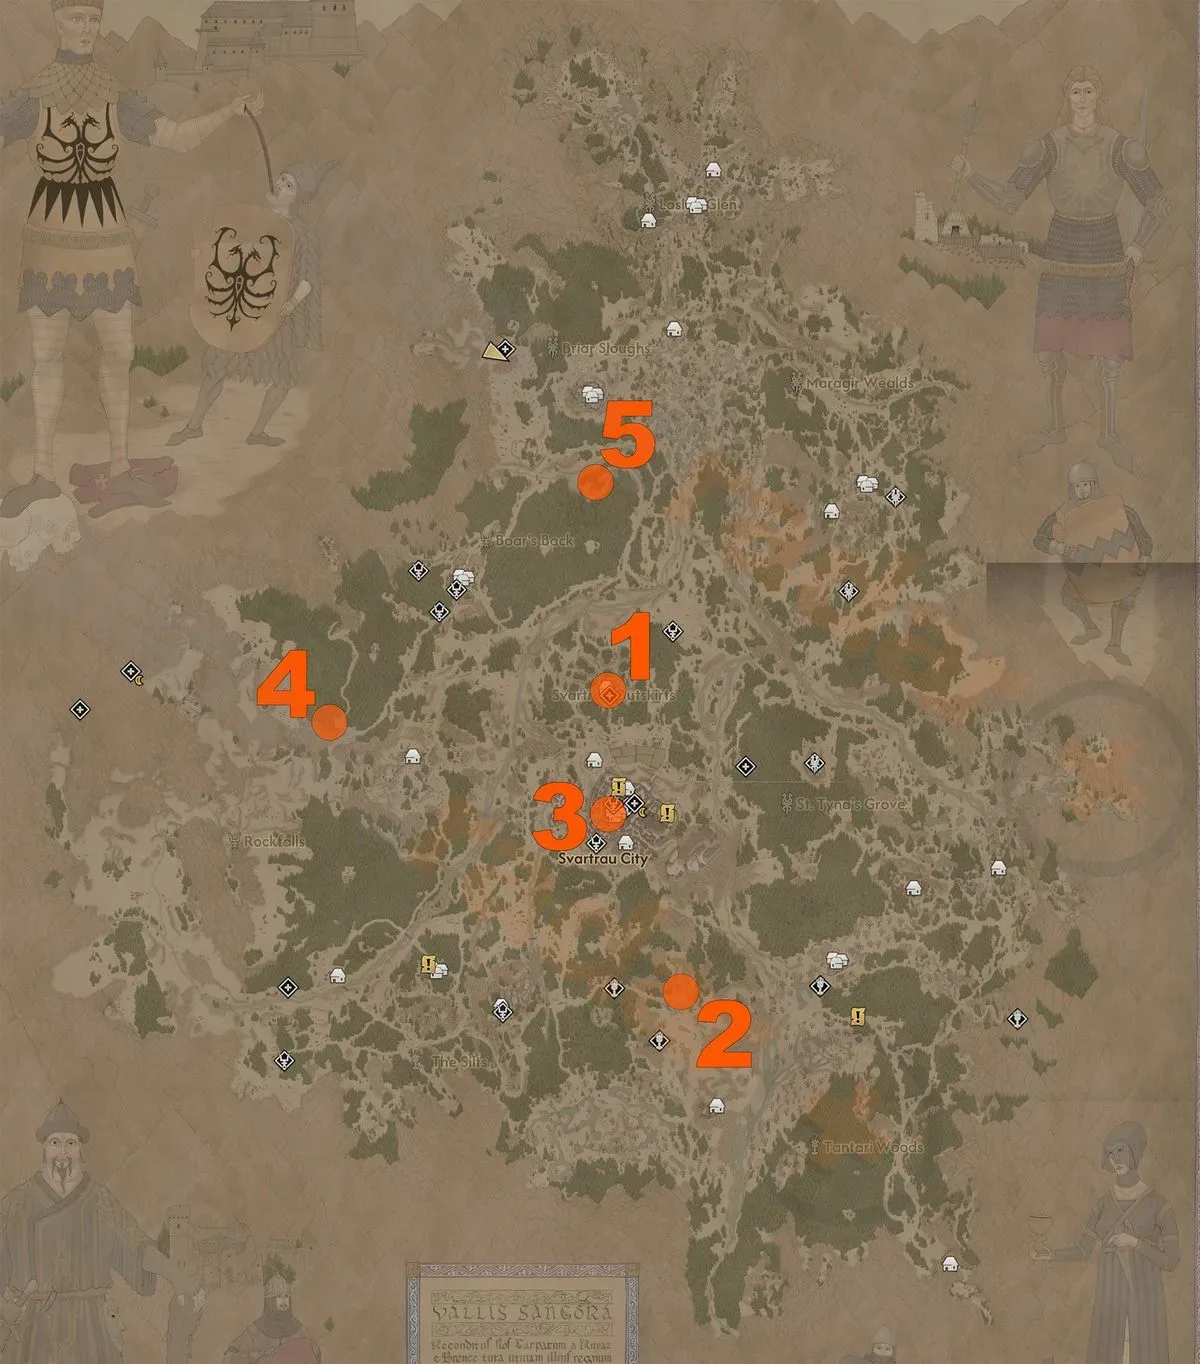
Vale Sangora has plenty of reasons to make a detour in The Blood of Dawnwalker, but the five Sanzhana encounters offer one of the clearest long-term payoffs. These blue fairies are scattered across the region and tied to separate quests, each with its own small objective, location, and reward. Clearing the entire set matters because the Sanzhana collectively award an additional 24 hours beyond the game’s standard 30-day time limit.
That bonus is especially notable because time is not merely decorative here. A full extra day can be a meaningful prize in a game structured around a countdown, even if reaching all five fairies naturally consumes some in-game time along the way. The Sanzhana questline also leads to optional correspondence with Lunka, the protagonist’s sister, offering bits of information connected to Brencis and his castle.
There is no mandatory order for the five encounters. Still, Good Home, in the Svartrau Outskirts, is a sensible starting point because it introduces the Sanzhana Tsarina and establishes the larger thread. From there, players can travel through Svartrau, the land around Tantari, Rockfalls, and the North Boar’s Back forest to resolve the remaining problems. Yes, this is a fairy-related scavenger route with wolves, kobolds, a monster boss, burglary, bandits, and dental commerce. Vale Sangora apparently takes “side quest” very literally.
The five Sanzhana quests at a glance
- Good Home — Svartrau Outskirts
- Come Hither — west of Tantari and south of Svartrau
- Tiny Dancer — inside Svartrau, available at night
- Burrow Sorrows — north of Rockfalls
- Pearly and Precious — North Boar’s Back forest
Each location can be tackled independently, but the details attached to them are worth knowing before setting off. One gives access to free Silk Threads, while another provides an opportunity to spend money on those same materials when doing so is unnecessary. Another is explicitly a nighttime task. A little route planning can therefore spare players a return trip—or at least prevent an avoidable wallet-related tragedy.
1. Good Home: start in the Svartrau Outskirts
Good Home begins in the Svartrau Outskirts, where players meet a girl named Heile. Her brother is missing, setting up an investigation that includes following leads and dealing with wolves. The core objective is to locate him and reunite the siblings.
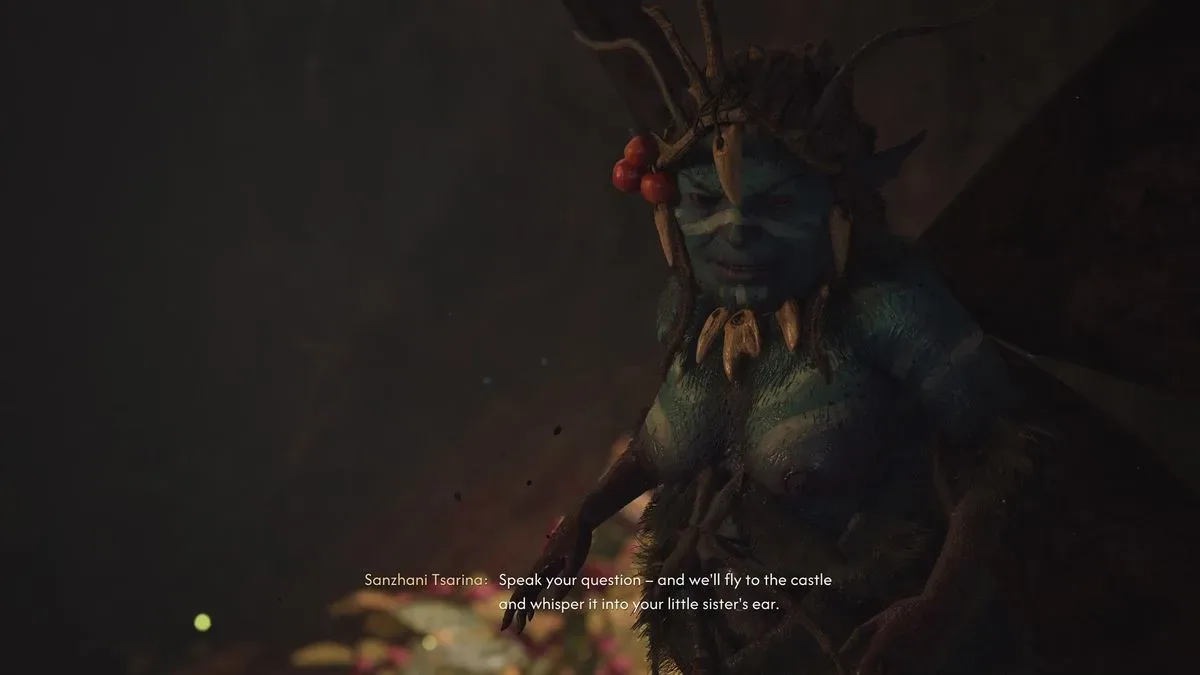
Finishing this rescue is important beyond its immediate resolution. It brings the player to the Sanzhana Tsarina at the Yawning Burrow and provides the first opportunity to contact Lunka. That makes Good Home the natural narrative introduction to the blue fairies and their queen, even though the game does not force it to be completed first.
For anyone approaching the Sanzhana content without prior context, this is the cleanest entry point. It explains why these seemingly isolated encounters matter, introduces the place to revisit between quests, and begins the letter exchange that can continue as the chain progresses. Put simply: help Heile first, and the fairy paperwork gets much easier to understand afterward.
2. Come Hither: defeat the Murohn south of Svartrau
Come Hither is found west of Tantari and south of Svartrau. A distressed Sanzhana asks for help after an attack by a Murohn, with the fairy concerned about whether others survived. The solution is direct: find and defeat the relevant Murohn boss.
Related coverage includes The Blood of Dawnwalker: Every Sanzhana Location and Why Finding All Five Matters.
This encounter is one of the most useful stops in the whole Sanzhana route because the Murohn arena contains Silk Threads that can be collected for free. Silk Threads are needed to craft the Arbiter Armor, making this a valuable resource pickup as well as a quest completion.
That detail has a practical consequence for the final Sanzhana mission. Another fairy can offer Silk Threads for sale, but only one is needed, and Come Hither supplies them without a purchase. Completing this quest before Pearly and Precious is therefore a good way to avoid spending currency on an item already available from the boss arena.
The order remains flexible, of course. But if the goal is efficient travel and fewer regrettable transactions, a Murohn hunt now is preferable to paying later for thread that is sitting around waiting to be picked up.
3. Tiny Dancer: return to Svartrau after dark
Tiny Dancer takes place in Svartrau itself, but its timing matters: this mission is available at night. The task involves entering a merchant’s house, obtaining the key, and using it to free a caged Sanzhana.
It is a compact rescue with an extra material incentive. The merchant’s property can also yield silver and other loot. The defining objective, however, is releasing the captured fairy. Players arriving during daylight should remember that this is the one Sanzhana task specifically tied to nighttime, so it may be best combined with other business in Svartrau once the sun goes down.
In a questline built around helping small magical beings, this is perhaps the least subtle moral assignment: there is a fairy in a cage, and the correct response is not to admire the cage craftsmanship. Find the key, open the lock, and add another completed Sanzhana encounter to the tally.
4. Burrow Sorrows: clear the kobolds north of Rockfalls
For Burrow Sorrows, head north of Rockfalls. A Sanzhana there explains that kobolds have taken over her burrow and stolen her charm. The job is to eliminate the kobolds, recover the item, and return it to its owner.
The reward has a pleasant twist: after the charm is brought back, the Sanzhana lets the player keep it. That turns the quest into a straightforward combat-and-recovery detour with a tangible item at the end, rather than just another step toward the 24-hour completion bonus.
Its placement north of Rockfalls makes it an easy entry on a wider northern route. There is no special time requirement noted for this quest, nor any resource trap to avoid. Just be ready for kobolds, make sure the charm comes back from their occupation, and accept that the original owner is unexpectedly generous once her home is no longer under tiny hostile management.
5. Pearly and Precious: follow tracks in North Boar’s Back
Pearly and Precious is in the North Boar’s Back forest. Following tracks leads to a Sanzhana who has been looting bodies. She asks the player to create more bodies by dealing with nearby bandits, then pays for the bandits’ teeth.
The key warning is attached to her shop inventory. She offers Silk Threads, but they should not be purchased if Come Hither has been completed. The free Silk Threads found in the Murohn boss arena cover the Arbiter Armor requirement, and only one is necessary. Buying another from this fairy is therefore avoidable spending rather than an essential part of the route.
There is no indication that players must begin with Come Hither to finish Pearly and Precious. Still, doing the Murohn quest first gives useful context before deciding what, if anything, to buy here. Collect the bandit teeth, take the payment, and keep the Silk Thread money for something that is not already available at no cost.
How Lunka’s letters work
After completing a Sanzhana quest, return to the Yawning Burrow and speak with the Sanzhana Tsarina. She can send a fresh letter to Lunka containing a question. The reply does not arrive immediately: it appears in the inventory after the next day-night cycle changes.
These letters are optional rather than required progression. Their value is largely narrative, providing smaller details involving Brencis and his castle, including information that may add context to the final mission. Players focused only on the time extension can treat the correspondence as extra lore; players interested in the family connection and the setting’s larger conflict may want to check back after every fairy objective.
The structure gives the Yawning Burrow a reason to remain relevant throughout the route instead of being a one-time destination. It also means the questline has two layers of reward: the individual task rewards and letters along the way, followed by the major time bonus once every Sanzhana has been helped.
The reward for finding every Sanzhana
Complete all five quests and the Sanzhana grant 24 additional hours. This is added to the normal 30-day countdown, effectively creating more room to pursue goals in Vale Sangora.
It is not a zero-cost gift in a strict time-management sense, since traveling to five separate encounters and resolving their quests takes time. Even so, the extra day is the decisive reason to finish the collection. The individual missions provide scattered loot, silver opportunities, a charm, optional lore, and free Silk Threads for Arbiter Armor crafting, but the added 24 hours is the prize that makes the whole fairy itinerary strategically worthwhile.
Players mapping out a larger RPG checklist may also be interested in how other games handle progression systems and party flexibility, such as Final Fantasy 7 Revelation’s FITS job system. In The Blood of Dawnwalker, though, the immediate plan is wonderfully clear: begin with Heile in the Svartrau Outskirts, free the imprisoned Sanzhana at night, defeat the Murohn, evict the kobolds, handle the bandits in North Boar’s Back, and visit the Tsarina between assignments if Lunka’s letters are part of the objective.
Most importantly, pick up the free Silk Threads during Come Hither. The fairies may be blue, but there is no need for the player’s economy to feel the same way.