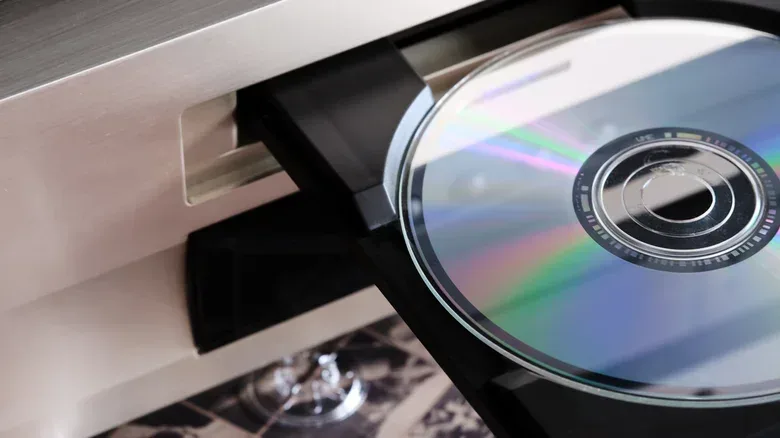
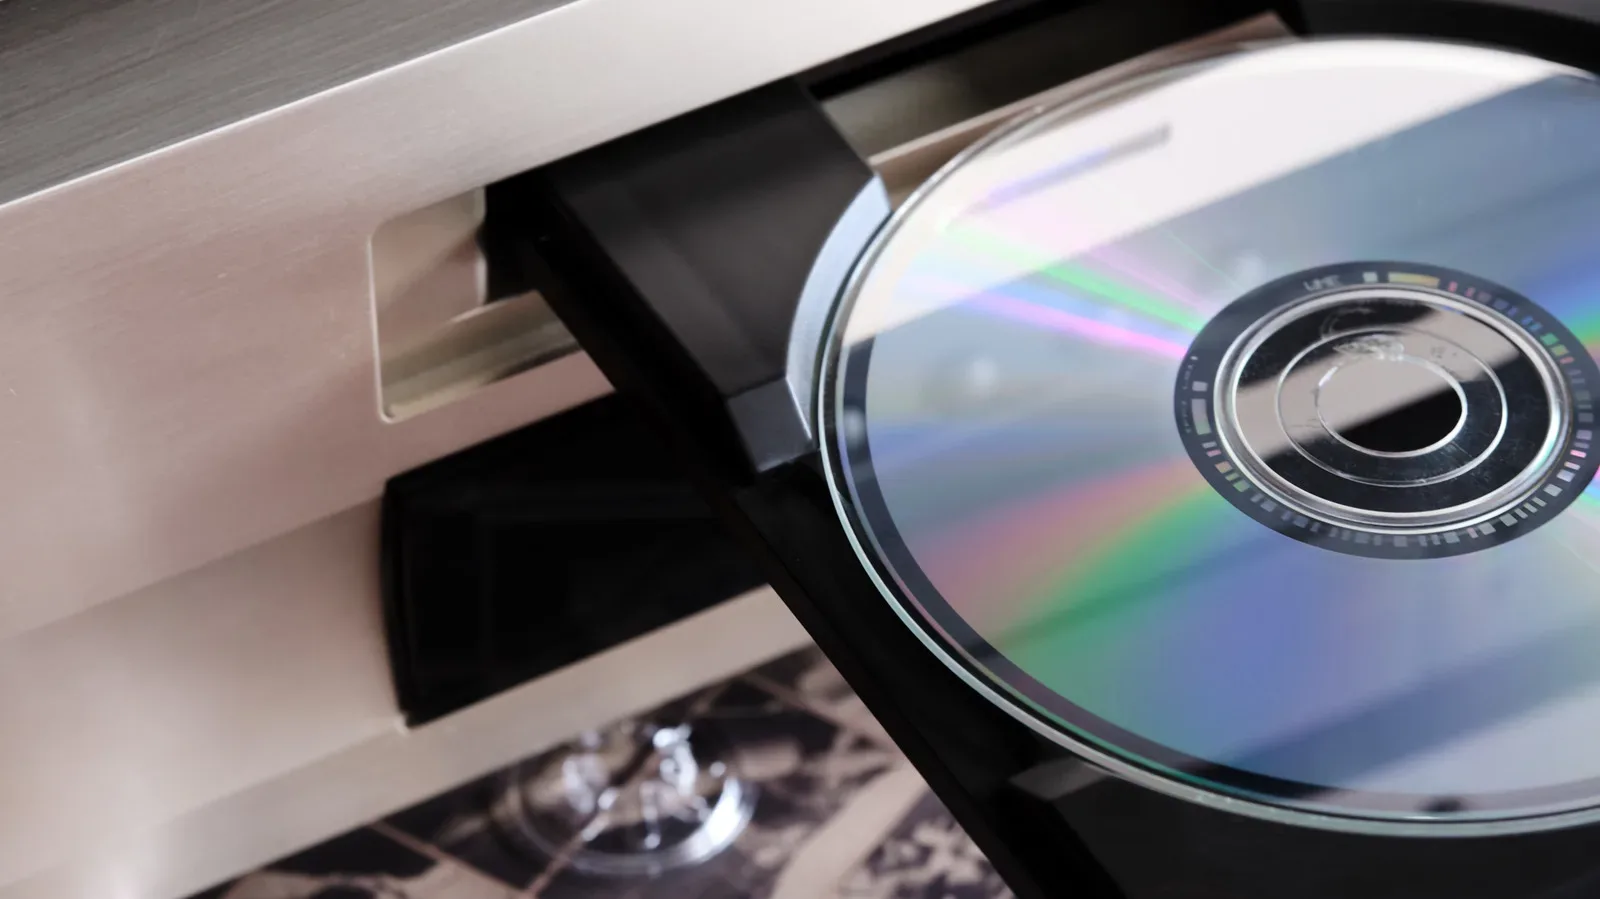
There is a peculiar kind of tech limbo reserved for the old CD or DVD player: too old to be part of the daily setup, too potentially useful to throw away, and too familiar to make a convincing case for its own retirement. It may no longer have discs to read, but an optical drive is not simply a plastic box built for yesterday’s music and movies. Inside are lenses, motors, switches, lights, magnets and moving mechanisms that can be repurposed into small projects.
That makes an abandoned player a possible weekend project rather than instant landfill material. The best destination depends on how comfortable you are opening electronics, how much extra hardware you have around, and whether the goal is a quick experiment or a genuinely involved build. Some ideas use one small salvaged component. Others turn the drive’s tray motion into a machine feature. One takes enough equipment and patience that buying a ready-made version may be the more practical choice.
For people who enjoy the same hands-on curiosity that makes retro hardware interesting, that distinction is part of the appeal. Old machines do not need to return to their original job to remain useful. Sometimes the reward is seeing what a lens, motor or tray mechanism can do when it is removed from the job it was designed for.
1. Turn the optical lens into a phone macro lens
The most accessible project begins with the optical lens inside a DVD player. A lens can be removed with a screwdriver and then fixed over a phone camera with a thin coil of adhesive putty. The result is a homemade macro attachment.
Macro photography means photographing very small subjects at close range. Rather than treating a flower or coin as a normal scene, the point is to reveal details that are easy to miss at everyday viewing distance. The documented example shows that the salvaged lens can bring out onion cell structure as well as grime and grooves on a coin.
This is not a promise of polished professional photography, and the limitation is important: the camera must be placed very close to the subject to find focus. Still, that constraint is also the lesson. It asks the photographer to slow down, change distance carefully and look for tiny textures rather than broad landscapes. Coins, plants and household objects become candidates for a close-up experiment.
The practical appeal is that the project uses comparatively little: the lens, a screwdriver and adhesive putty. It also leaves the rest of the player available for later disassembly. If the device is being broken down anyway, saving its lens first is a straightforward way to give one component a new purpose.
2. Use the motor for a beginner robot
Motors are among the most useful things hiding in an old CD or DVD player. A DC motor is a motor powered by direct current, and it can form the basis of a very simple moving robot. One cardboard walking-robot design uses a DC motor alongside an on-off switch, plastic pulley and battery. The motor may come from the player, while the pulley, switch and battery may need to be obtained separately.
That type of build is useful because it reduces robotics to understandable pieces: power from the battery, control from the switch, movement from the motor, and a physical body made from cardboard. The result is not an advanced autonomous machine, but it is a concrete demonstration of how a motor can translate electrical power into motion.
A more elaborate variation repurposes the DVD drive itself. The Inchworm CrawlerBot design uses the tray’s opening-and-closing movement to propel a wheeled creation. In other words, the mechanism does not merely hold a disc tray; it becomes the robot’s method of travel. Four VHS cassette spools, barbecue skewers, a toggle switch, hot glue and soldering equipment are among the additional materials called for.
That project is a larger commitment, but it illustrates an important repurposing principle: do not only look for components to remove. Look for existing motion worth preserving. The optical-drive tray already has a repeating mechanical action, driven by its motors. Building around that movement can be more inventive than starting with a loose part and a blank sheet of cardboard.
3. Build a CNC laser engraver — the high-difficulty option
The ambitious route is a DIY CNC laser engraver made with two optical drives and an Arduino board. CNC stands for computer numerical control: a machine follows digital instructions to make physical movements. In this context, a laser engraver can etch, carve or mill designs onto hard surfaces such as wood, metal or glass. It can be used for custom text or images.
The Arduino’s job is central. It is an open-source electronics platform that acts as the machine’s brain, interpreting instructions and helping coordinate the mechanism. The old drives contribute moving hardware, while the board provides the control element that transforms separate salvaged assemblies into a digitally directed tool.
It is worth being candid about the scale of this undertaking. The documented eight-step build requires more than old drives and an Arduino; it also uses several shop tools. Some linked materials in the older project documentation may no longer work. Its creator also acknowledges the blunt practical reality: buying a CNC laser engraver can be cheaper and easier than making one.
That does not make the DIY version pointless. It simply defines its value accurately. This is not necessarily a bargain replacement for commercial hardware. It is a learning project for someone who wants to understand the relationship between mechanical movement, electronics and digital instruction. Anyone choosing it should approach it as a substantial build, not as a quick way to label a few objects before dinner.
4. Make the disc tray into a magnet-triggered secret drawer
If the appeal lies more in a clever mechanism than in a technical machine, an old drive can become a small motorized compartment. One documented approach uses a 3-volt button-cell battery and holder, a magnetic switch, a strong neodymium magnet, wire and glue. The drive’s internal contents are removed, while components such as the laser diode can be saved for other projects.
The key interaction is the magnet. Bringing it into position triggers the switch and opens the tray, converting a familiar disc-drive action into a hidden drawer. Mounted beneath a desk, the compartment is intended for small items rather than anything bulky. Cash and SD cards are examples of the kind of object that could fit.
This is a satisfying project because it retains the drive’s original theatrical gesture. The tray still slides out, but it no longer presents a disc. Instead, the mechanism becomes a concealed storage feature activated by a magnetic cue. It is a modest example of how a dead media device can retain a bit of personality after its original media format is no longer central to the room.
It also provides a reminder that disassembly need not mean discarding every internal piece. Removing the “guts” of the drive for the drawer can simultaneously produce parts for a later robotics or electronics experiment.
5. Treat the player as a parts library
You do not need to begin with a specific invention. Taking apart a CD or DVD player can be its own useful project, particularly for someone who wants a small reserve of components and a better idea of how older electronics are assembled.
Potentially reusable pieces include DC motors, stepper motors, buttons, LED lights, laser diodes, neodymium magnets and optical lenses. A stepper motor differs from a basic motor in that it moves in controlled steps, making it particularly notable in a device where precise positioning matters. The list is a useful map of why an obsolete player is more than one obsolete object: it is a collection of distinct pieces with separate possible futures.
A basic tool set for retrieval includes a screwdriver, tweezers, needle-nose pliers, wire cutters and rubber gloves. Organization matters here. Set aside parts by type, keep small hardware together, and note which component came from which part of the device. Even without immediately building anything, the teardown creates a clearer sense of what is available.
For retro-minded players, there is a broader connection. Old hardware stays meaningful not only because it can still run a favorite game or play a disc, but because it makes its workings visible. That same appreciation helps explain the appeal of durable game design across changing platforms; Tetris has endured through an unusually large number of official releases because its core rules travel well. A DVD drive cannot travel in quite the same way, but its useful parts can. The form changes while a few fundamentals remain.
Choose the project that matches the device — and your patience
These five options fall into clear tiers. The macro lens is a compact experiment with a visible result and few materials. A cardboard robot offers an approachable introduction to motors and switches. The CrawlerBot and magnetic drawer make imaginative use of the drive’s own movement. A CNC engraver is a much deeper technical project, valuable chiefly for the building process and the learning involved. And parts harvesting is the flexible fallback when inspiration has not struck yet.
None of these projects requires pretending every old player deserves rescue in its complete original form. Some may be beyond repair, missing cables or simply no longer wanted as media players. But their lenses, motors, lights, magnets and trays may still be useful. Reuse is not limited to keeping a device intact; it can also mean assigning its components a new role.
That is a better fate than treating dormant hardware as invisible clutter. Whether it becomes a coin-photography attachment, a cardboard walker, a small hidden drawer or an organized set of salvaged parts, an old optical drive can still have one more useful act in it.