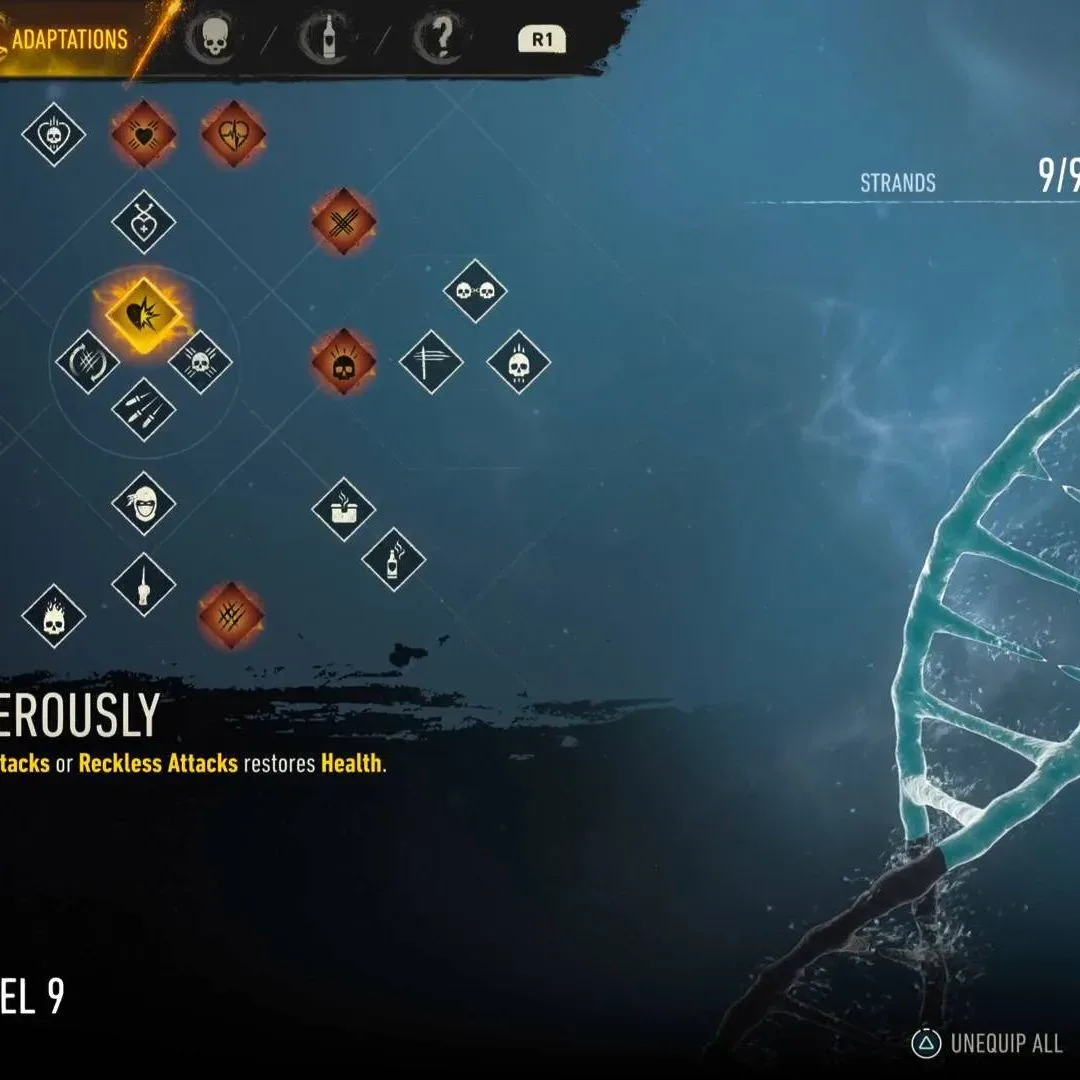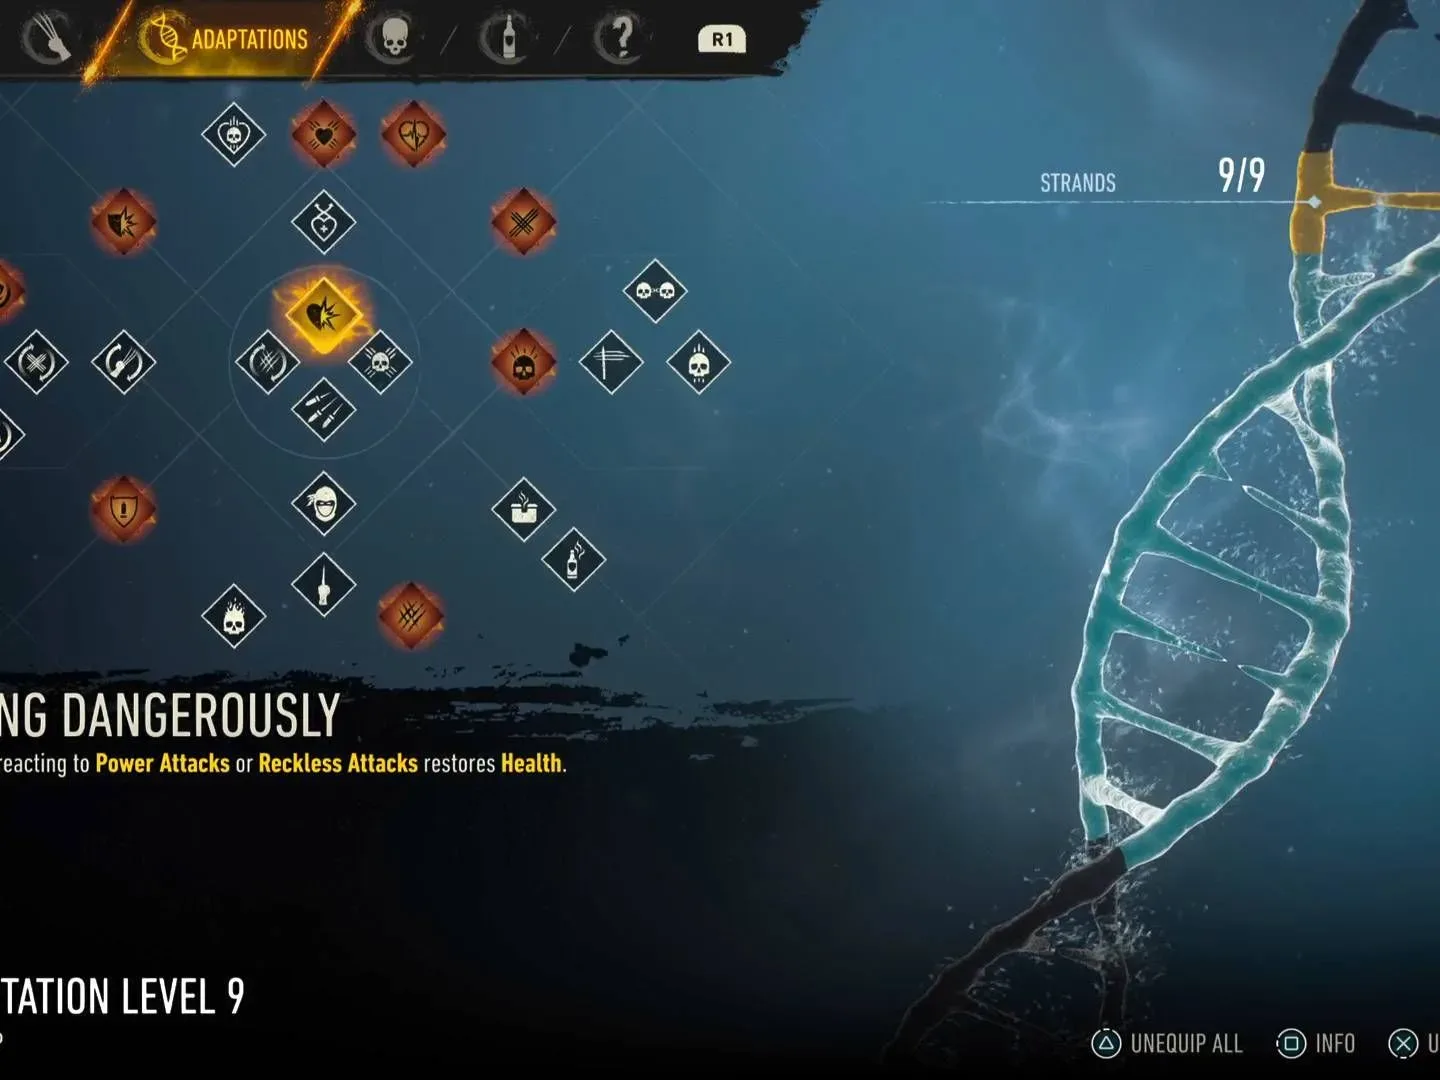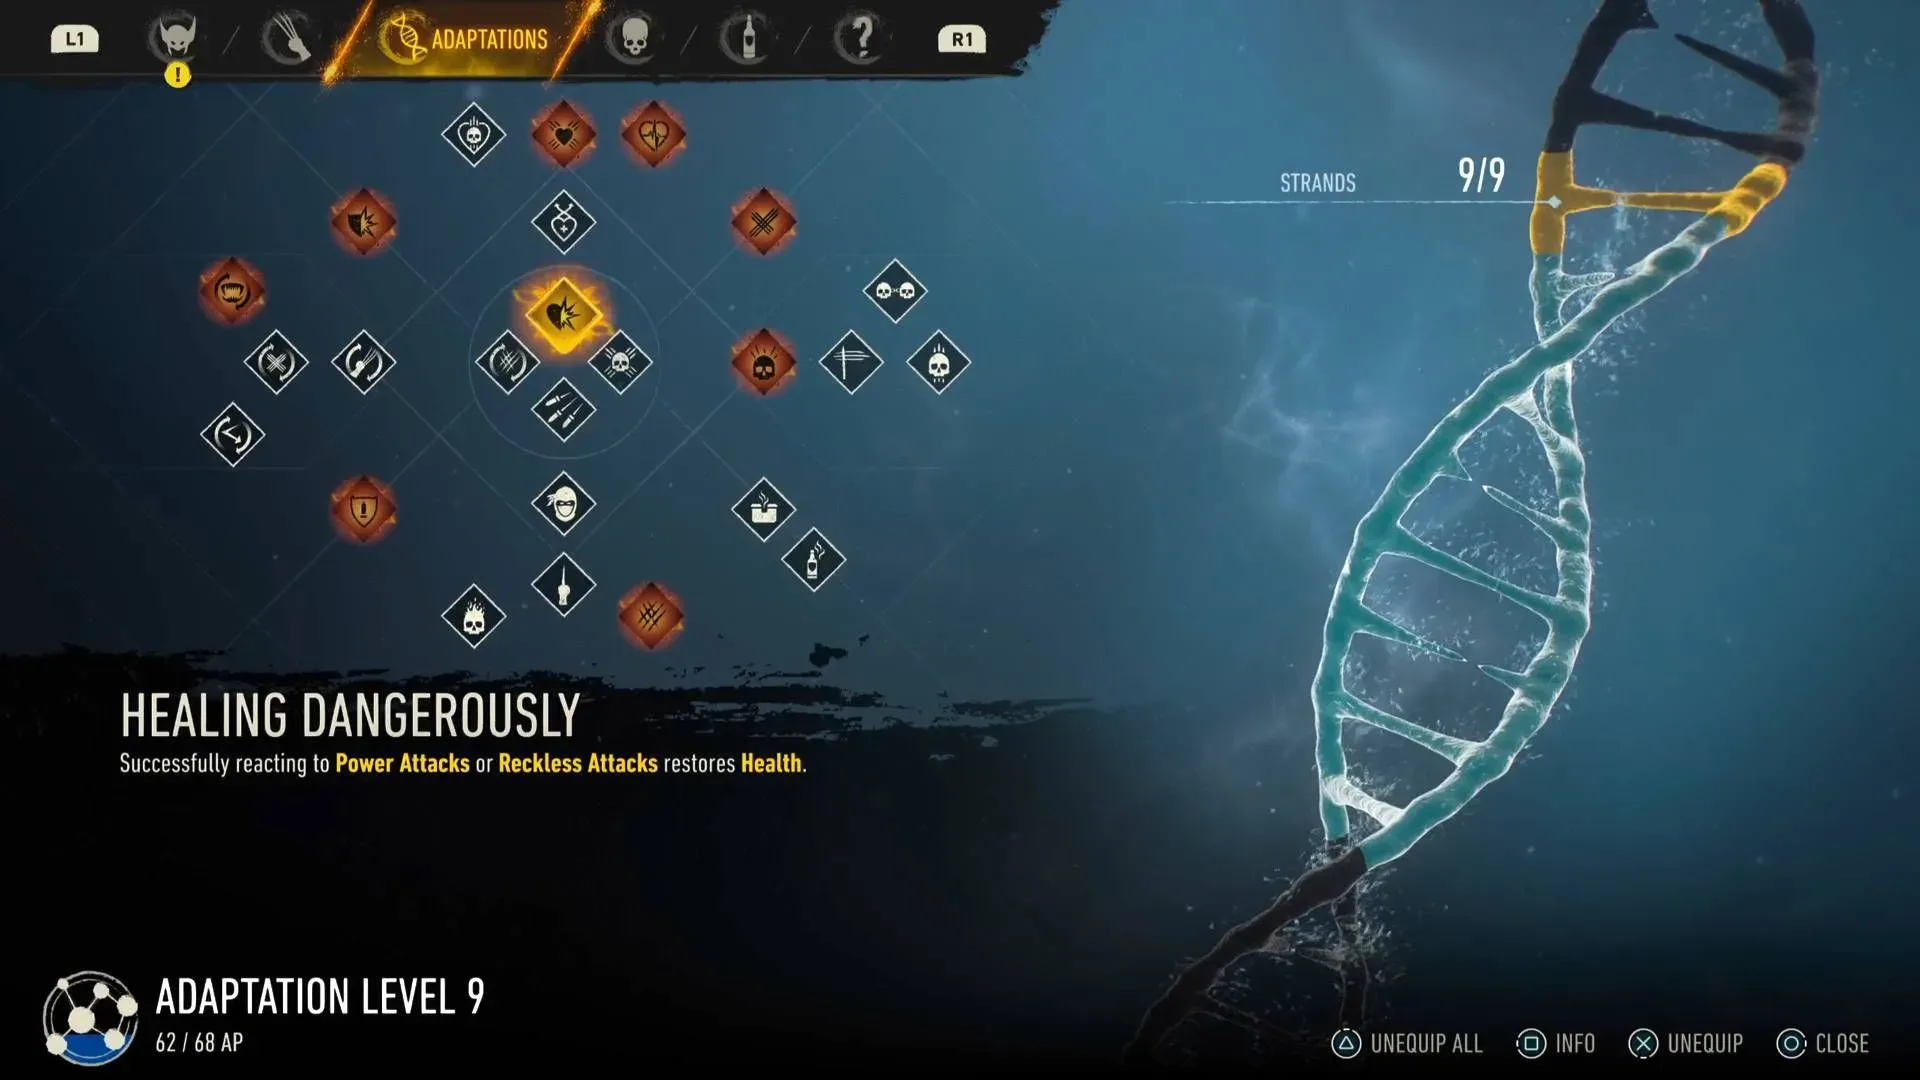
Marvel’s Wolverine treats Adaptations as equipable combat perks, and the system becomes far more important once encounters start demanding clean parries, steady survivability, and aggressive use of Rage. There are 25 Adaptations to unlock in total, while a fully developed build has room for 10 at once through its Strand slots. That gap is the whole game: Logan may have a tremendous healing factor, but he still cannot bring every clever mutation-shaped bonus to a fight.
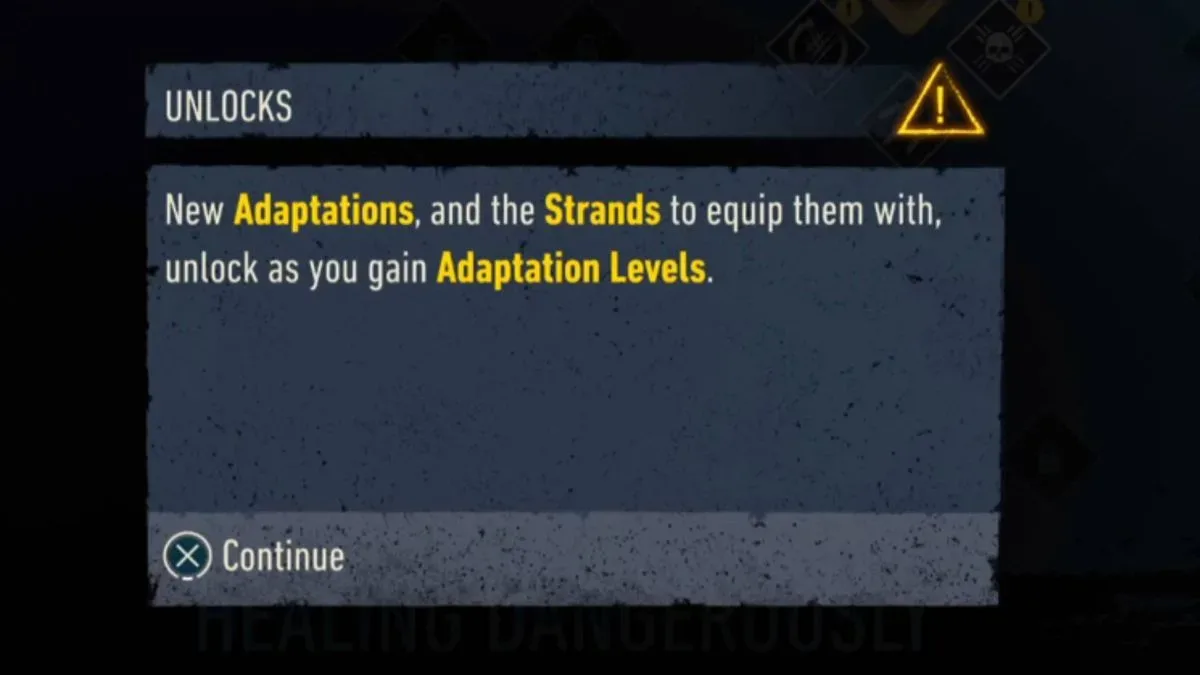
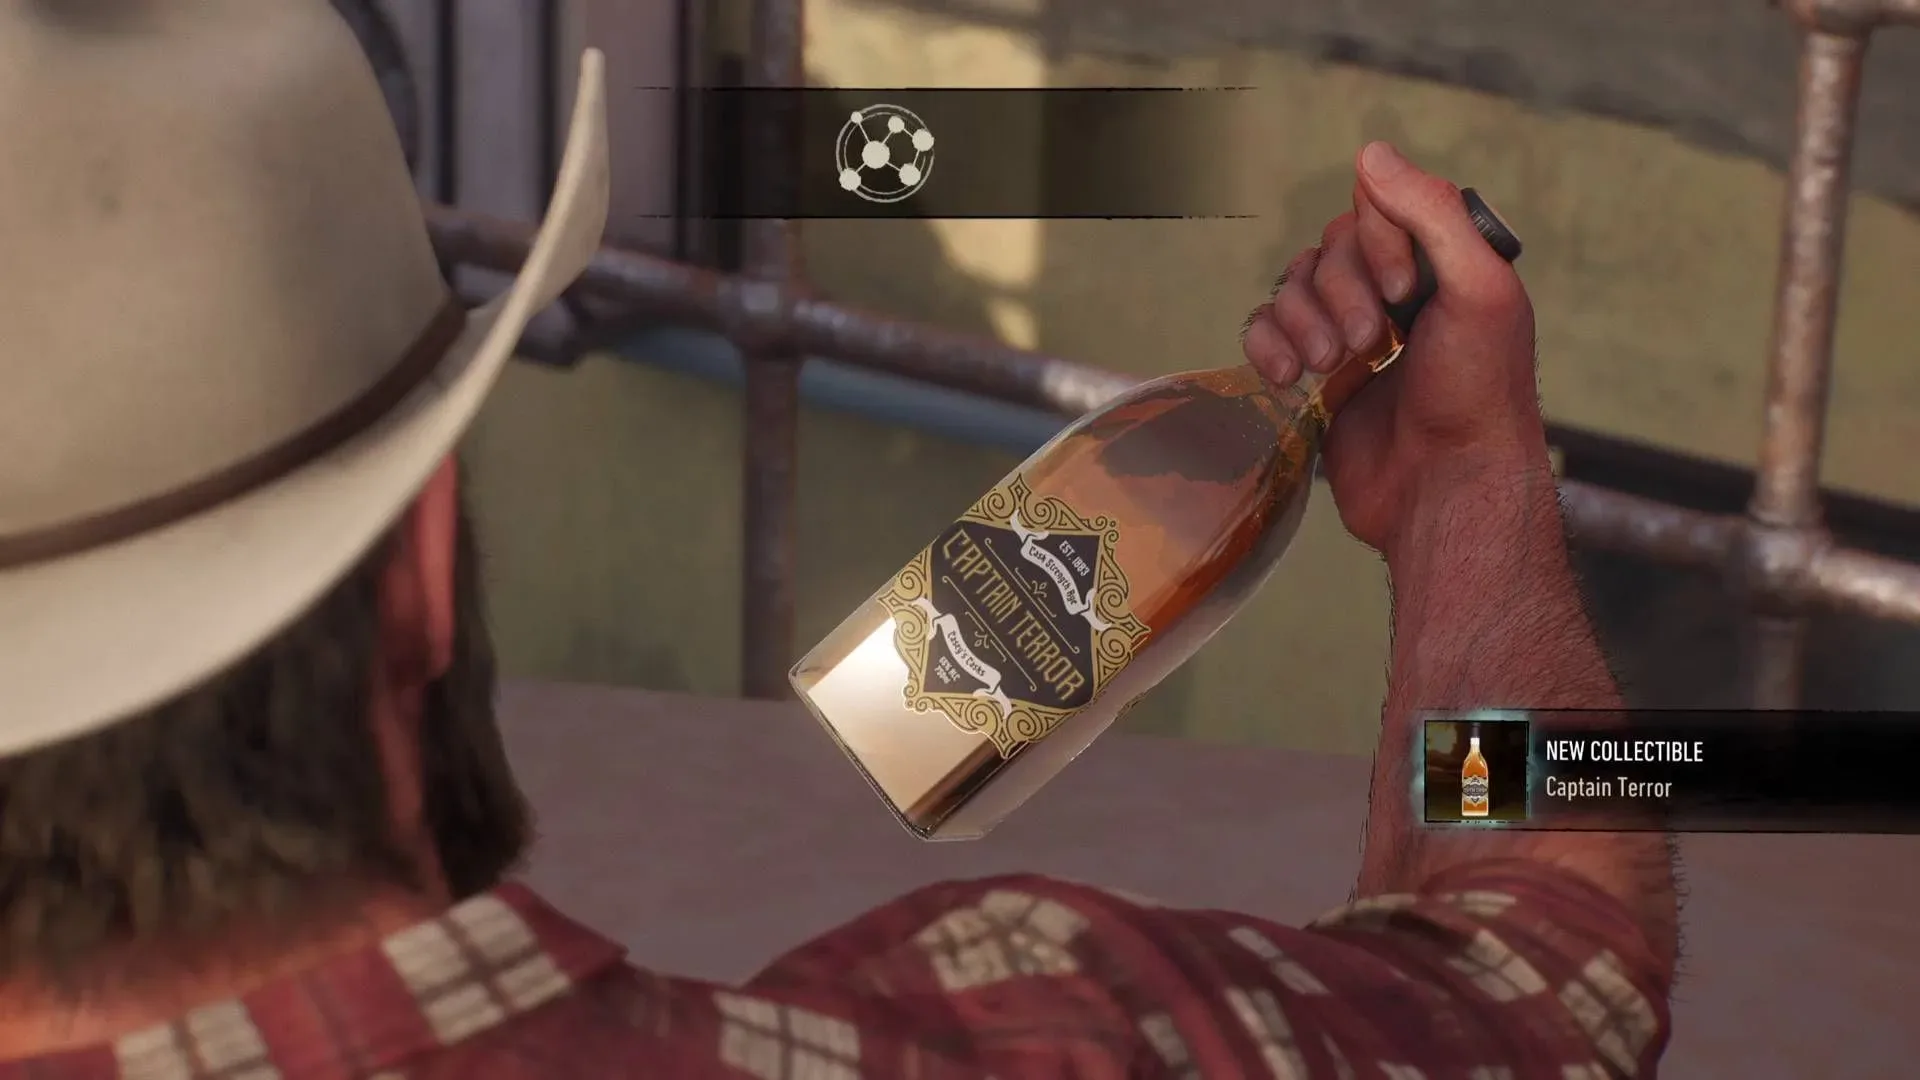
At the outset, players receive four Adaptations but only one Strand. Progress through Nightmare Doors and the collection of whisky bottles raises Adaptation level, expanding both the available options and the number of slots. A Strand is gained at each of the first nine levels, and level 10 supplies the final, tenth slot without adding another Adaptation.
The most effective overall setup leans decisively into Rage. The goal is to create Rage quickly through ordinary fighting actions, stretch its highest tier for longer, and turn its crowd-control and critical-strike opportunities into a chain of takedowns. Defensive picks matter too: parry timing, healing, and reduced melee damage make it easier to remain in the brawl long enough for that engine to start running.
Before committing every Technique Point elsewhere, it is also worth pairing this perk plan with the combat options covered in Marvel’s Wolverine: The Techniques Worth Unlocking First. Adaptations improve the rhythm of a build, while Techniques can provide a significant share of its active combat power.
The 10 Adaptations to build toward
For a broadly useful endgame arrangement, these are the strongest 10 Adaptations to prioritize:
- Expanded Crit — Allows Critical Strikes against enemies with more health remaining.
- Extended Parry — Makes the successful parry window more forgiving.
- Healing Parry — Restores health after parrying an enemy attack.
- Tough Skinned — Lowers melee damage received.
- Rage Intimidation — Reaching Rage Tier 2 Intimidates a nearby basic enemy, opening that foe to a Critical Strike.
- Enraging Ender — Generates additional Rage with combo enders.
- Tier 2 Crit — Enables Critical Strikes at Rage Tier 2 against staggered, low-health enemies.
- Chain Crit — A Critical Strike Intimidates a nearby basic enemy, though the immediate follow-up Critical Strike will not create another Intimidation.
- Rage Longer — Reduces Rage decay in Rage Tier 3.
- Enraging Barrage — Barrages build extra Rage.
This is a combat-first package rather than a collector-friendly one. Crate Finder and Whisky Finder have obvious value while cleaning up materials and bottles, but they do not contribute to moment-to-moment damage or defense. They can be slotted temporarily for exploration, then swapped away when the objective is an especially difficult fight. Players still chasing the relevant collectible progress can consult the complete whisky bottle locations and Midnight suit reward guide.
Why the Rage route is so effective
Rage is not just a damage switch. Its strongest related Adaptations improve several connected parts of combat: how often Logan reaches the mode, what he can do after arriving at Tier 2, how many critical opportunities he creates, and how much longer Tier 3 remains available. In crowded encounters, that combination can turn a difficult group into a sequence of fast eliminations.
Enraging Ender and Enraging Barrage are the fuel. One rewards combo enders; the other rewards Barrages. Since both draw from active combat behavior, they make a more reliable foundation than perks aimed at occasional stealth takedowns or at being shot while sprinting. Rage Intimidation then creates an immediate critical opportunity as Tier 2 begins, while Tier 2 Crit broadens the set of weakened, staggered enemies that can be finished during that state.
Related coverage includes Marvel's Wolverine: Best Adaptations to Equip and How to Build a Rage-Focused Loadout.
Chain Crit is the payoff that gives the build its momentum. One Critical Strike leaves a nearby basic enemy Intimidated and ready for a follow-up. The effect does have a stated limiter: taking that next Critical Strike does not automatically Intimidate another target. Even with that boundary, it creates an extra opening precisely when combat is already tilted in Logan’s favor.
Finally, Rage Longer provides the high-tier insurance policy. Reduced decay at Rage Tier 3 means more time to capitalize on the damage and critical potential that the rest of the selection has assembled. It is one of the clearest late-game picks because extending an established powerful state tends to be more valuable than a narrow utility effect.
What to equip at each Adaptation level
Level 1: establish critical-strike value
The first four choices are Healing Dangerously, Expanded Crit, Barrage Recharge, and Enraging Sprint. With only one Strand, Expanded Crit is the leading general-purpose option. Being able to perform Critical Strikes when enemies have more health remaining improves their usefulness over a wider portion of a battle.
Healing Dangerously is the sensible alternative for players who need recovery support. It restores health after successfully responding to Power Attacks or Reckless Attacks. Barrage Recharge speeds the recharge of the Special Technique assigned to L2 plus Square, while Enraging Sprint builds Rage from enemy ranged attacks while sprinting; both are more specialized.
Level 2: add survival instead of chasing niche triggers
Enraging Stealth and Bullet Sponge become available here, alongside the second Strand. Equip the Level 1 choice you did not take between Expanded Crit and Healing Dangerously. Enraging Stealth yields extra Rage from Stealth Takedowns, but a build centered on direct combat generally gets more consistent value elsewhere. Bullet Sponge reduces ranged damage and can assist during the early game, although it is not usually a priority over critical and healing utility.
Level 3: make parries safer and more rewarding
Level 3 unlocks Healing Dodge and Extended Parry. Extended Parry should take the new Strand: parrying is sufficiently central to combat that a larger success window has both offensive and defensive benefits.
This is also a practical time to consider replacing Healing Dangerously with Healing Dodge. Healing Dodge restores health for dodging an enemy attack, and a player who avoids more attacks through dodges than reactions to Power or Reckless attacks may find it more dependable. That is a preference call, not a mandatory swap.
Level 4: take the durable option
Tough Skinned and Combo Ender Recharger arrive at Level 4. Choose Tough Skinned for reduced melee damage. It is straightforward, always relevant in close combat, and gives the Rage plan more room to develop under pressure. Combo Ender Recharger instead accelerates the Special Technique tied to L2 plus Triangle, so it is best reserved for a more Technique-specific loadout.
Level 5: transition from healing dodges to healing parries
The new choices are Healing Parry, Rage Intimidation, and Crate Finder. Rage Intimidation deserves the fresh Strand because entering Rage Tier 2 creates a nearby basic-enemy critical opportunity. If parries have become a regular part of play, Healing Parry is generally a stronger replacement for Healing Dodge: it turns a core defensive response into direct healing.
Crate Finder lets Enhanced Senses identify material crates through obstacles and at greater range. It is useful on a resource run, not as a permanent combat selection.
Level 6: build Rage through combo enders
Healing Crit, Parry Recharge, and Enraging Ender are the Level 6 additions. Enraging Ender is the top recommendation, supplying extra Rage from combo enders and strengthening the build’s main resource loop. Healing Crit can restore health from Critical Strikes, while Parry Recharge speeds the L2 plus X Special Technique after a parry; each has merit, but neither advances Rage generation as directly.
Level 7: choose fuel or payoff
Dodge Recharge, Enraging Barrage, and Tier 2 Crit open at Level 7. This is the first point where two excellent Rage selections compete for one new slot. Enraging Barrage is best if reaching Rage faster is the immediate concern. Tier 2 Crit is preferable if Rage generation already feels comfortable and the aim is to gain more finishing potential while Tier 2 is active. The full 10-Strand build ultimately carries both.
Level 8: make critical strikes lead into more pressure
Desperate Regeneration, Chain Crit, and Whisky Finder are added at Level 8. Select Chain Crit. Its nearby Intimidation effect after a Critical Strike produces another opening and naturally supports the Tier 2 and Rage Intimidation effects already chosen.
Desperate Regeneration increases passive regeneration after health falls below 35%, until health reaches 50%. It is a valid emergency option for survival-focused players. Whisky Finder is strictly for locating bottles using Enhanced Senses through obstructions and from farther away.
Level 9 and Level 10: extend Tier 3, then complete the engine
Level 9 offers Enraged Recharge, Rage Longer, and Leaping Crit. Choose Rage Longer. Slowing Rage Tier 3 decay stretches the period in which Logan can exploit the rest of the Rage-focused arrangement. Enraged Recharge is attractive to players who want faster passive Special Technique recharge in Tier 2 and an even faster rate in Tier 3, while Leaping Crit enables a held-Triangle Critical Strike in Tier 3 against basic enemies.
Level 10 grants the final Strand but no new Adaptation. If it is not already equipped, use this last space for Enraging Barrage. Barrages are a major method of building Rage, making the perk a fitting final piece for the recommended setup.
Flexible swaps that are actually worth considering
The Rage build is powerful because it is consistent, not because every other Adaptation is worthless. Substitute Bullet Sponge or Desperate Regeneration when survivability is the immediate barrier. Use Healing Dangerously or Healing Dodge if their respective defensive triggers are more natural than parrying. And if a particular Special Technique is central to a preferred combat routine, one of the recharge Adaptations can reasonably replace a utility damage slot.
For most battles, though, the answer remains simple: improve parries, stay upright, fill Rage through Barrages and combo enders, then turn Tier 2 and Tier 3 into a run of critical-strike opportunities. With 25 options but only 10 places to spend, that focused approach gets much more out of every Strand.