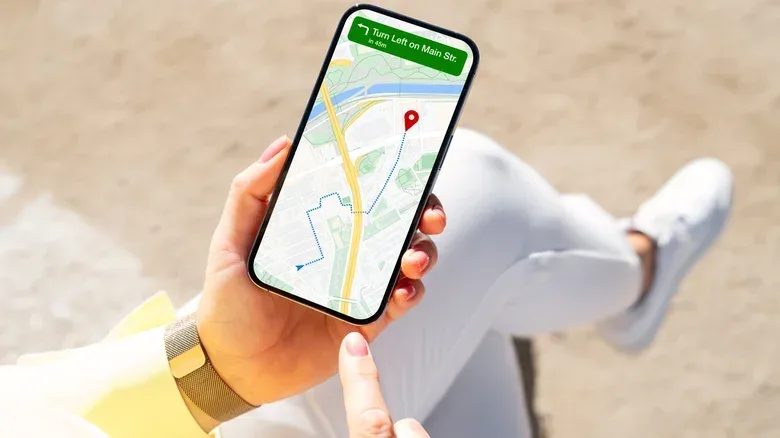
Google Maps is very good at remembering where the party was, where the parking garage ate your car for 40 minutes, and which restaurant served that suspiciously excellent sandwich three towns ago. That memory is called Timeline, and for some people it is handy. For others, a continuously maintained history of their real-world movements feels less like a convenience feature and more like a side quest they never accepted.
If you would rather Google Maps stop maintaining that record, the relevant control is available in the Maps app. You can simply disable future Timeline use, disable it and remove the existing activity, or retain the feature while setting older entries to delete automatically. The important distinction is that these are separate choices: stopping future collection does not necessarily erase what is already there.
What Google Maps Timeline is actually recording
Timeline is Google Maps’ location-history feature. It can log places you have traveled and present them for later reference. In practical terms, it may help reconstruct a past day or identify a business whose name has evaporated from memory. Maps also has other navigation and place-information functions, including 3D driving directions and business crowding information, but Timeline is the component concerned with the history of where you have been.
That usefulness comes with an obvious privacy trade-off. A location history can reveal patterns: regular destinations, trips, and the broad outline of a person’s routine. The concern is not that every user will view Timeline as inherently bad; it is that a detailed log can become sensitive information, particularly if it is accessed by someone who should not have it.
Google has moved Timeline storage from the cloud to the device by default unless the user performs a manual backup. That is a meaningful detail, but it is not the same thing as choosing not to keep a Timeline. A local record is still a record on the phone. Anyone seeking the most straightforward way to prevent new Timeline history from accumulating should turn the feature off.
How to turn off Timeline in Google Maps
The simplest route is inside the Google Maps app on the phone that holds the Timeline data. Google also provides Location controls through its My Activity area, but Timeline data originates on the phone and is viewable there, making the in-app path the clearest place to review the setting.
- Open Google Maps.
- Tap your profile picture on the right side of the search bar.
- Choose Your timeline.
- Tap the three-dot menu in the upper-right corner.
- Select Location and privacy settings.
- Select Timeline.
- Use the dropdown control and choose either Turn off or Turn off and delete activity.
The wording at the final step matters. Turn off stops use of the feature while retaining activity already stored. Turn off and delete activity stops the feature and clears the historical activity. Pick the first option only if you deliberately want to keep the old record; pick the second if both future collection and the existing Timeline are unwanted.
The setting is device-specific
Turning Timeline off on one phone is not presented as a universal switch for every device you use. If Google Maps is also used on a tablet or a second phone, repeat the process on each device. This is an easy detail to miss: checking one handset and assuming the job is complete can leave another device with its own Timeline setting still active.
Related coverage includes How to Turn Off Google Maps Timeline Location History.
The reverse is also true. If you decide later that Timeline is worth having again, follow the same route and select Turn on at the final step. There is no need to treat the decision as permanent. The useful privacy habit is simply to know which setting is active on each device you use.
Keep Timeline, but make it forget
There is a middle ground for people who find a short-term location record useful but do not want a sprawling archive. In the same Timeline settings area, scroll to Auto-delete and select Choose an auto-delete option. Google Maps offers deletion of activity older than three months, 18 months, or 36 months.
Auto-delete is exactly what it sounds like: a retention rule. Rather than manually remembering to prune older entries, you choose how long activity remains available before older history is removed. It is not the same as immediately deleting existing data, and it is not the same as turning Timeline off. It is a way to preserve a rolling window of recent locations.
For someone who occasionally needs to remember a recent venue or trip, that can be a practical compromise. For someone whose goal is to maintain no Timeline record at all, turning it off and deleting activity is the more direct choice. The correct option is less about a universal privacy score and more about matching the setting to the amount of location history you genuinely want retained.
Other controls worth checking
Timeline also includes more granular controls, useful when the goal is cleanup rather than an all-or-nothing decision. On the main Timeline page, the Backup cloud icon controls an encrypted backup of the device’s Timeline data to a Google account. That setting can be enabled or disabled. Since manual backup changes where a copy of the data may be kept, it is worth checking separately rather than assuming it follows the main Timeline preference.
If there is a single day that needs correcting or removing, the Pencil icon at the lower-right of Timeline can be used to edit or delete that day. This is a targeted tool: useful for one mistaken or unwanted entry without requiring the removal of an entire history.
For a larger cleanup, return to Location and privacy and use Delete range of Timeline data. This option is designed for clearing a broad span of history. There is also an Export Timeline data option if you want a backup for another device before making changes. Exporting is a preservation action, not a deletion action, so it is best treated as a deliberate step before any cleanup that cannot be easily undone.
A quick decision guide
- You want no new Timeline activity but want to retain old entries: choose Turn off.
- You want Timeline disabled and the stored history cleared: choose Turn off and delete activity.
- You only want recent history available: keep Timeline active and configure Auto-delete for three, 18, or 36 months.
- You need to remove or fix one date: edit or delete that day with the Pencil tool.
- You need to clear a broader period: use Delete range of Timeline data.
- You want to preserve a copy before changing anything: use Export Timeline data, and separately review the encrypted Backup control.
Why this matters beyond Maps
Settings menus often turn privacy into a terminology boss battle: backup, history, activity, delete, turn off. They sound interchangeable until they are not. Here, the distinction is especially important. Disabling Timeline addresses future use of the feature. Deleting activity addresses existing records. Auto-delete sets a continuing retention period. Backup concerns whether an encrypted copy of device Timeline data is stored with your Google account.
Taking a minute to separate those choices prevents the common outcome where a person believes they have deleted their history when they have only disabled future collection, or believes they have stopped all relevant storage when a backup option remains enabled. The interface provides the tools; the user’s job is deciding which combination fits.
This is the same basic principle that applies to other PC and phone settings: understand whether a control changes current behavior, removes old material, or preserves a copy somewhere else. If you are already tuning devices for more intentional use, our guide to what keyboard latency means for PC gaming is another example of why the label on a setting or technology does not always tell the full practical story.
For Timeline, the practical checklist is refreshingly short: review the setting on every phone or tablet you use, decide whether old activity should remain, and inspect auto-delete and backup separately. Once that is done, Google Maps can go back to handling directions without also functioning as your personal travel archivist.