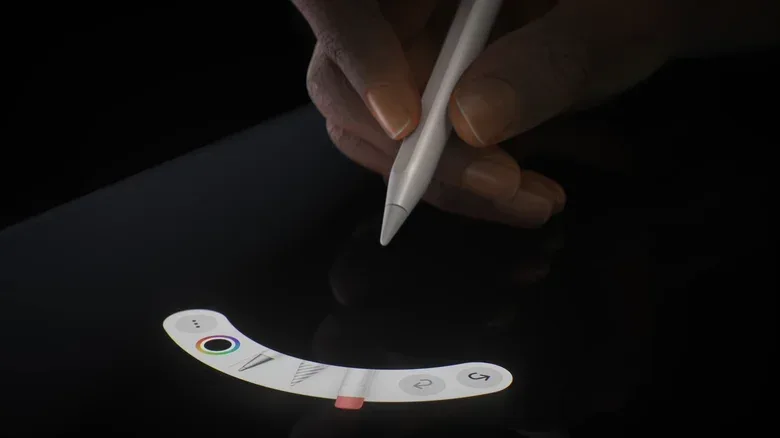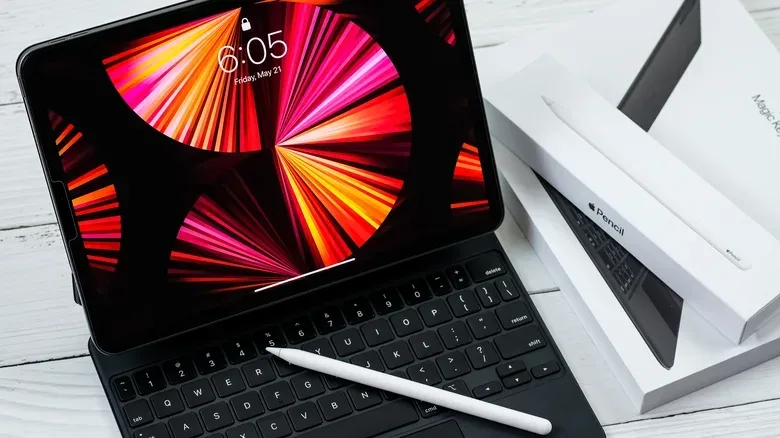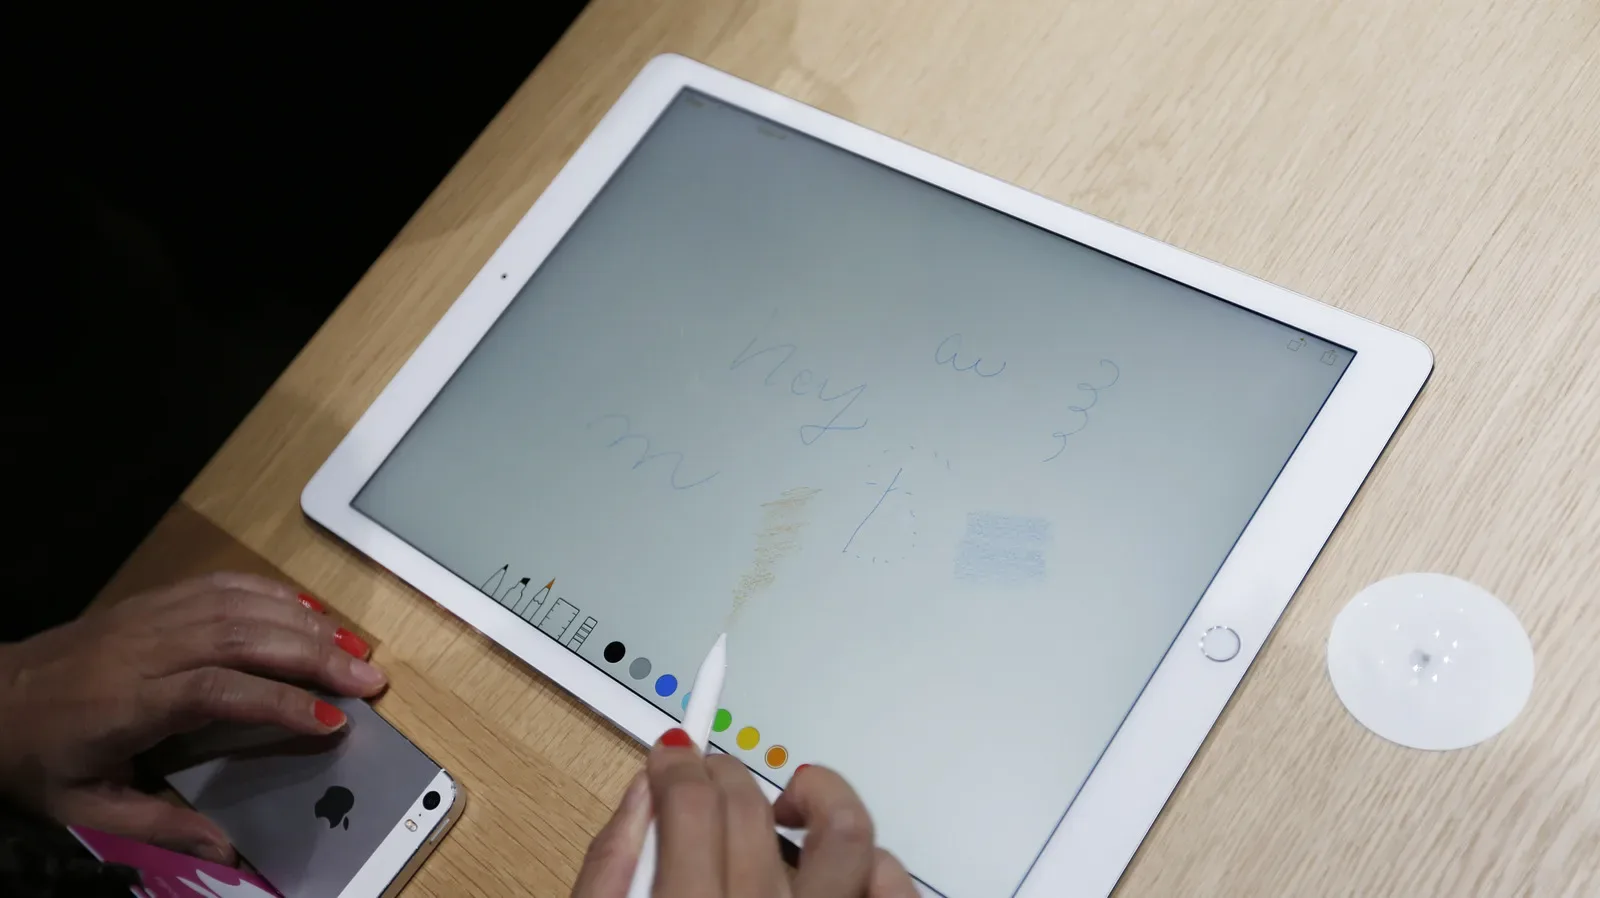

An Apple Pencil should be one of the least dramatic accessories in a tablet setup. It is, after all, a stylus: a digital pencil intended for drawing, annotating, handwriting and other touch-screen tasks. Yet pairing one with an iPad can become a small compatibility boss fight, because the connection method changes between Pencil generations and not every Pencil works with every iPad.
The encouraging part is that, once you have confirmed the two devices can work together, the actual setup is generally brief. The crucial first step is identifying which Apple Pencil you own. The four connection routines fall into two broad camps: a cable connection for the USB-C and first-generation models, or a magnetic attachment for the second-generation Pencil and Apple Pencil Pro.
That distinction matters for more than initial setup. It affects charging, storage and what to do after a restart. The USB-C Pencil and first-generation Apple Pencil must be paired again after an iPad restart or after Bluetooth has been switched off. That is not a sign that the accessory is broken; it is part of how those models reconnect.
Start with compatibility, not the pairing screen
Before reaching for a cable or snapping a Pencil to the iPad’s side, check the compatibility list for your exact iPad and Pencil. This is the most useful way to avoid spending an afternoon troubleshooting hardware that was never designed to pair.
The first-generation Apple Pencil was made for Lightning-equipped iPads. It does not work with newer USB-C iPad mini, iPad Air or iPad Pro models. There are two important exceptions among base iPads: the 2022 and 2025 base iPad models can use the original Pencil with an adapter.
The second-generation Apple Pencil also has a limited set of supported iPads. It is not simply an automatic choice for every newer tablet. On the other end of the range, the USB-C Apple Pencil has wider support, while Apple Pencil Pro supports a narrower group of iPad Air, iPad mini and iPad Pro devices.
Compatibility means the iPad model is built to recognize and use that specific Pencil. A matching port alone is not enough. It is tempting to assume that USB-C equipment should all cooperate because the plugs fit, but the iPad and Pencil still need the appropriate hardware and software support.
If you are deciding what to bring on a trip alongside a tablet, controller or handheld system, treat the Pencil as a small electronic accessory rather than loose stationery. A magnetic Pencil can detach in a bag, and a capped or cable-connected model has its own parts to keep track of. Our guide to packing handhelds, consoles and controllers for airport security offers related practical considerations for travelling with electronics.
Related coverage includes How to Connect an Apple Pencil to Your iPad.
How to connect the USB-C Apple Pencil
The USB-C Apple Pencil pairs through a physical cable connection.
- Slide open the end of the Pencil to reveal its USB-C port.
- Connect the Pencil to the iPad with an appropriate USB-C cable.
- Wait for the pairing prompt on the iPad screen.
- Select Tap to Connect.
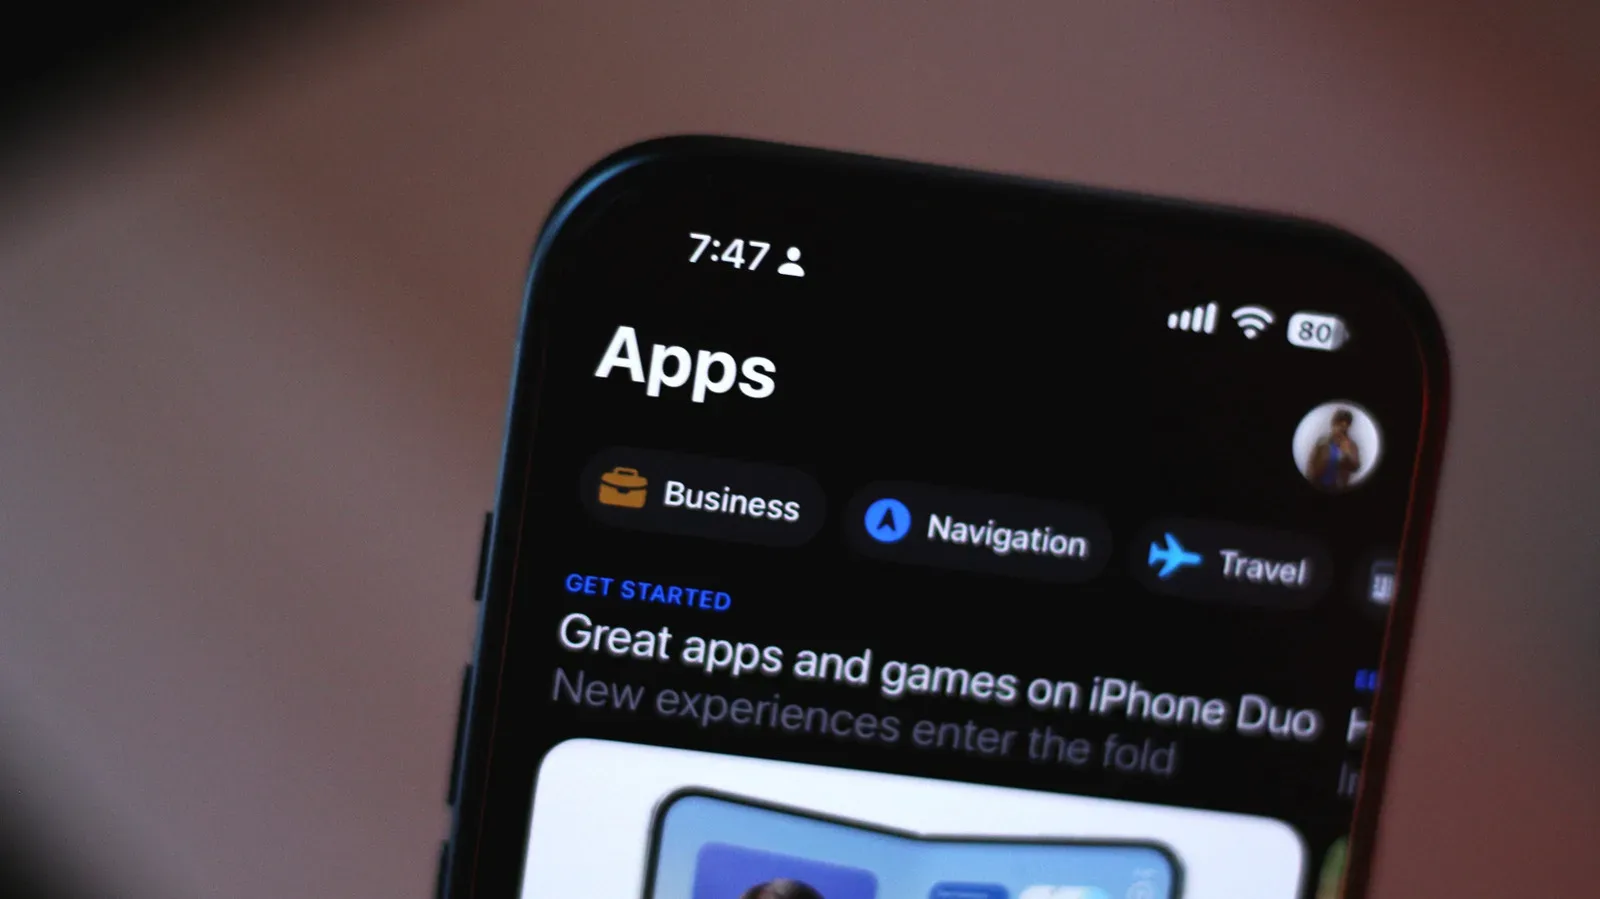
This connection also charges the Pencil, so it addresses two possible barriers at once: the accessory can establish its pairing relationship and receive power. The USB-C Pencil is also the only Pencil compatible with iPhone Duo.
After an iPad restart or after Bluetooth has been disabled, repeat the pairing process for this Pencil. In ordinary use, that can be easy to mistake for a fault, especially when the iPad otherwise appears ready to use. A quick cable reconnection is the appropriate first response.
How to connect Apple Pencil Pro and the second-generation Pencil
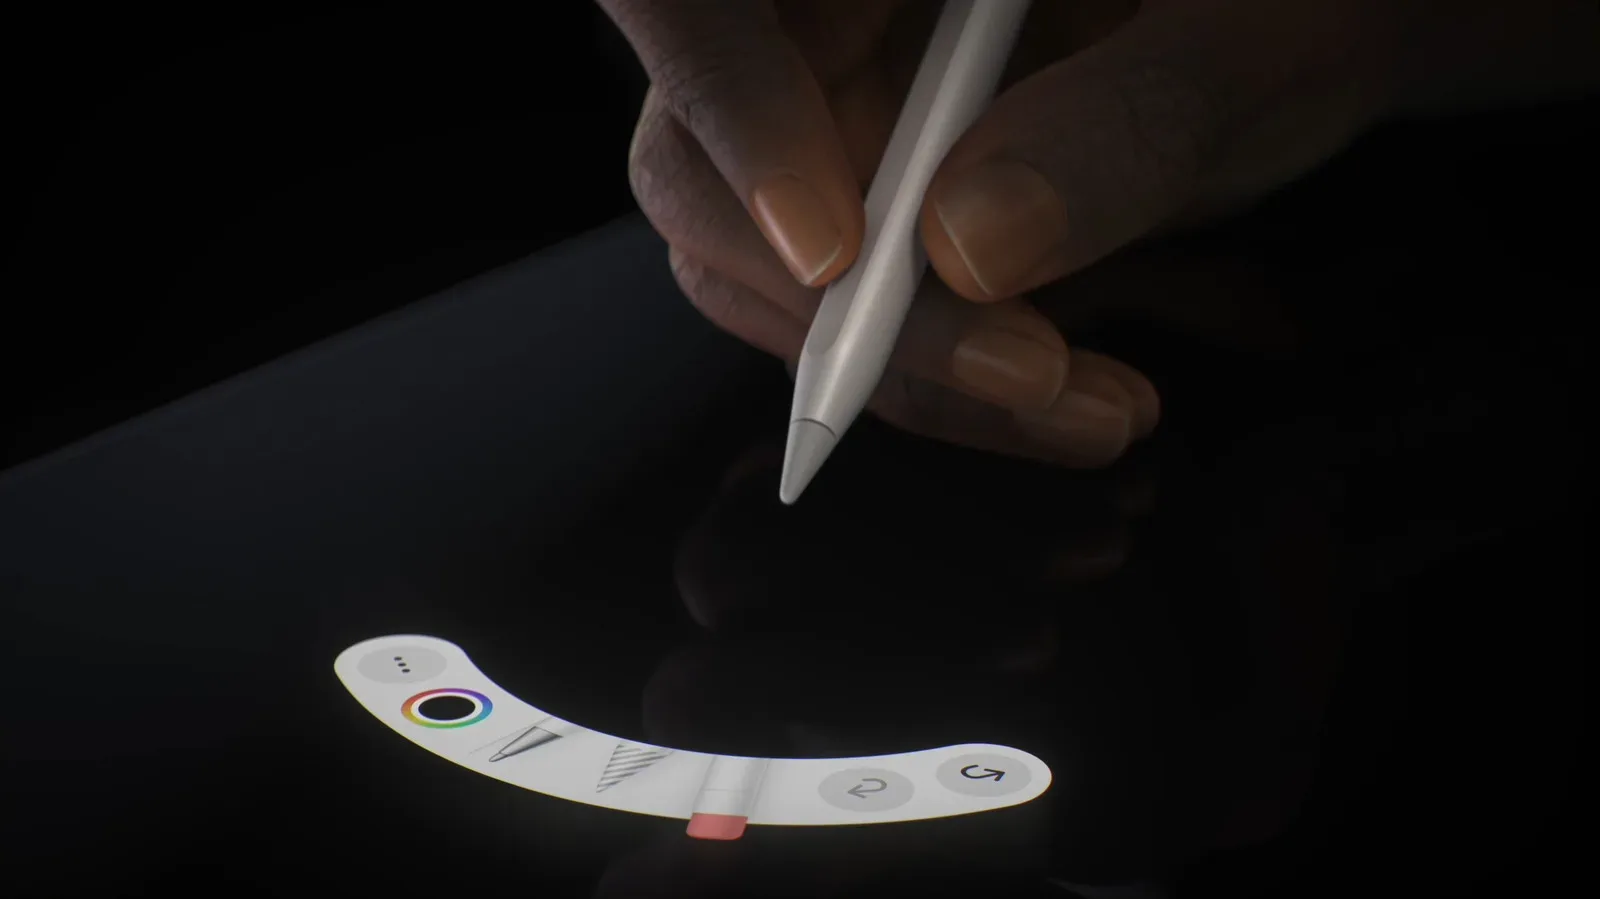
Apple Pencil Pro and the second-generation Apple Pencil use the simplest process in this group, provided the iPad is a supported model. Attach the Pencil magnetically to the long side of the iPad. It pairs from there and is ready to use within seconds.
The same magnetic location is used for charging. In day-to-day use, it also becomes the obvious storage spot: remove the Pencil from its packaging, attach it to the iPad’s side, and the two devices are paired, charging and kept together.
There is a practical trade-off. A Pencil riding on the iPad’s edge may be convenient on a desk, but the attachment can be vulnerable inside a crowded bag or suitcase. If the tablet is travelling, it is worth considering whether the Pencil could be knocked free. The source material does not prescribe a specific case or storage method, but it does flag the risk of relying solely on the magnetic attachment in transit.
How to connect the first-generation Apple Pencil
The original Apple Pencil uses a Lightning connector hidden beneath its cap. Its routine is different from the magnetic models:
- Remove the cap from the Pencil.
- Plug the Pencil into the iPad through its Lightning connector.
- Tap Pair when the prompt appears.
For the 2022 and 2025 base iPads with USB-C, the original Pencil requires a Lightning-to-USB-C adapter. That adapter requirement is a good example of why it is useful to identify both the Pencil generation and the iPad generation before setup. The Pencil may be supported, but it needs an additional physical link to complete pairing.
Like the USB-C Pencil, the first-generation model needs to be re-paired after restarting the iPad or turning Bluetooth off. Keep that behavior in mind if a once-working Pencil suddenly appears absent after a reboot. It may not be a mystery at all; it may simply need its usual wired reconnection.
When the Pencil pairs but does not behave properly
A successful pairing prompt is useful evidence, but it is not always the end of the process. If the Pencil appears connected yet input is unreliable or absent, begin with the simplest physical step: reconnect it using the method appropriate to its model. That means a cable connection for the USB-C or first-generation Pencil, or another magnetic attachment for the Pro and second-generation models.
Then restart the iPad. On iPads without a Home button, hold a volume button and the power button, then use the on-screen power-off slider. After a brief pause, hold the power button to turn the device back on. On an iPad with a Home button, hold the power button to begin the shutdown process.
A restart clears the current session and makes the iPad establish connections again. It is not a magical repair spell, but it is a proportionate early step before more disruptive measures. After the iPad returns, try the pairing procedure again for your exact Pencil type.
Update iPad software
Check for an available iPad software update at Settings > General > Software Update. The supplied guidance recommends updating before escalating the problem. This does not promise that every connection issue comes from out-of-date software, but it is a sensible maintenance check when the iPad is not behaving as expected.
Check Bluetooth and remove a stale connection
Bluetooth is the short-range wireless connection system the iPad uses with many accessories, including Apple Pencil after the relevant pairing process. Go to Settings > Bluetooth and make sure Bluetooth is enabled.
If the Pencil is listed as connected but still will not function, tap the i information button next to its entry and select Forget this Device. Then retry the proper pairing routine.
Forgetting a device removes the saved pairing relationship from the iPad. It is more involved than merely reconnecting, which is why it makes sense after the basic physical reconnection, restart and Bluetooth checks. Once removed, the Pencil needs to be paired again, just as it did when it was first introduced to the iPad.
Low charge and cases can be the hidden obstacle
Power is easy to overlook because a Pencil is small and visually uncomplicated. But an Apple Pencil that does not have enough charge may not be able to pair. Leave it connected and charging for a while, then try again.
The charging method depends on the model. The USB-C Pencil charges while connected to the iPad by cable. Apple Pencil Pro and the second-generation Pencil charge while attached magnetically to the compatible iPad. The first-generation Pencil connects via its Lightning connector, with an adapter required for the supported USB-C base iPads noted above.
Cases and covers are another possible physical interference point. Remove them temporarily if pairing fails, particularly where they might affect the Pencil’s fit against the iPad or obstruct a connection point. This is a diagnostic step, not proof that every case causes problems. The aim is to eliminate a straightforward physical obstruction before assuming a deeper failure.
A concise recovery order for stubborn pairing problems
If a compatible Apple Pencil refuses to cooperate, work through the issue in an order that preserves useful clues instead of changing everything at once:
- Confirm the Pencil and iPad are compatible. This comes first because no settings change can overcome unsupported hardware.
- Use the correct connection method. Cable-connect the USB-C or first-generation Pencil; magnetically attach Apple Pencil Pro or the second-generation Pencil.
- Give the Pencil time to charge. A low battery can prevent pairing.
- Restart the iPad and check for a software update.
- Verify Bluetooth is on.
- Forget the Pencil in Bluetooth settings if it appears connected but remains unresponsive, then pair it again.
- Temporarily remove the iPad case or cover.
If none of those steps resolves the issue, service support may be necessary. At that point, the basic setup path, charge state, operating-system status and stored Bluetooth connection have all been addressed. AppleCare coverage may be relevant for an eventual service appointment.
The larger lesson is pleasantly unglamorous: most Apple Pencil issues have a specific model-based explanation. Identify the Pencil, verify the iPad match, then use the matching cable or magnetic routine. Once that small compatibility puzzle is solved, the stylus can return to its real job—turning the iPad from a large pane of glass into a place for notes, sketches and the occasional extremely serious doodle.
Shop the products
Check current price, model and availability at the retailer.