Control Resonant’s early Central Checkpoint Power Core objective can look like a test of raw speed: hit the electrical charge with your weapon, grab it, then race across Downtown before it fades. That interpretation is exactly what makes the puzzle frustrating. The charge does not last long enough for a direct trip to the checkpoint.
The intended solution is to treat the trip as a relay. Between the starting Core and the Central Checkpoint are other Power Cores that can hold the charge. Move the charge to each one in sequence, transferring it whenever you arrive. Each transfer resets the charge’s limited duration, giving you a fresh window to sprint to the next Core.
This guide explains how to read the clue, identify the correct markers, and avoid the common mistake of trying to complete the route in one uninterrupted run.
The Central Checkpoint charge puzzle solution
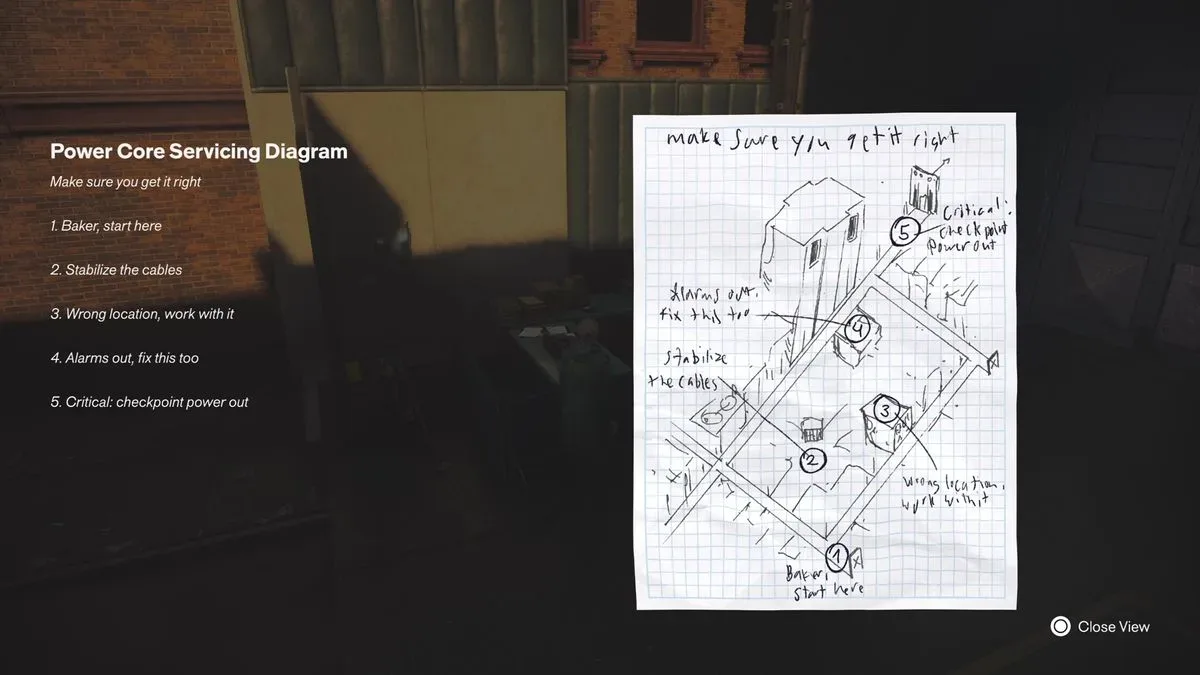
- At the puzzle’s starting area, find and read the Power Core Servicing Diagram.
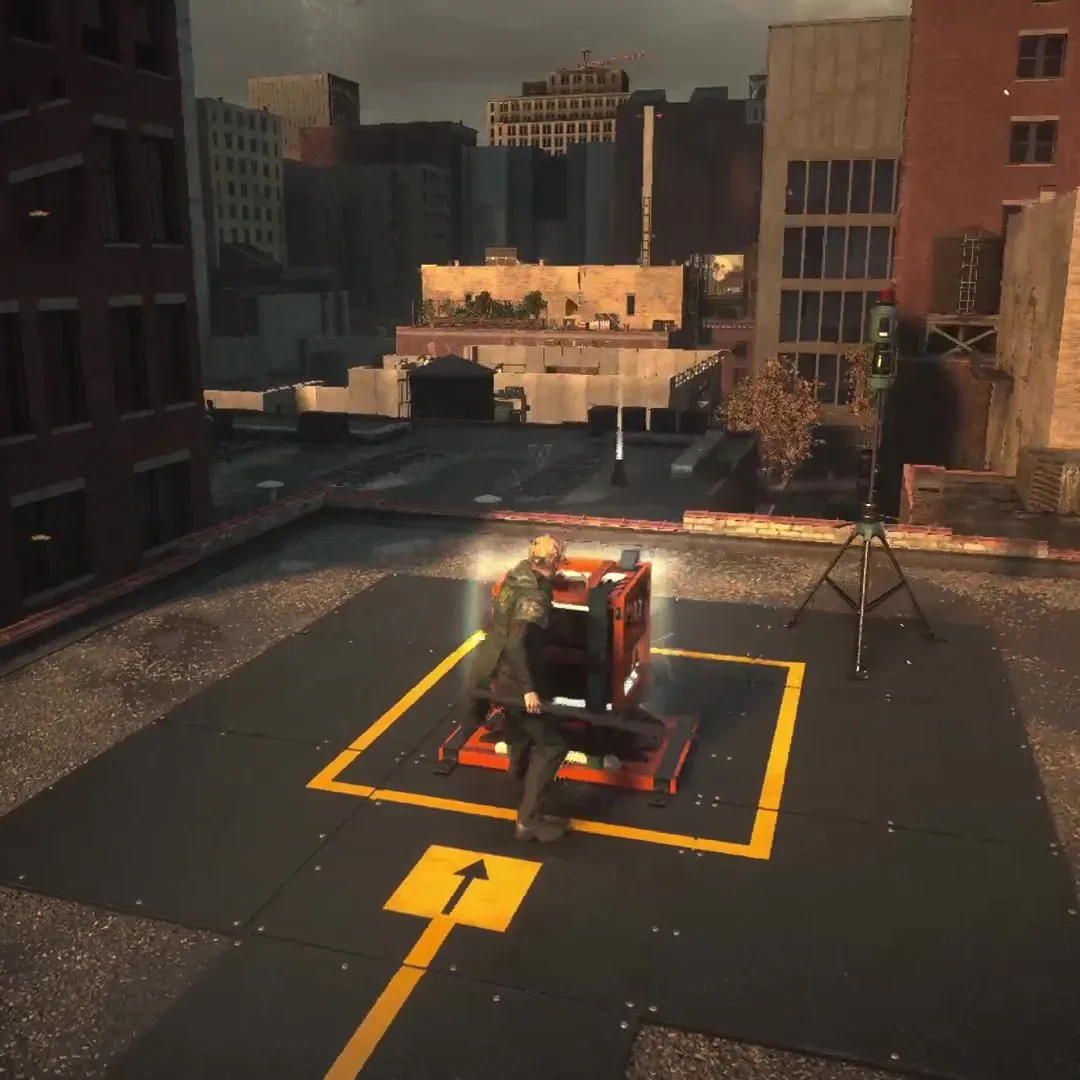
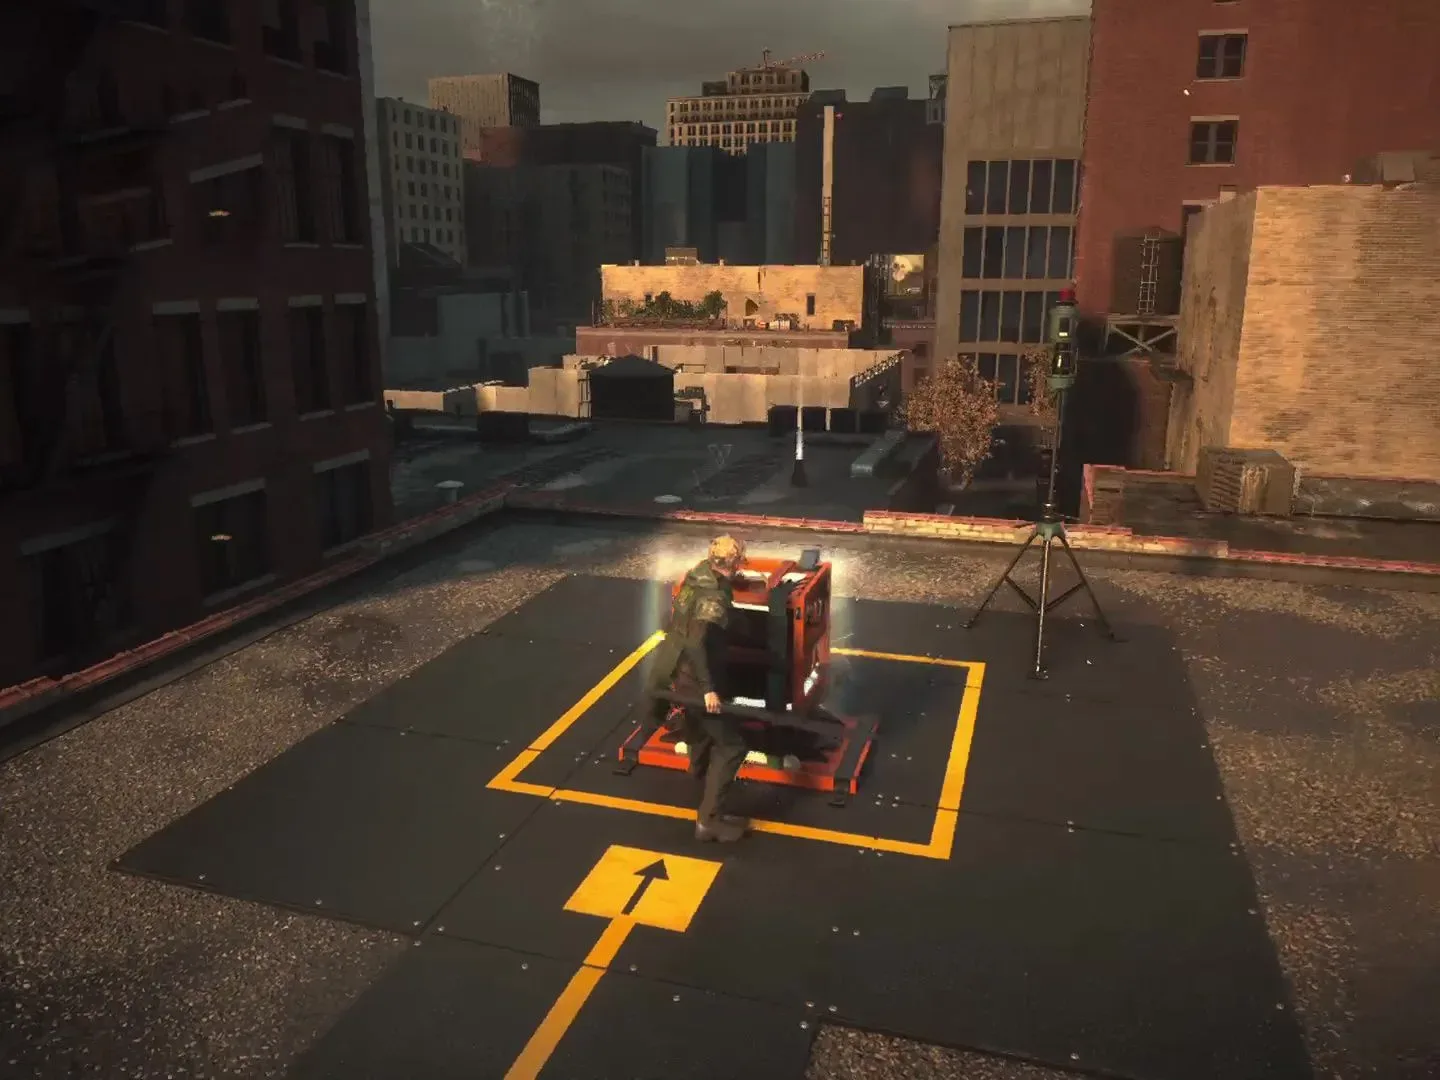
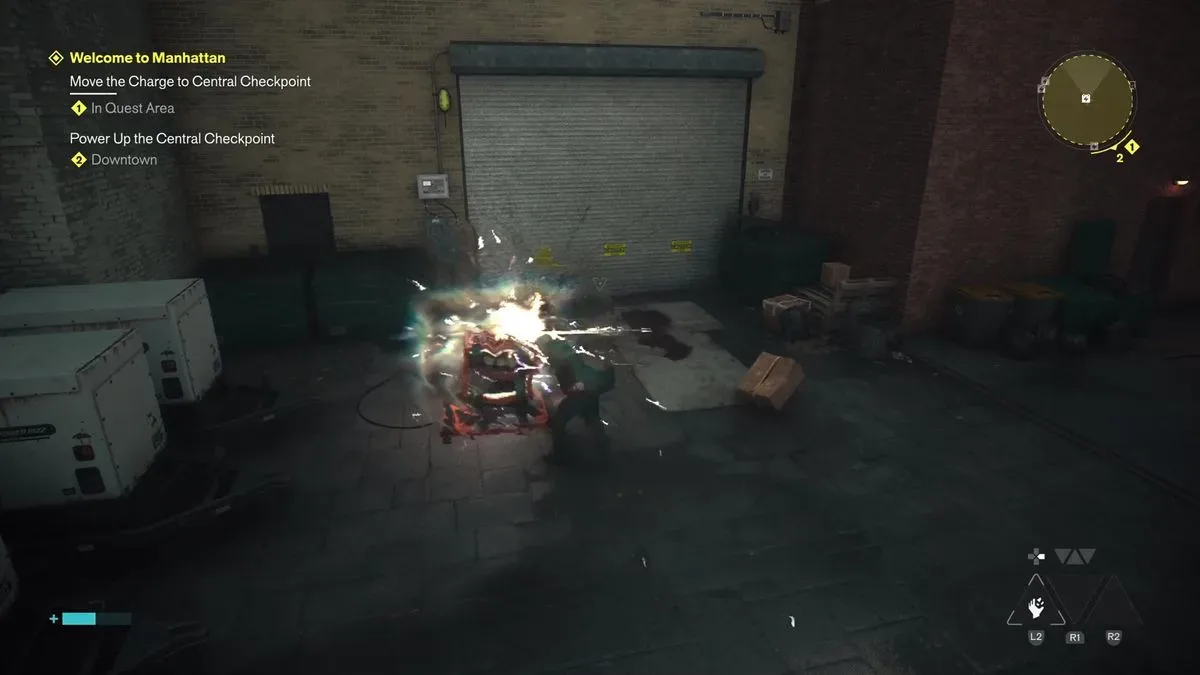
- Activate or collect the electrical charge by hitting it with your weapon.
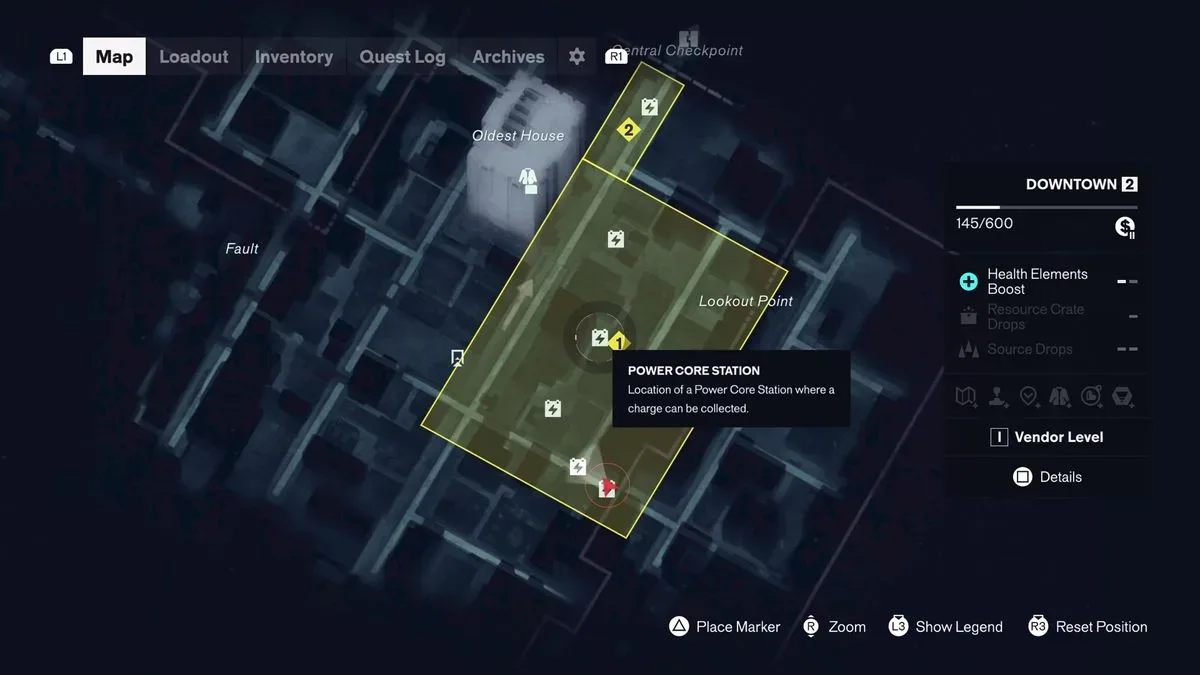
- Open the map and look across Downtown for the Power Core symbols: box-shaped icons marked with an electrical sign.
- Travel to the next Core shown along the route rather than heading straight for Central Checkpoint.
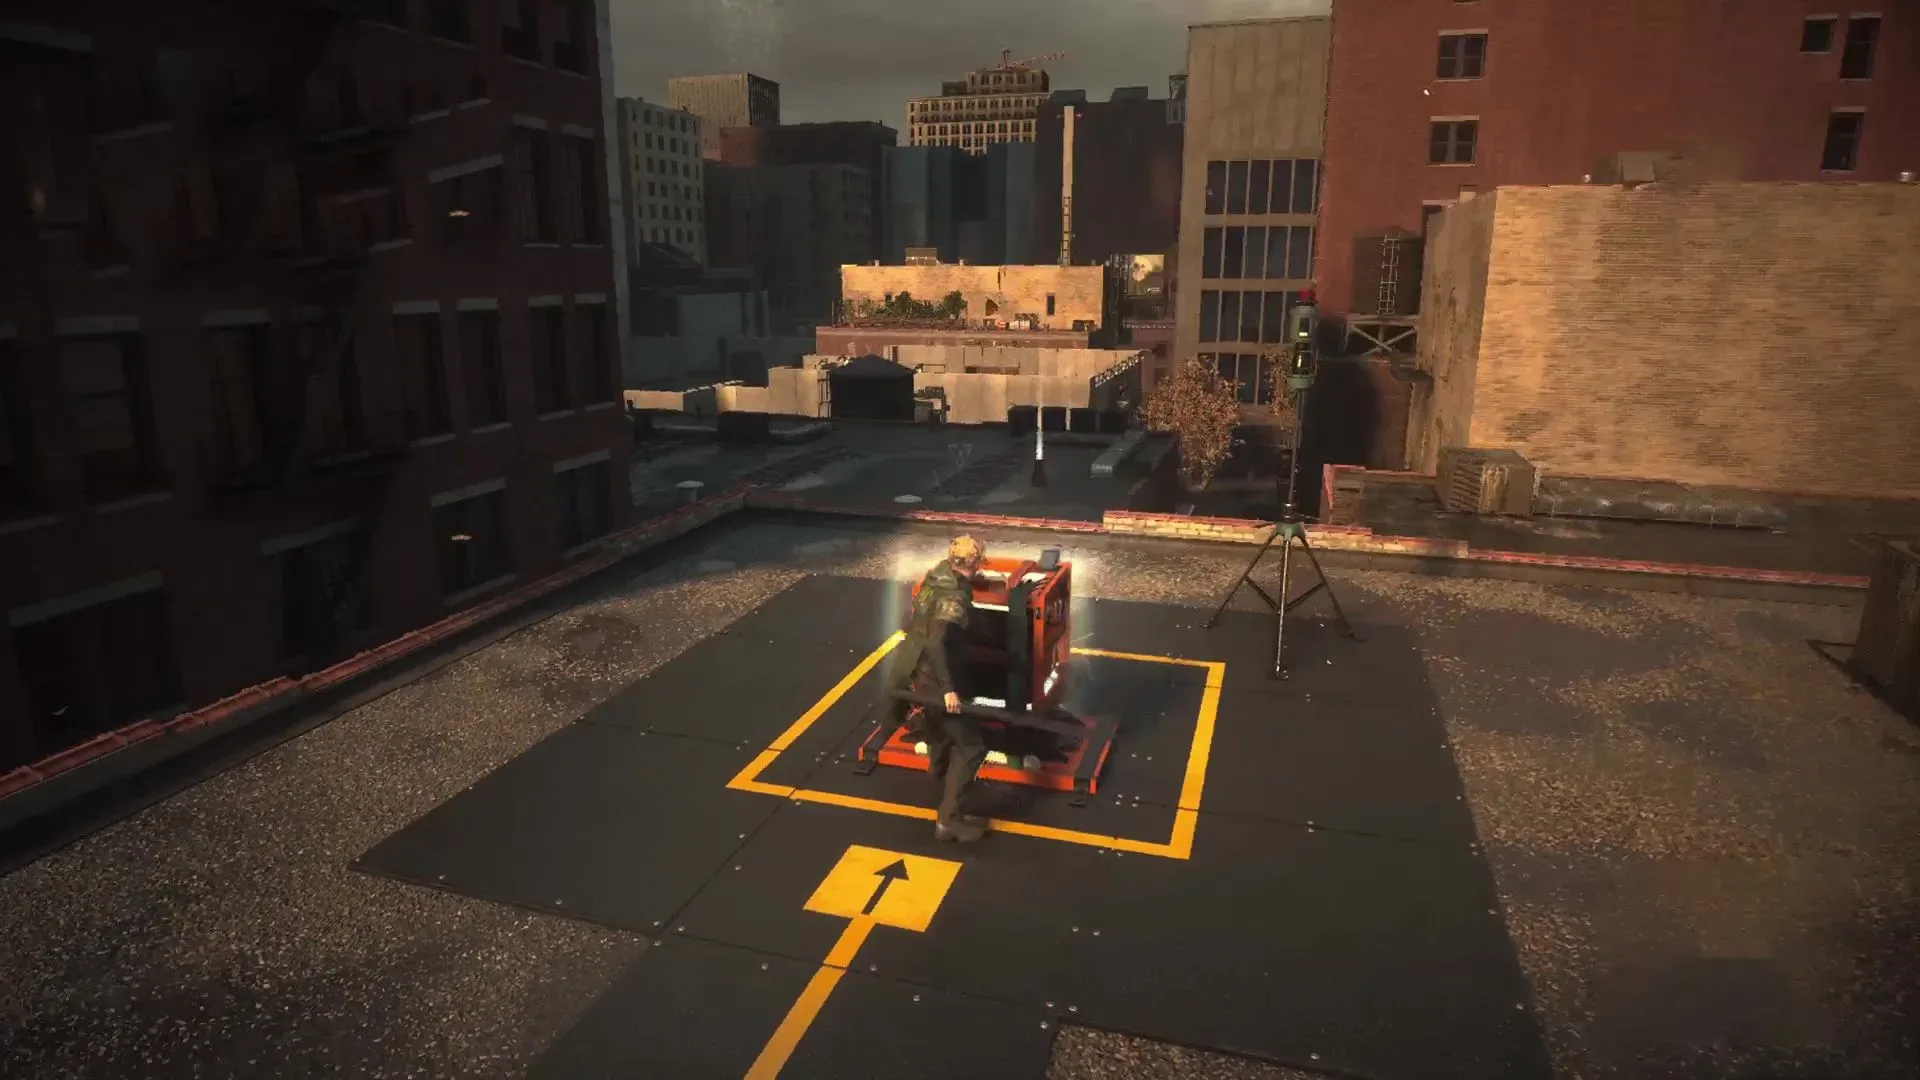
- Transfer the charge to every Power Core you reach. This refreshes the timer.
- Repeat the process from Core to Core until you can deliver the charge to the Central Checkpoint Power Core.
In short, the puzzle is not asking for a perfect cross-map dash. It is asking you to make use of the infrastructure already marked for you.
Read the Servicing Diagram before setting off
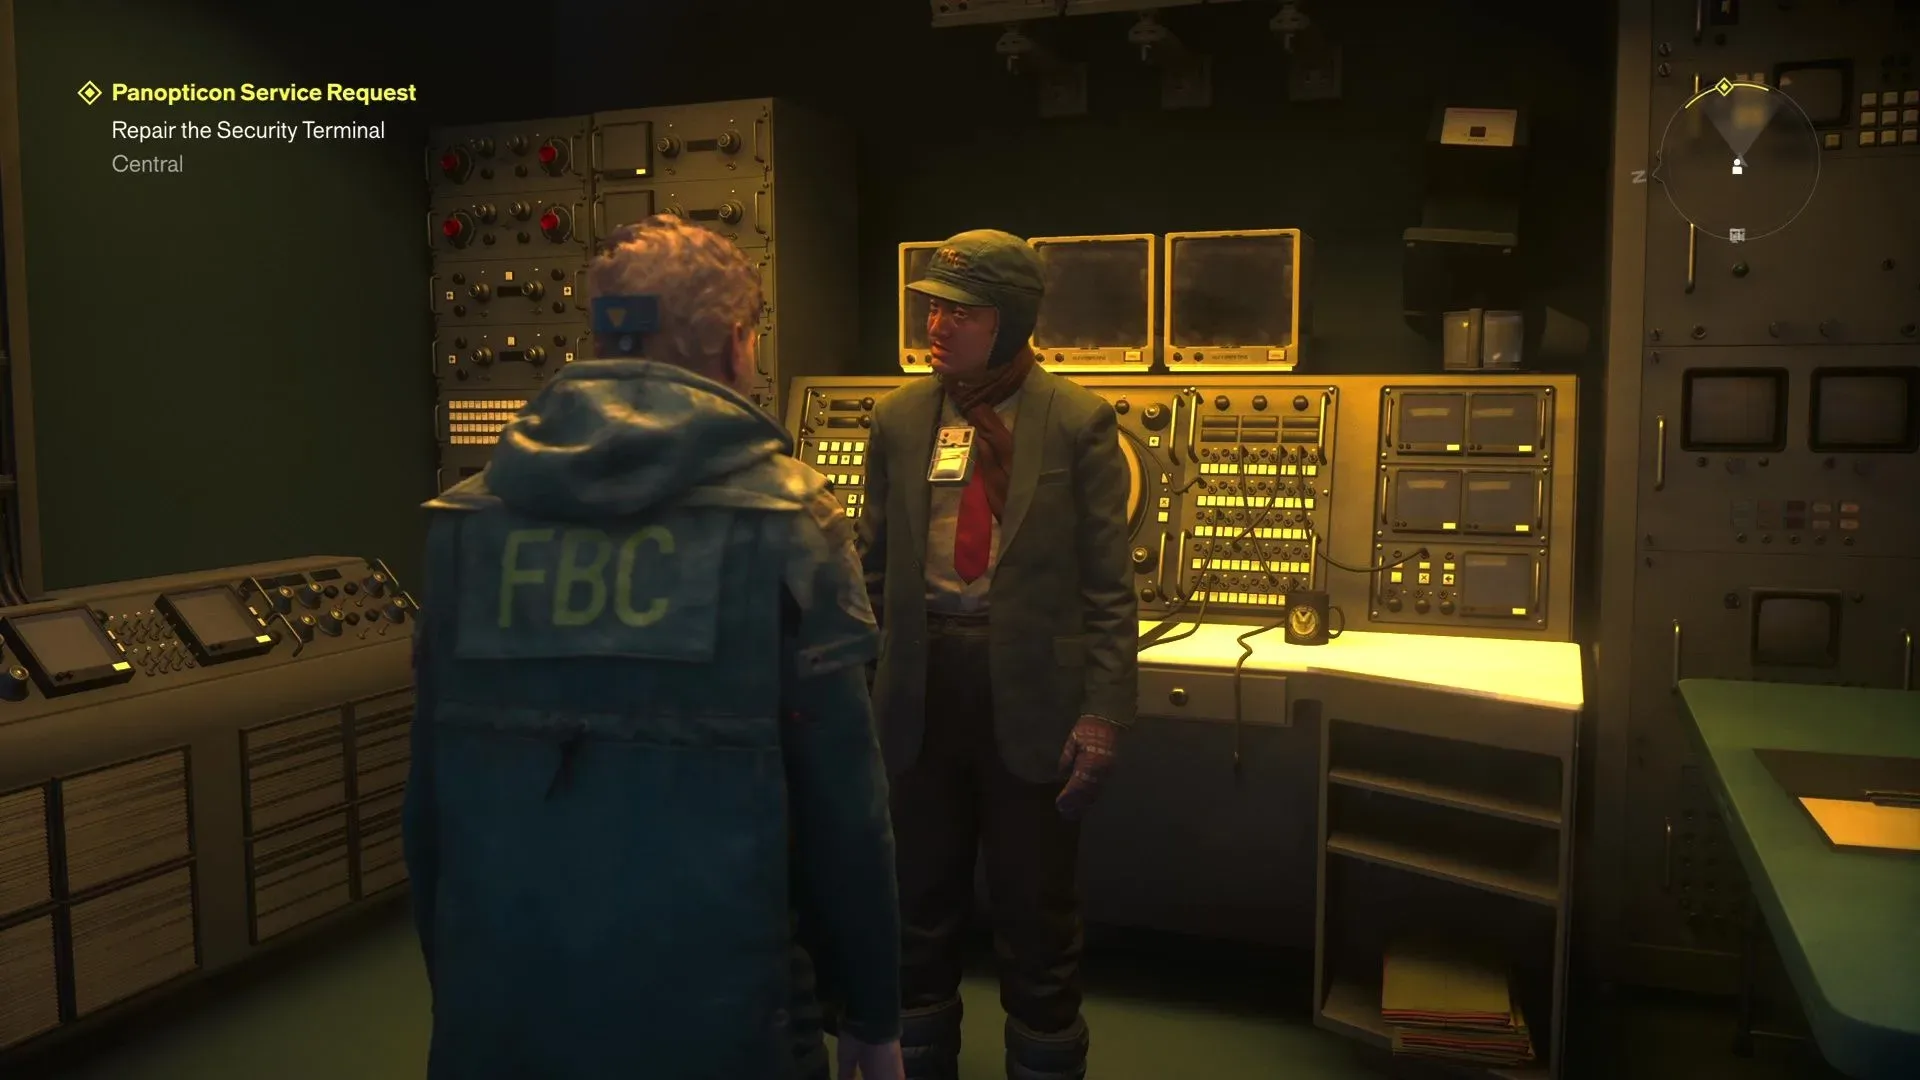
The Power Core Servicing Diagram is the key clue. It is found at the starting point and indicates that there are Power Cores positioned between your initial location and Central Checkpoint. Those intermediate units are not background machinery or optional landmarks; they are the checkpoints that make the delivery possible.
That distinction matters because the visual problem and the actual puzzle problem are different. Visually, you are carrying a charge toward one distant target. Functionally, you are moving a charge through a chain of destinations. The diagram establishes the chain, while the map supplies the practical navigation tool.
If the charge keeps disappearing before you arrive, do not keep retrying the same direct route with a cleaner sprint. Stop at the start, check the diagram again, then plan around the intermediate Power Cores.
How to spot the Power Cores on the map
On the Control Resonant map, relevant Power Cores in Downtown use icons resembling boxes with electrical symbols. These are the route markers to follow.
Related coverage includes Control Resonant: How to Move the Charge to Central Checkpoint.
Use the map before beginning a leg of the run whenever possible. The goal is not simply to locate the final marker but to identify the next viable handoff point. A quick look can prevent wasted seconds spent turning around, searching at street level, or reaching a roof only to discover that you should have approached from another direction.
What “transfer the charge” means here
Transferring the charge is the puzzle’s reset mechanic. The carried electrical charge has a finite lifetime. When it is placed into another Power Core, that limitation is refreshed, allowing you to take the charge onward from that Core.
Think of each Core as a relay station. The starting Core begins the process; an intermediate Core preserves the run by resetting the countdown; the Central Checkpoint Core is the destination. Skipping a relay means trying to cover too much distance on one timer, which is why the charge dissipates.
Route-planning tips for Downtown
You still need to move decisively even with the relay solution. This occurs early in the “Welcome to Manhattan” quest, when traversal abilities and powers are limited. The charge will not wait for lengthy detours or a fight that turns into a drawn-out encounter.
- Sprint for the whole route. The reset at each Core gives you room to continue, but it does not remove the time pressure between handoffs.
- Plan the next approach before you activate the charge. Knowing whether the next destination requires going up, down, or around a structure is more valuable than improvising while the timer is active.
- Account for rooftops. Some Power Cores are positioned above street level, so the shortest route on the map may not be the fastest route in practice. Look for the quickest ascent and descent available.
- Do not stop to fight unless you have no alternative. Enemies do not need to be defeated for this delivery. Combat consumes time and creates opportunities to lose the charge.
- Always make the handoff when you reach a Core. Passing an intermediate unit without transferring is the easiest way to squander the route’s built-in timer reset.
Why fighting is usually the wrong choice
In many action games, clearing nearby opponents feels like the safe way to proceed. For this particular objective, it is usually counterproductive. The puzzle’s limiting resource is time, not enemy control. If enemies can be bypassed, bypass them and maintain momentum toward the next Power Core.
This does not mean enemies are irrelevant to navigation. Their presence can make a narrow route or rooftop approach feel riskier. But the practical priority remains the same: find the shortest path to the next handoff, transfer the charge, and only then assess what is in front of you on the next leg.
Common reasons the charge disappears
Trying to reach Central Checkpoint from the first Core
This is the central trap. The charge expires because the starting Core is too far from the final destination for a direct run. The intermediate Cores are mandatory parts of the solution.
Missing the map icon language
The Power Core markers are the electrical box icons across Downtown. If you are navigating only by what you see in the environment, it is easy to overlook the intended chain. Use the map alongside the Servicing Diagram.
Reaching a Core but failing to transfer
Arriving near a Core is not enough. Make the transfer before moving on, because that action resets the time limit. Treat every Core on the route as a required pit stop.
Choosing a route with too much vertical detouring
Rooftop placement means a route that appears direct can involve an inconvenient climb or descent. A slightly longer-looking path that reaches the right elevation sooner may be the better option. There is no need to force one exact line through Downtown; the important requirement is maintaining the Core-to-Core relay.
This is a mechanic to remember
The Central Checkpoint objective is an early lesson in how Control Resonant uses Power Cores. Similar charge-moving puzzles appear elsewhere, so the useful takeaway is broader than this one checkpoint: a charge that seems unable to travel far enough may be meant to move through a network of nearby Cores.
Whenever a future puzzle presents a fading charge and a destination that appears implausibly distant, check the map for electrical-box icons, look for a contextual diagram or clue, and search for an intermediate handoff. The same three-part approach applies: identify the route, sprint each leg, and reset the timer at every Core.
For another navigation-heavy Downtown activity, see our Control Resonant Last Taxi guide.
Quick checklist
- Read the Power Core Servicing Diagram at the starting point.
- Use Downtown’s electrical-box map icons to find the next Core.
- Hit the charge with your weapon to begin carrying it.
- Sprint instead of engaging enemies.
- Transfer the charge at every intermediate Core to reset its timer.
- Watch for rooftop locations and choose efficient vertical routes.
- Continue the relay until Central Checkpoint is powered.