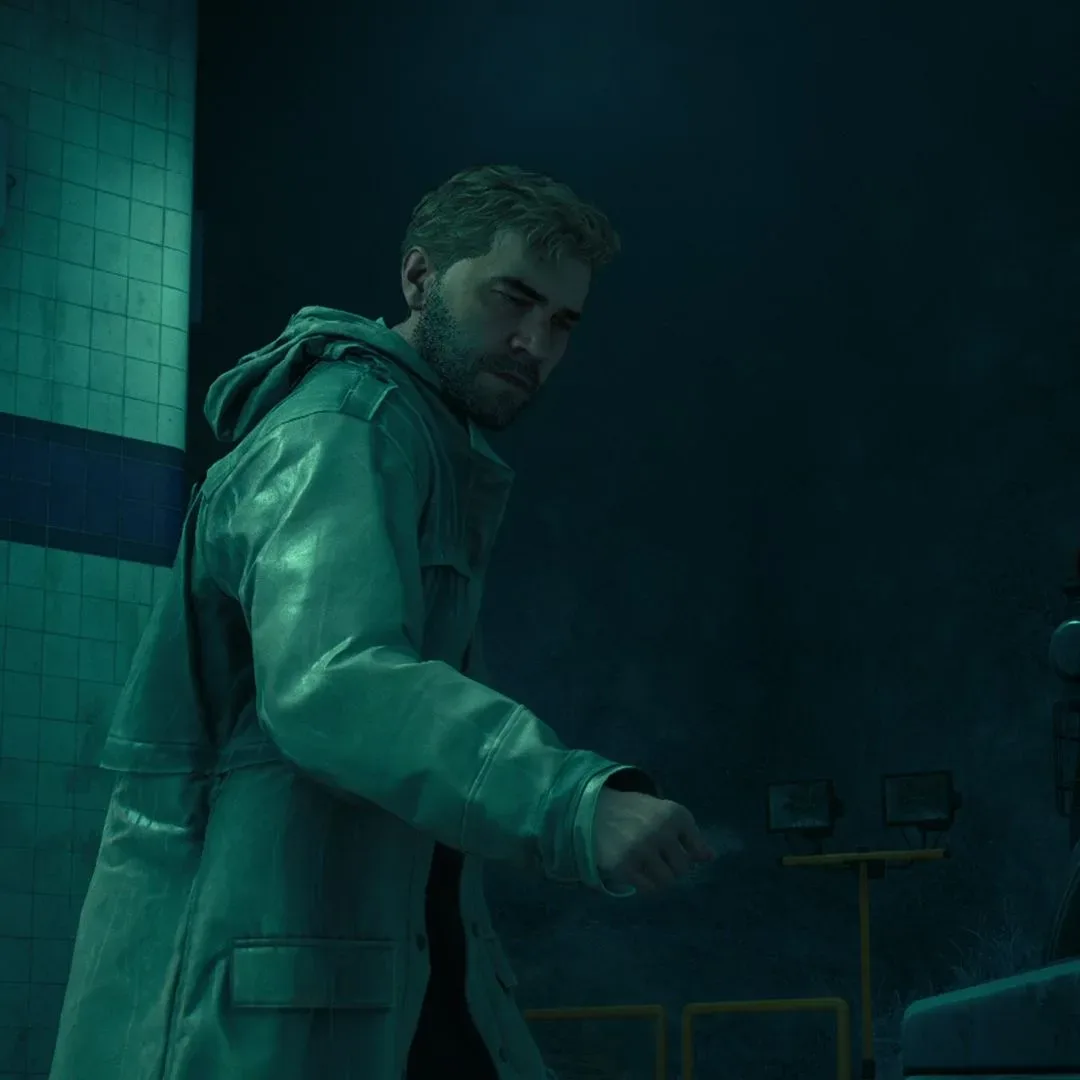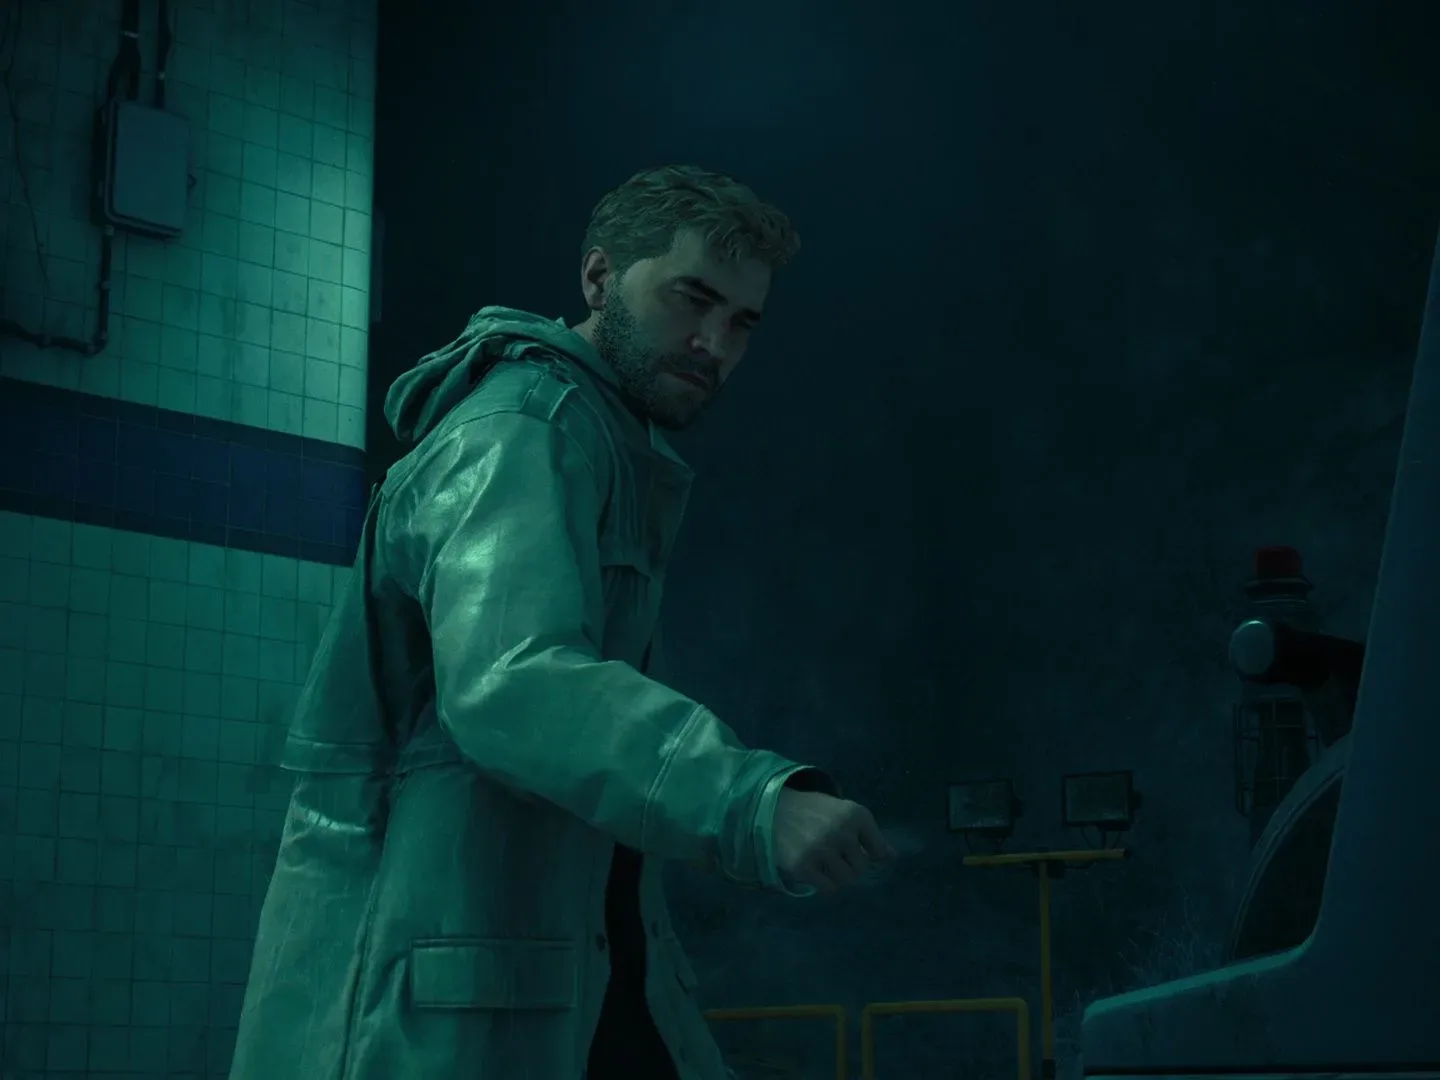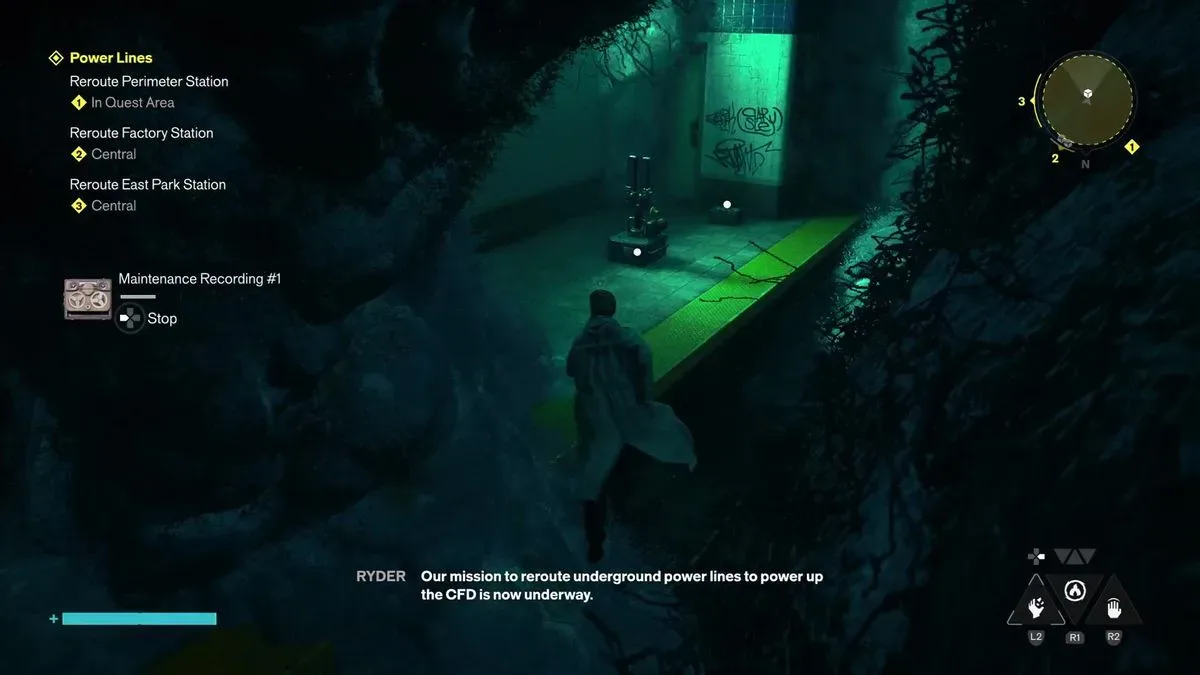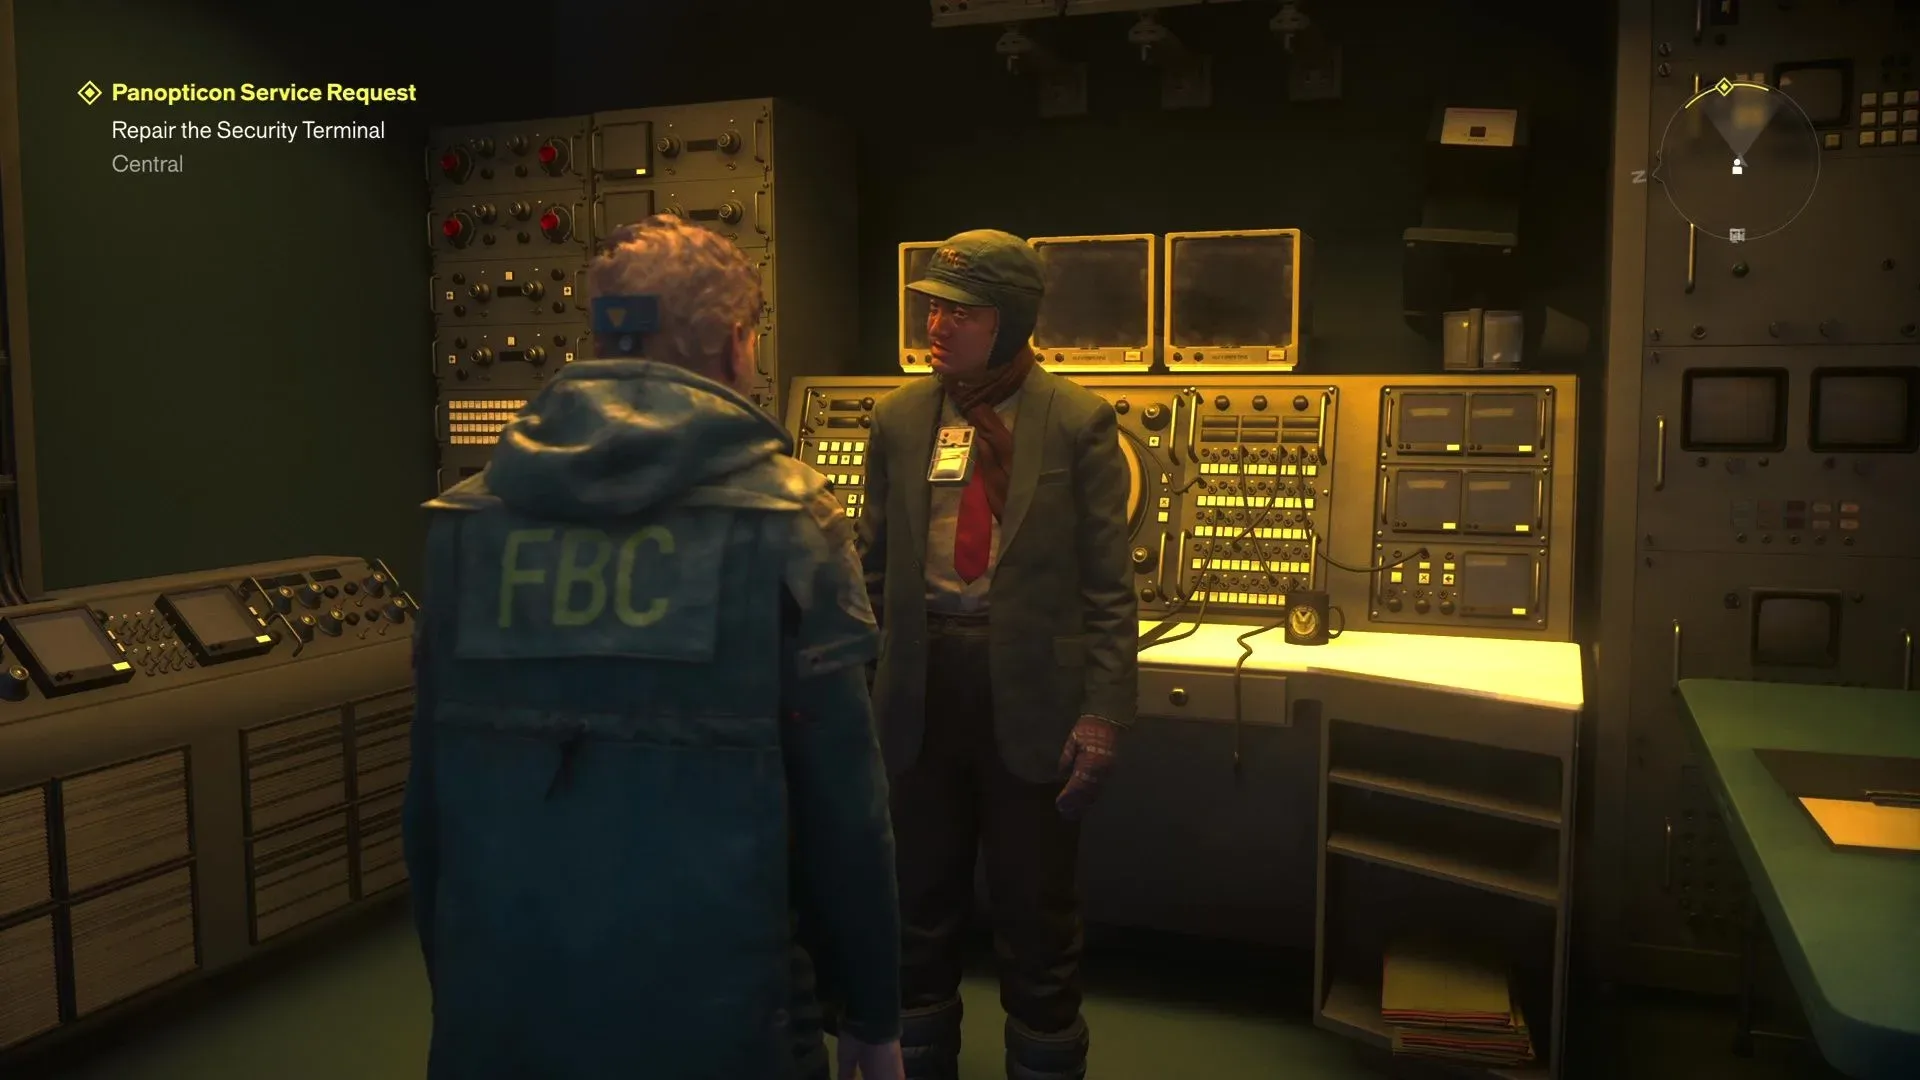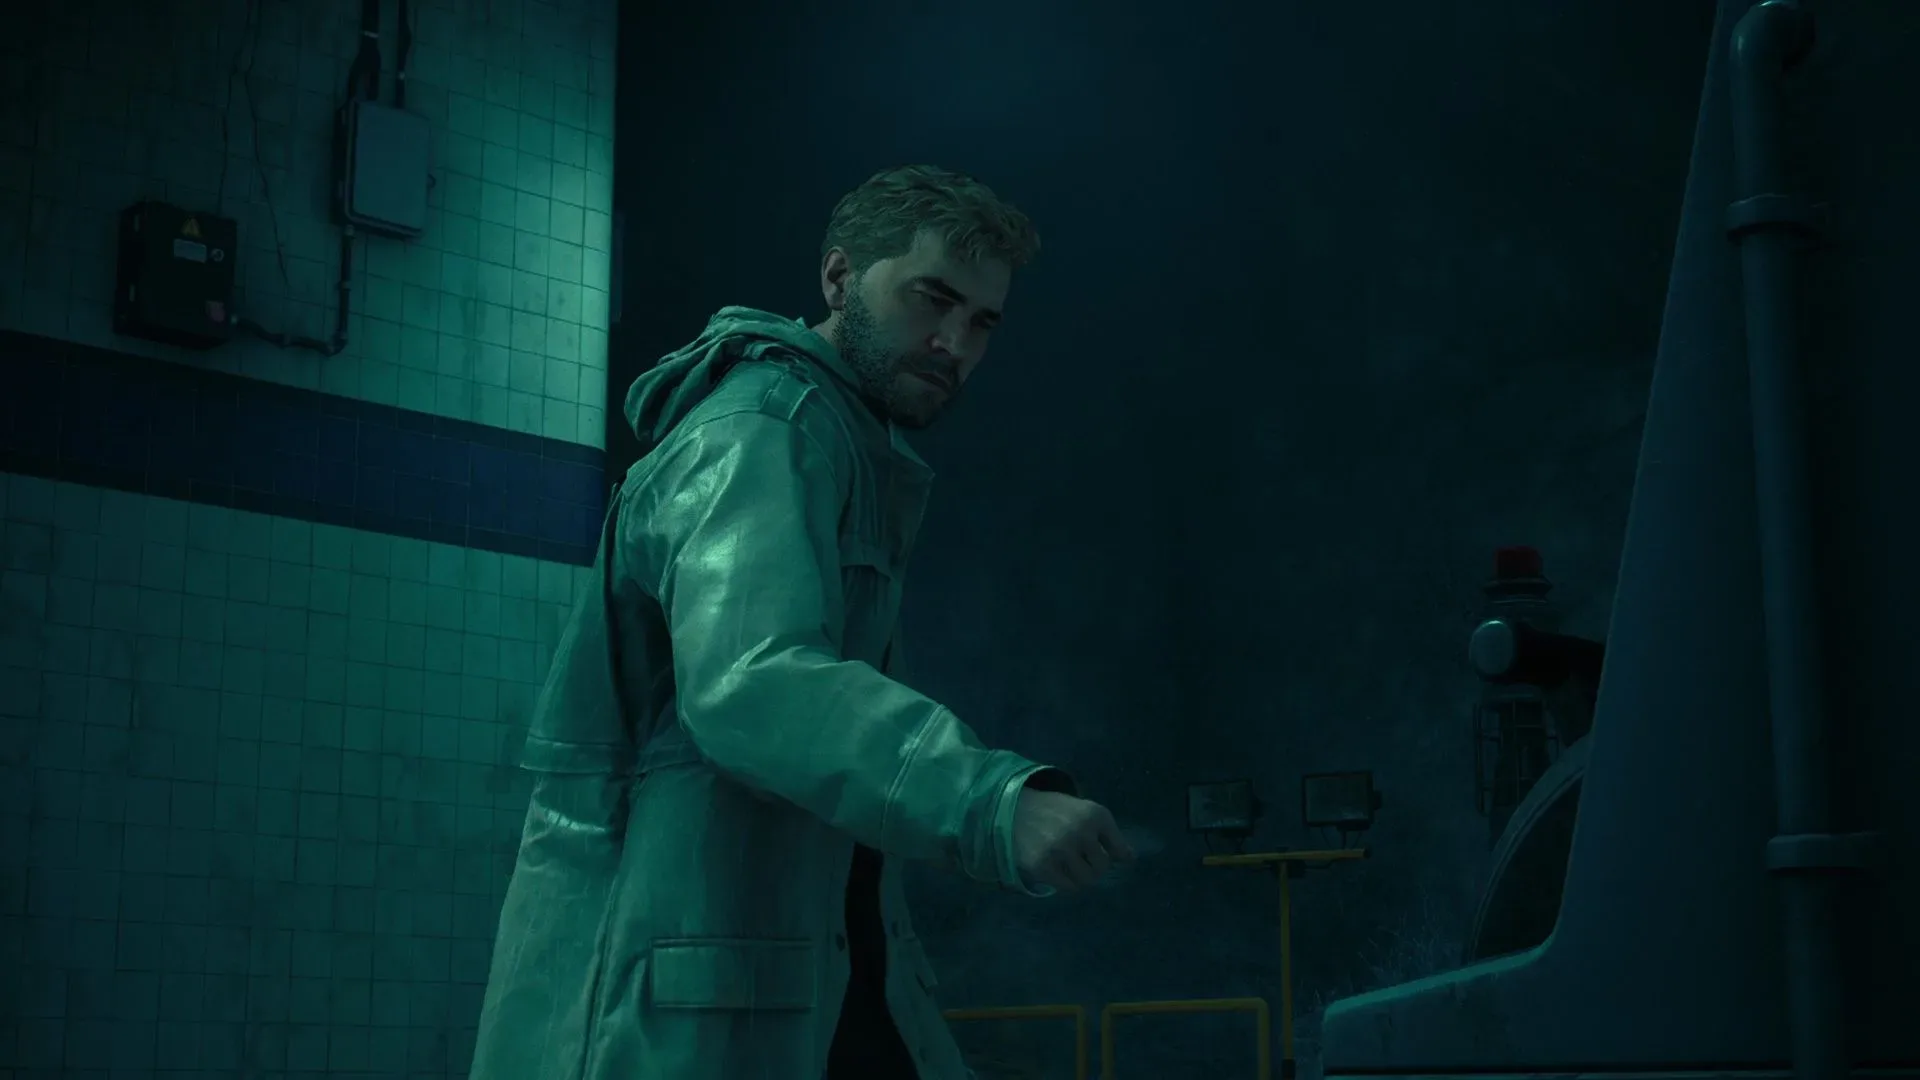
Control Resonant’s Power Lines quest gives Dylan an assignment that sounds almost reassuringly municipal: restore enough energy for an FBC project by rerouting power at Perimeter Station, East Park Station and Factory Station. Naturally, this being Control Resonant, the job escalates from carrying little boxes onto yellow tape to managing an extradimensional subway station where fungus behaves like a living extension cord.
The shared rule is simple. Each station has collectible, carryable Calibration Units, yellow-taped placement squares, and a large lever-operated Tuning Device. Put the Units in the correct squares, then operate the device. The devil is in what “correct” means at each location: distance in Perimeter, an intentional partial activation in East Park, alignment in Factory, and a shifting balance of electricity, light and Mold at Vanished Station.
This walkthrough lays out the required routes and, just as importantly, explains why a seemingly wrong move—such as activating a device before every Unit is in place—is sometimes exactly what the quest wants.
Power Lines basics: what the station equipment does
Before tackling individual stations, it helps to separate the puzzle pieces by function.
- Calibration Units: portable devices that must be placed on designated yellow-taped squares.
- Tuning Device: the large machine activated once the placement setup is ready. At East Park and Vanished Station, its teleportation behaviour is part of the solution rather than merely a success switch.
- Power Core and Charge: a Power Core accepts an electrical Charge to run connected equipment, such as doors, gates and lights. Moving a Charge can therefore close one route while opening another.
- Mold: an obstruction in the earlier stations, but a two-sided tool in Vanished Station. There, light makes it grow and it can conduct electricity between broken cables.
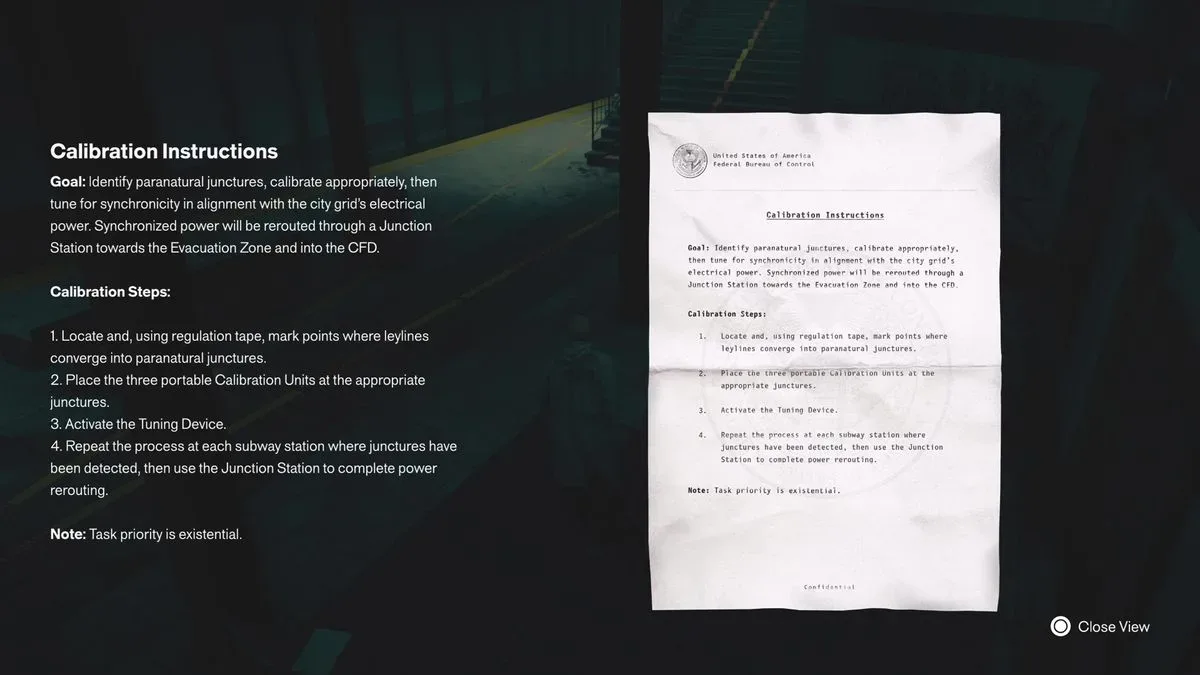
The calibration instructions present at the stations establish the broad process, while local notes and the physical layout provide the detail. If a Tuning Device has an unexpected result, do not assume the setup is permanently broken; East Park explicitly uses an incomplete configuration to send Dylan somewhere useful.
Perimeter Station: place Units near and far from the Tuning Device
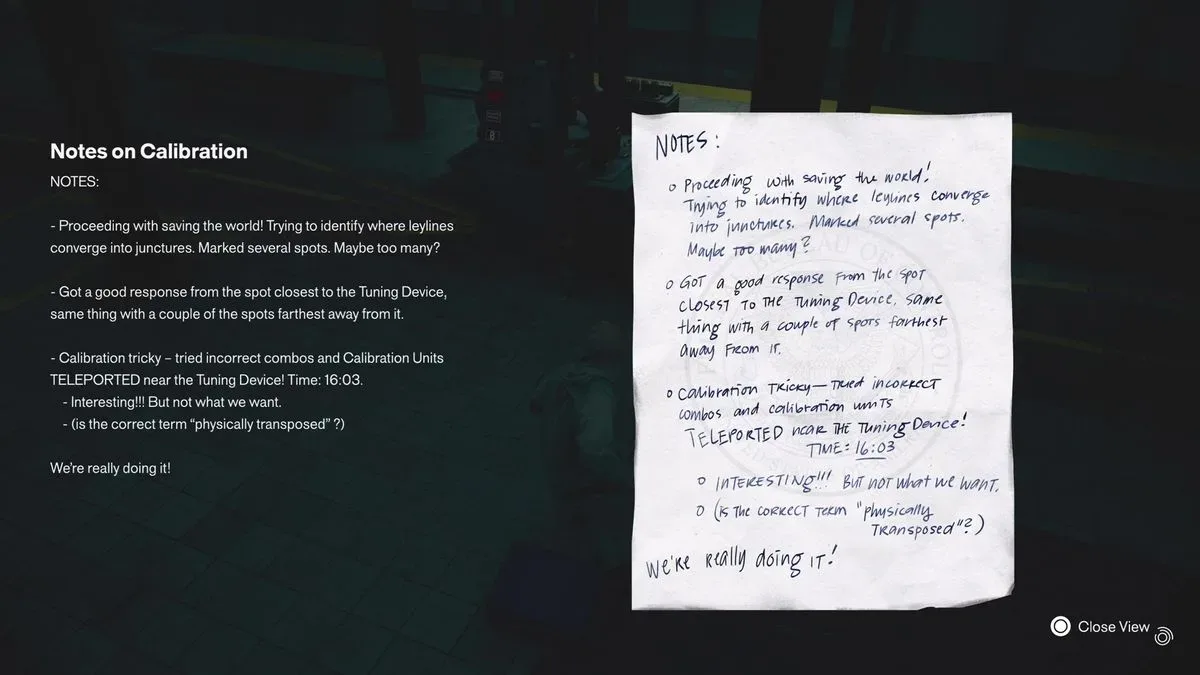
Perimeter Station is the cleanest introduction to the format. There are three Calibration Units and three yellow squares. The note near the Tuning Device gives the placement logic: two Units belong in the positions furthest from the device, while the remaining Unit goes in the closest position.
Start on the platform and head south. One Unit is tucked behind a partially formed Mold wall. Pull it out where it is easy to retrieve later rather than repeatedly negotiating the obstruction.
Next, take the northern platform stairs. The route ends at Mold, but it also contains a yellow placement square and a second Unit. This is one of the distant destinations needed for the final arrangement.
Related coverage includes Control Resonant: Complete Power Lines Puzzle Guide.
The third Unit requires a brief piece of power routing. Go up the southern stairs—the direction from which you entered—and find the Power Core keeping a store door open. Remove its Charge, bring it down to the platform and follow the tracks north to another Power Core. Install the Charge there to open access to the third Unit.
Perimeter Station final placement
- Return the Charge upstairs and use it to open the store marked by a yellow-tape trail. Put one Calibration Unit in the square inside.
- Place another Unit in the northern dead-end square by the Mold.
- Put the last Unit in the yellow square immediately beside the Tuning Device on the platform.
- Activate the Tuning Device.
The two upstairs squares are the distant pair; the platform square by the device is the close placement. Once all three are set, Perimeter’s part of Power Lines is complete.
East Park Station: use the incomplete setup to reach the final Unit
East Park removes the distance clue and asks for a Unit on each of its three marked platform squares. The apparent complication is that only two Units are accessible at first. The solution is to activate the Tuning Device with those first two placements in place.
Go upstairs from the platform and collect the Unit in the northern store, then bring it down. On the platform, clear the Mold clumps blocking the marked areas with basic melee attacks. A second Unit sits on the south side of the platform.
Place those two Units in the north and south squares near their respective staircases. Now use the Tuning Device. Rather than finalizing the station, this partial setup teleports Dylan into a shut store containing the third Unit.
Open the store from the inside by striking its electrical panel. Carry the third Unit down to the remaining empty yellow square, then activate the Tuning Device again. With all three squares occupied, East Park’s Power Lines are active.
Practical takeaway: do not wait around trying to locate a third Unit elsewhere on the initial platform. The temporary teleport is the intended access method. This is the quest’s early lesson that a Tuning Device can be a transport mechanism as well as the final confirmation button.
Factory Station: arrange three Units in a straight line
Factory Station initially looks friendlier: find three Calibration Units and line them up. It is still worth collecting everything before committing to placements, since the final Unit is positioned above the train rather than in a conventional room.
- Find the first Unit behind the northern platform stairs and bring it onto the platform.
- Go back upstairs for the second Unit, which is in an open storefront ahead.
- Retrieve the third from the roof of the train on the west track.
The three required squares form a line. Put two Units between the benches on the track and place the third beside the stairs. Activate the Tuning Device after they are aligned.
That action completes the Factory configuration, but not the whole quest. It transports Dylan to the Vanished Station, a space outside ordinary reality that serves as the actual endgame puzzle. Be ready for a combat encounter there after the final tuning sequence.
Vanished Station: understand Mold, lighting and platform travel
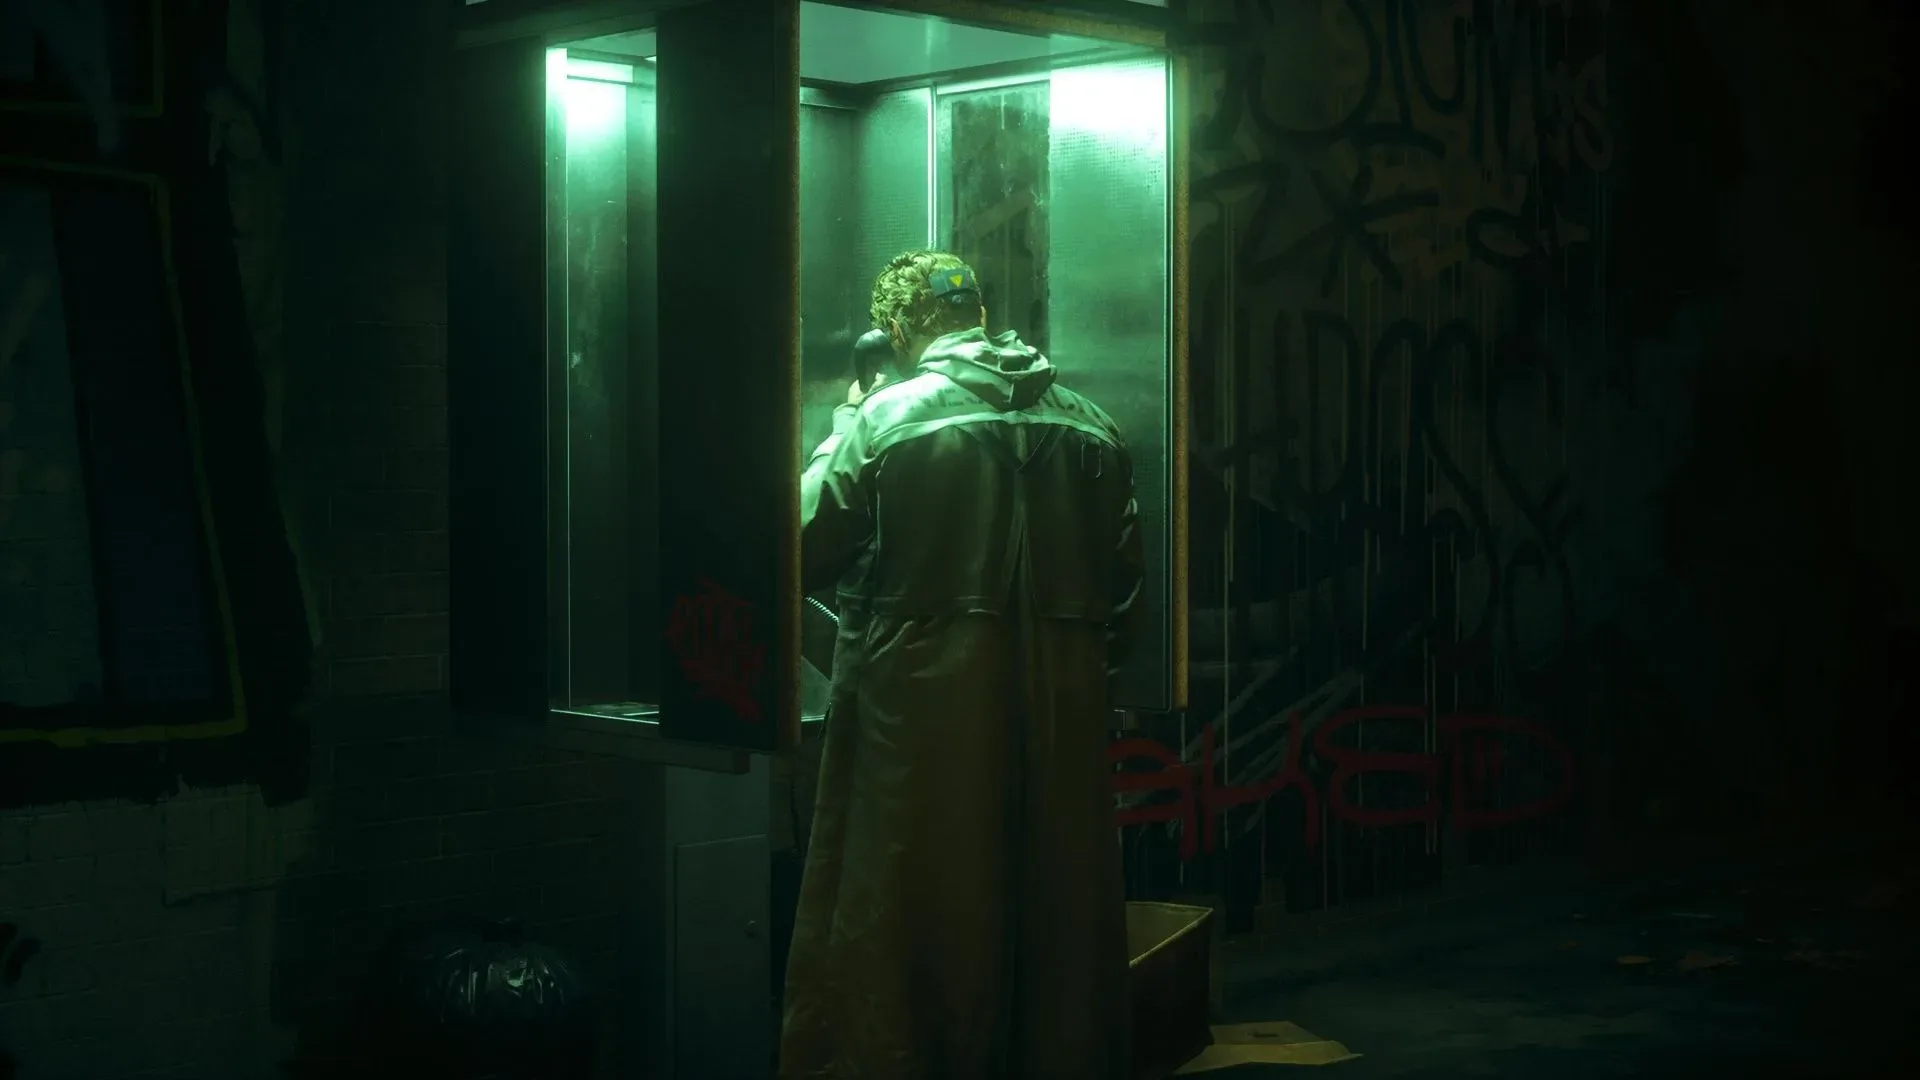
The Vanished Station is where the quest combines every previous idea and adds new rules. After arriving, fight the Mold enemies encountered there and speak with survivors through the payphone. The task becomes reconnecting the station with Manhattan through another Tuning Device.
There are two platforms, A and B, each with a Tuning Device. Operating one can teleport Dylan between the platforms. There are also four Calibration Units total, and all four are required.
The major twist is the Mold. It has two properties that must be managed carefully:
- It grows under light, particularly when the relevant spotlight is powered.
- It conducts electricity, allowing it to bridge broken cables.
That makes the Mold neither a universal enemy nor a universal solution. On Platform B, it needs to grow far enough to connect the needed wires. But it also hides the two yellow squares where the Calibration Units must go. The winning state is therefore selective: preserve the wire-linking growth, remove the obstructing growth, and keep the floodlights off long enough to stop removed Mold from immediately returning.
Open the direct route between Platforms A and B
Use the Tuning Device to reach Platform B. Go upstairs and destroy the electrical box to open the gate. This is a meaningful quality-of-life step: after it is open, the platforms can be crossed directly instead of requiring another teleport every time a Unit or Charge needs to move.
Collect all four Calibration Units
- Upstairs, take the Charge from the Power Core attached to the spotlight aimed at Mold. Smash the Mold clump that becomes manageable once the light is shut down, opening a further gate and providing access to the survivors.
- Collect the two Calibration Units near the survivors and put them on Platform A for now.
- Move the Charge from outside the survivors’ hideout to the Power Core farther west. This opens a shop containing the third Unit. Place that Unit on Platform B.
- Take the Charge from the shop to Platform A’s Power Core. The northern staircase gate opens, granting access to the fourth Unit.
At this stage, keeping two Units on each platform reduces unnecessary hauling. The final pattern is two Units on A and two on B.
Set Platform A, then prepare Platform B
On Platform A, simply place a Unit on each of the two yellow squares. If a floodlight has caused Mold to spread into either square, move the Charge back to the survivors’ upstairs Power Core to turn that lighting off, then clear the obstruction.
Platform B needs a more deliberate sequence. Use a Charge to power the relevant setup and allow the Mold to grow wherever it can. This establishes the conductive Mold links across the damaged wiring. Then shut the system down by returning the Charge upstairs; alternatively, it can be held in Dylan’s weapon if the next actions are performed quickly.
Now destroy every Mold clump on Platform B except the clumps connecting the wires. The distinction is the core of the puzzle: the surviving Mold is your cable bridge, while the removed Mold reveals the placement squares.
- Leave only the Mold that links the electrical wires.
- Place the two Platform B Calibration Units on the newly uncovered yellow squares.
- Move quickly to Platform B’s Tuning Device and pull its lever.
The timing pressure exists because reintroducing the lighting condition can cause cleared Mold to regrow and block the squares again. If the arrangement seems impossible, check the lighting and inspect whether a required connecting Mold clump was accidentally destroyed—or whether a nonessential clump is still covering a marker.
Finish Power Lines and claim the quest reward
After the Vanished Station tuning step, Mold enemies teleport in. Defeat them, head upstairs and speak with Dr. Florez to close out Power Lines. The reward is a Living Shard, an item used to unlock new weapons in Control Resonant.
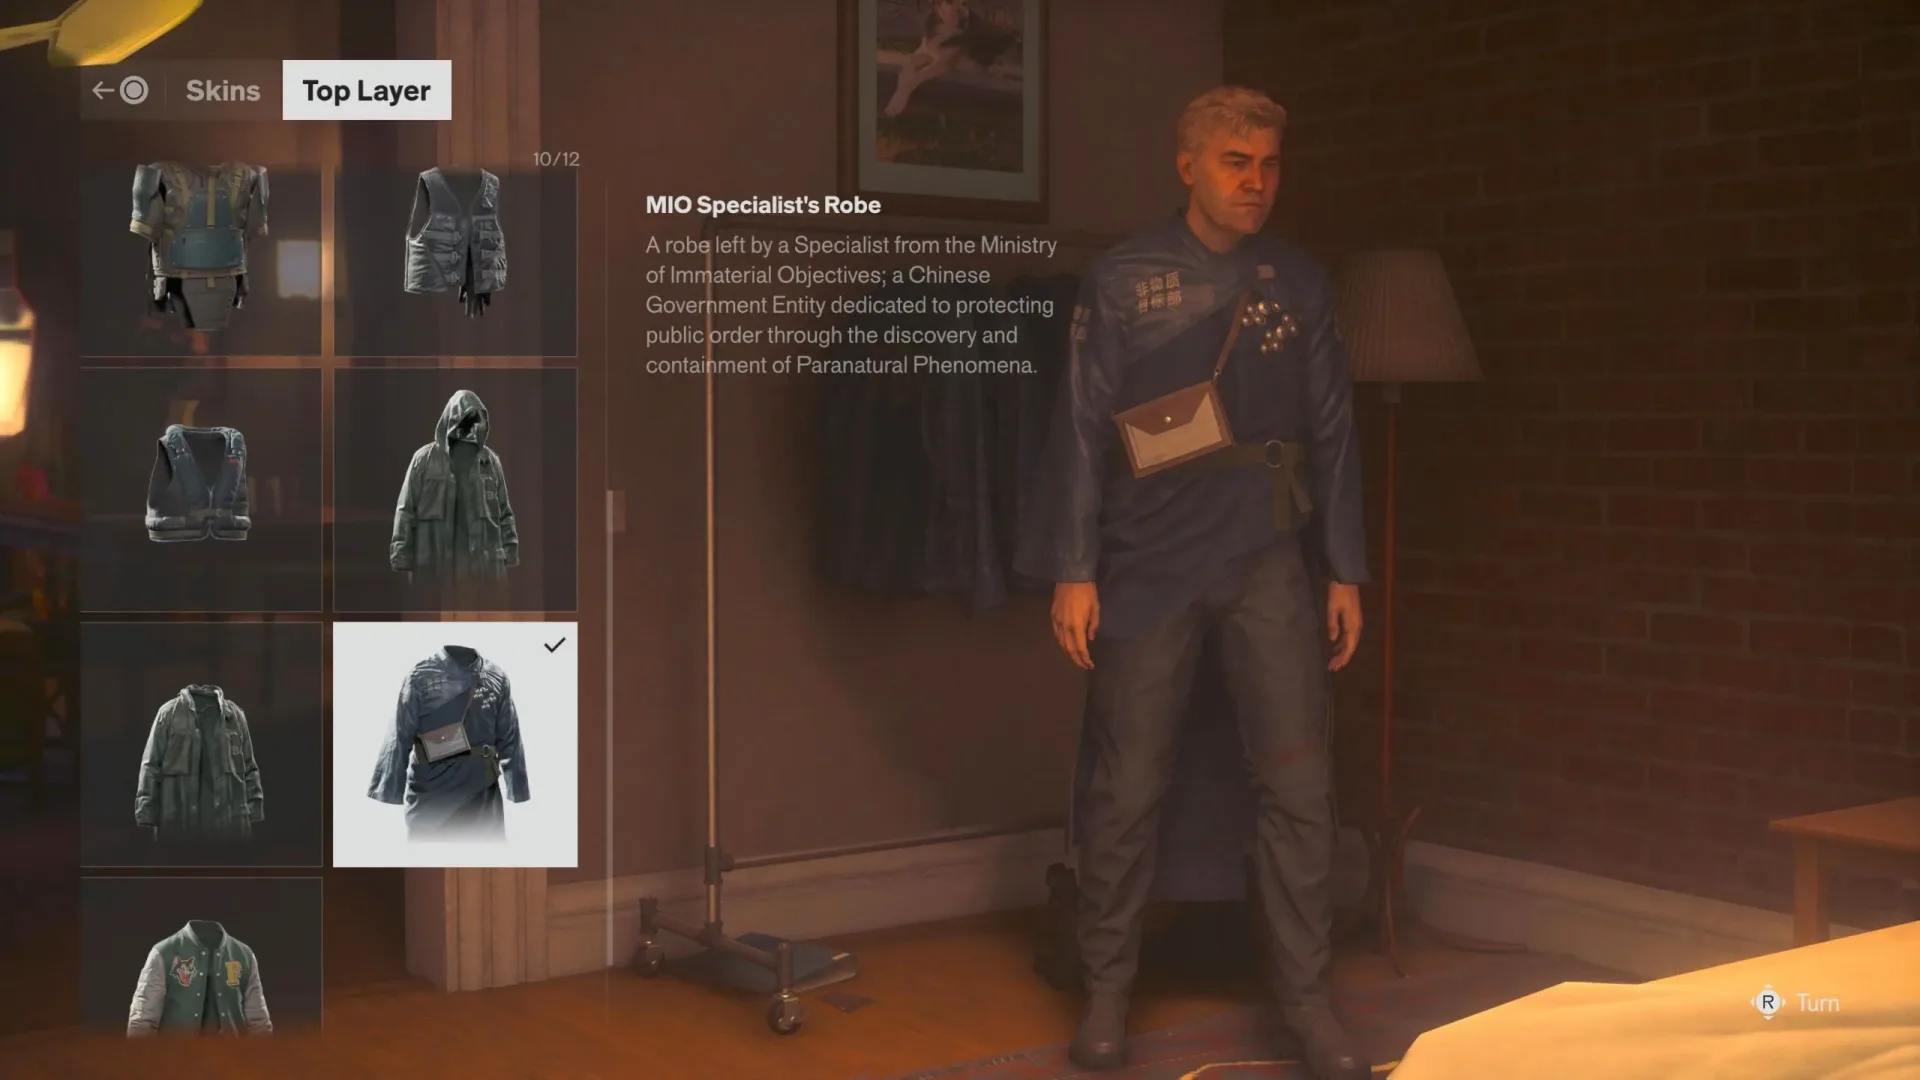
For other account and cosmetic housekeeping, see our Control Resonant code guide for the MIO Specialist’s Robe and Twitch Drop cosmetics. Power Lines, meanwhile, is all about the much more dramatic business of persuading a haunted transit system to obey basic electrical safety rules.