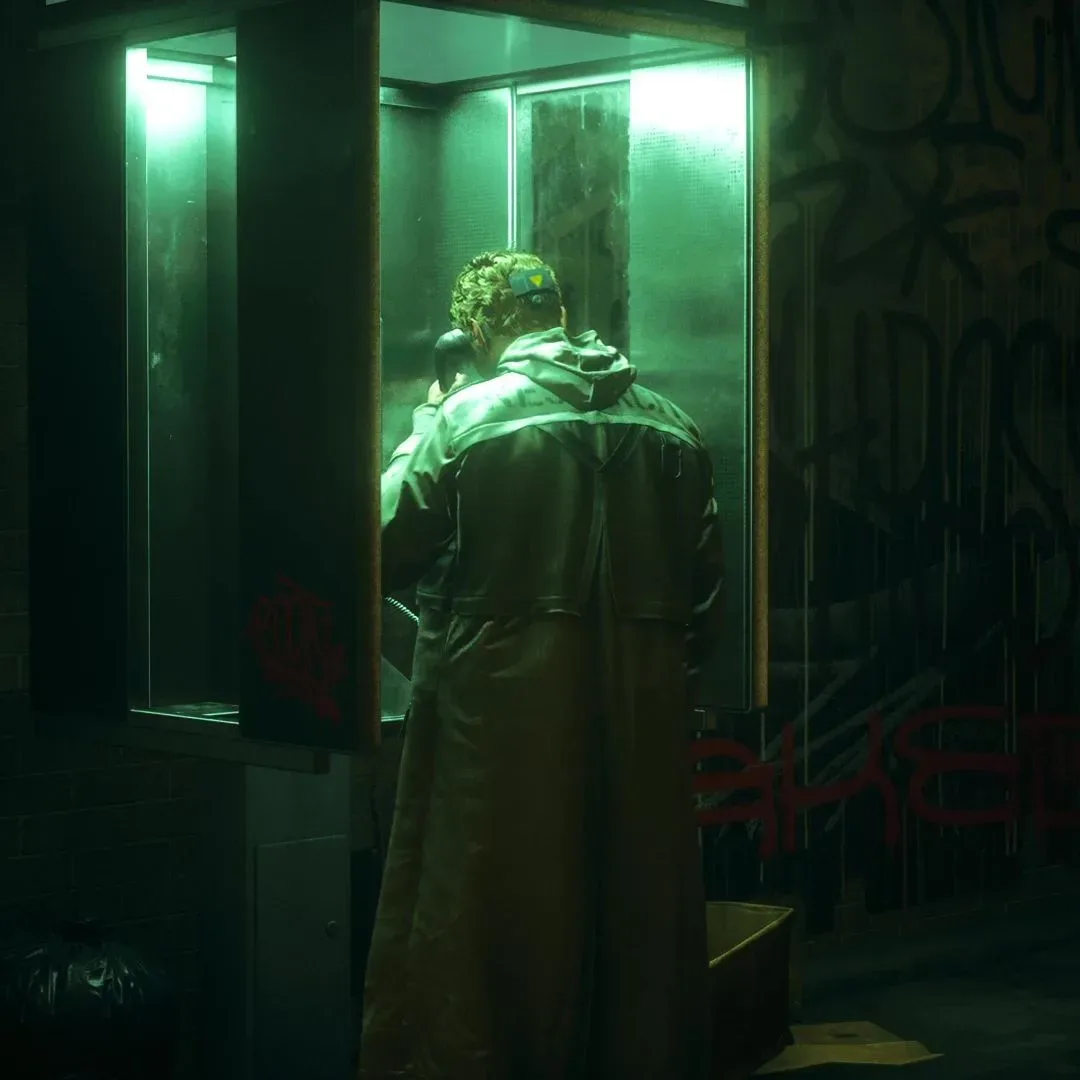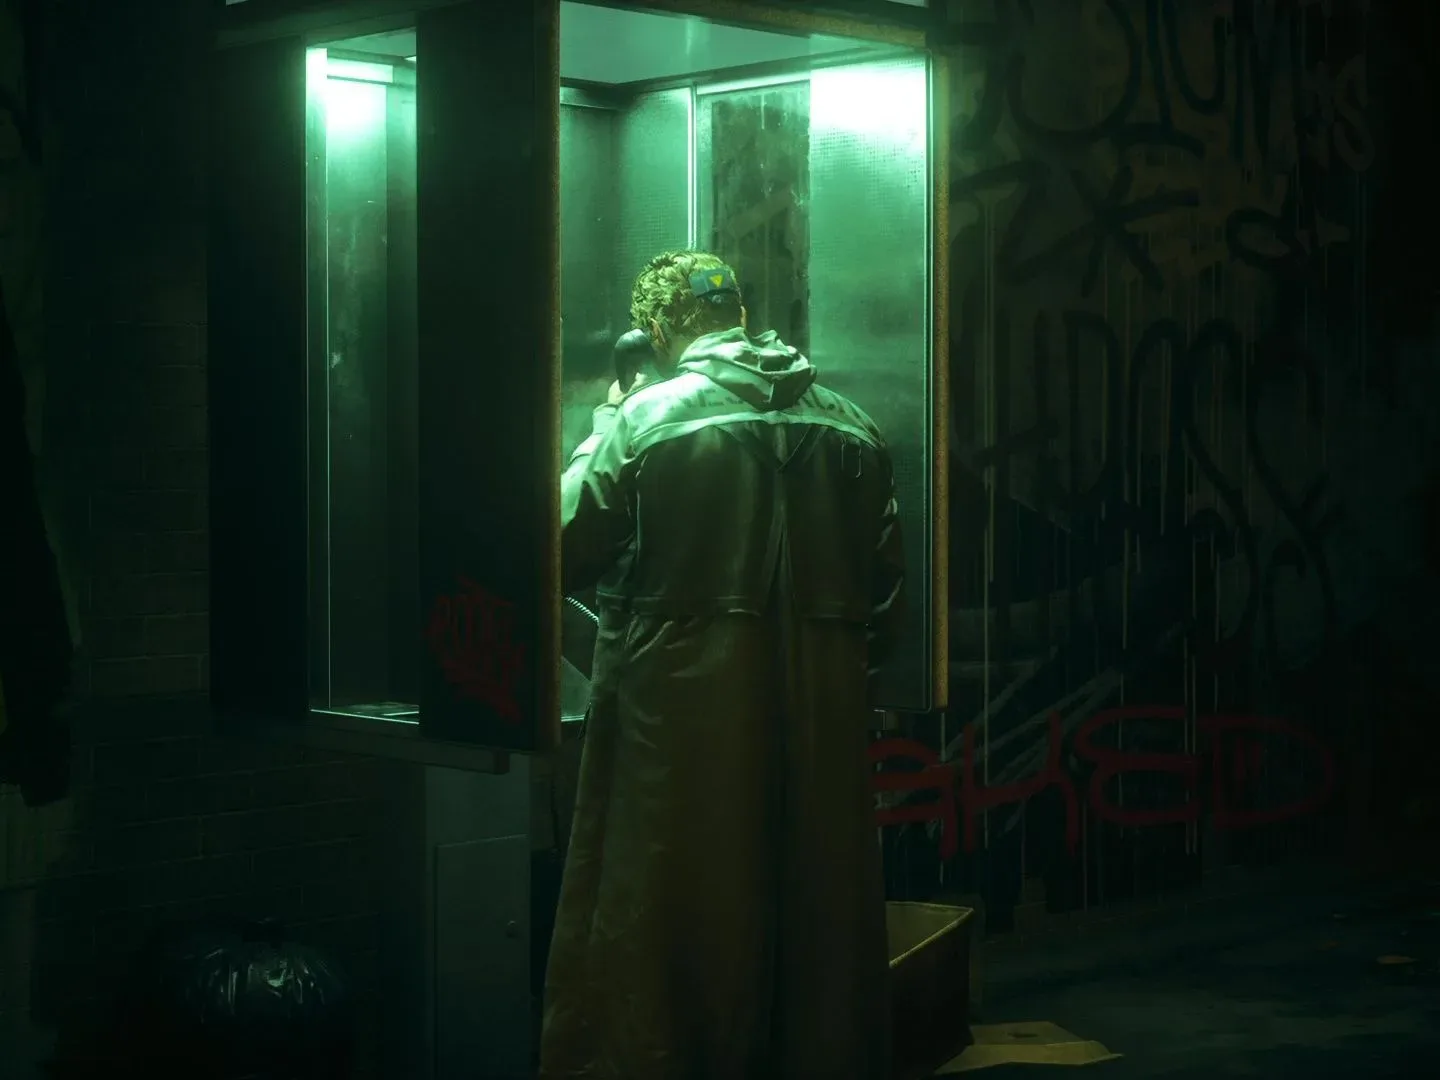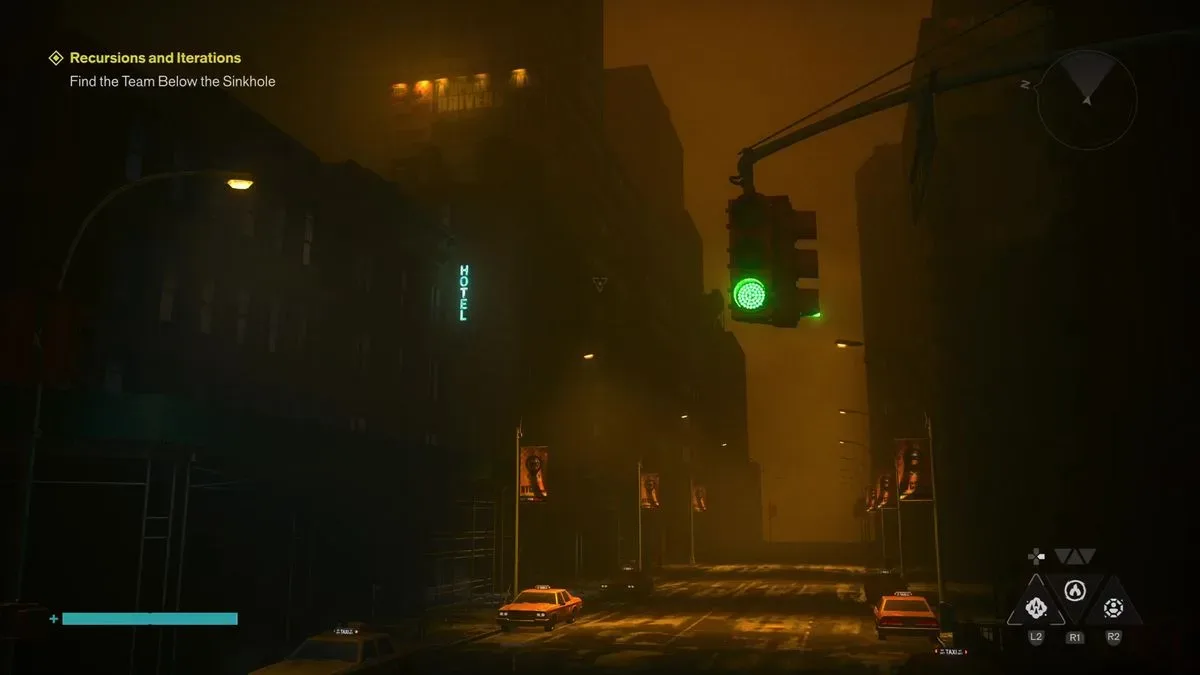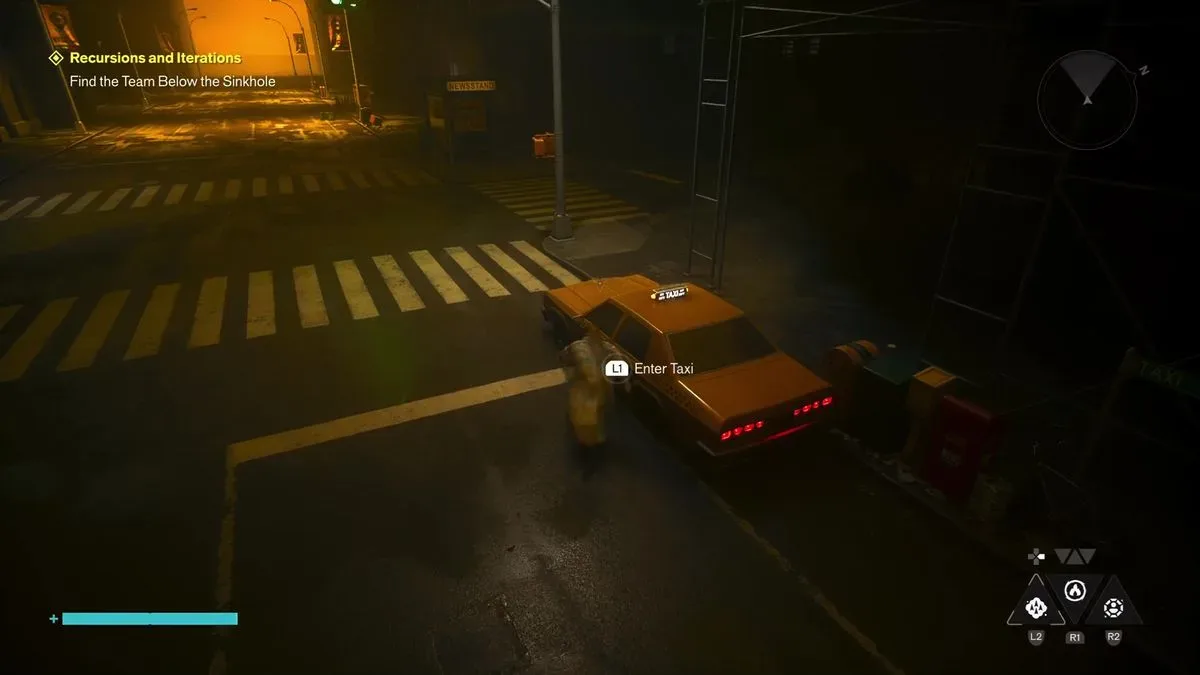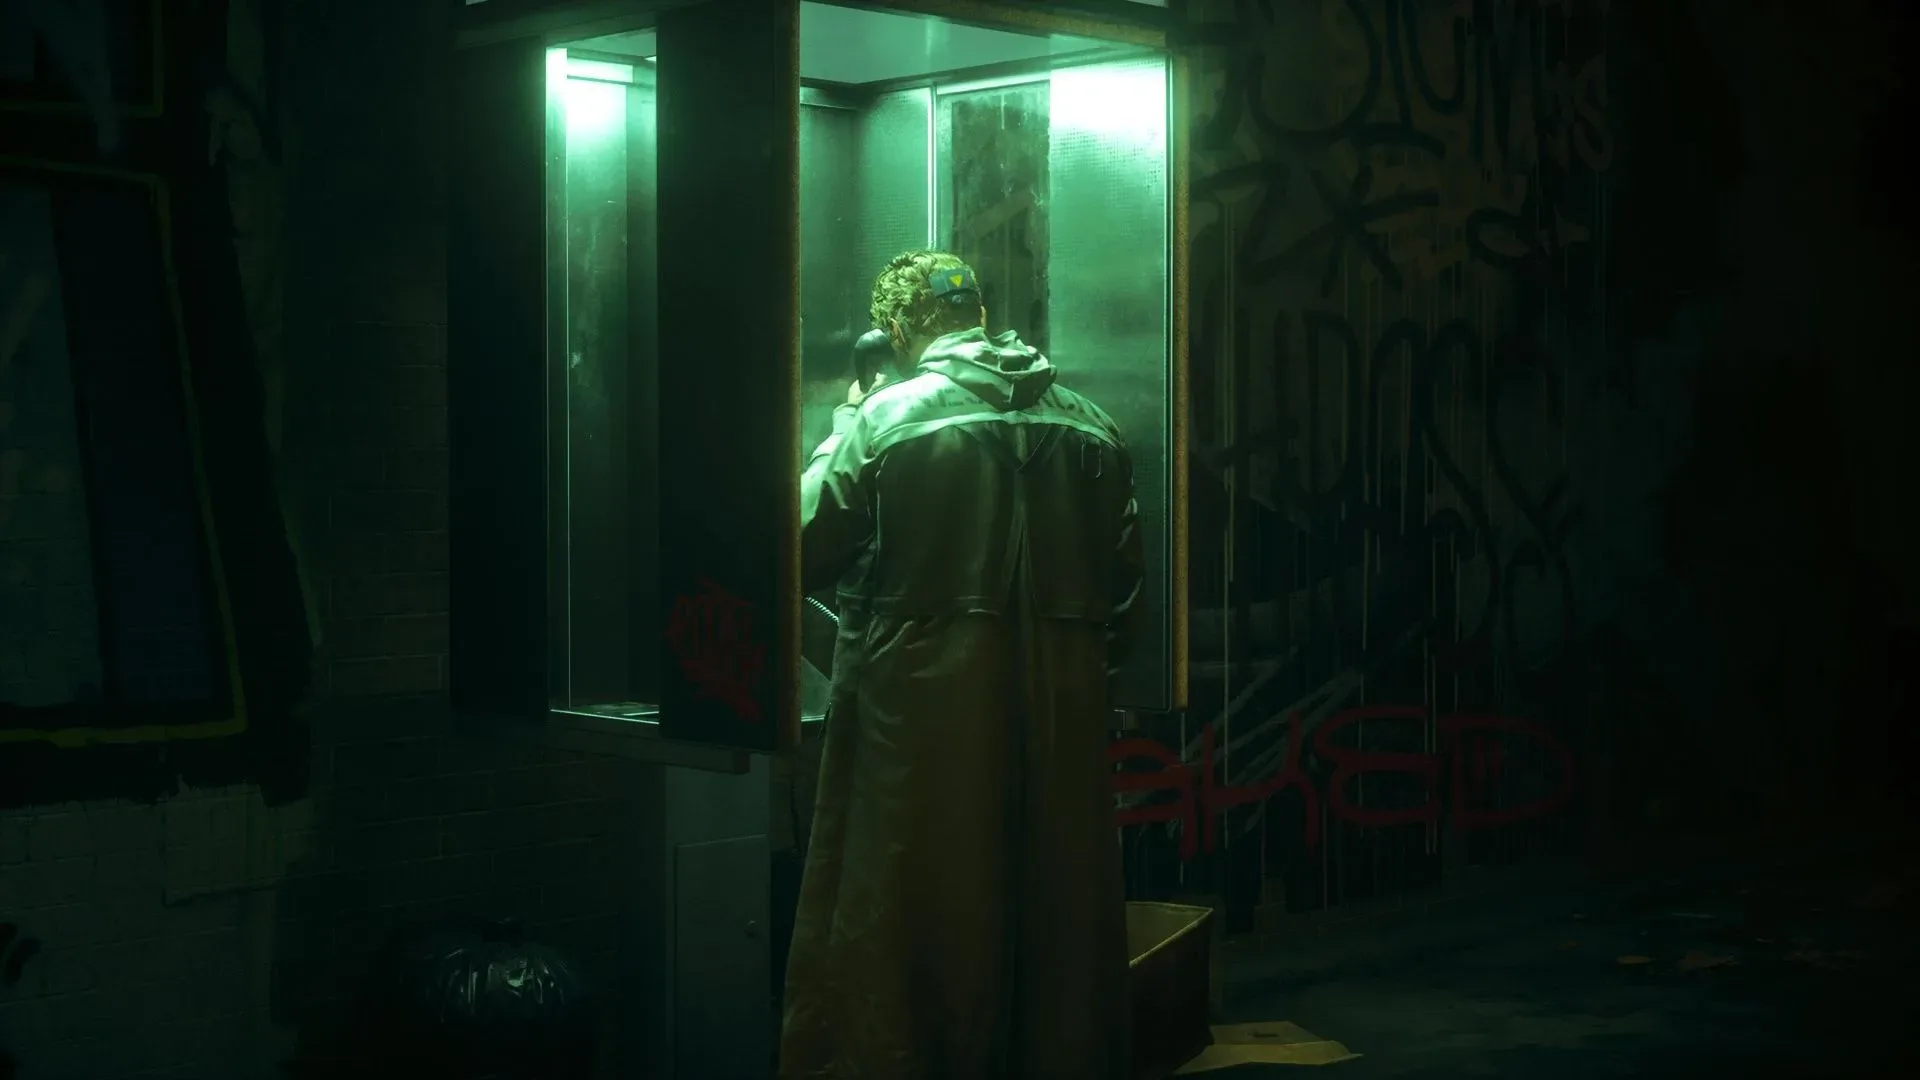
The Last Taxi is a long-form side quest in Control Resonant built around a wonderfully simple paranormal premise: find an apparently abandoned cab, enter through its open door, and let it take you somewhere that is definitely not on the city map. Each of the seven taxis opens a shadowy New York-like space where Mila waits at a payphone and sets three tests.
The tests are observation puzzles, not destination-selection puzzles. In most cases, the right cab is the one that breaks a visible or audible pattern: a lamp flashes at the wrong interval, a rooftop sign reacts differently when approached, or a shadow refuses to resemble the object making it. The Park sequence is the major exception, asking players to clear Mold and rebuild a vehicle instead.
This guide covers every entrance, the three answers associated with each location, and a few practical habits that make the quest much less frustrating. The taxis can be completed in any order despite their numbering.
How The Last Taxi works
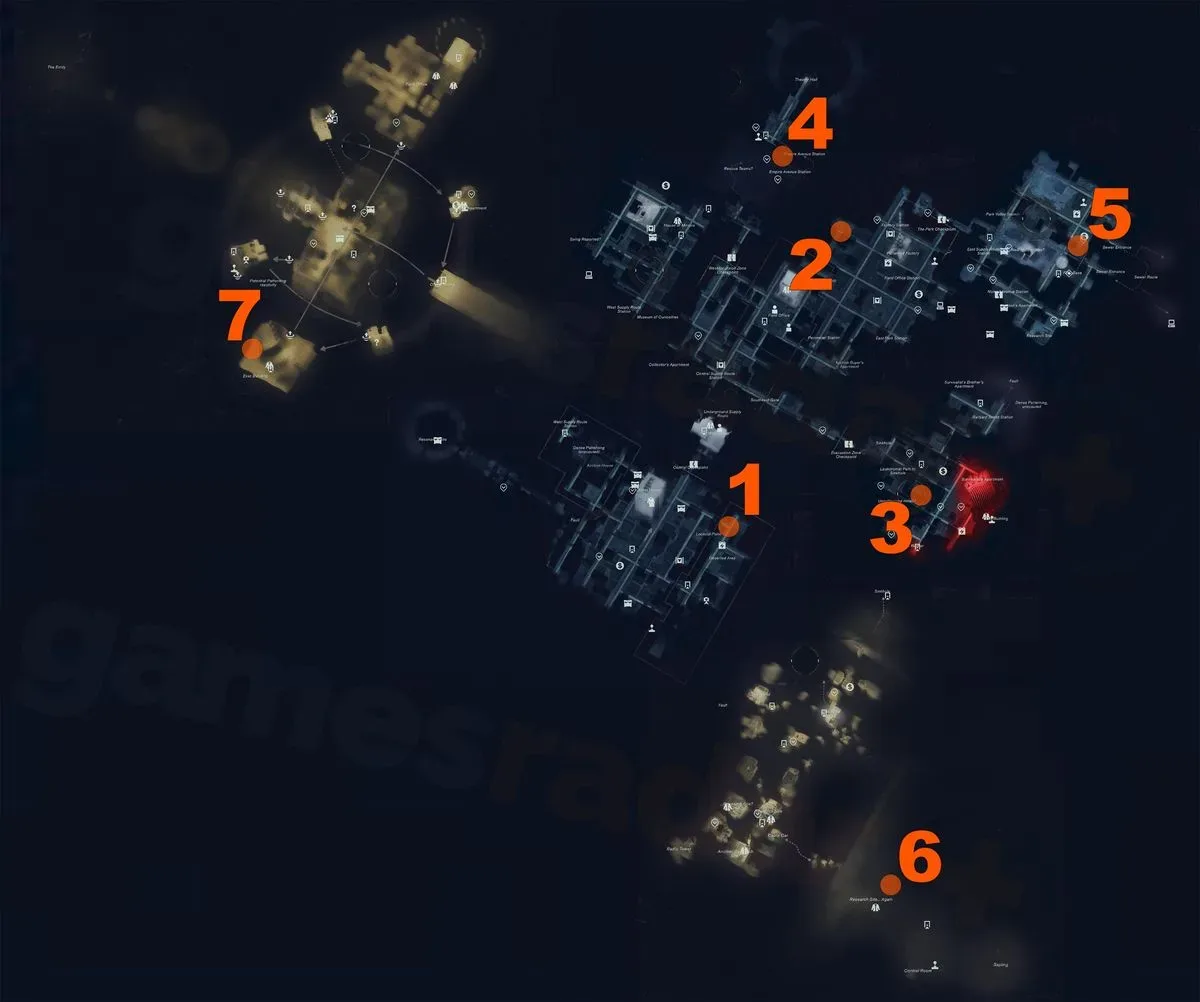
There is one taxi in each major region: Downtown, Central, Evacuation Zone, West Incursion Zone, The Park, Underpass, and Unknown. At close range, a taxi should appear on both the minimap and the in-game map. Their honking horns and flashing lights are also intentional navigation clues, which matters because the cabs generally sit away from convenient checkpoints and may not be near routine combat routes.
Interact with the open door to enter the altered street. Follow the objective marker to the alley, answer Mila’s payphone, then inspect the taxis on the main street. Entering the correct one produces a green-light cinematic. A wrong choice produces a red light, after which the sequence moves on to another puzzle of the same general type. Clear all three rounds for that taxi entrance to return to Manhattan.
Useful rule: do not rush toward the first cab that looks unusual. Stand back long enough to see a whole flash cycle, walk near each relevant vehicle when proximity is part of the puzzle, and use audio where applicable. The solution is always the one that violates the condition shared by the others.
That basic logic has a close cousin in other anomaly challenges. If you need a refresher on identifying a deliberate mismatch in the game world, see our Control Resonant Pattern Break guide.
All seven Last Taxi locations
- Downtown: Go to the northern end of a road blocked by a traffic jam.
- Central: Search behind a warehouse.
- Evacuation Zone: The taxi is in a dead end between buildings. Hiss Spikes and lasers make the approach hazardous.
- West Incursion Zone: Look along the route to the Theater, on a gravity wall near Empire Avenue station.
- The Park: Reach the top level of the car park; its access begins at ground level.
- Underpass: After taking the Cable Car, travel north from Research Site... Again.
- Unknown: Head to the southernmost island, west of the Evac Building, and look for the cab on an otherwise empty stretch of road.
For the Evacuation Zone especially, treat the taxi as a destination rather than a reward for winning a fight. Clearing a safe route through the hazards first is the sensible approach; the quest’s actual challenge begins after the door interaction.
Related coverage includes Control Resonant: Every Last Taxi Location and Puzzle Answer.
Downtown: listen, then watch the rooftop signs
Downtown begins with the clearest reminder that these are not purely visual puzzles. The first answer is signaled by sound.
- Indicator tick: Enter the taxi making the ticking noise associated with an active indicator.
- Persistent roof sign: Approach the taxis. Most rooftop signs switch off, but one stays illuminated. Take that cab.
- Proximity-triggered roof sign: This reverses the previous round’s behavior. The correct taxi is the one whose sign turns off only when you move close to it.
The second and third rounds are easy to confuse because both concern roof lights and your distance from the vehicle. The distinction is whether the light is the one that remains on when you approach, or the one that changes state when you approach.
Central: choose the fully active taxi
Central is a straightforward introduction to the quest’s lighting language. Look for the lone taxi with the specified active components rather than trying to interpret a complicated sequence.
- Running taxi: Enter the only cab with its engine on and lights running.
- Lit roof marker: Enter the only cab with an illuminated rooftop sign.
- Every listed light active: Find the taxi with its rooftop sign, headlights, and rear brake lights all lit simultaneously.
Round three is a completeness check. A taxi with only one or two active lighting elements is a decoy; the answer is the vehicle where all three named features are on together.
Evacuation Zone: solve the rhythm
The Evacuation Zone version turns light into timing. “Off-beat” means the taxi flashes out of step with the shared rhythm, while “in succession” means the same cab repeats rather than contributing a single flash to the group pattern.
- Off-beat flash: All but one taxi flash in sync. Take the one blinking at the wrong point in the cycle.
- Repeated flash: The taxis should flash one after another, but one fires multiple times consecutively. Enter that one.
- No flash: During the erratic sequence, find the taxi that stays dark throughout.
Give these puzzles time. A single glance can make an asynchronous pattern look random, particularly in the final round. Watching at least one full cycle is more reliable than reacting to the nearest light.
West Incursion Zone: inspect the streetlights, not the cabs
This set deliberately changes the object under examination. The taxi itself is merely the answer slot; the streetlight above it provides the clue.
- One blinking streetlight: Enter the taxi parked beneath the only streetlight that blinks.
- One always-on streetlight: Once the others begin blinking, select the taxi below the light that stays lit continuously.
- Off-beat streetlight: When every streetlight blinks, select the taxi beneath the one that falls out of sync.
If every cab looks identical, that is the point. Look up, trace each pole to the vehicle beneath it, then identify the exception in the lighting pattern.
The Park: clear Mold and assemble the correct parts
The Park uses physical reconstruction rather than selecting an intact cab. Grey Mold growths conceal pieces, and some Mold is explosive. The third stage adds another wrinkle: certain growths are linked to the taxi by grey threads. Those connected growths must be destroyed or the Mold on the vehicle will regenerate.
- First repair: Break the grey Mold build-ups, recover the hood and trunk, and install both on the taxi.
- Second repair: Avoid explosive Mold, locate two wheels, then use the yellow hood. A blue hood is also present, but it is not the correct piece.
- Final rebuild: Destroy the grey, thread-linked Mold first. Then fit a wheel protector, rear bumper, hood, and taxi signlight. Some nearby parts are redundant; an incorrect fit may sit beside the taxi or visibly fail to match the established vehicle.
Unlike the other locations, the Park asks you to identify valid components through their function and visual fit. Removing the linked Mold before attempting the final assembly prevents the central growth from repeatedly undoing progress.
Underpass: compare car lights with streetlight state
Underpass again relies on alternating conditions. The solution changes according to what happens when the overhead streetlights extinguish.
- Lights on in darkness: When the streetlights turn off, enter the sole taxi whose lights are on.
- Lights off in darkness: In the next round, choose the sole taxi whose lights are off when the streetlights go out.
- Never on together: Find the taxi whose lights are off while its streetlight is on, then activate when that streetlight turns off. The two never shine at the same time.
The last answer is based on an inverse relationship: one lighting source is on precisely when the other is off. Watching the taxi and its corresponding streetlight together is the cleanest way to spot it.
Unknown: use the portable light to read impossible shadows
The Unknown taxi is the most visually strange version of the quest. Pick up the available light source and use it to inspect the shadows cast by each taxi. A cab may project the silhouette of something entirely different, such as industrial equipment. The incorrect shadow, rather than a wrong paint color or flashing signal, is the clue.
- Taxi-shaped shadow: Enter the only vehicle whose shadow is actually shaped like a taxi.
- More vehicles, same test: Repeat the check across the larger set, including taxis parked on the opposite side of the street. The answer is still the only genuinely taxi-shaped shadow.
- Roof-sign shadow: Every shadow now has a taxi shape, so check the detail on top. Select the one whose shadow includes the rooftop sign.
This final set rewards methodical scanning. Move the light over each taxi and judge the projected silhouette, not merely the vehicle model in front of you. In the third round, the roof sign is the deciding detail.
Does The Last Taxi give a reward?
Finishing all seven taxi sequences closes The Last Taxi side quest. No specific follow-up or tangible completion reward has been identified from the available quest outcome, so players should approach it as an extended mystery and a self-contained puzzle chain rather than as a confirmed source of equipment or unlocks.
That uncertainty is worth keeping in mind before treating the final cab as a progression requirement. Its clear value is completion of the quest itself, plus a set of anomaly puzzles that train the same patience the wider game often demands: isolate the pattern, find the exception, and do not trust the thing that most resembles a taxi to necessarily behave like one.