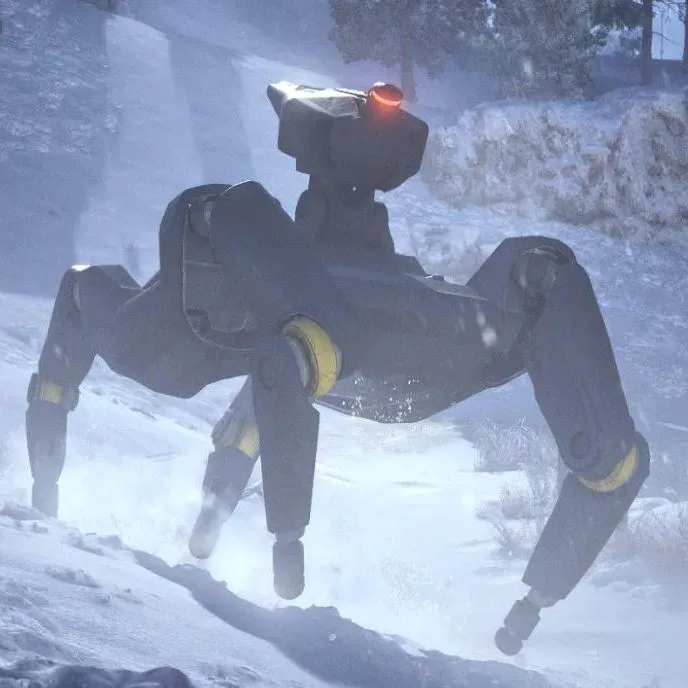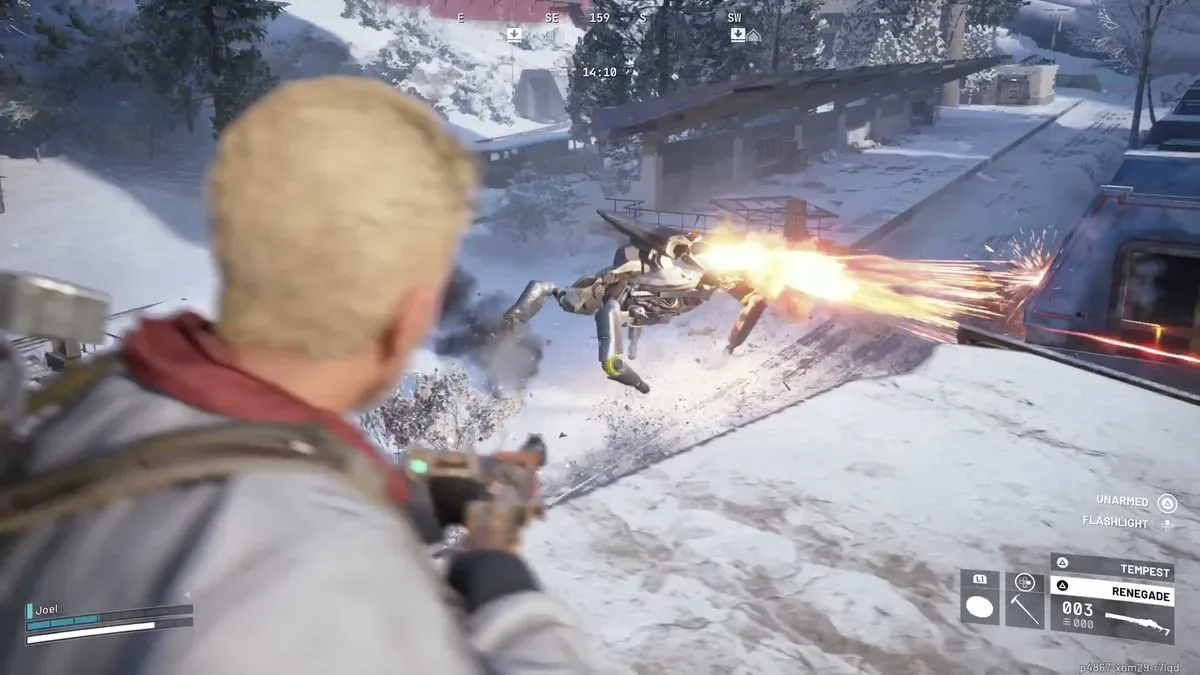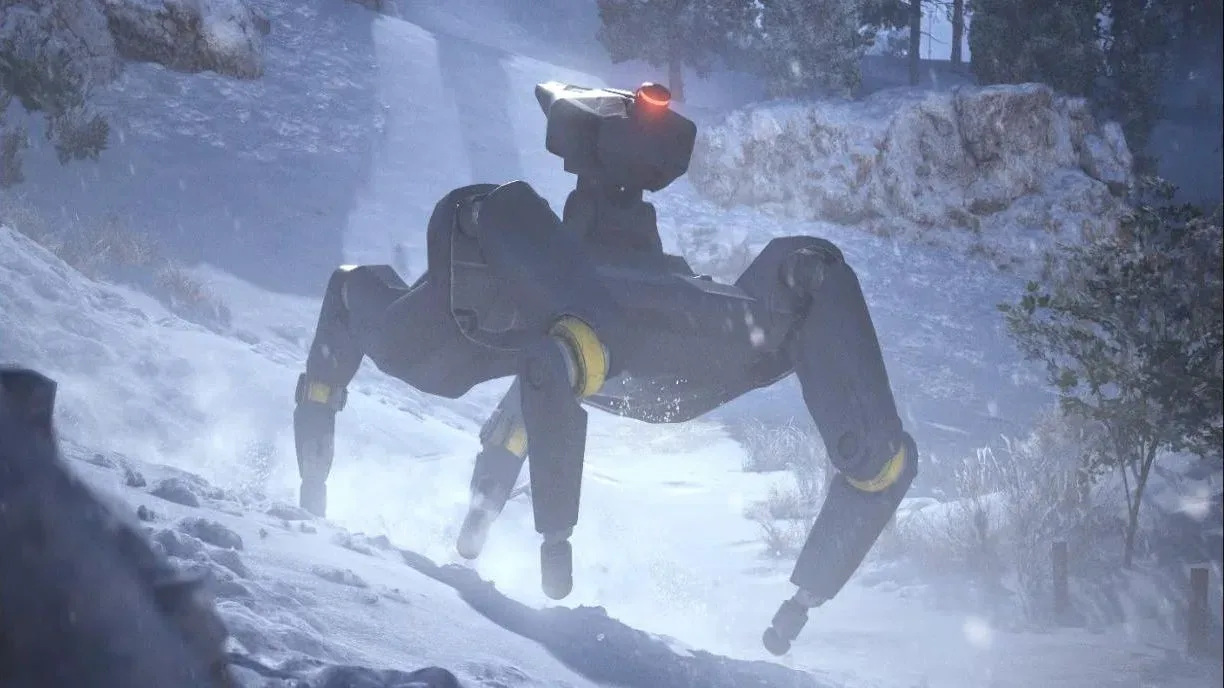
Bullies are built to make an ordinary firefight feel like an eviction notice. Introduced in Arc Raiders through the Frozen Trail update, these aggressive machines sprint directly at players while mixing shotgun blasts with arcing grenade volleys. Their speed makes simple retreat unreliable, their armor stretches the encounter, and their attack pattern can deny the breathing room needed to heal or line up careful shots.
The answer is not simply to bring the biggest gun and stand in the open trading damage. A Bully fight is much more manageable when approached in stages: first establish a defensible position, then remove armor or control the machine’s movement, and finally focus the exposed weak points. The most important detail is that Bullies have vulnerable yellow-marked leg joints, while their exterior leg plating can be broken to make those targets easier to hit.
That creates a practical priority: survive the initial rush, aim for the legs rather than the broad armored body, and do not let the Bully dictate where the fight happens.
What makes a Bully so dangerous?
The Bully sits somewhere between the Bombardier and Leaper in combat behavior. It is a fast-moving opponent that closes distance quickly, fires repeatedly with a shotgun, and launches timed grenades over a broad area. Those elements matter because each punishes a different mistake:
- Running in open ground is dangerous because the Bully can outpace a player.
- Holding one position too long is dangerous when grenades begin to land nearby.
- Taking slow, exposed aim is dangerous because its shotgun pressure can interrupt recovery.
- Shooting center mass without a plan can waste time against removable armor.
In short, this is a durability-and-positioning check. Bullies take time to bring down, so the safest fights are those in which the player has cover, vertical separation, and an exit route before committing to damage.
Bully weak points: where to shoot
Yellow leg joints are the reliable target
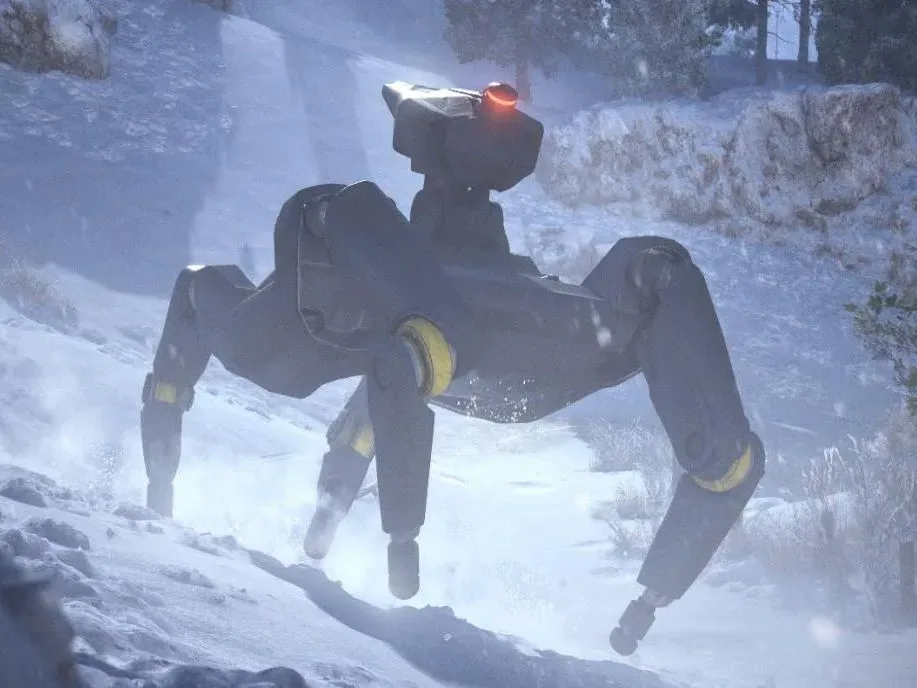
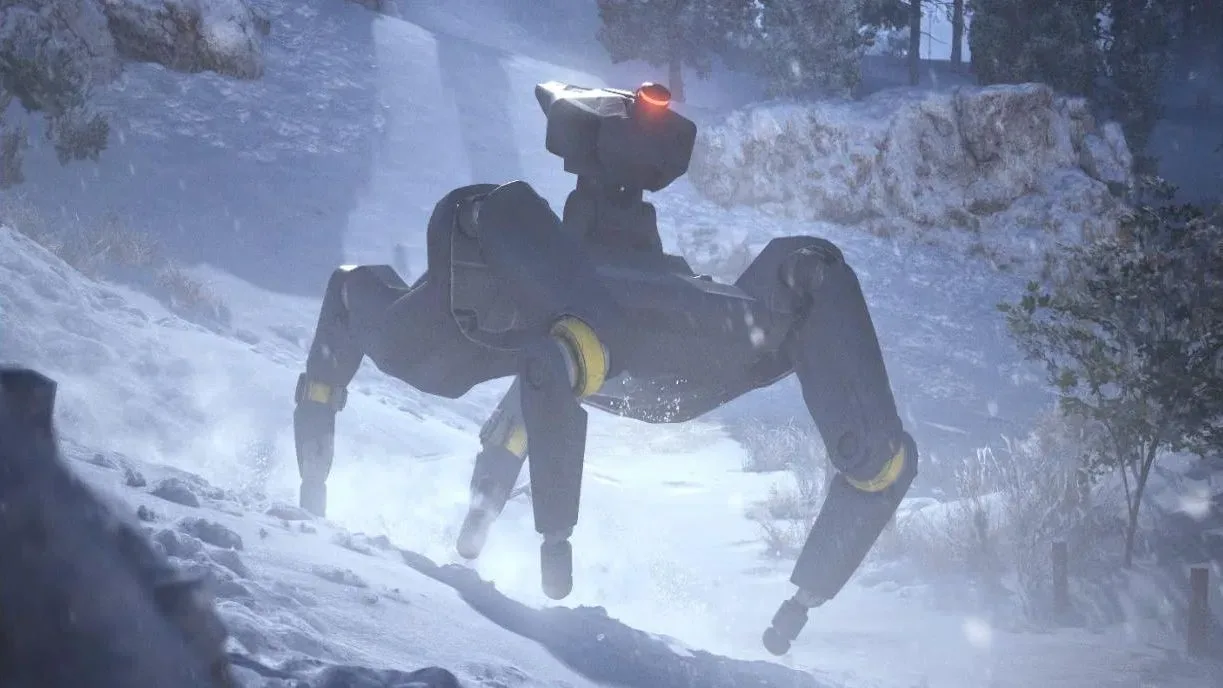
The Bully’s main weak points are its leg joints, identified by yellow markings. These are the parts to prioritize when there is a clear firing angle. Because the machine moves rapidly and erratically, however, the weak points can be difficult to track at the start of a fight.
Breaking the exterior plates on its legs improves the situation. Those plates are removable armor, and damaging them exposes the machine more fully while making the vulnerable joints easier to target. This means armor damage still has value even when a shot is not immediately landing on the yellow joint itself.
The turret-barrel opening is a high-risk interrupt
There is another, far more demanding opportunity: shooting down the Bully’s turret barrel immediately before it fires. When the turret’s armor opens, a powerful armor-piercing hit can stun the machine briefly and cancel the incoming shot.
Related coverage includes Arc Raiders Bully Guide: Weak Points, Counters and Survival Tactics.
This is not a standard tactic to force on every encounter. The timing is narrow, and a missed attempt leaves the player vulnerable to one of the Bully’s most dangerous attacks. Treat it as an emergency counterplay option when caught in the open, not as a substitute for cover or positional discipline.
Best weapons and damage types against Bullies
Energy weapons, particularly those with high armor penetration, are a stated weakness for Bullies. Armor penetration refers to a weapon’s effectiveness against armored protection rather than merely its raw damage output. In this encounter, that matters because the goal is often to strip plates before regular attacks can do their best work.
The Aphelion is especially effective for this purpose. Its value comes with a real trade-off: energy weapons are rare and valuable, so bringing one into combat represents additional risk. Players should decide whether the expected reward or immediate threat justifies fielding gear they may not want to lose.
Armor-piercing weapons also have a role early in the fight. The Hullcracker, for example, may not deal enormous direct damage to a Bully, but it can help break the shell. Once armor is removed, conventional weapons have a better chance to capitalize on the newly accessible weak points.
The key distinction is simple:
- Armor-piercing and energy tools are best used to solve the armor problem.
- Regular weapons become more useful once plates are gone and leg joints are accessible.
- High-power armor-piercing shots can attempt the risky turret interruption at the moment it prepares to fire.
Use the environment before the fight controls you
Take elevation whenever possible
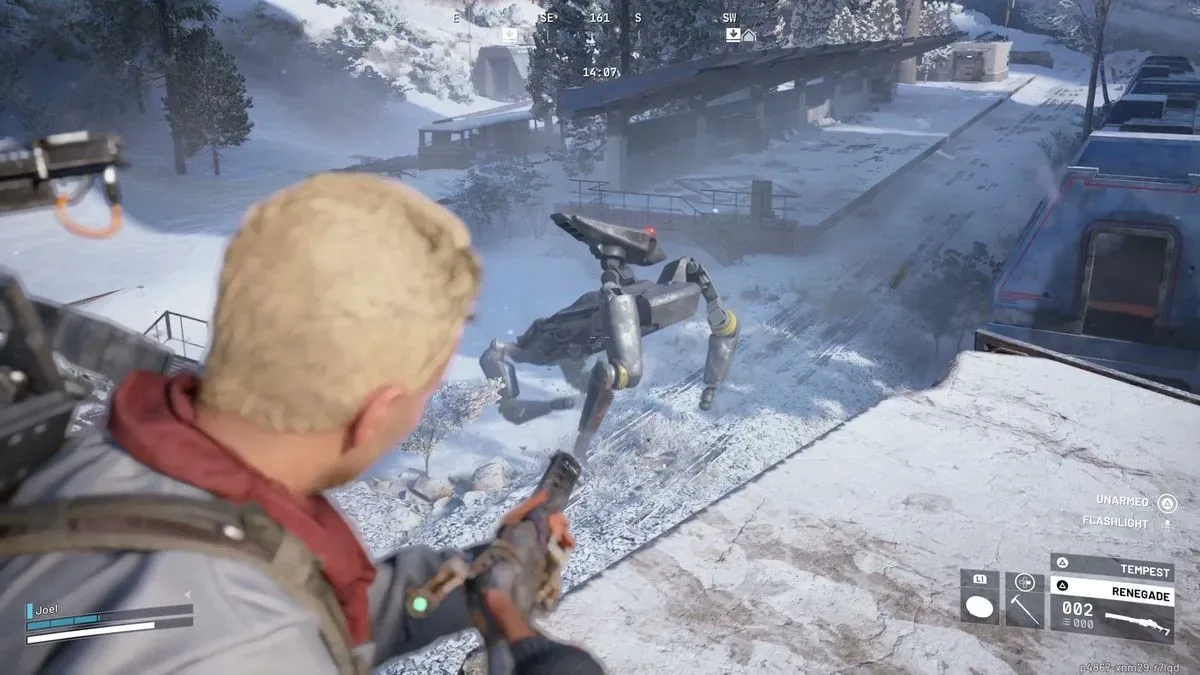
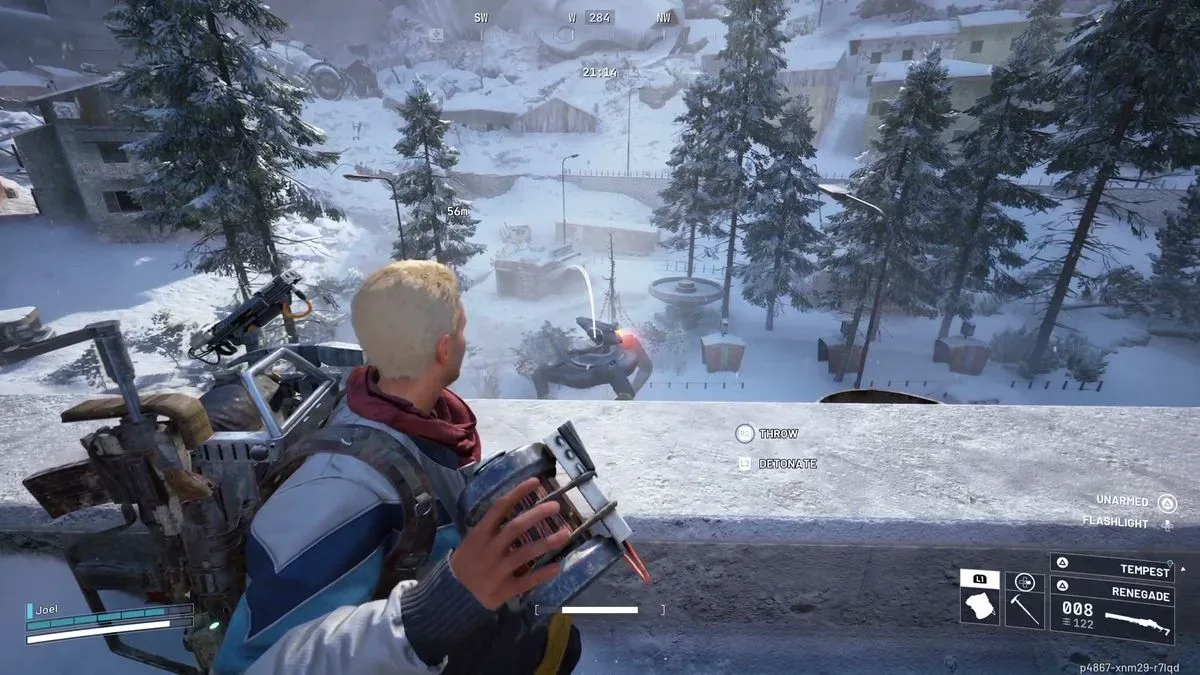
A Bully can chase down a player on level ground, but it cannot climb. Rooftops and other elevated areas it cannot reach create a crucial buffer between the player and its close-range aggression. Firing downward also gives a clearer view of its legs, which is useful when trying to track the yellow joints or destroy leg armor.
Elevation is not invulnerability. Grenades remain a threat, and a position without cover can still become unsafe. But height removes the Bully’s strongest advantage: its ability to rush directly into shotgun range.
Small elevated windows can be even better
An elevated opening that is too small for the Bully to attack through effectively can offer stronger protection than an exposed roof. Its grenade spread is less reliable through a narrow window, while the shotgun provides enough warning to duck backward into cover.
This setup turns the fight into a repeatable rhythm: peek out, damage leg armor or joints, retreat when a shot is coming, then re-engage. It is slower than a reckless open-ground duel, but the Bully is durable anyway. Reliability is more valuable than trying to end the encounter in one burst.
How to react to Bully grenades
When the Bully launches its arcing timed explosives, the correct response is immediate movement. The grenades cover a broad area but give a short delay before detonation. That delay is the window to sprint clear of the blast radius.
Do not wait to see exactly where every explosive settles, and do not assume a single sidestep will be enough. The spread is designed to make static cover unsafe. Recognize the volley, move decisively, let the explosions resolve, and then resume the fight from a new position or behind solid cover.
This is another reason narrow, elevated cover is valuable. It can reduce the Bully’s ability to land grenades accurately while providing a nearby place to retreat from shotgun fire.
Control tools can create the damage window you need
Bullies are hard to hit precisely because they move so quickly. Equipment that disrupts their movement can be more valuable than equipment that only adds damage. The Showstopper and Yank Grenade can stun or hold the Bully in place long enough to target its weak points or attach a Deadline mine to its shell.
These tools should be used with a purpose. A restraint effect is a brief opportunity, not an automatic win. Before using one, know what follows: line up on the leg joints, destroy a remaining armor plate, or move in close enough to plant the mine. Wasting the control window on unfocused fire leaves the Bully mobile again with little gained.
Large explosions can also overturn a Bully when terrain is uneven. If the machine flips onto its back, it will eventually right itself, but that temporary vulnerability is an excellent opportunity to concentrate fire. It is not something to rely on—terrain and timing must cooperate—but it is worth recognizing when it happens.
A practical Bully-fight sequence
- Choose position first. Move toward height, a rooftop, or a small elevated window rather than trying to outrun the machine across open terrain.
- Watch for grenade volleys. Sprint away as soon as the explosives are launched and wait for their delayed detonation.
- Break leg armor. Use armor-piercing or effective energy weapons to remove exterior plating and open better angles on the leg joints.
- Exploit control effects. Use a Showstopper or Yank Grenade to stop its movement, then target yellow joints or attach a Deadline mine.
- Capitalize on a flip. If an explosion and uneven terrain overturn the Bully, concentrate damage before it recovers.
- Attempt turret interruption only when necessary. A precise armor-piercing shot into the opening barrel can cancel a shot and stun it, but failure is punishing.
What Bullies drop
After defeat, a Bully separates into multiple pieces that can be scavenged. Its unique drop is the Bully Fragmenter, an Epic crafting item used for the level 3 Research Station, among other purposes. That gives the encounter a meaningful crafting incentive, but it does not eliminate the need to weigh gear risk against the reward—especially when considering valuable energy weapons.
For players keeping tabs on other PC-game developments alongside their Arc Raiders runs, League of Legends Classic’s current run is set to end in January 2027.
The Bully is formidable because it punishes panic: it outruns open-ground retreats, pressures exposed targets, and uses grenades to break predictable cover. Its counters are correspondingly deliberate. Get above it, use narrow cover where possible, run from grenade spreads, strip armor, and focus the yellow leg joints. With that structure in place, a fight that initially feels relentless becomes a controlled series of short damage windows.