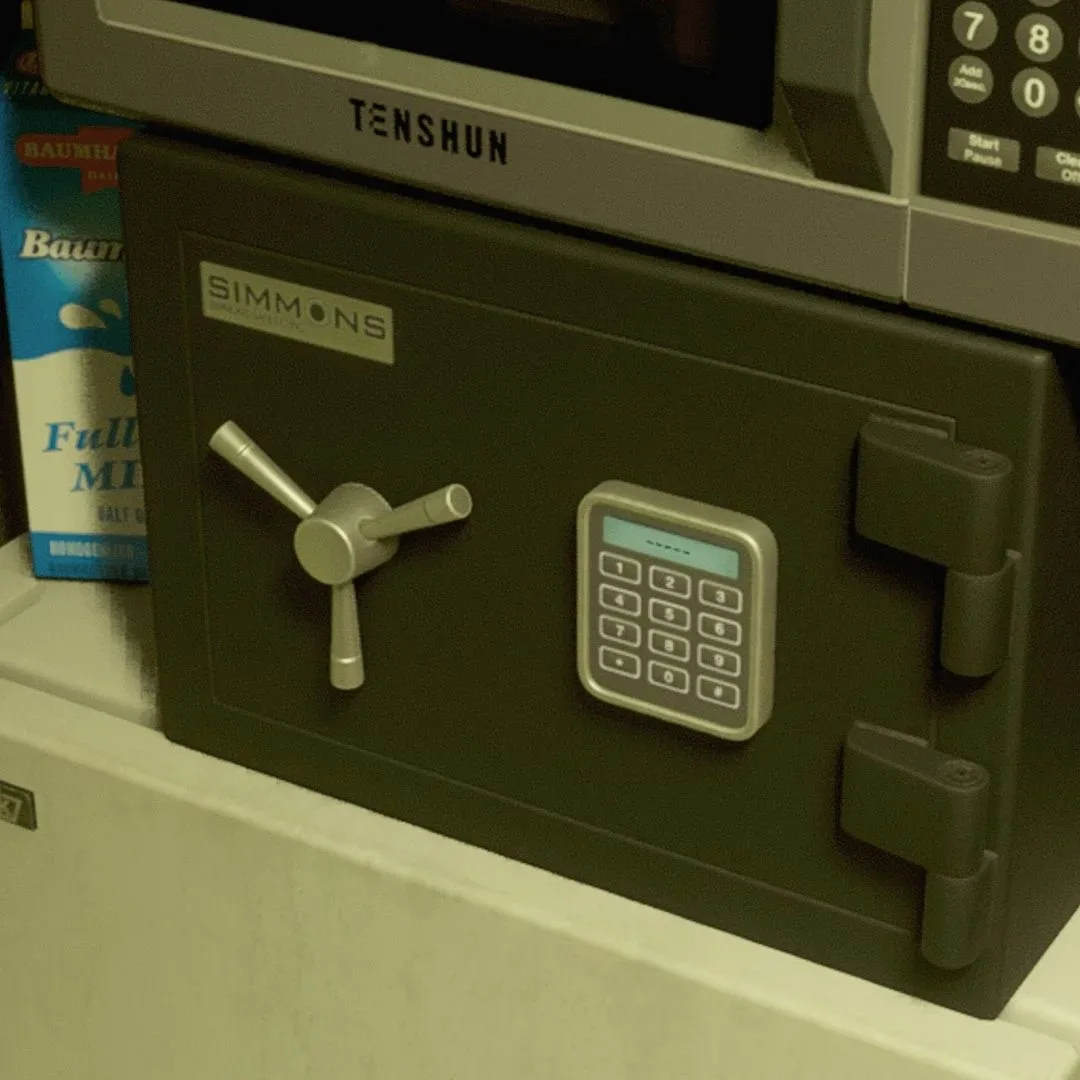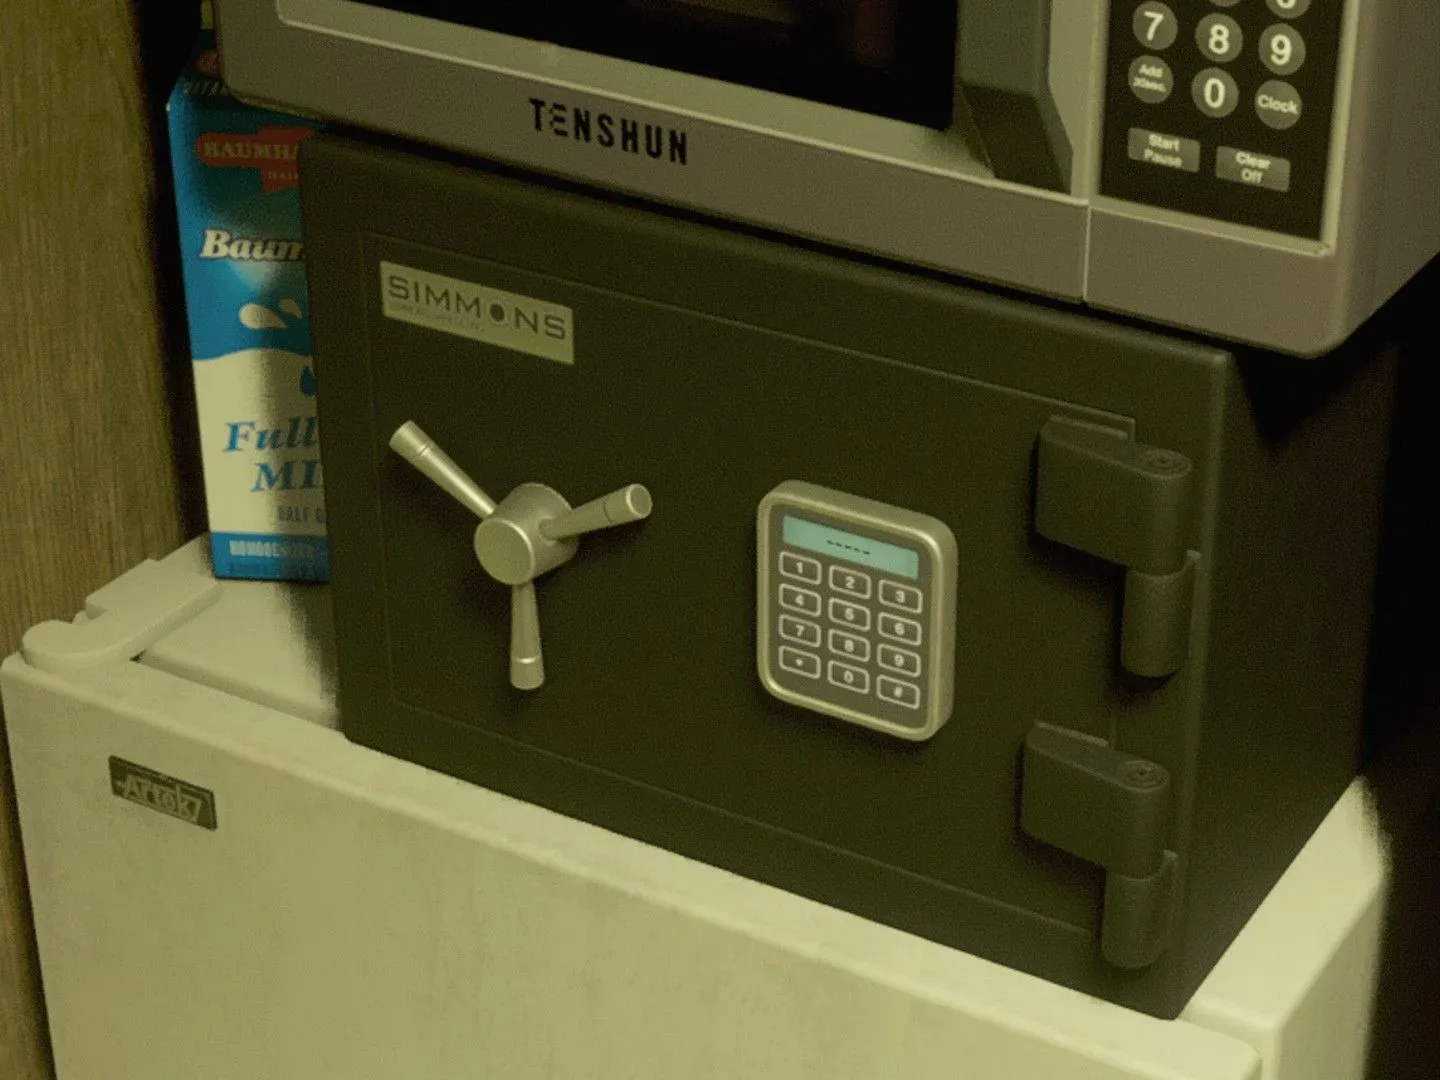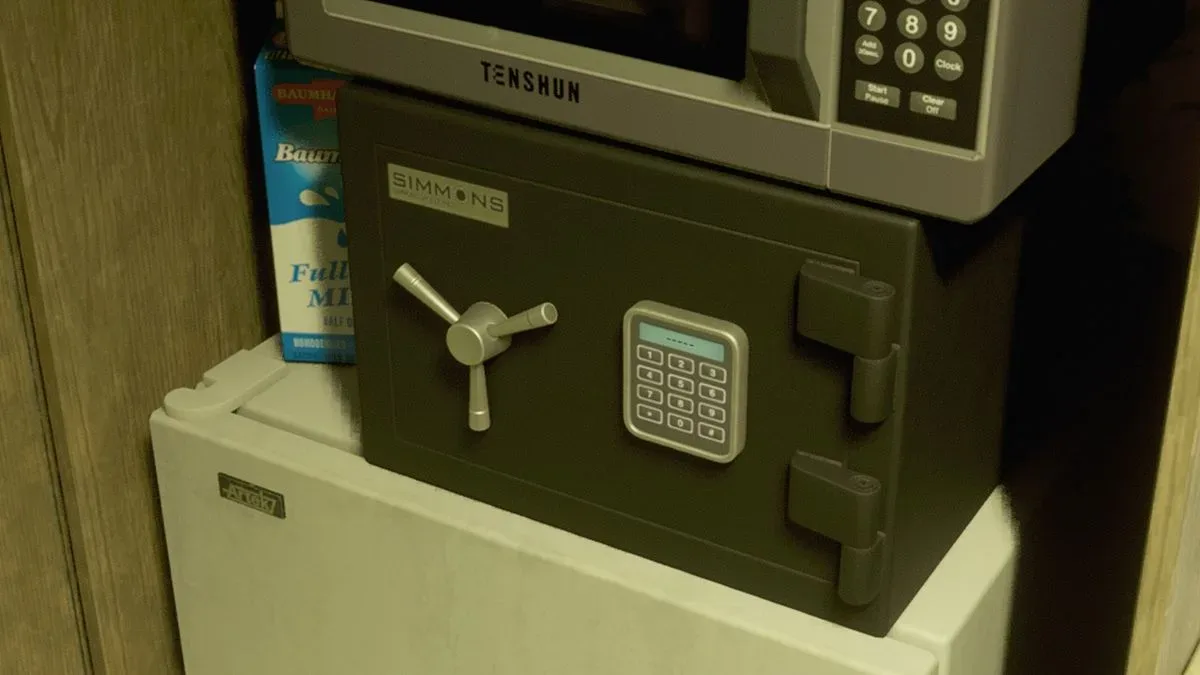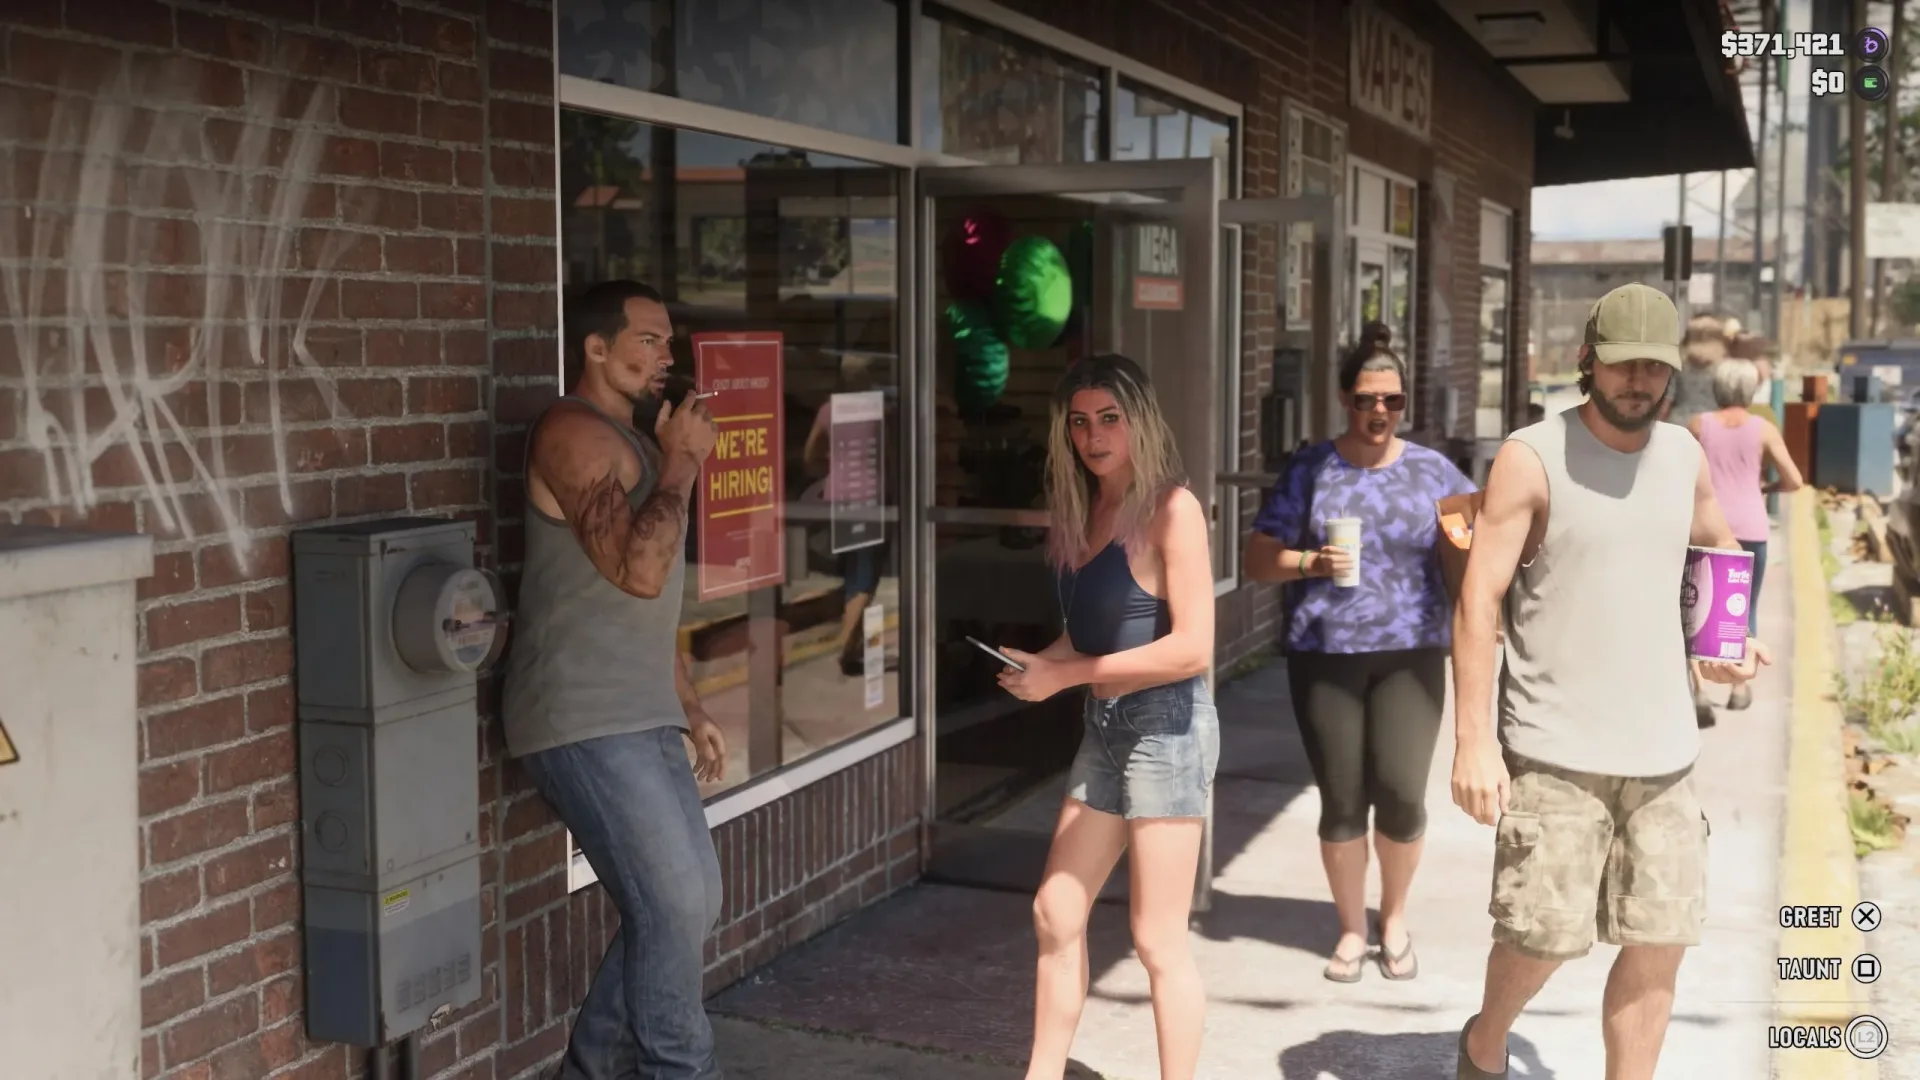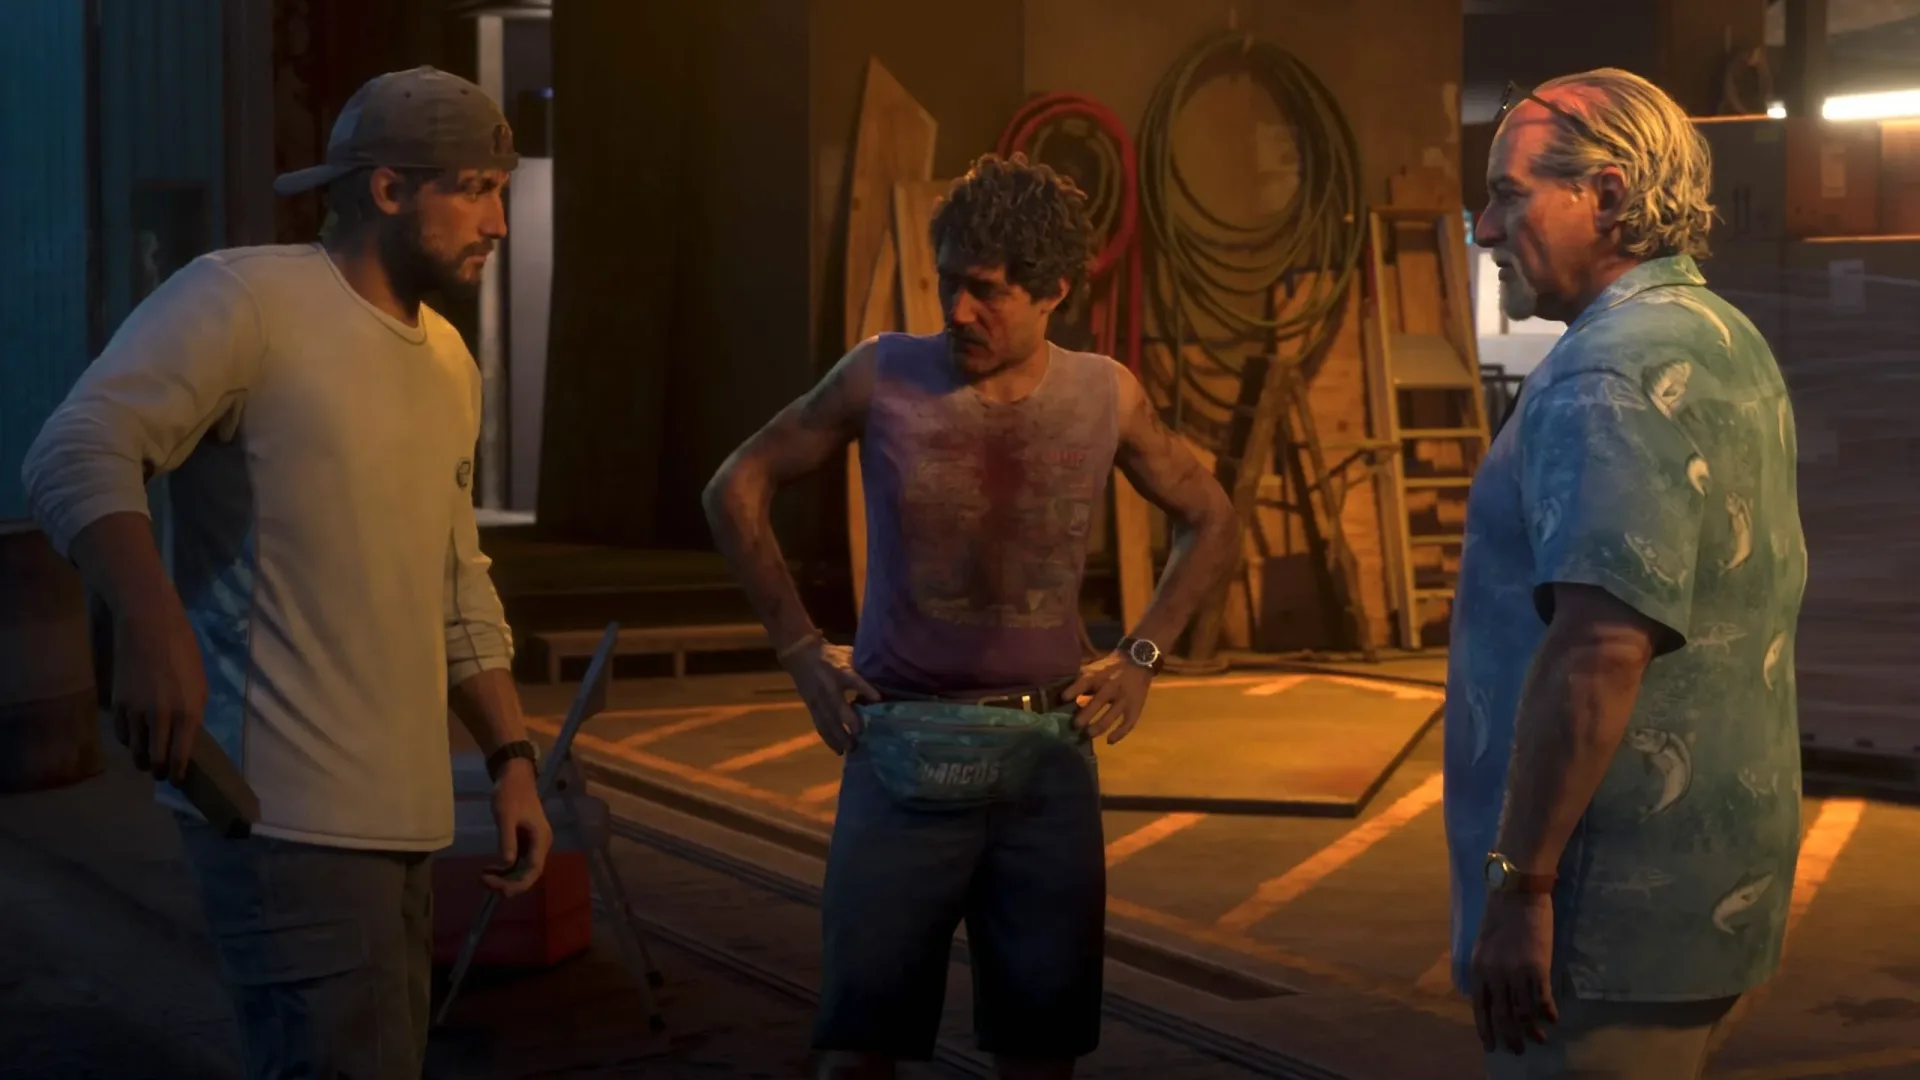
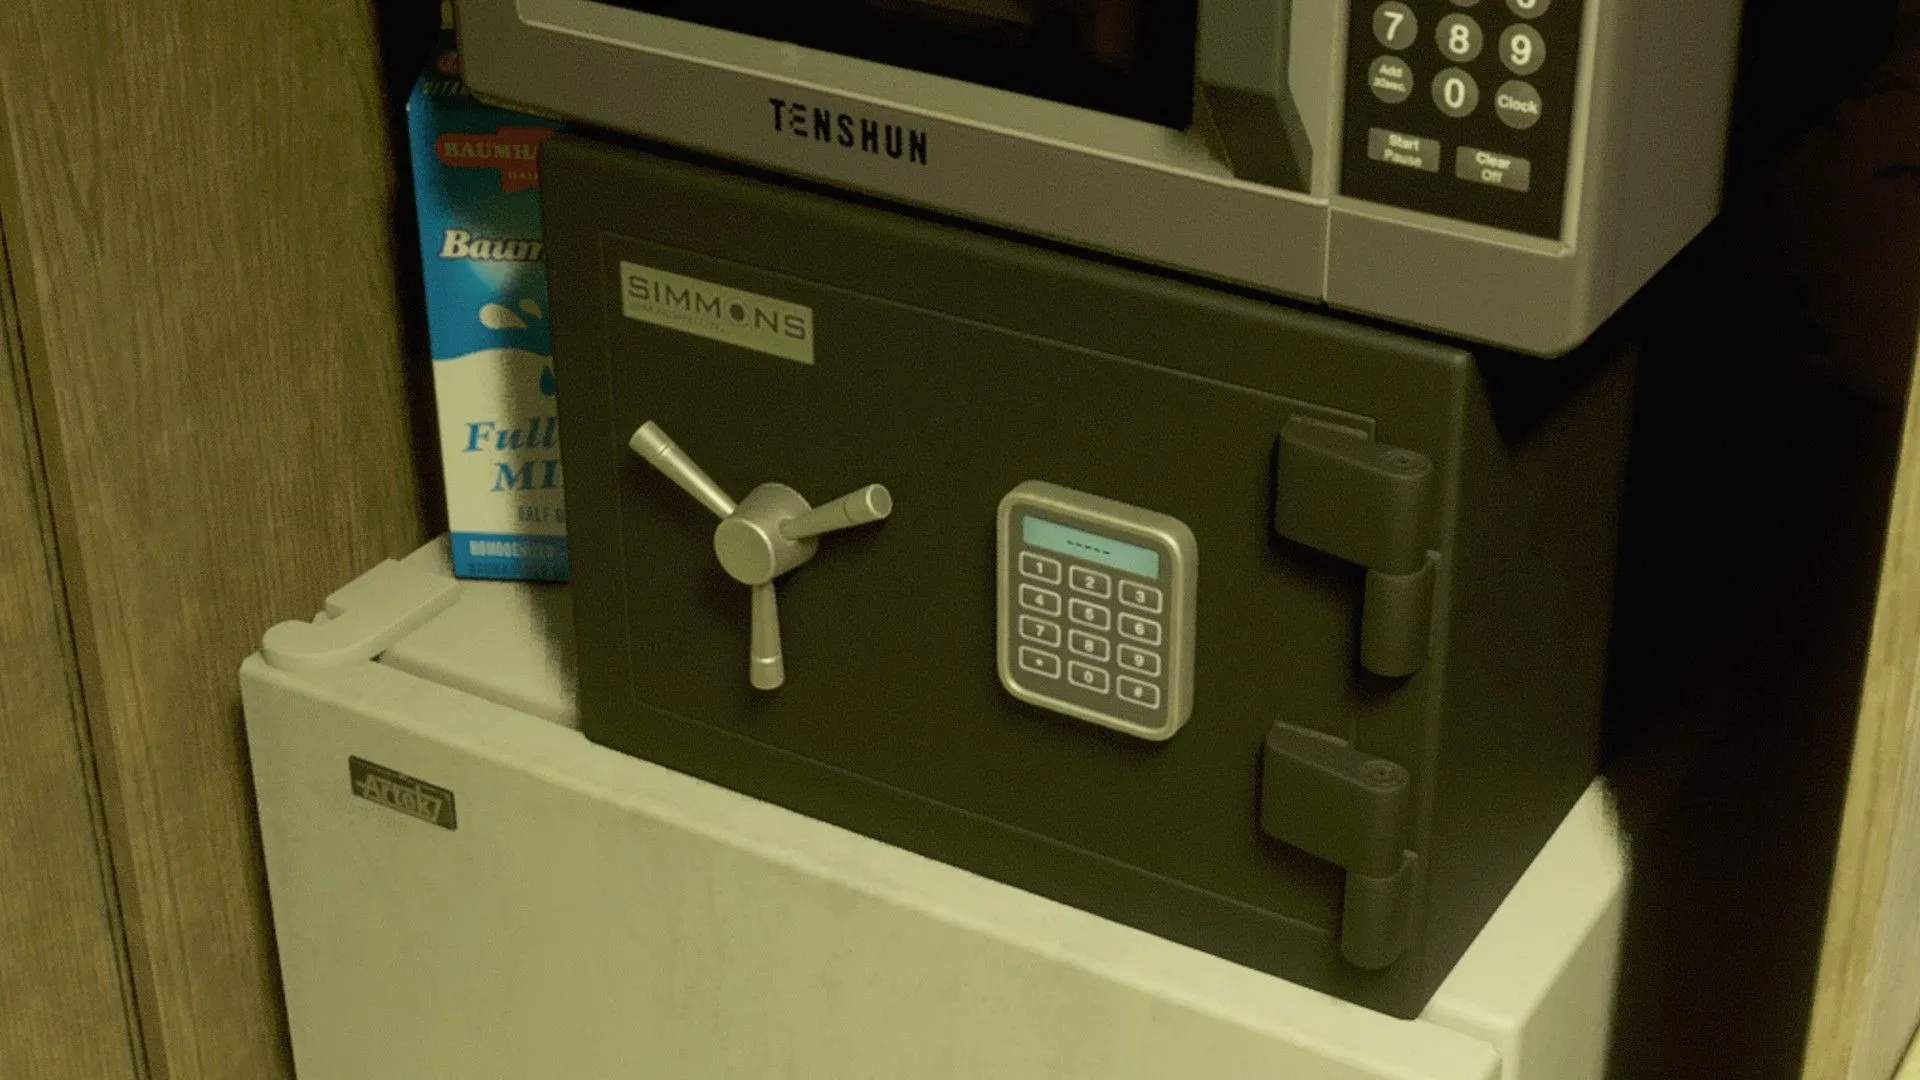
Safes are a recurring source of money in GTA 6, whether they appear during story content or while exploring Leonida. More than 50 safes can be found, but they do not all work alike. Some accept a combination, while others can be forced open. The distinction matters: code-locked safes generally carry the better rewards, yet many of their combinations are not universal.
That means a simple list of numbers can solve only part of the problem. Several combinations are fixed for every player, but many safes outside story missions and major side quests use randomized codes. For those, the useful skill is knowing how the game expects you to obtain the number: inspect the immediate area with Focus, or pressure an employee until the conversation changes into a prompt for the safe code.
This guide separates the permanent combinations from the variable ones, explains the controls cited for each discovery method, and outlines the explosive alternative available later in the story. For another compact rundown of the same subject, see this GTA 6 safe-code guide.
Known fixed GTA 6 safe codes
The following combinations are reported to remain the same across players. Enter them exactly as shown when you reach the matching safe.
For more context, explore Why Tempered-Glass PC Cases Are Everywhere—and When a Solid Panel Makes More Sense.
- Brooks Boatworks: 6823
- Kingpin Bowling Alley: 0330
- La Cascera Motel: 6969
- Trailer south of Grassrivers: 44017
There is also a 0420 code supplied during Chapter 1. Because that number is provided as part of the early story rather than tied here to a named location, it is best treated as a mission-given answer rather than a broadly reusable location code.
Why a safe-code list will not solve every safe
GTA 6 does not appear to use one universal set of combinations for all safes. Many codes encountered away from major missions are randomized. In practical terms, a code shared by another player may not open the same optional safe in a different playthrough.
That is why the reliable approach is to first determine whether the location uses a fixed code, a locally placed clue, or an NPC interaction. A failed attempt to find a number on a list is not necessarily a mistake. It may mean the game has generated a different combination and expects you to investigate the scene.
Related coverage includes GTA 6 Safe Codes: Every Fixed Combination and How to Find More.
Randomized here means the combination can differ between players or runs; it does not mean the safe is unsolvable. The answer should still be available through the location’s designed interaction, either as a visible clue highlighted by Focus or through a staff member who can be threatened.
Method 1: Search with Focus
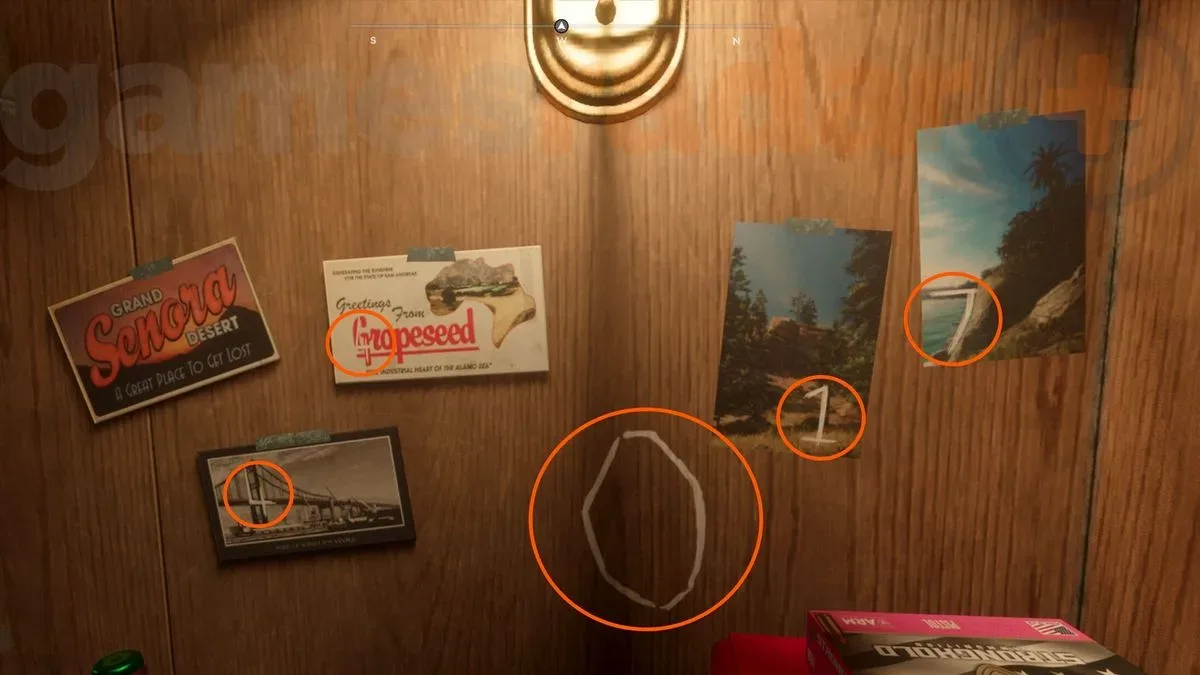
Focus is the least confrontational starting point for a code-locked safe. Near the safe’s location, press down both thumbsticks: L3 and R3 on PlayStation-style controls, or LS and RS on Xbox-style controls. This highlights the code’s location when a written clue is present nearby.
The important word is nearby. Focus is meant to direct your attention around the immediate area rather than turn every code into a fixed menu entry. Before escalating the situation, activate Focus and look for the highlighted clue. If the number has been written down in the building or its surrounding space, this is the intended way to find it.
A useful search routine
- Locate the safe and confirm that it needs a combination rather than another opening method.
- Use Focus with L3 and R3, or LS and RS.
- Check the highlighted point in the vicinity for the written number.
- Return to the safe and enter the code.
- If Focus does not reveal a clue, look for staff who may be tied to that safe instead.
This order avoids treating every safe like an interrogation puzzle. It also fits the available evidence: some locations provide their combination as a note, while others demand a different approach.
Method 2: Threaten staff for the code
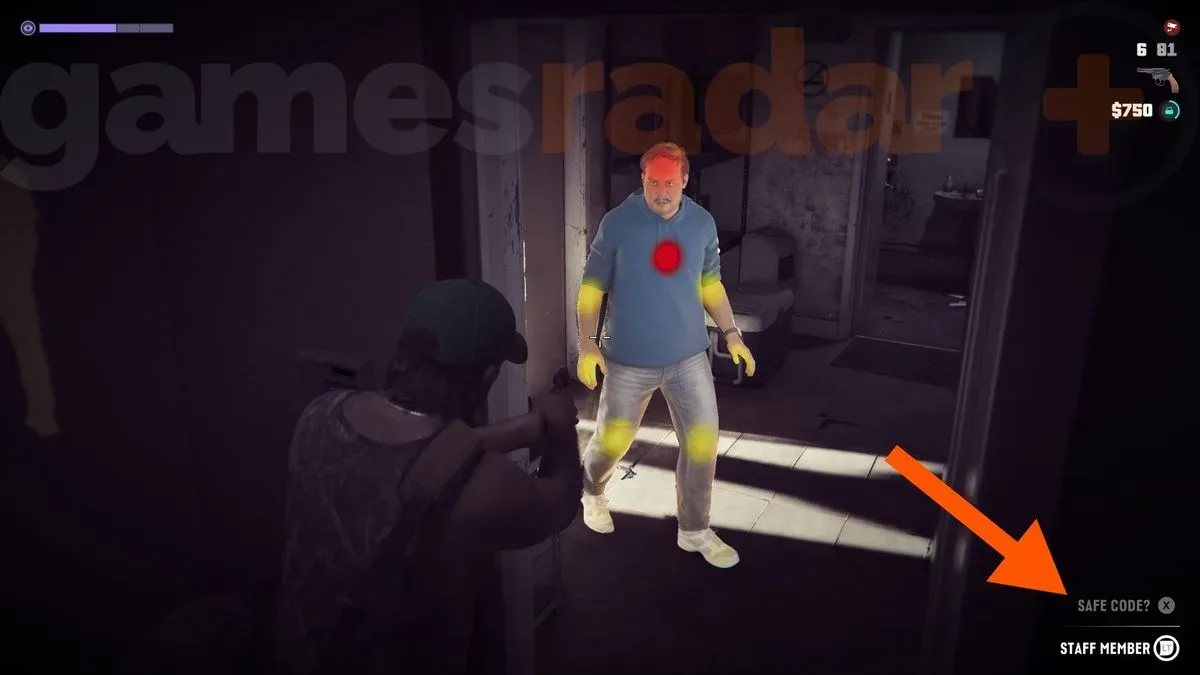
If there is no Focus-highlighted code, the next route may be to intimidate staff. Hold LT on Xbox-style controls or L2 on PlayStation-style controls, then press X or Square to use the threaten action. Repeating the pressure can change the available option into “Safe code?”
That prompt is the key signal. Do not assume a generic threat has failed merely because the first interaction does not immediately reveal digits. Continue until the more specific safe-code option becomes available, then use it to obtain the combination.
The Avery Pawn Shop is an example of a safe that uses this style of interaction. More broadly, the system makes staff part of the solution rather than just background characters: when no written clue appears through Focus, an employee may be the missing link.
What to do when the prompt does not appear
Based on the reported behavior, first make sure you have exhausted the Focus search. The absence of a highlighted number is the clue that intimidation may be required, not proof that every person in the location has a code. Then use the designated threat controls until the interaction shifts from a standard threat to the explicit question about the safe.
There is no need to confuse this with a fixed-code location. If the game is asking you to extract information from a staff member, the combination is functioning as a local solution rather than a number to memorize for every future session.
Method 3: Open a coded safe with sticky bombs
Codes are not the only route through every code-locked safe. Sticky bombs can blow such safes open, providing an alternative for players who would rather bypass the search or intimidation sequence.
The normal unlock point for sticky bombs is the Credit Checked mission in Chapter 3. After that point, they become available from Ammu-Nation. However, the available information also indicates that a few sticky bombs can be picked up at Kingpin Bowling Alley before the standard unlock, and that other places on the map may offer similar opportunities. Only the bowling-alley pickups are specifically identified, so players should not assume that every location will contain early explosives.
This makes Kingpin Bowling Alley particularly notable. It has a fixed code, 0330, but it is also associated with early sticky-bomb pickups that can provide another way into its safe. If you have the code, entering it is the direct route. If you are exploring the alley before Chapter 3 and find the explosives, blowing the safe may be an option instead.
Practical implication: explosives are a fallback, not a replacement for understanding the system. Fixed combinations remain useful, randomized safes still have location-specific solutions, and access to sticky bombs is constrained by story progression unless a limited pickup is found in the world.
Brooks Boatworks and the Port Gellhorn fund-raising safes
Brooks Boatworks is more important than its single entry in the code list suggests. During the process of gathering funds, three major safes connected to the Kolt gang in Port Gellhorn use codes found at Brooks Boatworks. The relevant fixed code is 6823.
Knowing that number saves the need to hunt down the clue at Brooks Boatworks, but it does not erase the larger obstacle. The three destinations remain gang-controlled, so players still need to get past the Kolt gang at each location. The code is only one layer of the encounter: it removes the information-gathering step, not the danger or access problem.
That distinction is useful whenever a guide says a code is “set.” A permanent combination grants convenience, but it does not necessarily grant a free reward. The surrounding mission or hostile area can still be the actual challenge.
Best order of operations for any GTA 6 safe
When you encounter a new safe, use a repeatable decision process rather than immediately searching online for a number:
- Check whether it is a known fixed safe. Use the location list above for Brooks Boatworks, Kingpin Bowling Alley, La Cascera Motel, and the trailer south of Grassrivers.
- Use Focus. Press both thumbsticks and inspect any highlighted clue in the nearby area.
- Try staff interaction when no clue appears. Hold LT/L2, use X/Square to threaten, and wait for “Safe code?” to become available.
- Consider sticky bombs only if you have access to them. They normally unlock after Credit Checked in Chapter 3, though Kingpin Bowling Alley may offer early pickups.
- Account for the environment. A valid code does not remove enemies, guards, or other obstacles around the safe.
As more non-random combinations are identified, the fixed list may grow. Until then, Focus and staff intimidation are the core tools for the safes that do not share the same code from player to player.