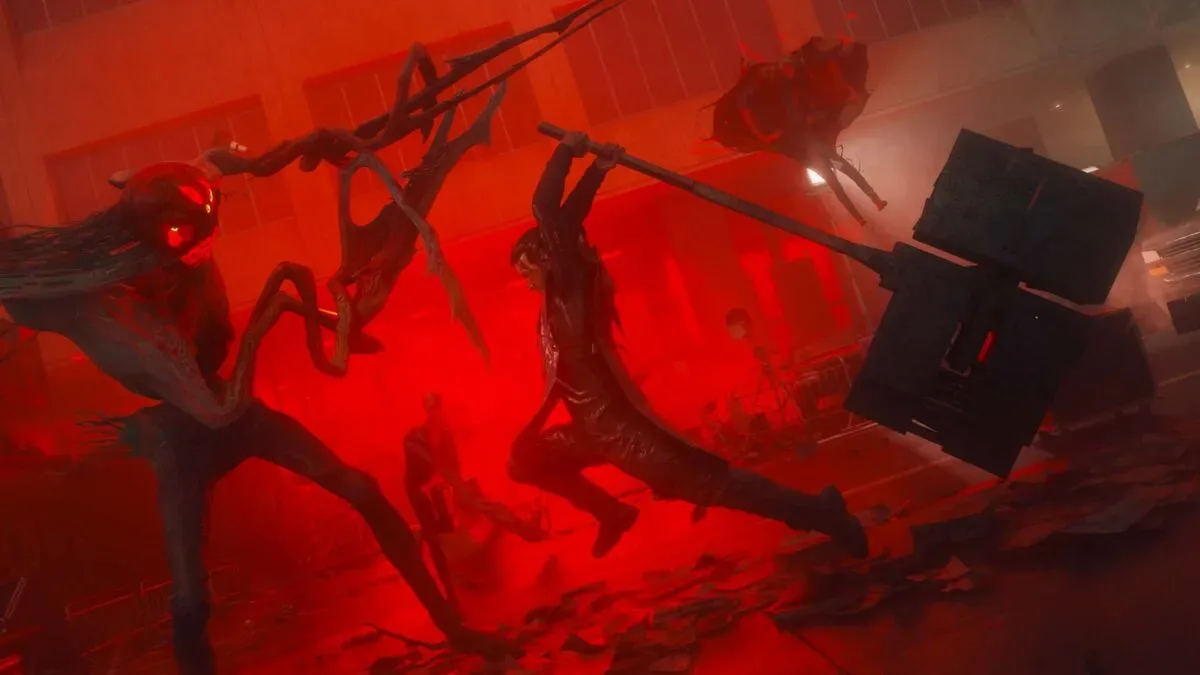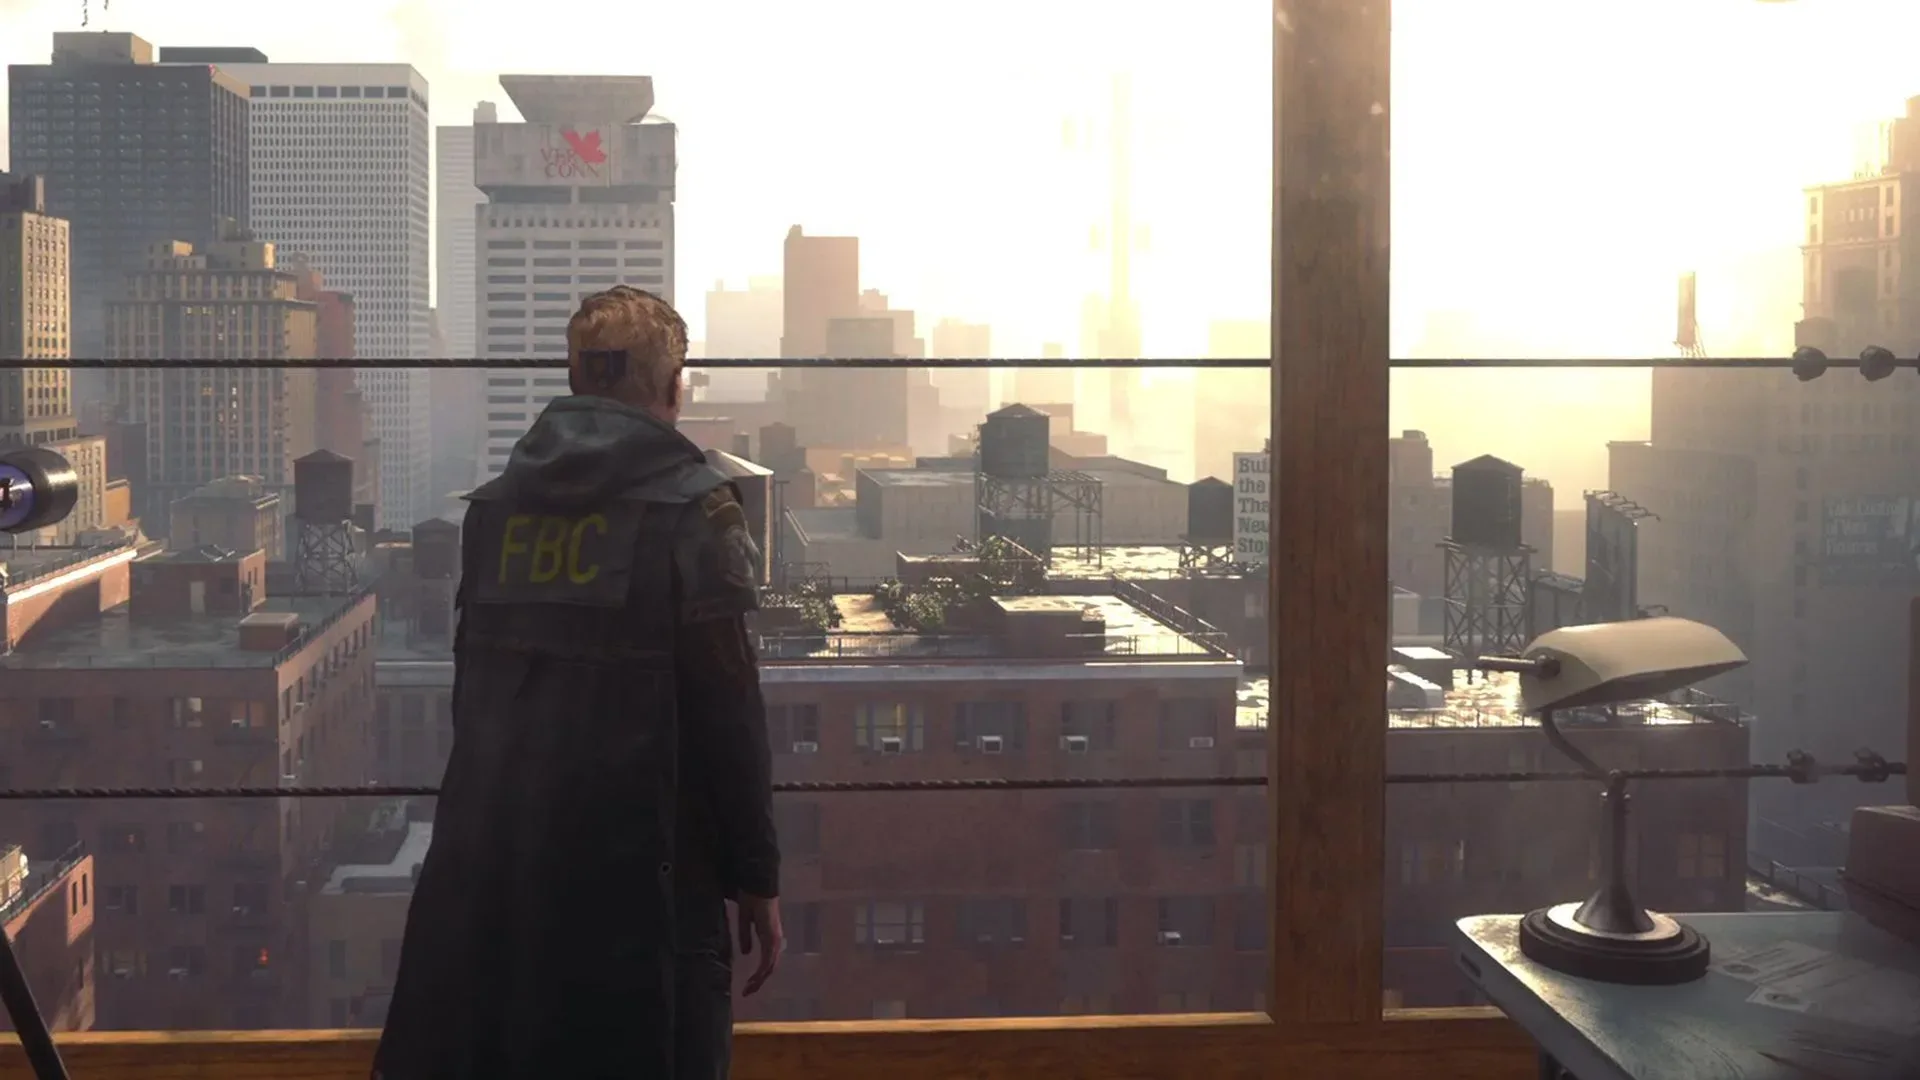
Reaching the Watchtower in Control Resonant marks the point where the game stops holding Dylan’s hand and starts pointing in several ominous directions at once. Zoe can leave players with a stack of possible objectives, while Central opens into hubs, combat encounters, story missions and side activities. That freedom is welcome, but it can also make an early defeat by the Hiss feel like an accidental trip into content meant for later.
The most efficient route is not simply the shortest line through objective markers. It is a progression path that first establishes a reliable base in Central, then makes room for optional character growth, then picks up powers through two Fault encounters before sending Dylan into increasingly demanding Resonant battles. That sequencing matters because the powers and fire abilities earned along the way have a practical payoff in the next regions.
One important caveat: this is a recommended order, not a rule that locks every other activity behind a red velvet rope. World Feats and other side activities are worth doing as they arise, especially if combat begins to feel punishing. The route below is best understood as a difficulty-conscious backbone for the early game rather than a demand to ignore everything else.
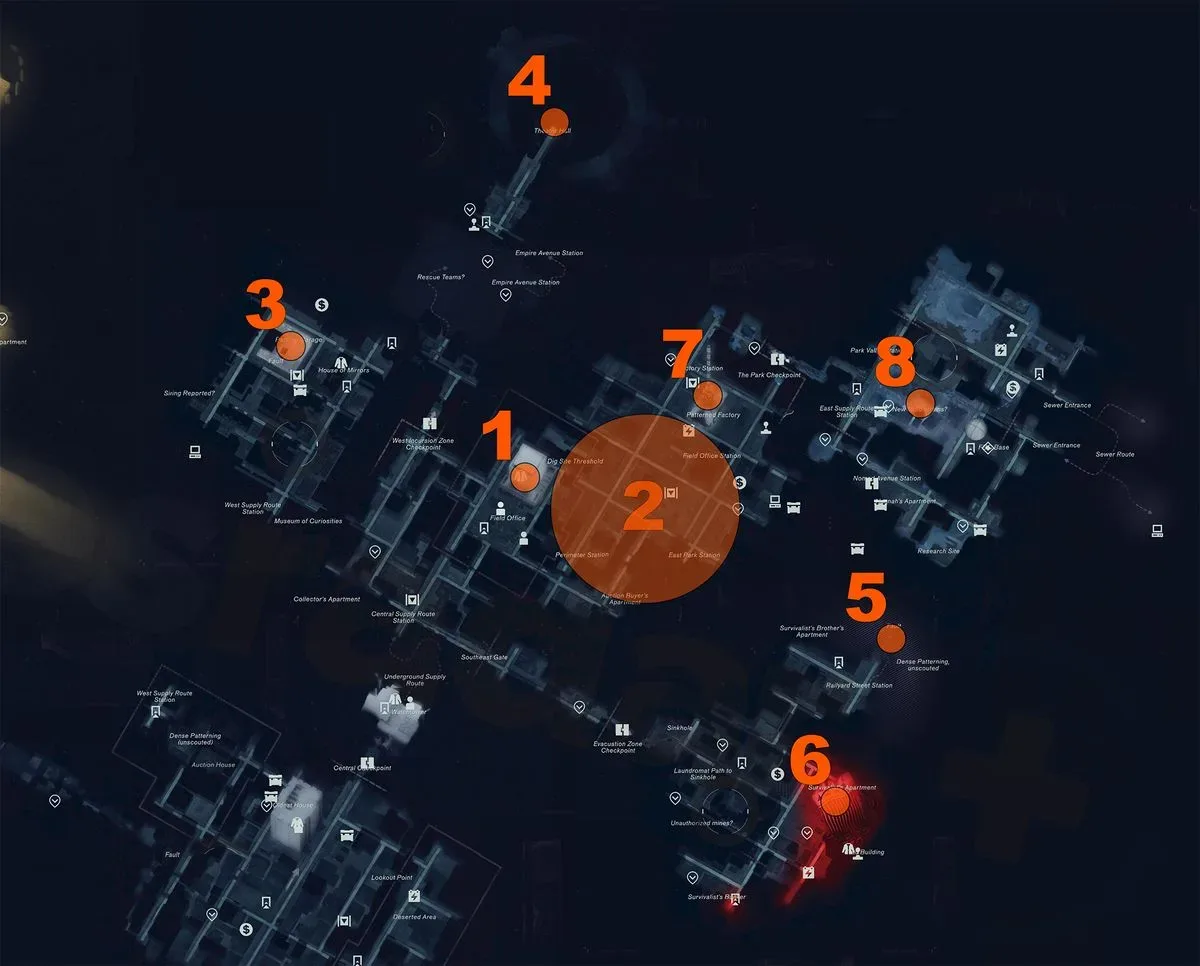
Recommended early-game order in Control Resonant
- Welcome to Manhattan — obtain the Clearance Keycard, enter the FBC Field Office and activate the Fast Travel Door.
- Central World Feats — explore Central and complete available activities to build some levels before the next major encounters.
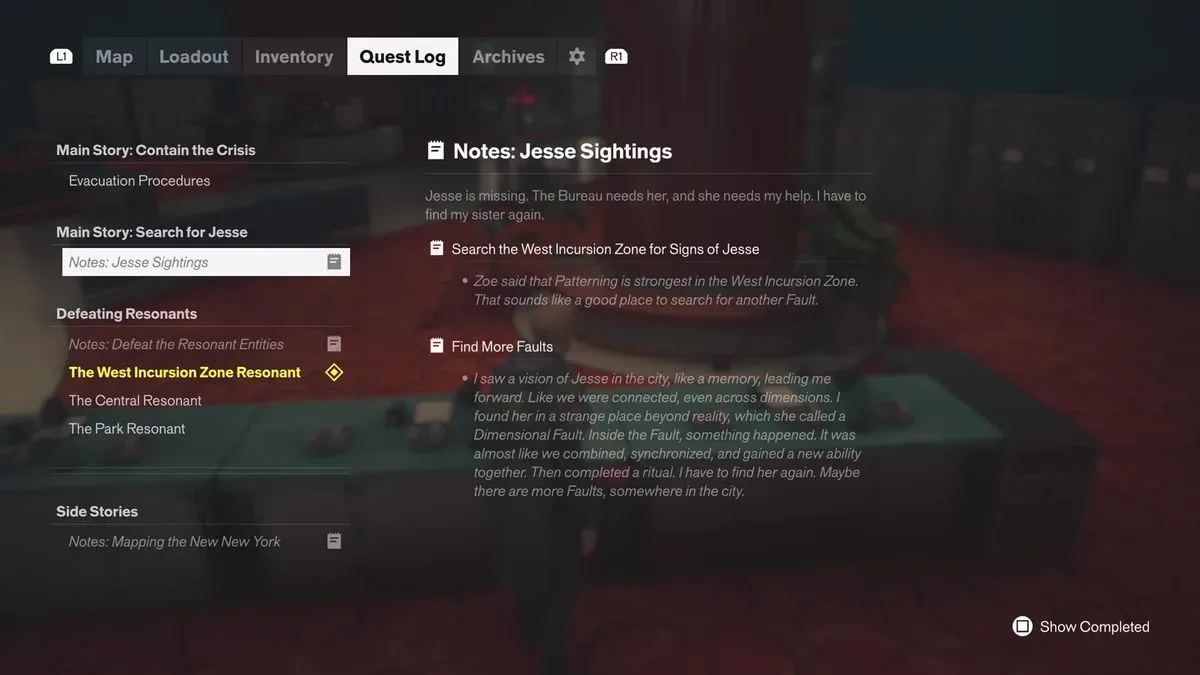
- Jesse Sighting: West Incursion Zone — find the Parking Garage Fault west of the House of Mirrors to gain Gravity Anomalies.
- West Incursion Zone Resonant — continue north to the Theater Hall and battle the Dancer.
- Jesse Sighting: Evacuation Zone — head north through the Evacuation Zone to Dense Patterning and complete its Fault for Reach.
- Evacuation Procedures — go to the Evac Building, meet Arish and advance the main story.
- Central Resonant — return to Central, enter the Patterned Factory and defeat the Deserter for a choice of fire powers.
- The Park Resonant — travel northeast of Central to The Park, begin the new Mold Strains? quest and follow it toward the Collective.
1. Start with Welcome to Manhattan and set up Central properly
After leaving the underground route from the Watchtower, the first priority should be Welcome to Manhattan. Follow the prompt for a Control Resonant Clearance Keycard before branching out. This route introduces the FBC Field Office, the main hub space for this portion of the game.
Hubs matter most when an open zone begins offering competing destinations. The Field Office gives the player a stable point of reference in Central before the quest log grows more complicated. Just as importantly, activate the Fast Travel Door found here as soon as it is available.
Fast travel is the system that lets a player move between unlocked travel points rather than retracing every connecting route. In practical terms, triggering this door early means subsequent trips between Central and the quest regions should be less cumbersome. Since this guide intentionally has Dylan move west, then to the Evacuation Zone, then back to Central and onward to The Park, unlocking the door before that travel begins is an easy bit of setup with lasting value.
2. Let Central World Feats raise the floor before major fights
Do not rush straight from the Field Office to the next named boss objective. Spend time in Central looking for World Feats that appear there. The key benefit is leveling before the recommended sequence begins sending Dylan into Faults, Resonants and more focused combat.
World Feats are the flexible part of this path. Their exact appearance may vary from one player’s moment-to-moment route to another, so there is no need to turn them into an all-or-nothing checklist. Complete enough of what Central presents to reduce the risk of arriving at the West Incursion Zone underprepared.
Related coverage includes Control Resonant: Best Quest Order After Reaching Central.
This is also the right mindset for the rest of the early game: if enemies are consistently overwhelming Dylan, pause the critical path and take on side activities. The game’s branching quest structure appears designed to permit that adjustment. A hard encounter is not necessarily proof that the route is wrong; it may simply indicate that more levels and activity rewards would make the next attempt more manageable.
3. Go west first for the Gravity Anomalies power
The first major detour should be Jesse Sighting: West Incursion Zone. From the House of Mirrors hub area, travel west to locate a Fault in the Parking Garage. Completing this encounter grants the ability to use Gravity Anomalies.
A Fault, in this early progression context, is an encounter tied to acquiring a new power. Gravity Anomalies are specifically described as among the more useful abilities available, which makes the Parking Garage a strong early destination even before considering the rest of the West Incursion Zone.
There is a broader route-planning lesson here. When several areas are available, favor the one that gives a meaningful new tool before asking for a bigger combat commitment. Obtaining Gravity Anomalies first means the next steps are approached with a broader set of options than if Dylan immediately pursued harder story or Resonant objectives. The supplied information does not detail every application of the power, so players should treat it as a valuable new capability to experiment with rather than assume a particular solution not explicitly identified by the game.
4. Stay in the West Incursion Zone for the Dancer
Once the Parking Garage Fault is complete, keep moving through the same region rather than immediately returning to Central. The next destination is the north section of the West Incursion Zone, where the Theater Hall contains the Dancer, a Resonant.
The recommended flow places the Dancer after the Gravity Anomalies acquisition for a reason: it keeps travel efficient while continuing the escalation from exploration and a power-awarding encounter into a dedicated battle. “Resonant” is used here for these named combat targets, including the Dancer, the Deserter and the Collective.
If the Dancer proves too difficult, this is one of the sensible places to step away and revisit Central World Feats or other available side content. There is no indication that the sequence demands a one-visit clear. Maintaining the overall order still helps even if a player temporarily breaks from it to gain levels.
5. Visit the Evacuation Zone for Reach, then meet Arish
With the West Incursion Zone complete, head to the Evacuation Zone. Travel north to Dense Patterning and find the next Fault. This one awards Reach, the second power pickup in the route.
As with Gravity Anomalies, the exact mechanical use of Reach is not required to justify the detour: the recommended progression identifies it as a new power gained before advancing the local story mission. More broadly, placing the Fault before the mission keeps the power-first logic intact. Players obtain another ability, then move to the Evac Building for Evacuation Procedures.
At the Evac Building, Dylan meets Arish and continues the main plot. Pairing the Dense Patterning Fault with this story stop is efficient because both are in the Evacuation Zone. It also prevents the main quest from pulling the player forward before they have collected the region’s stated power reward.
6. Return to Central for the Deserter and fire powers
The next major battle sends Dylan back to Central’s Patterned Factory. The Central Resonant objective leads to the boss called the Deserter. Winning this encounter gives a choice of fire powers.
This is the pivotal setup step for the final recommended destination. The choice of fire powers is not merely another reward on a list: pyrokinetic abilities gained at the factory are especially effective against Mold enemies. “Pyrokinetic” here means fire-based, so the practical message is straightforward—deal with the Factory’s Resonant before choosing to tackle an area known to be overrun by Mold.
That relationship is the clearest reason to resist the temptation to go to The Park too early. Players can explore freely, but the proposed sequence deliberately supplies an elemental advantage before the Mold-heavy section. For anyone who has already arrived in The Park and found its enemies uncomfortable, the Patterned Factory is the natural place to redirect their attention.
Players looking for other early-combat context may also want to read about the Control Resonant hotfix that lowers enemy health and strengthens Dylan at launch. That change is relevant background for judging how early encounters feel, while the route itself remains centered on leveling, powers and sensible area order.
7. Save The Park and the Collective for last in this opening run
The final stop is The Park, northeast of Central. This zone is overrun by Mold, and the relevant quest begins at the center of the area under the marker new Mold Strains?. Follow that objective chain to an encounter with the boss called the Collective.
Putting The Park at the end accomplishes two things. First, it follows the route’s rising difficulty rather than asking players to tackle every available region as though they were equally demanding. Second, it ensures Dylan has the fire-based advantage from the Deserter encounter, which is particularly useful against the Mold enemies found here.
The distinction between “available” and “recommended now” is worth keeping in mind. The Park is not an error to discover early, and its quest can still be used as a preview of what lies ahead. But the better first pass is to leave it until the Field Office and Fast Travel Door are unlocked, Central exploration has provided some levels, both listed Faults have granted their powers, and the Factory has awarded fire abilities.
How to adapt the route when combat gets rough
This order should make the opening hours more coherent, but it does not eliminate the need to react to difficulty. If the Hiss repeatedly flatten Dylan, do not interpret that alone as a reason to abandon the game’s quest structure. Check whether Central World Feats or other side activities remain available, build levels, then return to the last named destination.
- Use the FBC Field Office and Fast Travel Door early: establish Central as a practical base before crisscrossing the map.
- Prioritize the Parking Garage and Dense Patterning Faults: they award Gravity Anomalies and Reach before the later Resonant objectives.
- Keep the Factory ahead of The Park: the Deserter’s reward includes fire powers, and pyrokinetic abilities are particularly effective against Mold.
- Treat side content as preparation, not a distraction: optional activities can help prevent Dylan from becoming underpowered.
- Do not confuse an open quest list with equal challenge: the recommended route is deliberately arranged around escalating difficulty.
In short, get the keycard and travel point, grow in Central, take the two power-granting Fault detours, clear the adjacent Resonant and story objectives, then claim fire abilities before stepping into The Park’s Mold problem. It is a route built to make Central feel less like a pile of competing alarms and more like an escalating investigation with the right tools arriving before the nastier fights.