The Shum arcade cabinets in Control Resonant are optional score-chasing challenges that transport Dylan into compact combat or movement trials. There are eight cabinets in total: seven associated with Manhattan Zones and one additional cabinet that becomes available after the main story. They are not simple early-game diversions. Most are gated behind Zone Level progression, and several also require specific missions or side-quest chains to be completed first.
Each cabinet measures a different skill: holding a defensive position, clearing enemy waves quickly, preserving time in a kill-driven mode, or completing hazardous parkour routes. The immediate practical takeaway is that finding a cabinet is only one part of the task. Players also need to meet its activation requirement and then place highly enough on its leaderboard to collect the more meaningful prizes.
All eight Shum arcade cabinets and their unlocks
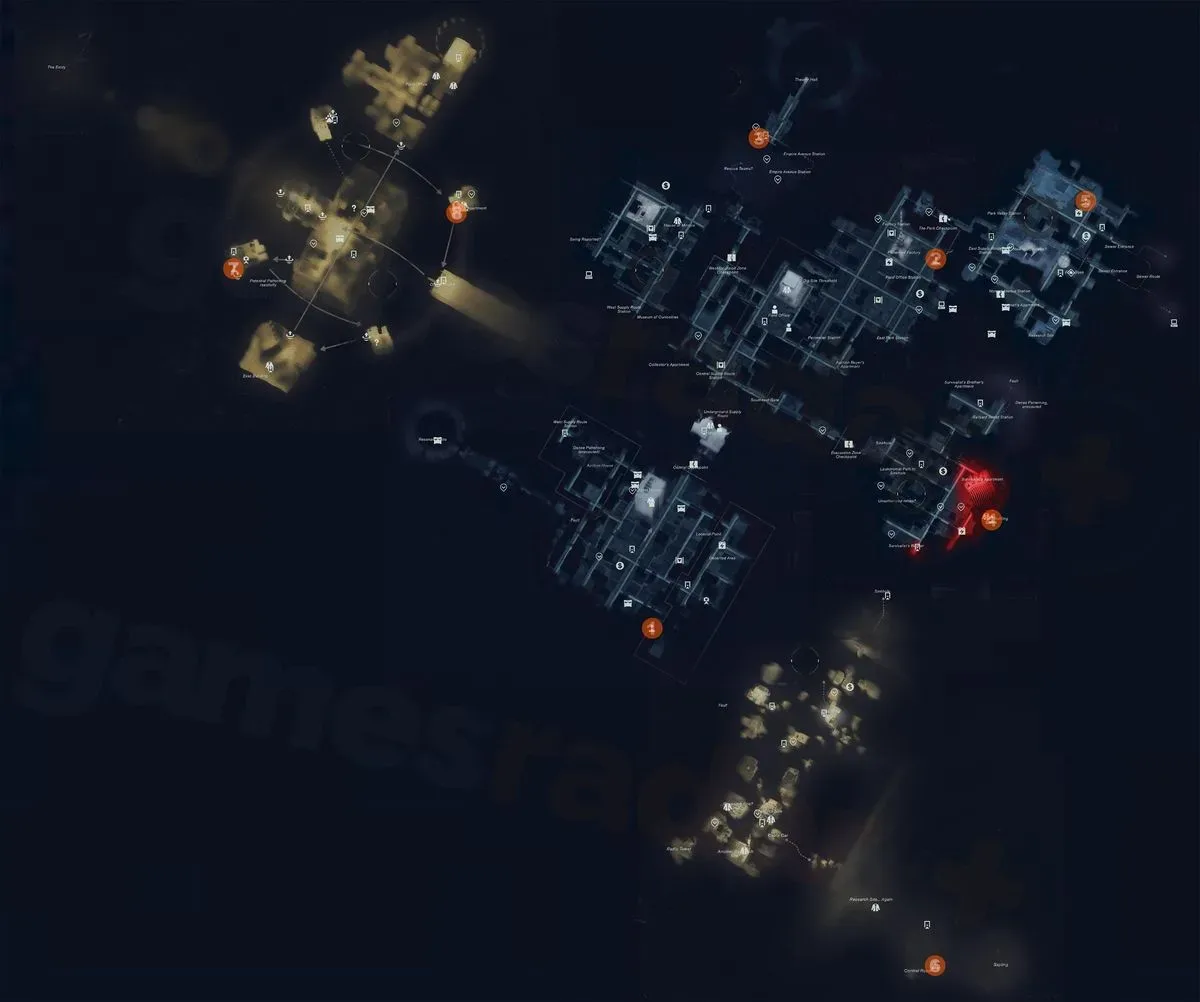
The available information identifies the Zone attached to each cabinet and its activation conditions, rather than a precise room-by-room map position. Use the Zone names below as the key checklist while exploring Manhattan.
1. Defend — Downtown
- Unlock: Reach Downtown Zone Level 6.
- Challenge: Protect three crates from attacking enemies.
- Outfit target: 80,953 points.
Defend is an objective-defense event. Success is not based purely on enemy eliminations: preventing damage to the three crates matters as well. The score target therefore suggests a balance between speed and control. Enemies need to be removed quickly, but allowing them to chip away at the protected crates can undermine the run. Of the listed arcade modes, this is the one where the player’s positioning around multiple objectives is most directly relevant.
2. Parkour — Central
- Unlock: Reach Central Zone Level 4.
- Challenge: Navigate a parkour course outside the Patterned Factory while dealing with threats.
- Outfit target: 01:18.
Parkour shifts the focus away from a conventional score attack. Damage adds three seconds to the timer, making clean movement part of the requirement rather than merely an aesthetic flourish. The listed 01:18 threshold is the benchmark associated with the Outfit reward. Treat incoming hazards as time penalties: a route that is nominally shorter may not be the stronger choice if it exposes Dylan to repeated hits.
3. Entropy — West Incursion Zone
- Unlock: Reach West Incursion Zone Level 3.
- Challenge: Clear enemy waves as quickly as possible while the playable area periodically shrinks.
- Outfit target: 42,503 points.
Entropy is a wave-combat format with a spatial pressure mechanic. The contracting arena is important: it reduces the usable fighting space at intervals, so a strategy that depends on leisurely repositioning can become less reliable as a run continues. West Incursion is also the lowest Zone Level gate in the set at Level 3, though an earlier unlock should not be mistaken for an easy leaderboard finish.
4. Entropy — Evacuation Zone
- Unlock: Reach Evacuation Zone Level 6 and finish the Evacuation Procedures story mission.
- Challenge: Clear waves quickly as the combat arena occasionally contracts.
- Outfit target: 25,322 points.
This is another Entropy cabinet, so its core rules match the West Incursion variant: fast enemy-wave clear times, combined with an arena that closes in from time to time. Its access condition is more involved, however. Zone Level 6 alone is insufficient; the story mission Evacuation Procedures must also be complete. If this cabinet remains unavailable despite the correct Zone Level, mission progression is the first thing to verify.
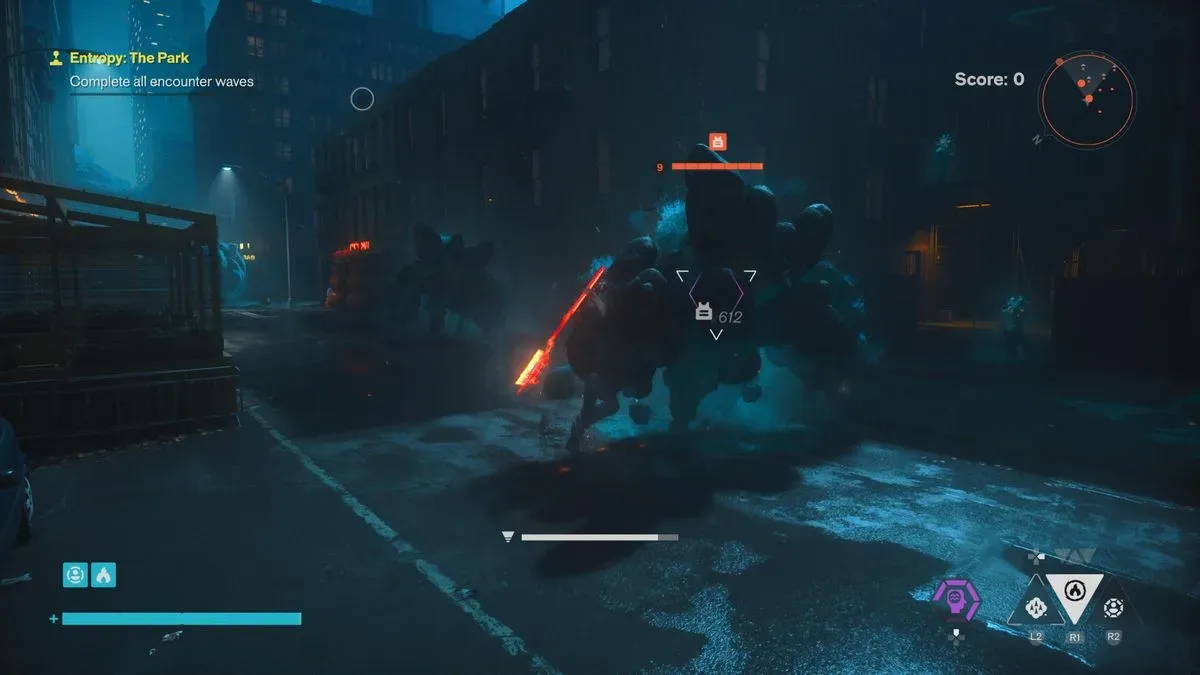
5. Entropy — The Park
- Unlock: Reach The Park Zone Level 4 and complete all three Carbon Copy side quests.
- Challenge: Defeat fast-paced enemy waves inside an intermittently shrinking play area.
- Outfit target: 26,032 points.
The Park’s Entropy challenge has a separate quest prerequisite. All three Carbon Copy side quests are required in addition to The Park reaching Zone Level 4. This makes it a useful progress check for players who have advanced the Zone but still cannot use the cabinet. Complete the entire side-quest set rather than assuming one completed Carbon Copy task will activate it.
Related coverage includes Control Resonant: Every Shum Arcade Location, Unlock Requirement and Reward.
6. Clocked — Underpass
- Unlock: Reach Underpass Zone Level 5.
- Challenge: Defeat every wave before time expires; enemy kills grant additional time.
- Outfit target: 00:22.
Clocked makes time a resource that can be replenished through eliminations. Unlike a strict countdown where every second only disappears, killing enemies extends the run. That rule gives the mode a clear priority: avoid long periods without eliminations and maintain the pace needed to keep the timer alive. The 00:22 mark is the listed threshold for the Outfit reward.
7. Parkour — Unknown
- Unlock: Reach Unknown Zone Level 5.
- Challenge: Complete a hazardous parkour route around an Unknown island.
- Outfit target: 01:14.
Unknown’s cabinet uses the same basic Parkour rule as Central: taking damage adds three seconds to the timer. The environment changes from the Patterned Factory exterior to an island in Unknown, but the central lesson remains straightforward. A clean run protects the clock. The 01:14 target is tighter than the Central cabinet’s 01:18 benchmark, so errors that seem minor can materially affect a reward attempt.
8. Conquest — Retro
- Unlock: Complete the main story, then access the cabinet in Dylan’s apartment.
- Challenge: Return to the Retro videogame recreation of Ordinary and defeat the enemies around town.
- Outfit target: 110,000 points.
Conquest is the post-story Shum cabinet. It is accessed through Dylan’s apartment after the main campaign is completed and sends the player back into the Retro recreation of Ordinary. Its 110,000-point Outfit threshold is the largest score figure among the listed Shum challenges. Anyone working through the full set should leave this one until the story-completion condition is satisfied.
What leaderboard placement actually pays out
Every Shum run grants Zone Level experience based on the score earned. Separate from that score-linked experience, the cabinet leaderboard provides milestone rewards. The prize structure is cumulative, which is the crucial point for planning attempts.
- Fifth place: No additional listed reward.
- Fourth place: No additional listed reward.
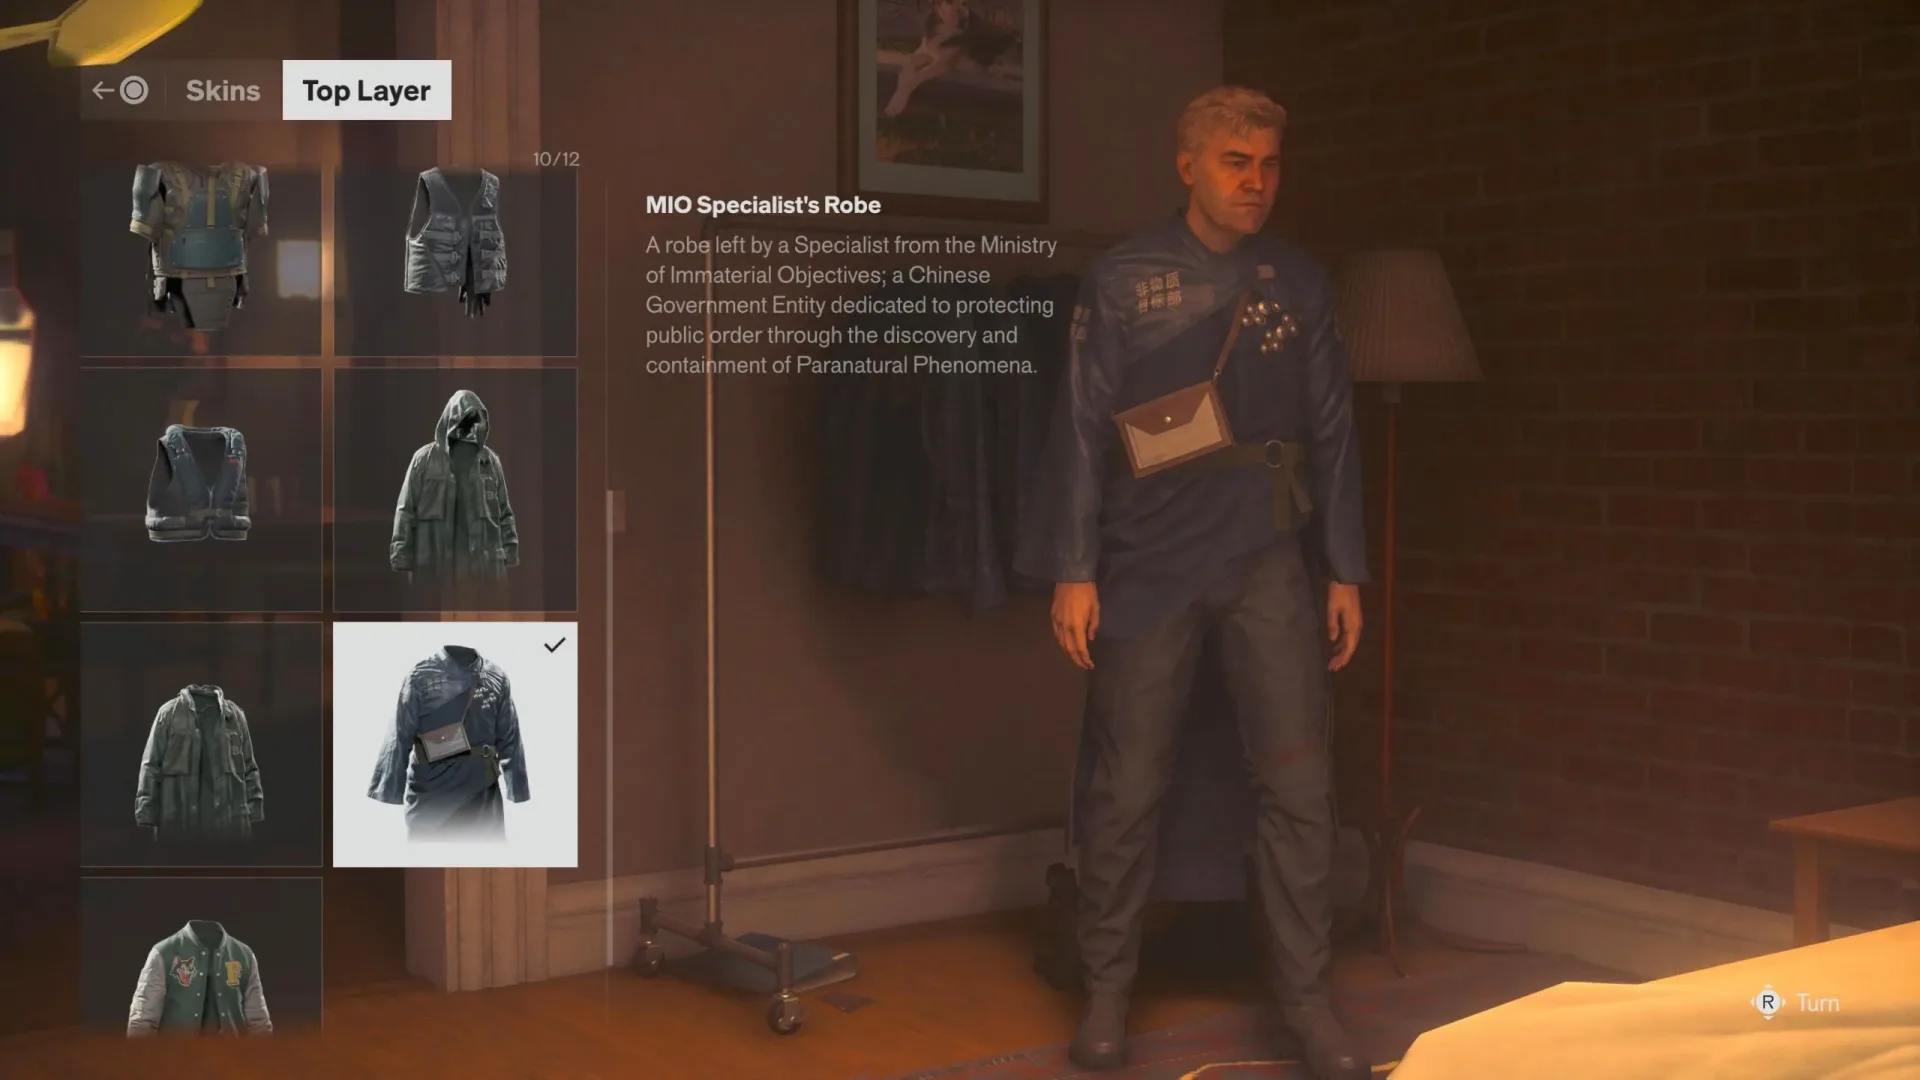
- Third place: Outfit or customization unlock.
- Second place: Power Upgrade Point.
- First place: Control Resonant Reset Item.
Because the rewards stack, first place also awards the second- and third-place prizes. In other words, a top leaderboard finish produces the Reset Item, Power Upgrade Point, and Outfit/customization unlock together. Third is the important breakpoint for players focused on clothing and cosmetic customization; second and first matter for those also pursuing progression resources.
A Power Upgrade Point is a progression reward, while a Reset Item is a separate resource awarded at the top position. The supplied details do not specify their mechanical effects beyond those names, so it is best not to assume a particular build or respec function from the terminology alone. What is clear is that these are in addition to the cosmetic reward rather than replacements for it.
Why a newly found cabinet may feel brutally difficult
Shum machines are framed as late-game challenges. Unlocking one does not necessarily mean a character is ready to claim first place immediately. The high gates—several at Zone Level 5 or 6—and the post-story requirement on Conquest reinforce that these modes are designed around advanced progression.
A recommended baseline is character level 8 or higher before seriously pushing the leaderboards. This is advice rather than a mandatory activation requirement: cabinets themselves are unlocked through their Zone, story, and quest conditions listed above. The distinction matters. A player may be permitted to start an arcade challenge well before they are optimally equipped to reach its Outfit threshold or first-place reward.
Accessibility options are also presented as an alternative for players who want to pursue rewards earlier. That gives players a practical choice between waiting for more progression and adjusting the challenge. Neither route changes the cabinet’s stated activation conditions, but it can alter how attainable the leaderboard milestones are once the machine is available.
A sensible order for clearing the Shum checklist
For completion-oriented players, unlock requirements offer a natural order. West Incursion Entropy opens at Zone Level 3. Central Parkour and The Park Entropy follow at Level 4, though the latter additionally needs all three Carbon Copy quests. Underpass Clocked and Unknown Parkour require Level 5. Downtown Defend and Evacuation Zone Entropy are held for Level 6, with Evacuation also requiring Evacuation Procedures. Retro Conquest comes after the main story.
That sequence is an access roadmap, not a promise of rising difficulty. Each mode asks for different execution. Defend rewards protecting multiple crates; Parkour punishes damage with added seconds; Entropy compresses the safe combat area; and Clocked ties survival time to a steady rate of eliminations. Adjusting to the rule set is more useful than treating every cabinet as the same damage-focused encounter.
For more coverage of progression systems and online-game economies, see this report on a World of Warcraft account dispute involving gold and RMT concerns.
Quick reference: targets and prerequisites
- Downtown Defend: Zone Level 6; 80,953 points for the Outfit.
- Central Parkour: Zone Level 4; 01:18 for the Outfit.
- West Incursion Entropy: Zone Level 3; 42,503 points for the Outfit.
- Evacuation Zone Entropy: Zone Level 6 plus Evacuation Procedures; 25,322 points for the Outfit.
- The Park Entropy: Zone Level 4 plus all three Carbon Copy quests; 26,032 points for the Outfit.
- Underpass Clocked: Zone Level 5; 00:22 for the Outfit.
- Unknown Parkour: Zone Level 5; 01:14 for the Outfit.
- Retro Conquest: Main story completion, then Dylan’s apartment; 110,000 points for the Outfit.