Control Resonant makes abilities do two very different jobs. Traversal powers are the keys that expand movement and access through its distorted spaces. Combat powers, by contrast, come from defeating Resonants and shape how players approach damage, crowd control, defense and status effects. The catch is that several boss rewards are choices rather than a growing pile of every available skill.
That distinction matters. Completing a Fault grants a fixed movement tool, while defeating most power bosses presents two or three combat options and selecting one locks out the others. Reset Items can reopen those decisions, but they are limited, so a player who wants a specific build should understand the consequences before committing.
Below is the known ability route, followed by a practical breakdown of the major decisions. The listed sequence is a useful progression outline rather than an absolute checklist: Double Jump is required, while some combat branches, including the Patterned Factory fire abilities, are tied to optional activity. Story gates and movement requirements can also affect the precise order in which locations are tackled.
The essential distinction: Faults unlock movement, Resonants unlock combat
A Fault is the route to a traversal ability. These dimension-based encounters provide tools for crossing gaps, moving through altered gravity and reaching locations that would otherwise remain inaccessible. Because traversal powers are tied to exploration progression, there is no stated either/or choice within this group.
A Resonant, on the other hand, is a power boss. Defeating one awards combat choices such as a shield, a projectile attack, a summon or an elemental effect. This is where build planning begins. A player can eventually revise every combat selection with a single Reset Item, but that does not make early choices trivial: limited reset currency means changing direction should be a considered decision rather than a routine experiment.
The available abilities also use several terms that are worth separating:
- Falter is an effect applied by particular attacks, including Ignite-enhanced weapon hits and a Shield dash into an enemy.
- Burn is the fire-oriented status associated with Ignite.
- Infected is the status built through Infection attacks, especially Spore Burst and Growth.
- Astralized makes enemies more susceptible to other status effects and is inflicted by the Spike and Astral Rebuke choices.
- Summons create an allied unit, such as a turret or companion, rather than directly firing an attack at the moment of activation.
The central high-damage interaction is the relationship between Burn and Infection: when both are fully built on one target, the statuses cancel one another and cause a powerful explosion. That makes ability selection more than a preference between visual effects. It determines whether a player can assemble a direct, repeatable damage loop.
Traversal abilities and where to obtain them
There are three confirmed traversal powers. They arrive from Faults and collectively move the game from ordinary platforming to airborne travel, gravity alignment and grappling.
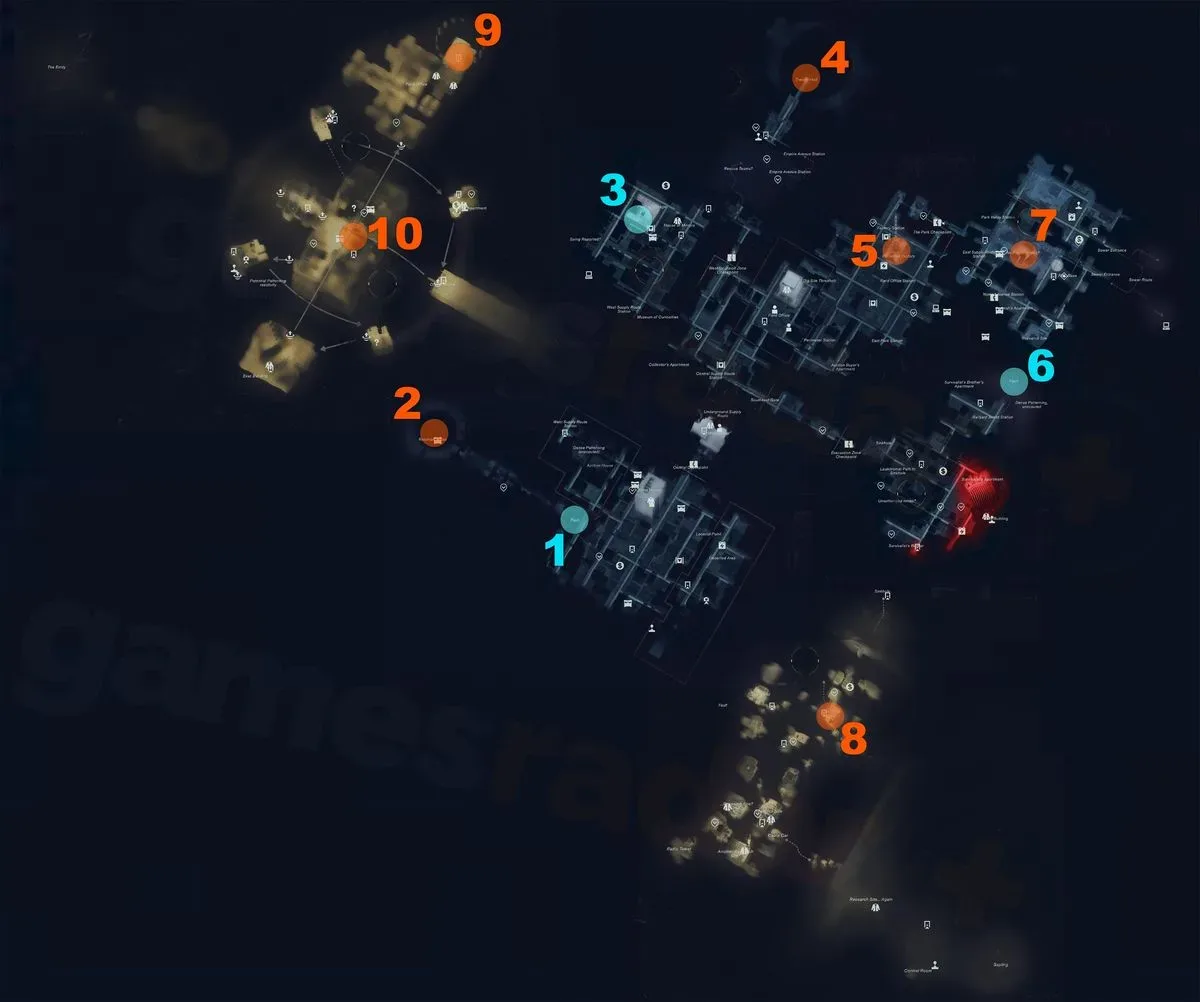
- Double Jump — Downtown Fault. Completing the Fault in Downtown grants Double Jump. In addition to the second jump, it enables an air dash and elevation for greater distance. This is a mandatory progression ability and the foundation for the movement options that follow.
- Shift — West Incursion Zone parking-lot Fault. Shift lets the player align gravity with Gravity Anomalies and walk along certain surfaces. Its value is primarily navigational: it changes which surfaces count as usable ground in anomaly-heavy areas.
- Reach — Evacuation Zone Subway Fault. Reach is a grappling movement power for traveling quickly to the game’s distortions. In practical terms, it adds a directed traversal option beyond jumping and gravity walking.
These powers are not merely convenience upgrades. Double Jump, Shift and Reach define the exploration vocabulary used to access new places. Players looking for a combat ability that solves a movement problem should instead follow the Fault route; the two systems are deliberately split.
Combat ability unlock order: bosses, locations and choices
The following list gathers every confirmed combat reward and its acquisition point. Command is a standalone unlock rather than a choice, while the Resonant Combat Token later changes the usual exclusivity rule for one prior decision.
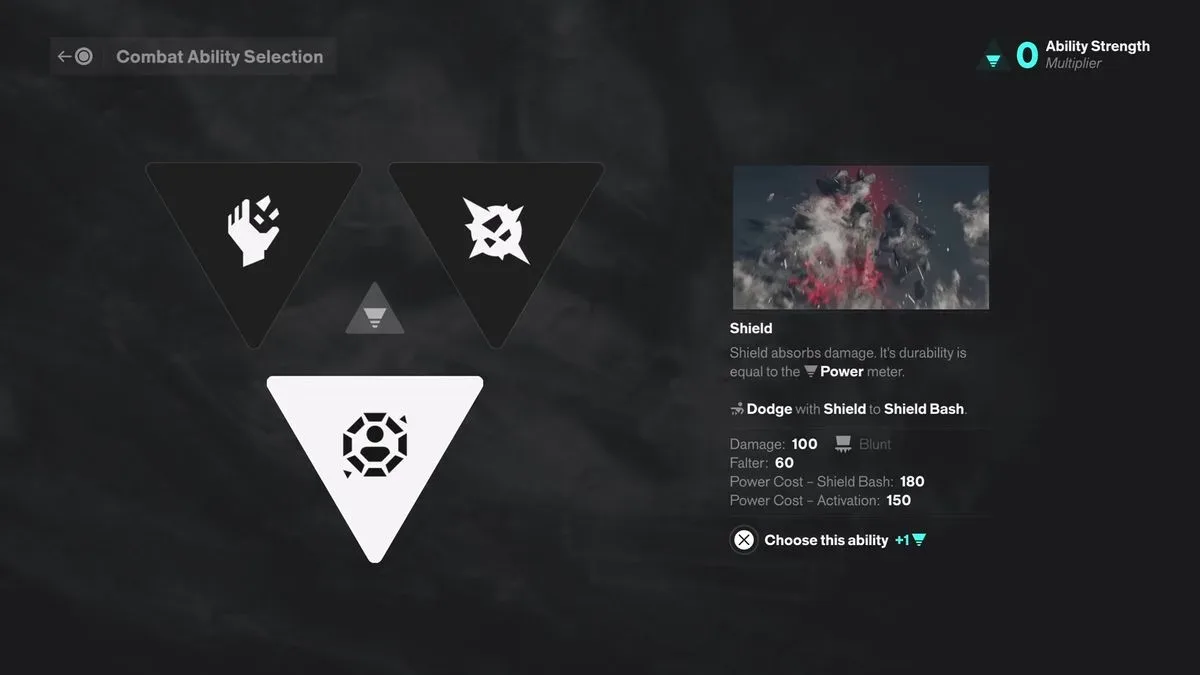
- Artist Resonant, West Downtown: choose Barrage, Volatile Anomaly or Shield. Barrage fires projectiles, Volatile Anomaly summons an explosive ally, and Shield creates a defensive barrier.
- Dancer Resonant, Theater Hall in the West Incursion Zone: choose Ground Slam or Push. Ground Slam strikes the ground from the air; Push is a telekinetic pulse that knocks enemies back.
- Deserter Resonant, Central Patterned Factory: choose Ignite or Inferno. Ignite applies fire to weapon attacks, while Inferno releases short-range waves of flame.
- Collective Resonant, beneath the Park: access this boss after eating four types of Mold, then choose Spore Burst or Growth. Spore Burst fires Infection projectiles in a barrage; Growth summons a Mold turret that fires Infected projectiles at nearby foes.
- Physicist Resonant, at the Spire’s summit in the Underpass: choose Spike or Astral Rebuke. Both inflict Astralized. One option is a controlled summon that hinders opponents, while the other sends a spike up from the ground to hit and launch targets.
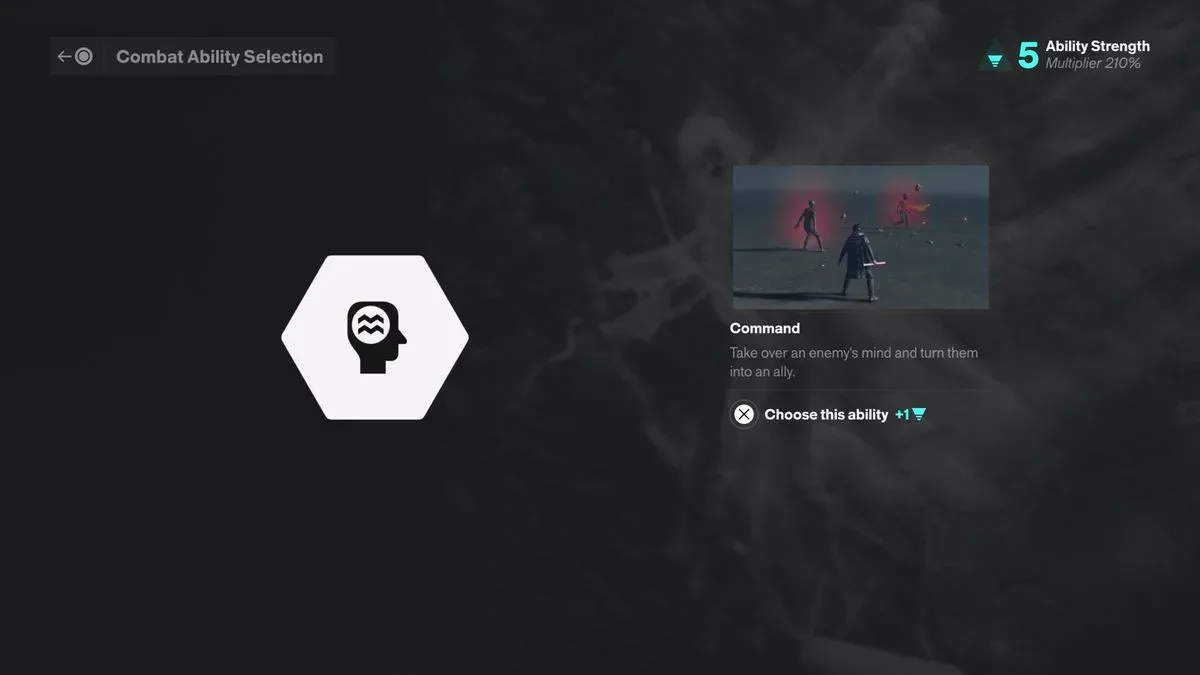
- Co-Director Resonant, Unknown Field Office: unlock Command. This turns hostile units into temporary allies, using dedicated Command charges.
After the main story, the Pope’s Research side quest in Unknown awards a Resonant Combat Token. Unlike a Reset Item, it does not erase existing picks. It permits one extra combat power from one of the earlier choice sets while retaining the original selection. That is a meaningful late-game tool for filling one gap in a preferred kit.
A practical combat route built around Infection and Burn
The most coherent recommended setup prioritizes direct applications of Infection and Burn, plus mobility and survival tools that help bring targets into range. The broad choices are Shield, Ground Slam, Ignite, Spore Burst, Astral Rebuke and Command, with Growth as a strong candidate for the Resonant Combat Token.
This is an analysis of the stated ability properties, not a claim that every other selection is unusable. Push may be easier to deploy than Ground Slam, for example, and an autonomous ally can suit someone who wants less direct aim management. The proposed build simply leans into the most clearly described synergy: rapidly applying Infection, following with Burn through weapon attacks, and triggering the explosion when both statuses reach their limits.
Artist choice: Shield over Barrage or Volatile Anomaly
Shield is the recommended first pick for a close-range, status-focused build. It consumes power, but offers a layer of safety while approaching enemies or collecting health. It can also inflict substantial Falter by dashing into an opponent, and a later talent allows it to detonate for additional damage.
Barrage adds a projectile option and Volatile Anomaly creates an explosive companion. Neither is inherently redundant, but the wider route already gains a rapid projectile tool through Spore Burst. Shield therefore fills a different role: getting safely into the position where Ignite-enhanced weapons can take over.
Dancer choice: Ground Slam versus Push
Ground Slam is the damage-oriented option: it requires an aerial setup, then converts that positioning into a ground attack. Push is simpler in concept, firing a telekinetic pulse that forces enemies back. Their general usefulness is close, but Ground Slam better complements an aggressive build that is already using Double Jump and air movement.
Push may still be sensible for players who value spacing and immediate control. The key trade-off is accessibility versus damage emphasis. If a kit already includes several ranged attacks, a second projectile-style effect is less essential than a more forceful close-range option.
Deserter choice: why Ignite is the build-defining fire power
Ignite is the pivotal selection for the Infection-and-Burn plan because it turns normal weapon attacks into Burn applications. It also boosts weapon damage, creates longer-lasting burns and adds Falter effects to hits. Most importantly, it establishes Burn quickly after Infection has been applied.
Inferno is a sequence of short-range fire waves, so it remains a direct fire attack for players who prefer an activated ability. But Ignite gives weapons a continuing role in the loop rather than asking the player to alternate between a firearm and a separate flame cast. With Spore Burst selected later, the intended order is straightforward: build Infection from range, close the distance, then use ignited weapon attacks to build Burn and trigger the combined explosion.
Collective choice: Spore Burst first, Growth later if possible
Spore Burst is the clearest Infection source for this strategy. It is a rapid barrage, and one burst can fully build Infection on an opponent. That speed matters because the Burn-Infection explosion requires both conditions to be maximized on the same target; slow status application gives enemies more opportunity to reposition or disrupt the plan.
Growth is the unusually promising summon alternative, producing a Mold turret that attacks nearby foes with Infected projectiles. It is a good use of the post-story Combat Token because it supplements Spore Burst instead of replacing it. A player can preserve fast, active Infection application while adding a persistent turret for additional coverage.
Physicist choice: Astral Rebuke’s simple limitation
Astral Rebuke is recommended over Spike largely because it is immediate: activate it and the ground spike strikes, launching the foe it catches. Its restriction is important, however. It works on grounded opponents, not flying ones. That makes it situational rather than a universal answer.
Spike offers a controlled summon that hampers enemies, and both options apply Astralized, increasing vulnerability to other status effects. For a player seeking low-management tools, Astral Rebuke has the advantage. For one prioritizing persistent control, Spike remains a defensible alternative. Neither has the same direct role in the Burn/Infection explosion as Ignite and Spore Burst.
Command, summons and what the token changes
Command arrives from the Co-Director encounter in the Unknown Field Office and is not part of a binary choice. It turns hostile units into allies, but requires its own Command charges. Because it recruits from the enemy side rather than creating a standard summon, it occupies a distinct tactical niche.
The build recommendations generally favor active, direct abilities over summons because summons are described as comparatively weak and in need of frequent direction. Growth is the notable exception: its Infection turret supports a highly valuable status effect, which makes it more complementary to the core loop than a generic damage companion would be.
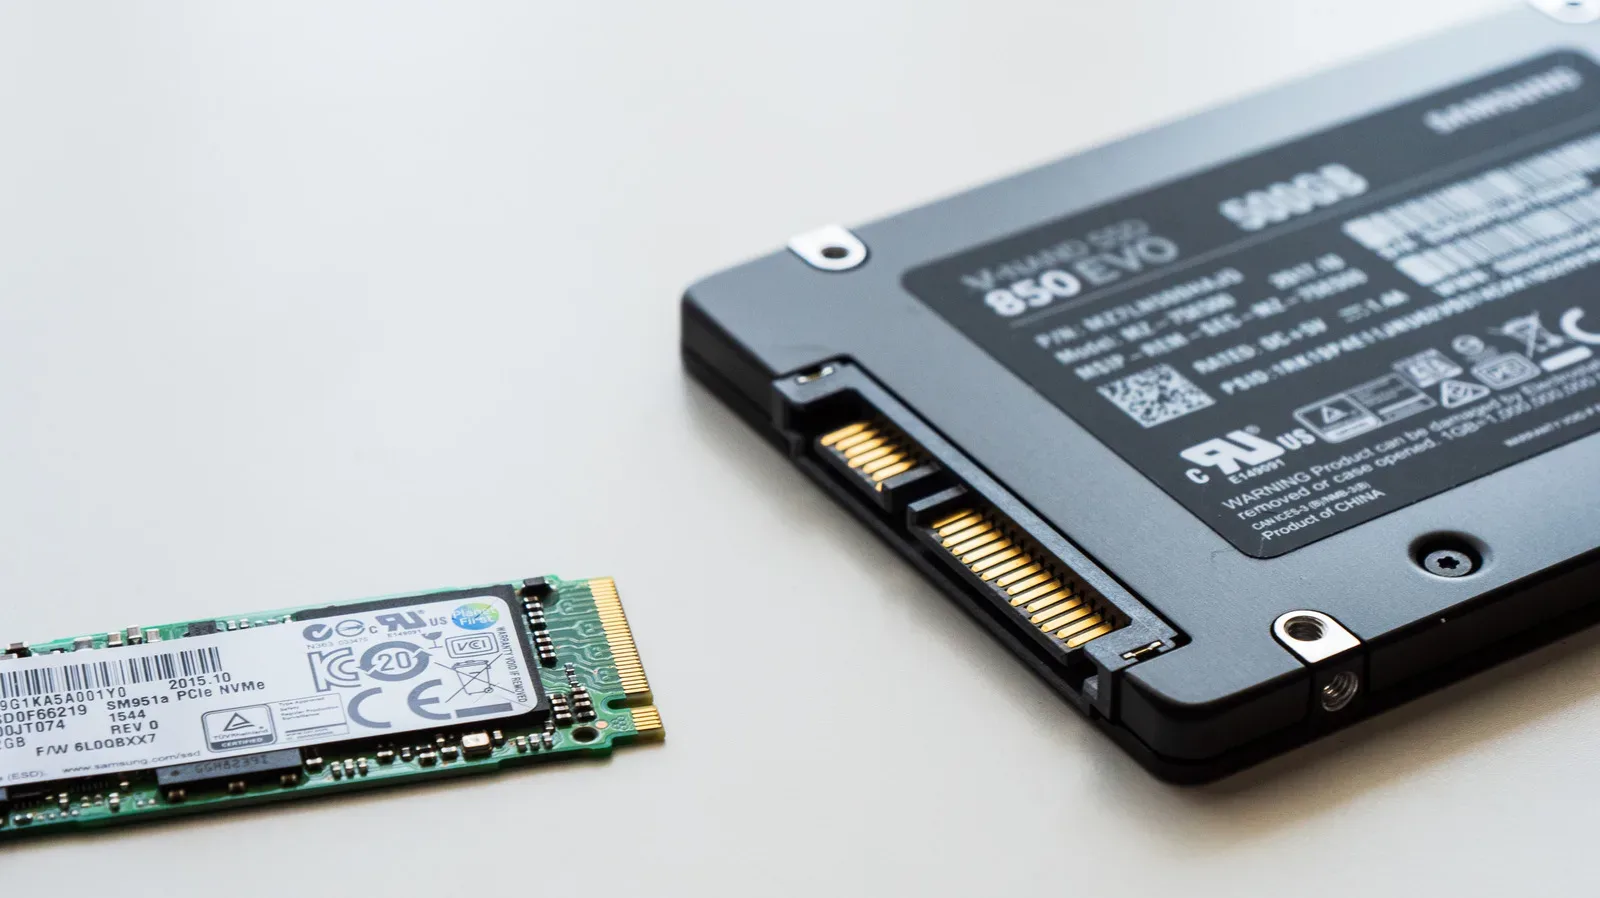
For players considering how their game setup supports longer sessions, storage choices are a separate issue from in-game build choices; this overview of NVMe versus SATA SSD compatibility for gaming explains why interface support matters as much as raw speed.
How to reset combat ability choices
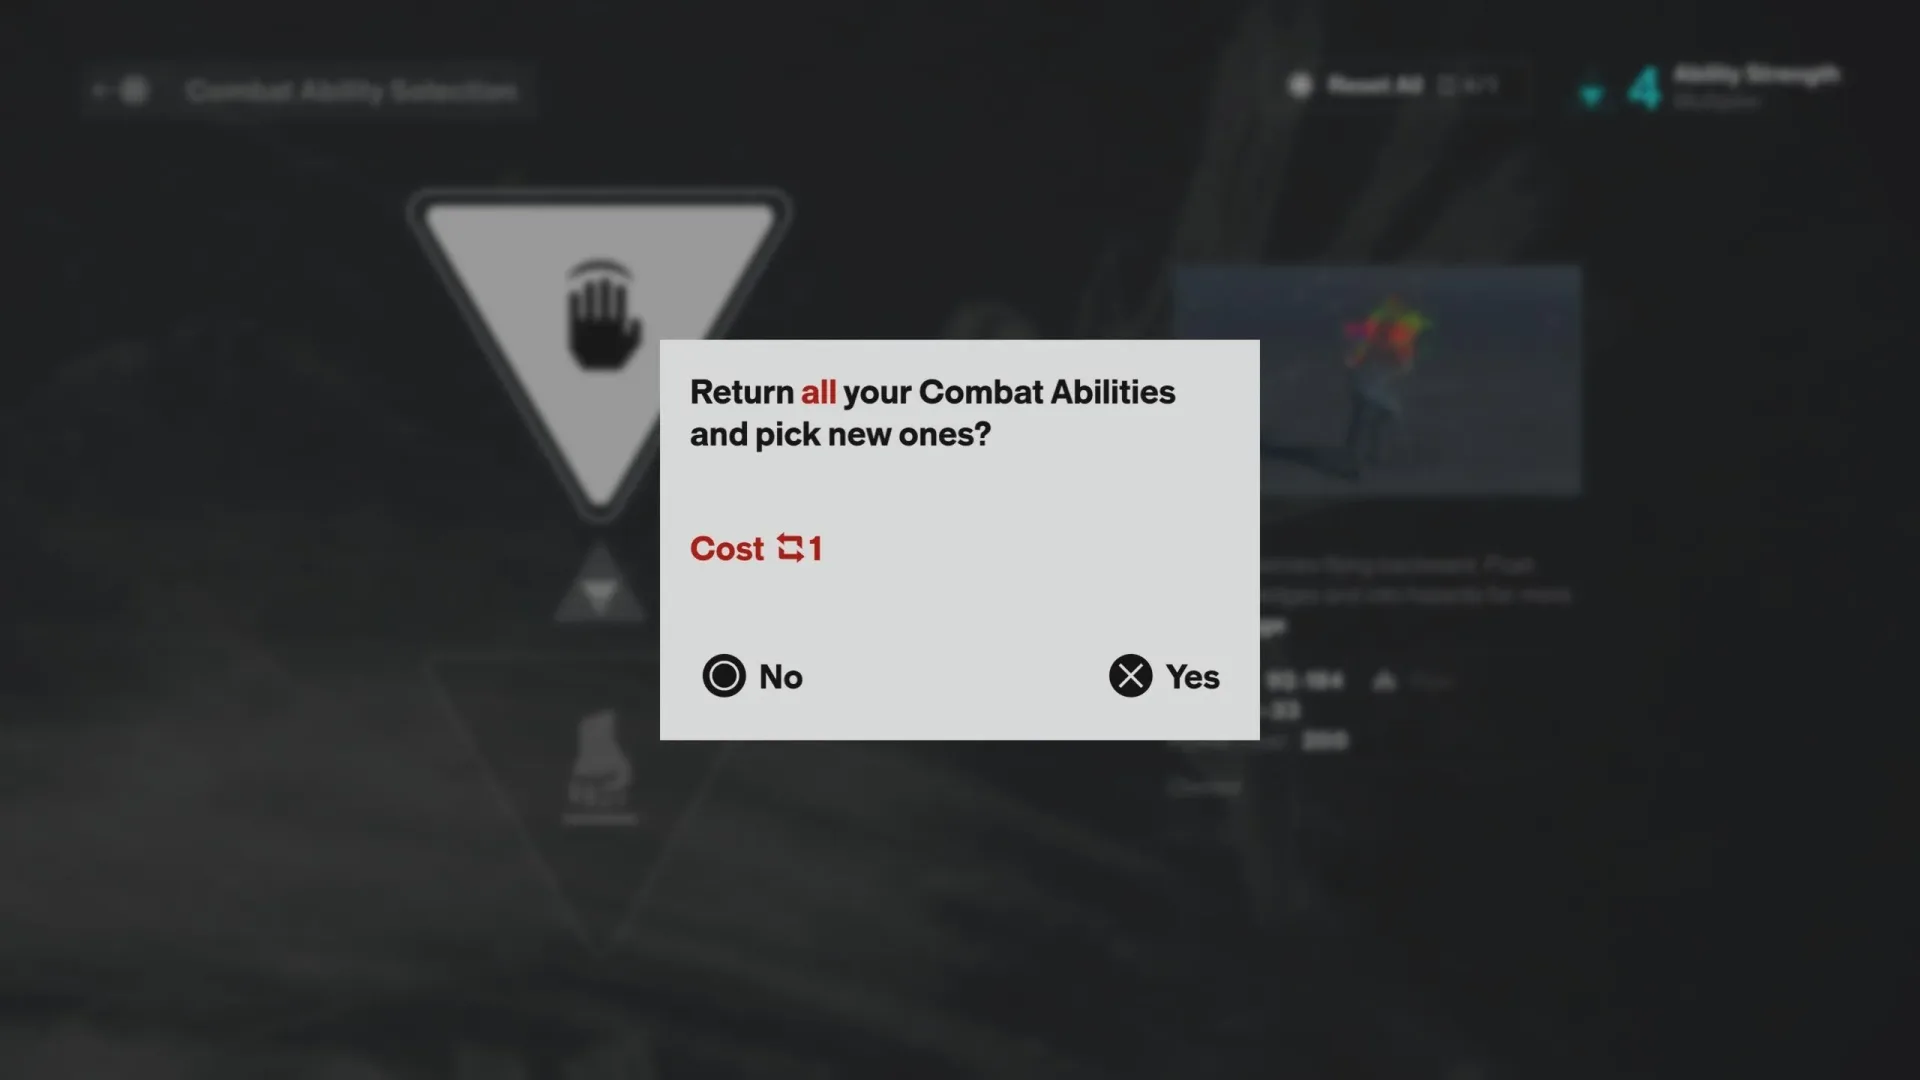
To respec, return to the Gap hub area and interact with the mural on the left upon entering. At the top is a Reset All option. Hold Square or X, depending on the controller, and spend one Reset Item to restart every combat-power choice from the beginning.
The word all is the critical detail. A single Reset Item allows every previous combat selection to be made again; it is not spent one boss decision at a time. That makes a reset useful when changing an entire build concept, such as moving away from summons toward Burn and Infection, rather than fixing one minor uncertainty.
Traversal abilities are not presented as part of this respec process. The mural is for rechoosing the exclusive combat rewards. Before using a scarce Reset Item, it is worth identifying whether the desired missing power can instead be acquired later with the Resonant Combat Token, since that option adds one earlier alternative without surrendering the chosen ability.
Ultimately, the safest first-pass approach is to treat Fault rewards as exploration milestones and reserve combat decisions for a consistent plan. Shield offers approach safety, Ignite supplies Burn through ordinary weapon damage, and Spore Burst rapidly establishes Infection. With the later token used for Growth, that combination has a clear purpose at every stage without assuming that a reset will be readily available.