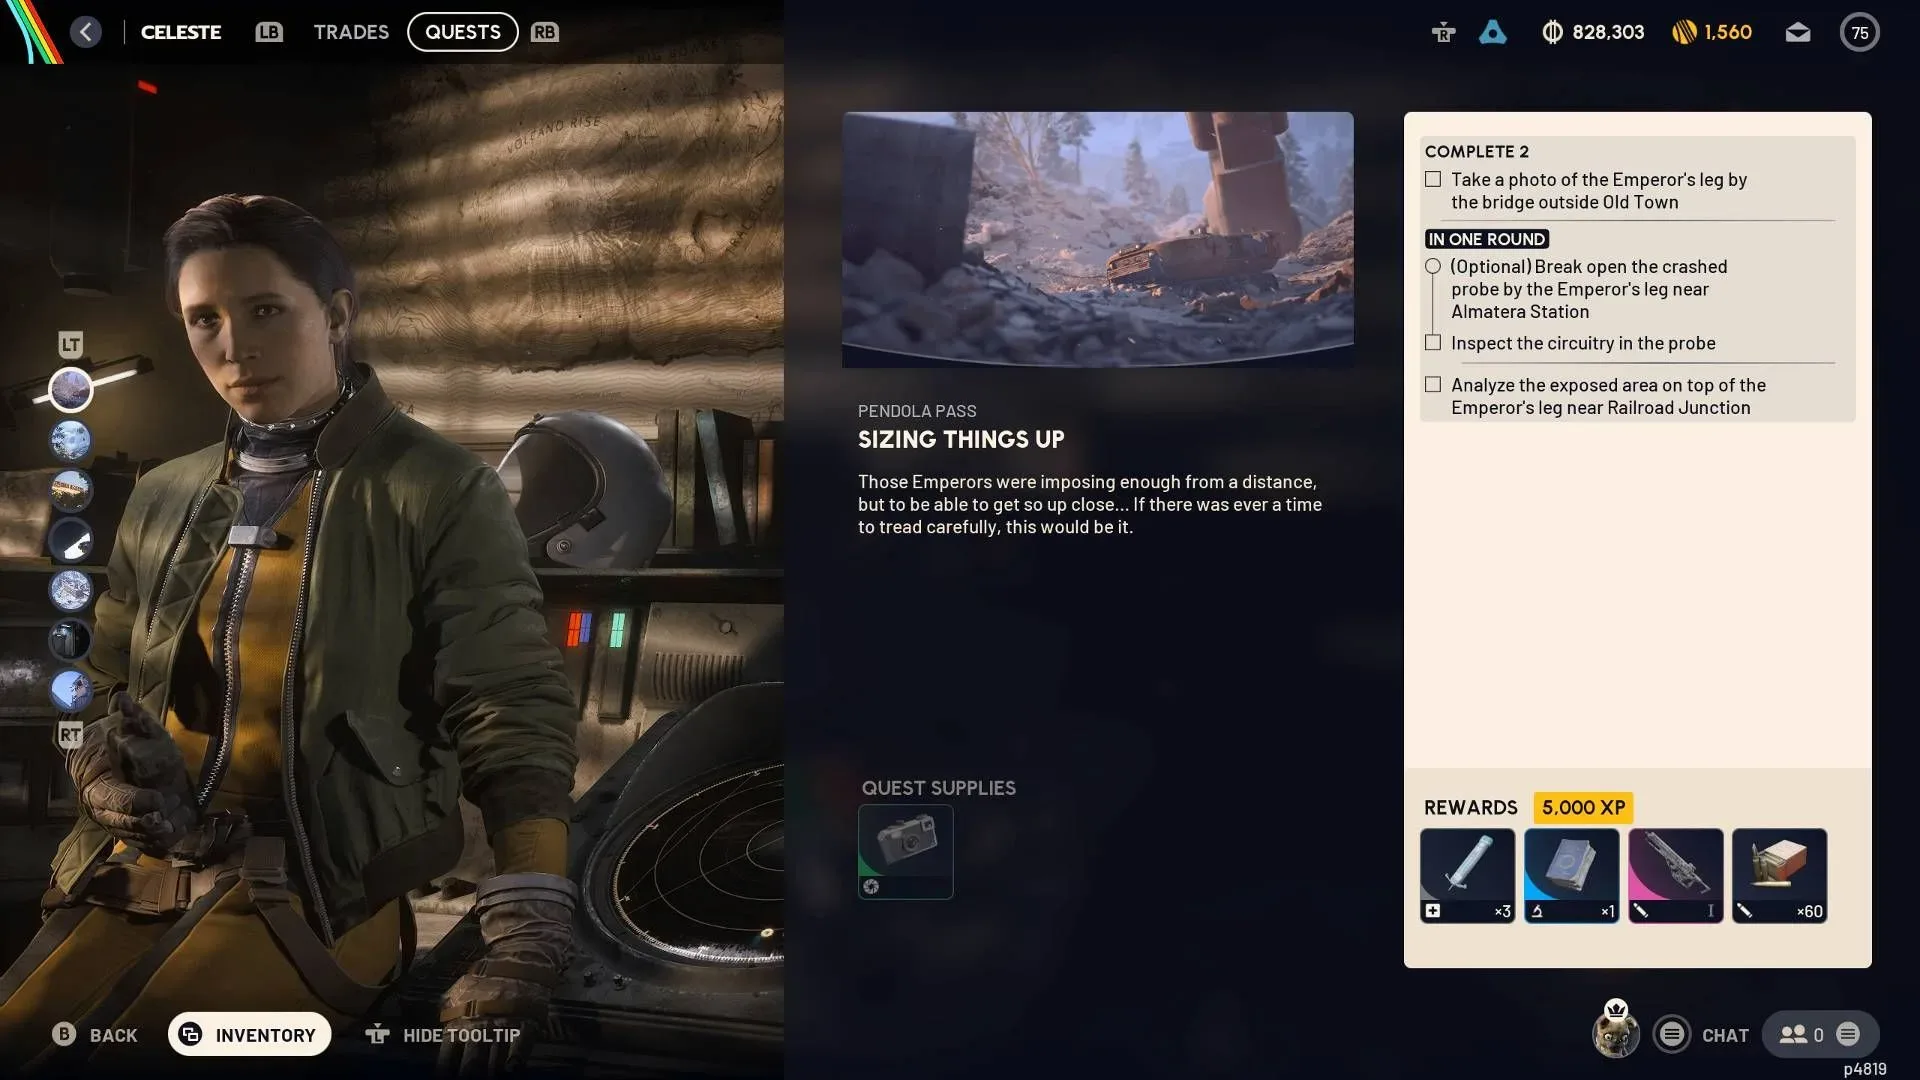
Celeste’s Sizing Thing Up quest in Arc Raiders is an Emperor investigation that can feel more awkward than difficult. The assignment points players toward Pendola Pass, but its key interactions are tied to specific parts of a fallen Emperor rather than broad, clearly signposted buildings. One step also creates an important order-of-operations issue: progressing the main analysis objective can remove an optional Probe objective.
The practical answer is to arrive with a camera, complete the Old Town photograph, investigate the optional Probe before advancing the analysis stage if it matters to you, then move through Railroad Junction and the Emperor’s base to recover the required ARC Conductive Coupler. Extraction is not merely a formality here: the Coupler has to make it back to Celeste before the listed quest rewards can be claimed.
What to bring before entering Pendola Pass
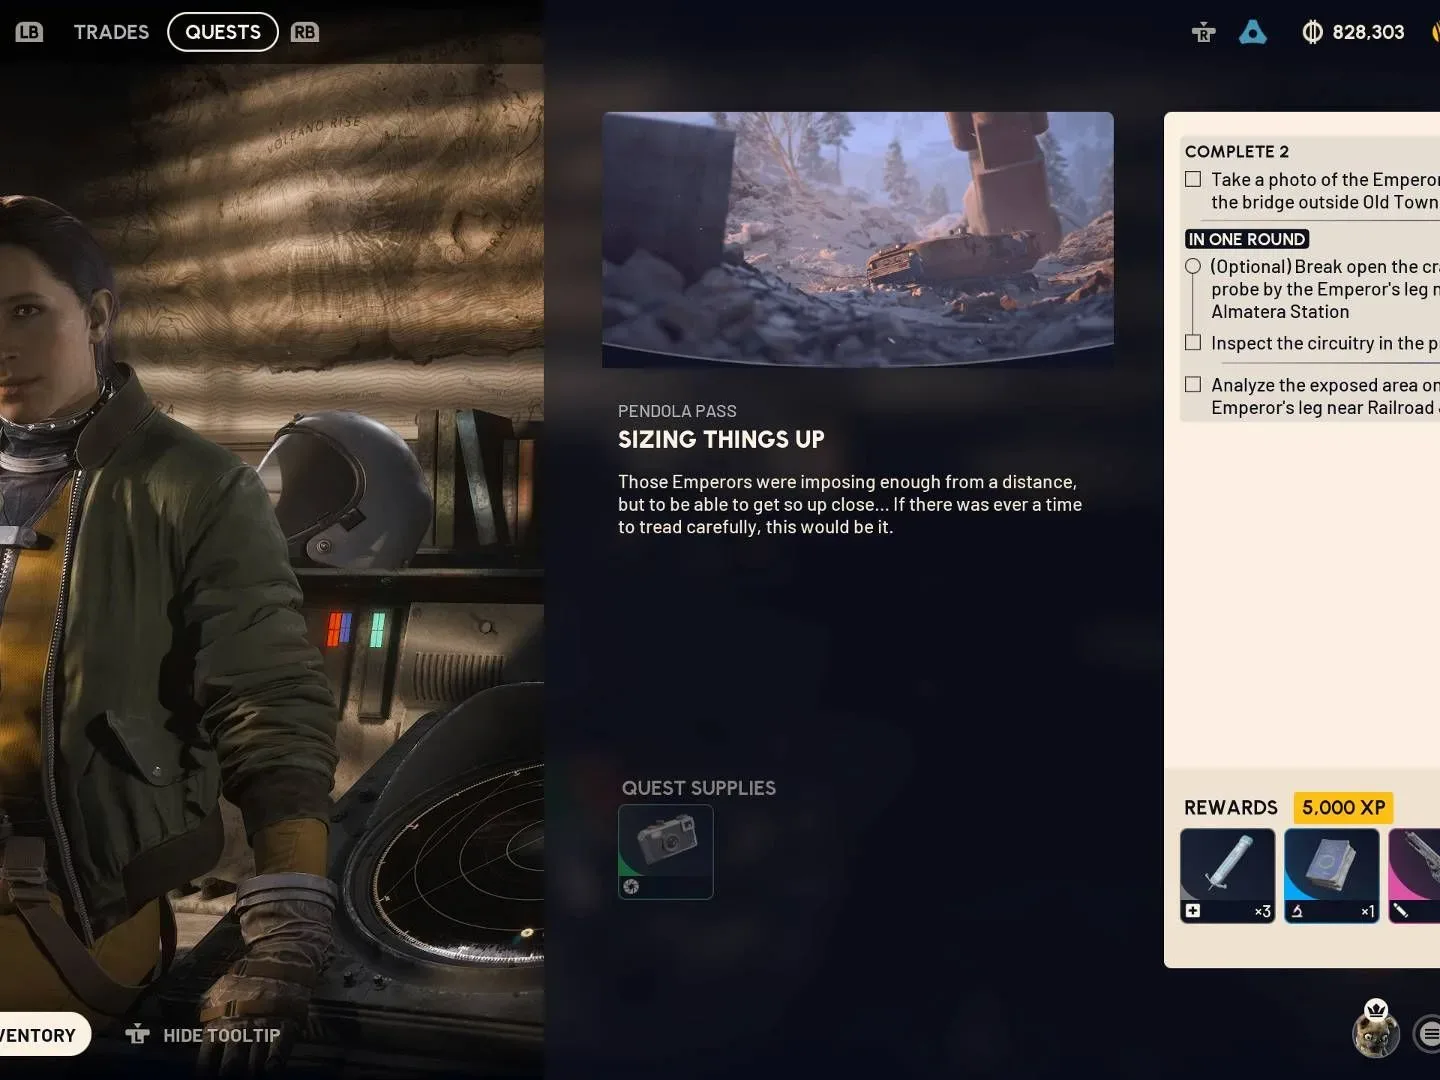
Bring a camera. The opening task specifically asks for a photo of the Emperor’s leg near Old Town, so reaching the correct landmark without that item will not complete the objective. That is the only explicitly required piece of preparation identified for the quest.
It is also worth treating the mission as a sequence of separate interactions instead of one sightseeing trip around the wreckage. A photo objective requires framing the appropriate target; an analysis objective requires climbing to a particular point on the leg and using an interaction prompt; the final payload objective requires searching a partly buried container. Seeing the Emperor is therefore not enough by itself at any stage.
Sizing Thing Up walkthrough at a glance
- Travel to Pendola Pass with a camera.
- At Old Town, photograph the Emperor’s leg from a valid angle.
- If you want to pursue the optional Probe task, do so before analysing the exposed area.
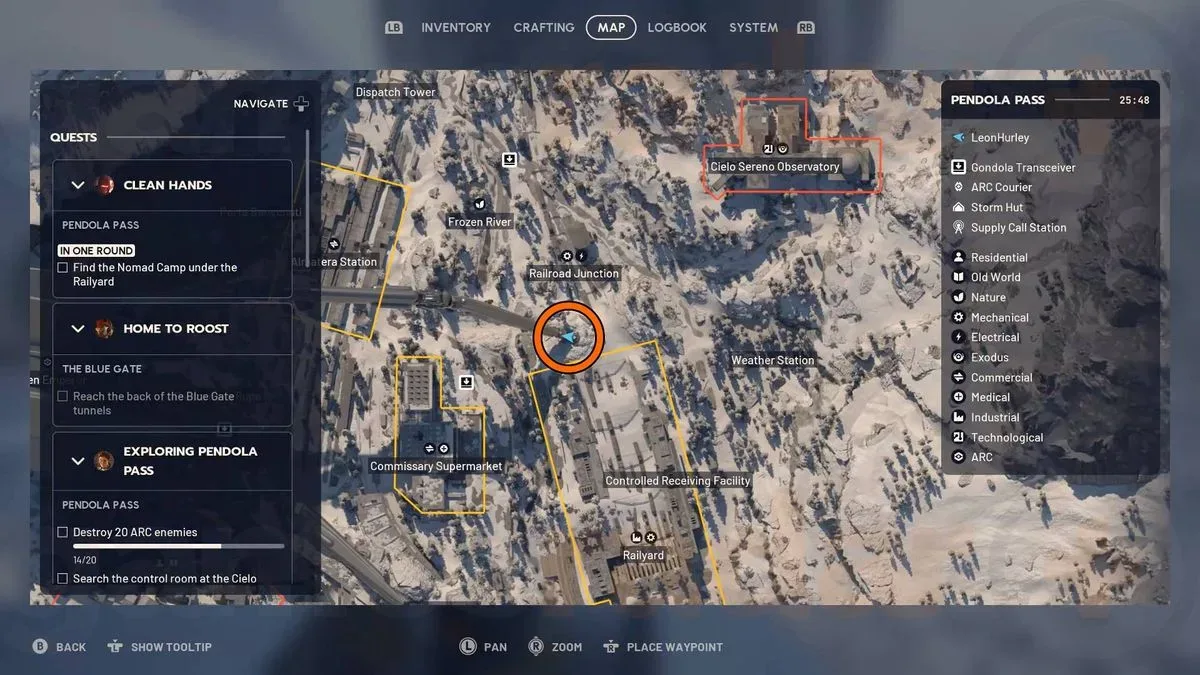
- Go to Railroad Junction and climb to the point where the Emperor’s leg touches down.
- Use the prompt to analyse the exposed part of the leg.
- Head to the Emperor’s base; reaching the area completes the next objective and reveals the payload search step.
- Search the elongated, half-buried payload amid snow and wreckage.
- Secure the ARC Conductive Coupler, extract, and return it to Celeste.
Step 1: Photograph the Emperor’s leg near Old Town
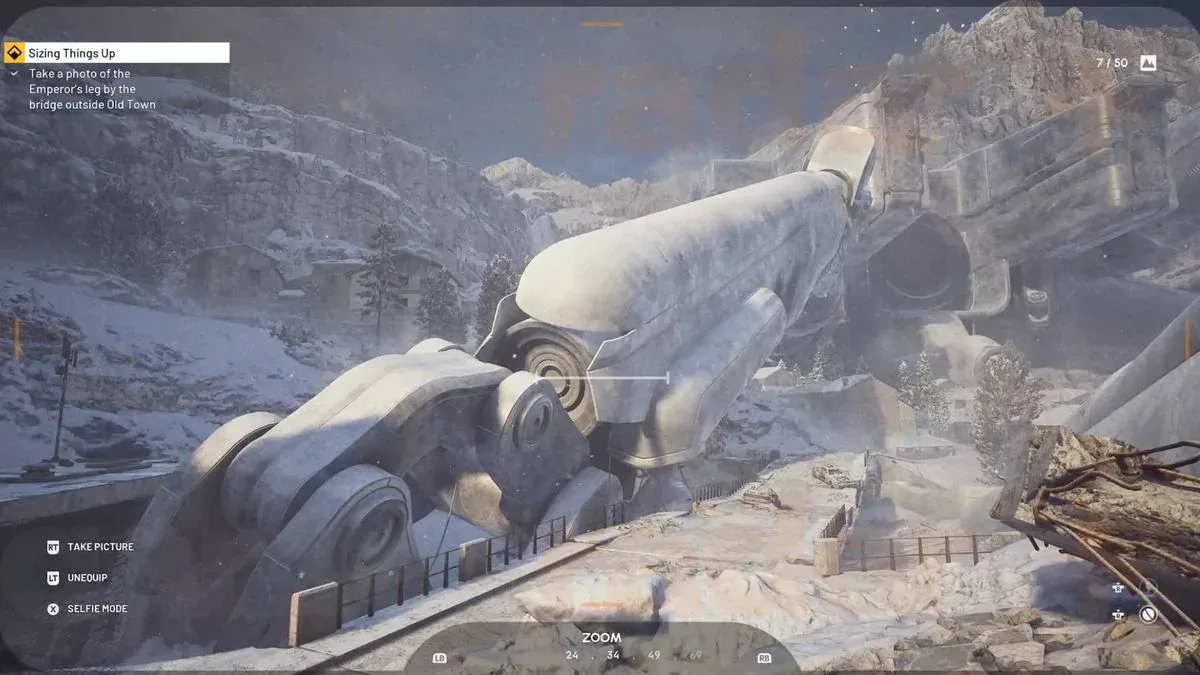
The first objective is a photograph of the Emperor’s leg in the Old Town area. The wording matters: this is not a general request to take any image around the fallen machine. Position the camera so the leg is clearly the subject, then take the picture when the objective registers.
Photography tasks are easy to overthink when a game gives little feedback about framing. In this case, the useful approach is to adjust your position and camera angle around the correct Old Town leg until the quest confirms completion. Do not leave the area simply because you have taken a picture; verify that the objective has actually updated before moving on.
This is also a good point to check the quest state carefully. After the photo, the mission can branch into the main progression route and an optional Probe-related task. The Probe objective should be treated as time-sensitive in the quest sequence rather than something guaranteed to remain available until the end.
Important: handle the optional Probe objective first
After completing the photograph, do not rush immediately to the exposed-area analysis if the optional Probe objective is on your list. Completing the analysis step crosses out the option to finish the Probe goal. In other words, the quest’s main route can permanently close that optional opportunity for the current run.
Related coverage includes Arc Raiders: How to Complete Celeste's Emperor Investigation Quest.
The confirmed information establishes the lockout, but not a reliable location for the Probe itself. That distinction is important. Players should search for and complete the optional interaction before triggering the Railroad Junction analysis, rather than expecting a later return to restore it. If the optional objective is not a priority, you can proceed with the main steps below.
In game-guide terms, this is a missable objective: an objective that can become unavailable after a progression trigger. The trigger here is analysing the exposed part of the Emperor’s leg. The safest habit is simple: complete optional business immediately after the photo, then advance the quest only when ready.
Step 2: Analyse the exposed area at Railroad Junction
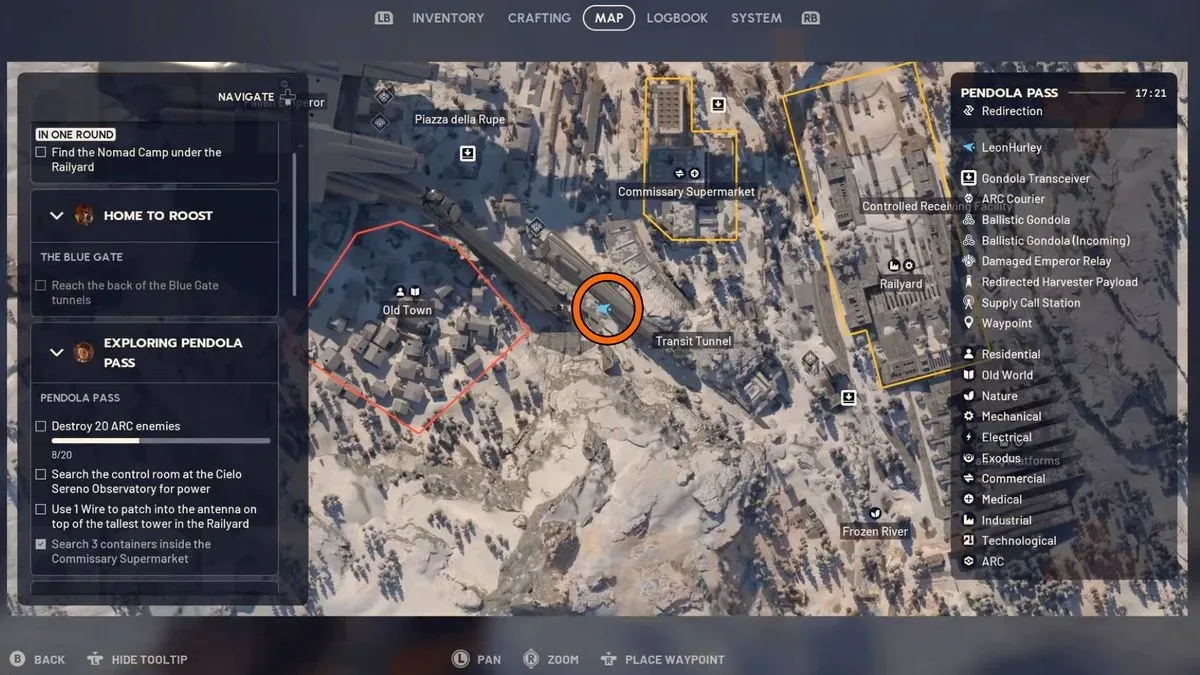
The next principal destination is near Railroad Junction, where the Emperor’s leg comes down to the ground. The objective can be deceptively vague because the required interaction is not clearly marked from a distance. You are looking for the point on the leg that can be climbed, not an obvious console or large highlighted device on the surrounding terrain.
Climb up onto the indicated section of the Emperor’s leg near its touchdown area. Once you have reached the correct spot, an interaction prompt appears that lets you analyse the exposed area. Use it to complete this phase.
If no prompt appears, reassess your vertical position. Being beside the leg, underneath it, or merely near Railroad Junction may be insufficient; the interaction is associated with a particular climbable point. This is a location-and-position objective, which means the solution is finding the exact usable surface rather than searching every nearby crate or piece of debris.
Completing the analysis does not finish Sizing Thing Up. Instead, it advances the investigation to the Emperor’s base and sets up the item recovery portion of the mission.
Step 3: Reach the Emperor’s base
After the analysis, move to the area at the Emperor’s base. Simply entering the correct vicinity should satisfy the Reach the Base of the Emperor objective. This location transition then unlocks the final instruction: Search the Buried Payload.
This handoff is useful because it confirms you are in the intended final search zone. If the payload has not appeared as an available objective yet, keep moving through the base area rather than searching prematurely across unrelated parts of Pendola Pass.
The base objective and payload objective are close to one another, so there is no need to interpret the new search as a separate long-distance journey. Once the quest updates, focus on the snow and wreckage around the base.
Step 4: Search the buried payload for the ARC Conductive Coupler
The buried payload is described by its shape and placement: it is an elongated box protruding partway from snow and surrounding wreckage. Look for a container that is visibly half buried, rather than a fully exposed chest or an ordinary environmental prop.
Approach the payload and use the search prompt when it appears. Searching it awards the ARC Conductive Coupler, the mission-critical item needed to complete Celeste’s request.
An ARC Conductive Coupler is the quest item recovered from the payload; for purposes of this mission, the important detail is that it must survive the trip out of Pendola Pass. Find it, secure it, and prioritize extraction instead of treating the search prompt as the final hand-in.
Extract before claiming the quest rewards
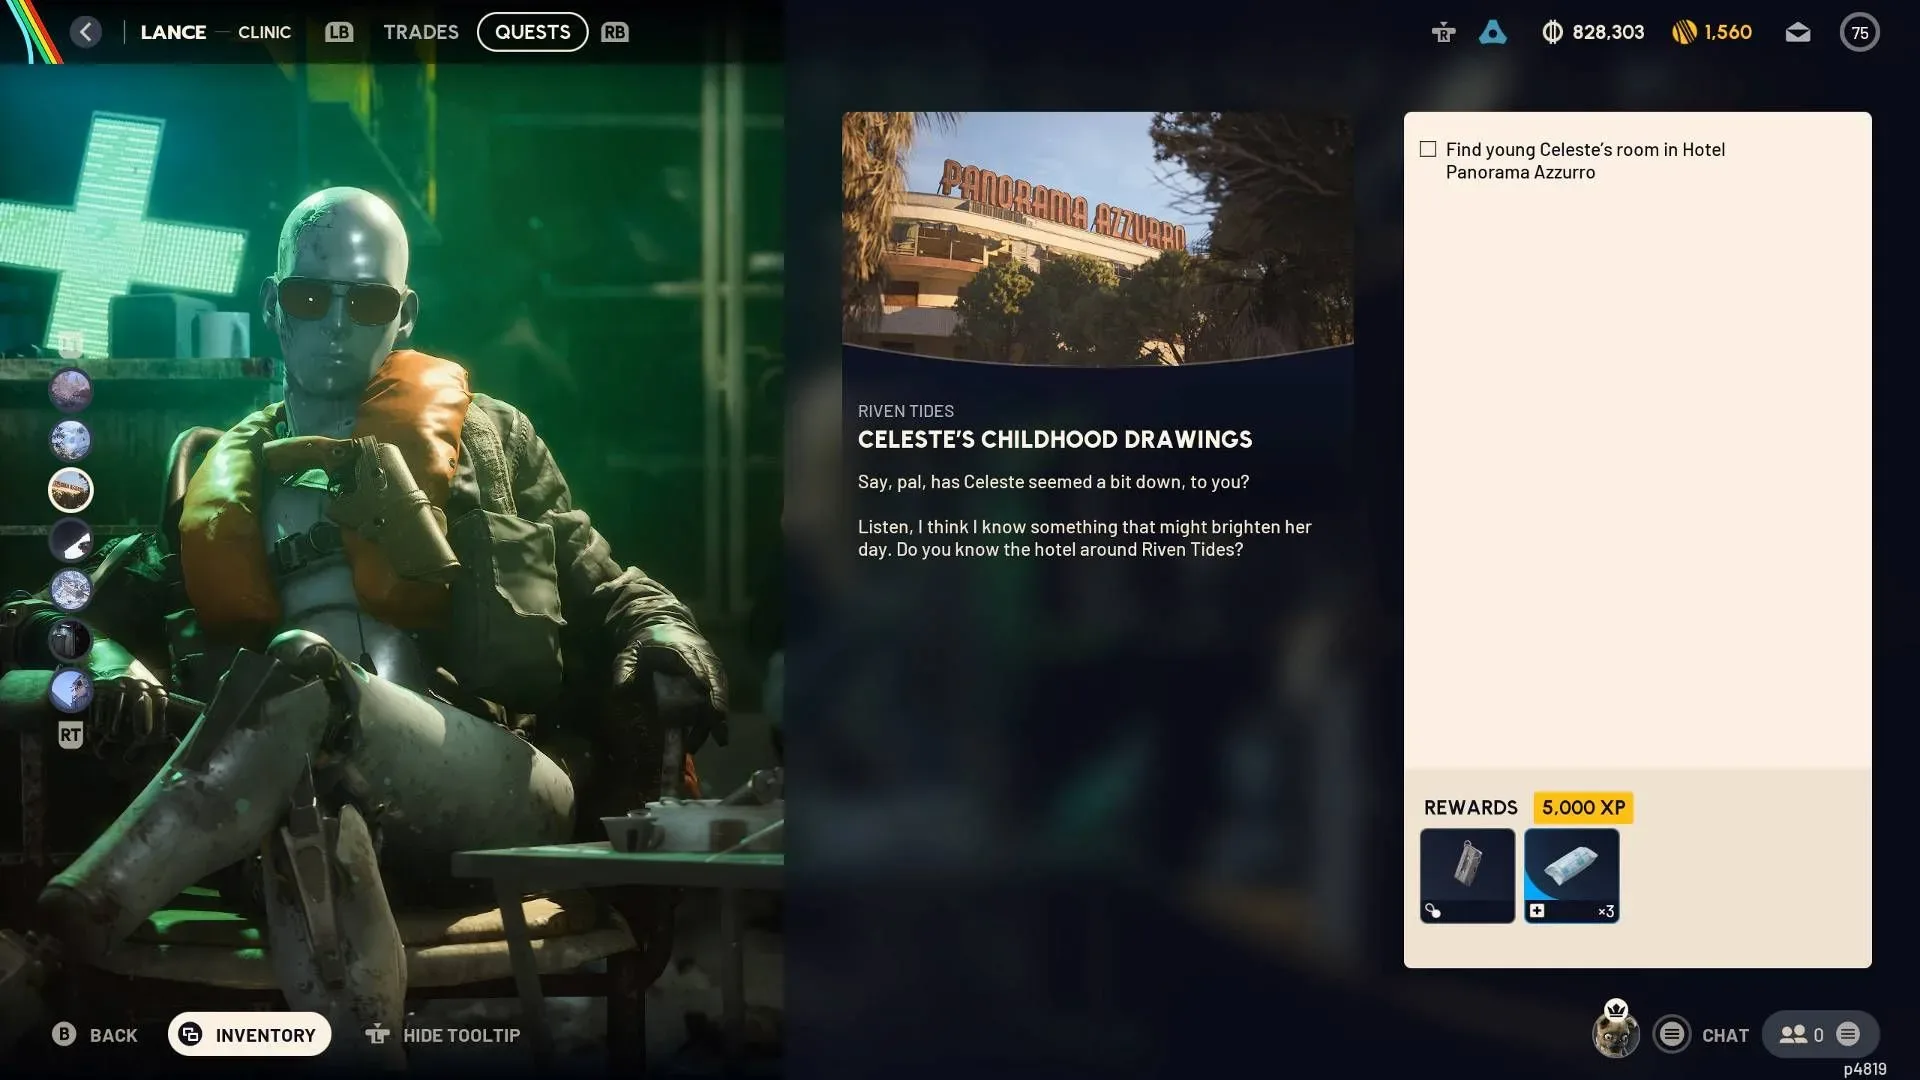
With the ARC Conductive Coupler in hand, extract from the area and take it back to Celeste. The reward package for completing Sizing Thing Up contains:
- Three adrenaline shots
- An Exodus Technical Handbook
- A Bettina assault rifle
- 60 heavy ammo
- 5,000 XP
That makes a clean extraction especially valuable. The quest is structured around multiple site interactions, but the recovered Coupler is the item that ties those steps to the eventual hand-in and reward collection.
Common Sizing Thing Up mistakes to avoid
Forgetting the camera
The first task cannot be completed without a camera. Check for it before committing to the Old Town route, since the Emperor leg itself will not substitute for the required photo interaction.
Doing the analysis before the optional Probe task
This is the big sequencing trap. Analysing the exposed area removes the optional Probe goal, so players interested in that side objective should deal with it after the photograph and before heading up the Railroad Junction leg.
Searching the ground rather than climbing the leg
The Railroad Junction objective is not a conventional scavenger hunt. The analysis prompt is reached by climbing onto the relevant portion of the Emperor’s leg near where it lands.
Looking for a fully visible crate at the base
The payload is obscured by its surroundings. Search for the long box sticking out of snow and debris; its partially buried condition is the key visual identifier.
Leaving without completing the extraction and return
Obtaining the ARC Conductive Coupler is a major milestone, not the finish line. Extract it successfully and return it to Celeste to receive the weapon, consumables, handbook, ammunition, and XP.
A useful route-planning note for Arc Raiders quests
Sizing Thing Up illustrates why objective text and interaction type should be read together in Arc Raiders. “Take a photo,” “analyse,” “reach,” and “search” each ask for a different action, even when all four happen around the same enormous wreck. The photo needs a camera and valid framing; the analysis requires elevation on the leg; reaching the base unlocks a follow-up; and searching the payload produces the transportable quest item.
For another example of a camera-driven task, see our Arc Raiders Ruined Homestead photography guide. The shared lesson is that bringing the required tool and confirming each objective update can prevent an otherwise avoidable detour.
For Sizing Thing Up, the cleanest main-path order is Old Town photo, optional Probe business if desired, Railroad Junction analysis, Emperor base, buried payload, extraction, and Celeste hand-in. Follow that order and the Emperor’s legs stop being a mystery and become a reasonably direct route to the Bettina assault rifle and the rest of the reward bundle.