Finding a pre-owned console, controller, handheld, camera, turntable, phone or monitor can feel like hitting the bonus stage. It may cost less than buying new, keep useful hardware in circulation, and put a piece of older technology back where it belongs: being used. But there is one unglamorous quest to complete before the first game boot, record spin or photo session. Clean it properly.
Even an item that looks immaculate can carry finger oils, dust, residue in seams and debris in ports. A used controller may have lived through years of snack breaks. A handheld’s buttons may have collected grime around their edges. A vintage console can arrive with a small civilization of dust occupying its ventilation slots. The objective is not to drench every relic in sight; it is to remove dirt thoughtfully without trading cosmetic mess for moisture damage or scratched surfaces.
That approach matters especially for collectible hardware. An older system may no longer have readily available replacement parts, and a rough cleaning method can harm labels, screen coatings, plastics, contacts or delicate mechanisms. Whether the prize is an original Xbox, a Game Boy, a camera, or a Dreamcast with a fascinating history of its own—see how three PlayStation games reached the Dreamcast through bleemcast!—the safest rule is simple: begin gently, use very little liquid, and give every device time to dry before powering it up.
Start with a powered-down inspection
Before bringing out a cloth, disconnect the device from power and switch it off. Remove batteries when that is appropriate and straightforward, and detach easy-to-remove accessories such as controller cables, protective cases, watch bands, ear tips and game cartridges. Do not force anything that seems stuck, brittle or unusually resistant. With vintage plastics and old connectors, patience beats brute strength every time.
Take a moment to inspect the item under good light. Look at seams, vents, ports, buttons, analogue sticks, charging contacts, battery areas and undersides. Check cables for damage rather than assuming a wipe-down will make them safe. This first pass tells you where loose dust is gathering and where you should avoid applying any moisture.
It also keeps the project sensible. Surface cleaning is one thing; dismantling a console, camera, laptop or record player is another. If the device has corrosion, a swollen battery, liquid damage, exposed wiring, a burned smell or serious mechanical trouble, cleaning the exterior does not make it safe to operate. Stop there and consider specialist repair, proper recycling, or manufacturer guidance for that specific product.
Build a low-risk cleaning kit
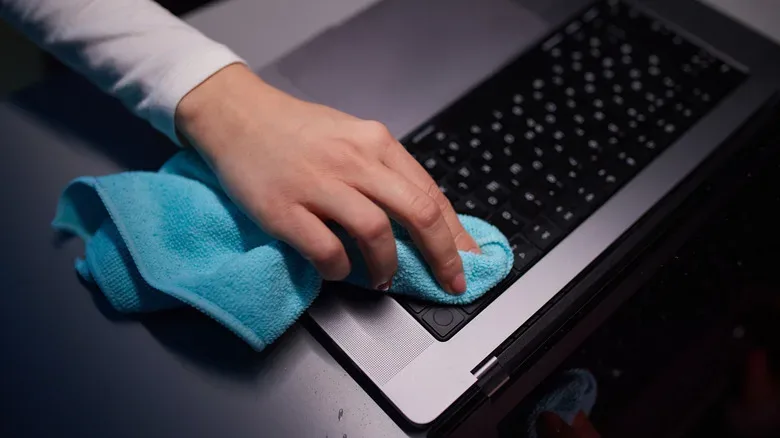
A few basic tools handle most exterior cleaning jobs. The headline act is a clean, soft microfiber cloth. It lifts fingerprints and everyday dust while being much less likely to mark a display or shiny plastic than rough paper products or abrasive fabric. Use light pressure, particularly on screens, glossy faceplates, camera lenses and delicate decorative finishes.
- Microfiber cloths: For broad, dry wiping on screens, casings and accessories.
- Soft cotton swabs: Useful around button rims, tight seams and other small details when used carefully.
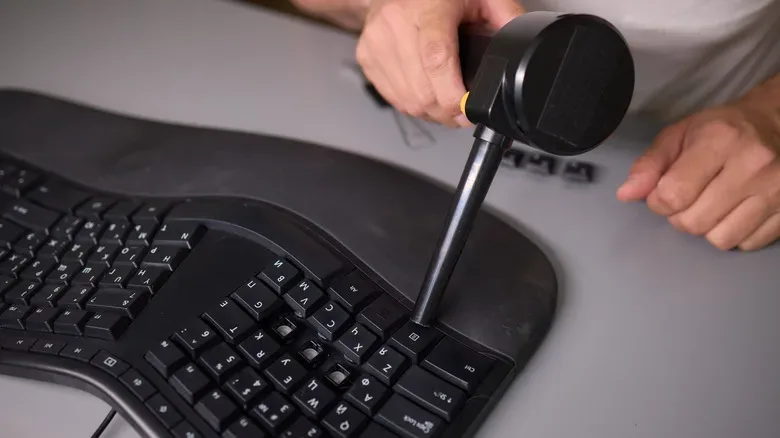
- Compressed air: A practical option for dust in vents, ports and keyboard gaps.
- A small soft-bristled brush: Helpful for intricate items, including turntable areas, where a large cloth cannot reach.
- A small amount of mild detergent and warm water: Potentially useful on an appropriate cloth for some exterior surfaces, not as a bath for electronics.
The method is as important as the kit. Liquid should go onto the cloth or swab in a very small amount, never be sprayed or poured directly over a device. A cloth should be barely damp rather than dripping. Keep moisture clear of openings, buttons, speaker grilles, charging pins, disc drives, cartridge slots, vents and seams. The goal is controlled contact with the outer surface, not a surprise internal humidity expansion pack.
Clean screens and casings without turning them into a regret story
For dust, fingerprints and routine surface grime, start dry with microfiber. Wipe the entire shell rather than focusing only on the part a previous owner touched most often. The rear panel, sides, underside, cable ends and storage case can all use attention. A phone case, headphone pouch or camera bag can easily transfer the same grime right back to the freshly cleaned item.
When dry wiping is not enough, use a tiny amount of suitable cleaner on the cloth. Avoid liquid products containing chlorine, peroxide, solvents or ammonia, because they can be unfriendly to device materials, internal components and protective screen treatments. Dedicated electronics and display products exist, including screen-focused solutions from Whoosh! and general tech cleaners such as Tech2Clean, along with monitor wipes made for displays. Whatever product is selected, use it as directed and keep the amount conservative.
Older screens deserve particular restraint. A screen is not a kitchen counter, and vigorous scrubbing will not unlock a hidden achievement. Gentle passes are safer than pressing hard at a stubborn mark. If an unfamiliar surface has special coatings, consult the device maker’s care guidance where available before using a cleaner.
Ports, vents, keyboards and controller crevices need dry attention first
Dust likes geometry. The more tiny gaps a device has, the more it seems determined to fill them. For a keyboard, laptop, controller or console, turn the item over where practical and give it a light shake to dislodge loose debris. Do not shake a turntable, a camera with delicate components, or anything with a fragile mechanism as though it owes you money.
Compressed air can then help move dust from vents and ports. Use controlled bursts and avoid driving debris farther inside. A soft brush can assist with stubborn particles on exterior surfaces. For turntables and other intricate audio gear, purpose-made cleaning kits and brushes are available; a small, soft-bristled brush is the gentler alternative when working near fine components such as needles.
Do not jab improvised tools into ports. Metal objects can scratch or bend contacts, while damp swabs can leave moisture precisely where it is least welcome. If a port remains visibly clogged or damaged, the better answer may be professional service rather than escalating the force level.
Small devices deserve a detail pass
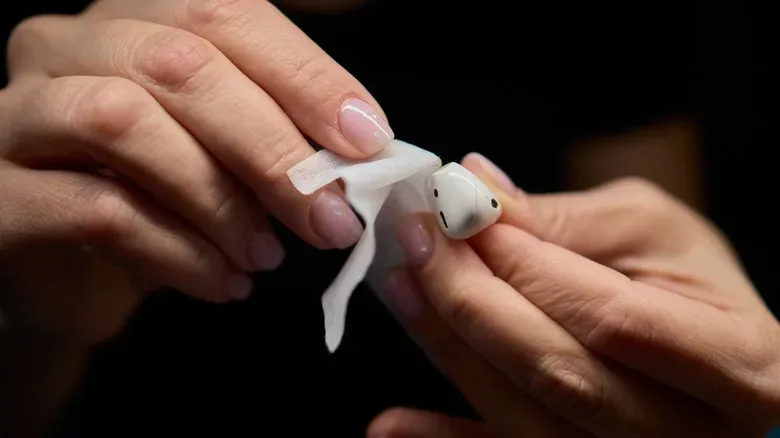
Earbuds, smartwatches and compact handhelds are small enough to look easy, but their tight openings make them detail work. Earbuds can accumulate debris around acoustic vents, and removable rubber ear tips should be cleaned thoroughly. For baked-on exterior grime, a soft cotton swab with only a few drops of isopropyl alcohol may be useful. Advice about alcohol varies by device and material, so use a minimal amount, work delicately and avoid letting it run into openings.
Smartwatch and fitness-tracker undersides also deserve attention, since they sit against skin for long periods. A removable fabric band may potentially be washable on a gentle cycle, but the safer option for a heavily used secondhand wearable can be a replacement band. Because many bands are swappable and third-party versions are widely available, a new one can make the device feel much more personal without asking old fabric to reveal its complete backstory.
Chargers and cables should not be ignored. Wipe their outer jackets and plugs carefully, then inspect for fraying, damaged insulation, bent connectors or any sign of unsafe wear. If a cable is not fit to keep, recycle it through an appropriate electronics-recycling route rather than gambling with power delivery.
Sanitizing is optional, drying is not
Some owners may want an additional sanitizing step for compact items. Portable UV sanitizer boxes, including products from PhoneSoap and HoMedics, are designed for phones and may also accommodate items such as earbuds, smartwatches, keys and credit cards. These ultraviolet-light devices became particularly prominent during the COVID-19 pandemic. They are an optional extra, not a replacement for physically removing grease and debris first.
Regardless of which cleaning route is used, let the device air-dry completely in a secure place before reconnecting power, charging it or installing batteries. This is the least exciting phase of the project, but it is also one of the most important. A little waiting is cheaper than turning a thrift-store victory into an electrical mystery.
Keep the fresh-start feeling with a realistic schedule
Secondhand gear benefits from a deep first clean, but regular maintenance keeps the job from becoming a boss battle again. A practical routine is to deep-clean a laptop every three to six months, clean a phone weekly with daily wipe-downs, detail earbuds at least monthly, and clean a television screen or computer monitor every two to four weeks.
Those intervals are guidelines rather than a mandate to clean devices that are already spotless. Homes with pets, shared controllers, frequent travel, dusty shelves or especially active gaming sessions may call for more attention. The point is consistency: a microfiber wipe now is much easier than excavating old residue months later.
A pre-owned piece of technology already has a history. A careful clean does not erase that history; it gives the hardware a respectful reset and makes it ready for its next chapter. Handle every surface gently, keep fluids controlled, protect ports and delicate components, and let the device dry fully. That is how a secondhand find gets a second life without receiving an accidental game-over screen.