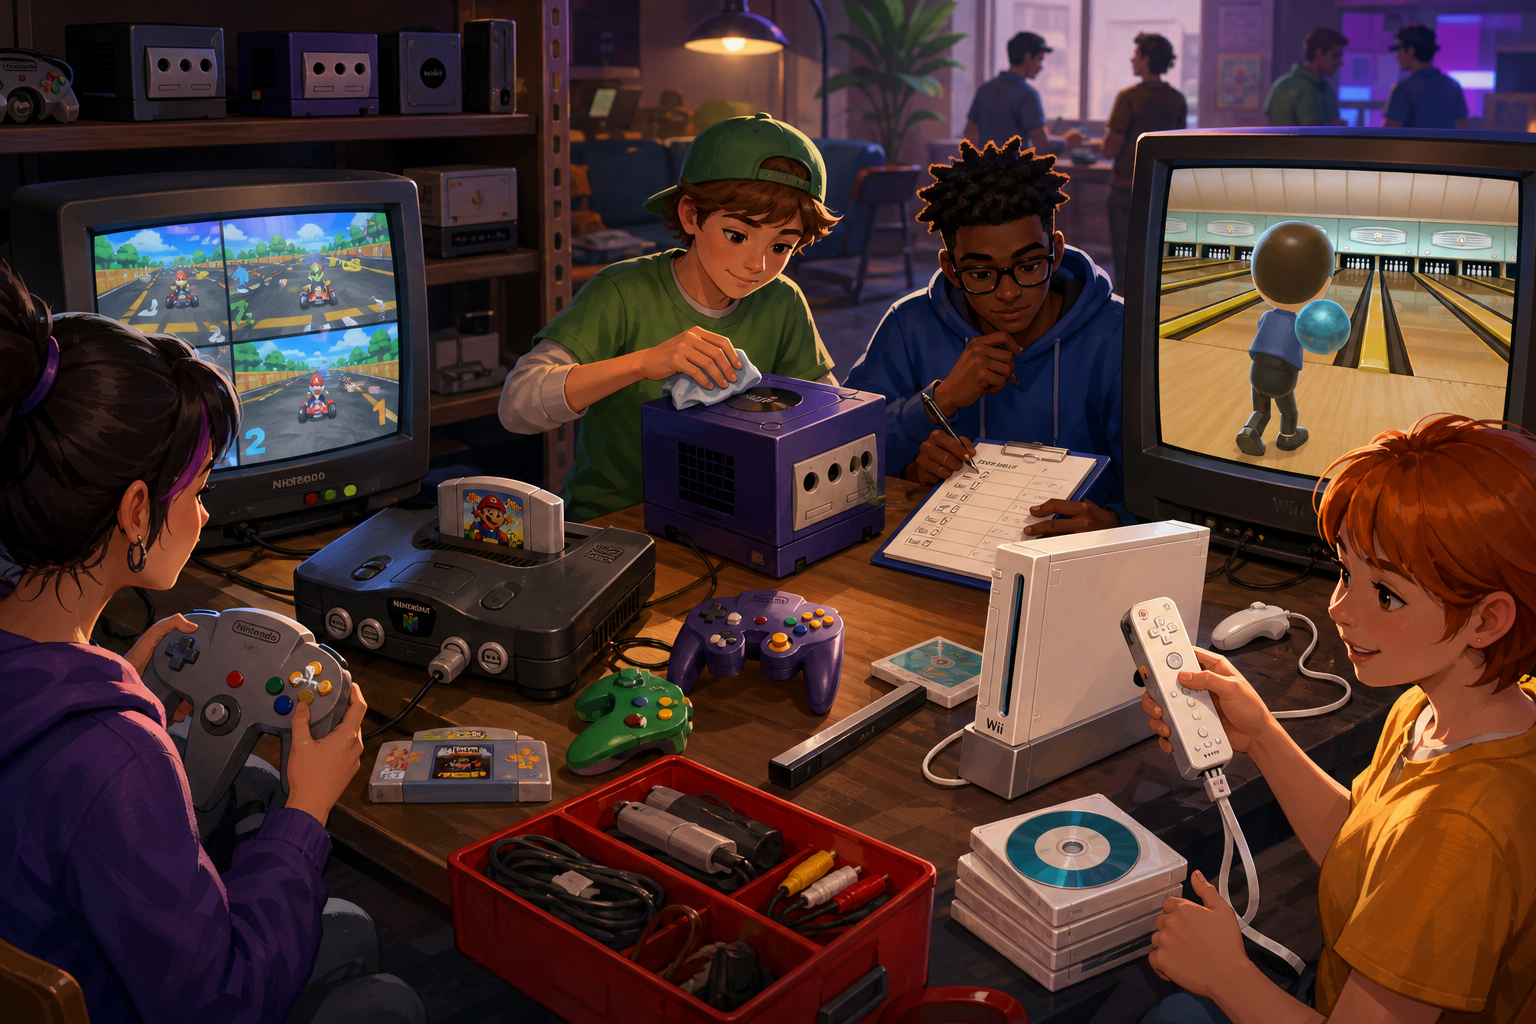
Buying a Nintendo 64, GameCube or Wii in person gives you one valuable advantage over a listing: you can compare the exact hardware and accessories with the seller’s claims. It does not give you unlimited time, laboratory certainty or permission to improvise with damaged electrical equipment. A useful meetup is short, repeatable and focused on the way you actually intend to use the console.
Before arranging the meeting, define “working” in separate parts: the console powers on, produces video and audio, accepts the intended game, responds to controller input, reads or saves data where relevant, and includes the accessories your setup requires. A successful title screen proves only part of that list.
Define the purchase before you test it
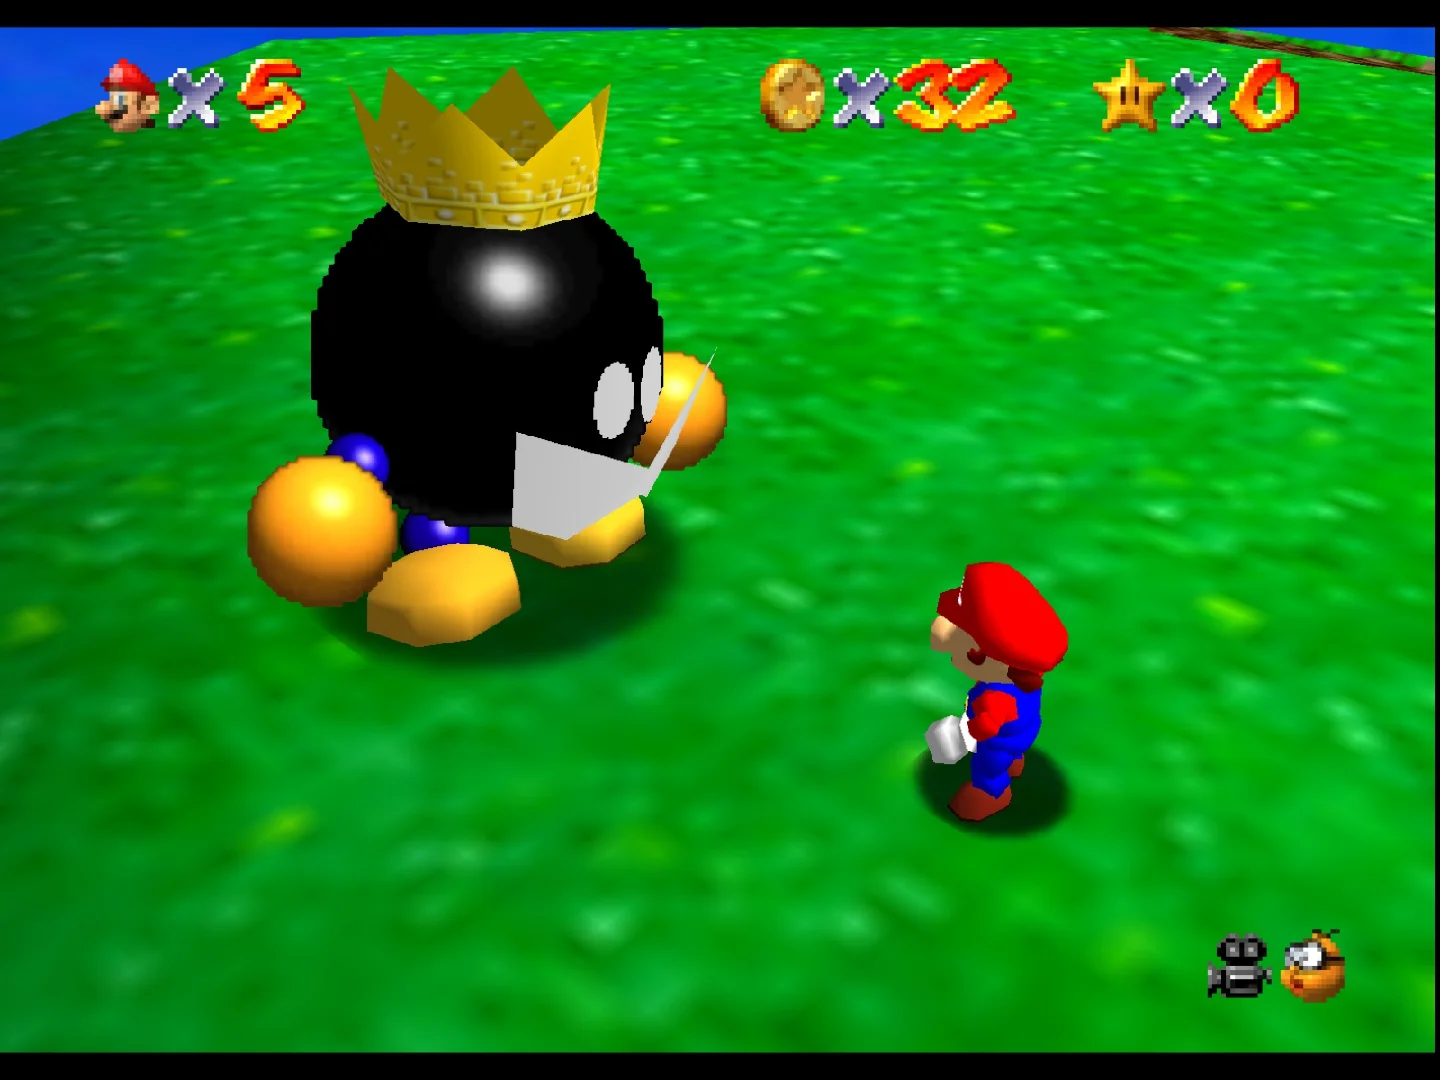
The right inspection depends on whether you want a display piece, a basic player, a local multiplayer machine or a complete collection package. A Nintendo 64 for Super Mario 64 and The Legend of Zelda: Ocarina of Time needs a compatible cartridge, controller, power supply and video path. A GameCube for Mario Kart: Double Dash!! or Metroid Prime adds optical-disc reading, controller ports and memory-card questions. A Wii for Wii Sports or Super Mario Galaxy needs Wii-specific control equipment, a Sensor Bar and the correct disc format and region.
Write down the minimum acceptable bundle before contacting the seller. If you want four-player GameCube sessions, one controller and a booting game are not enough. If you want to play GameCube software on a Wii, model compatibility matters; the original Wii model RVL-001 is the version associated with GameCube software support, while later Wii models require separate verification rather than assumption. Decide whether missing items are acceptable only after assigning them a replacement and transport cost.
- State your intended games and region before agreeing to meet.
- Separate console condition, game condition, controller condition and completeness.
- Decide which missing accessories are deal-breakers rather than surprises.
- Treat every listing photograph and description as a claim to verify.

Arrange a safe, permitted meetup
Choose a staffed public location where the seller has permission to conduct a brief electronics test. A café, community space or other suitable venue may not provide a display, power access or enough room, so confirm the practical details rather than arriving with assumptions. If the venue cannot support a safe test, classify the item as unverified. Do not move to a private home, vehicle or isolated location because the seller changes the terms at the last minute.
Keep communication and payment within the marketplace’s protections. Tell another person where you are going, keep your phone charged and avoid pressure to pay immediately. A seller who refuses a reasonable public meeting, insists on an off-platform arrangement or says the console can only be tested after payment is adding risk that a low asking price cannot automatically justify. The purpose of the meetup is to reduce uncertainty, not to win an argument or perform unpaid repair work.
- Confirm the exact location, permitted test duration and available power.
- Ask whether the seller will let you inspect every item included in the listing.
- Keep the transaction and messages within the marketplace’s rules.
- Leave if the meeting location or payment terms change unexpectedly.
Pack a small known-good test kit
Bring only equipment you understand and have already confirmed to be compatible. A compact kit can include a phone camera, flashlight, written checklist, a known-good game for each platform, a compatible controller, required memory equipment, and the correct video and power accessories when the seller has not supplied them. For Wii testing, include a working Wii Remote and Sensor Bar only if the venue permits the setup and the seller agrees. A known-good accessory helps isolate the console, but it does not prove that the seller’s omitted accessory works.
Do not bring exposed wires, improvised power adapters or tools for opening the machines. Nintendo’s safety guidance emphasizes using the intended power equipment, keeping vents clear and avoiding user disassembly or repair attempts. You should never test a cracked or split power cord, force a cartridge into a damaged slot, touch a GameCube optical lens or attempt live electrical measurements in a public meetup. If the test requires unsafe improvisation, stop and record the system as unverified.
- Use compatible, intact power and video equipment only.
- Bring one known-good title per platform where practical.
- Bring the controller and save accessory required by your intended use.
- Do not open the console or handle an optical lens.
- Photograph model labels and visible defects only with permission.
Inspect the hardware while it is powered off
Start with the outside, because physical evidence can change the decision before you spend time booting. Look for cracks, warped plastic, crushed ports, loose lids, missing panels, corrosion, liquid residue, heavy dust, smoke odour and blocked ventilation openings. Inspect the power cord for cuts, splitting or exposed conductors. Check that the Wii disc slot is not visibly obstructed and that the GameCube lid closes without unusual force. These observations describe condition; they do not diagnose an internal fault.
A clean shell is not proof of careful ownership, just as scratches are not proof of failure. Missing screws can suggest prior opening, but they do not establish what work was performed. A replacement label, matching case or intact seal cannot authenticate a console or game on its own. Look at the whole evidence set and preserve uncertainty. Corrosion or liquid residue near ports is a strong reason to stop, especially when the seller cannot explain the history. Do not accept “it is easy to fix” as a diagnosis.
- Check all visible sides, ports, vents, labels and cable strain points.
- Look for corrosion, residue, cracks, deformation and missing parts.
- Do not infer authenticity or reliability from a seal, screw or shell alone.
- Reject visibly unsafe power equipment rather than testing it.
Test a Nintendo 64 without overclaiming
Nintendo’s safety guidance says the console should be powered off before inserting or removing a Game Pak. Follow that sequence during the meetup. Inspect the cartridge for foreign material without touching the connector, blowing into it or making it wet. The cartridge label and shell may help compare the advertised edition, but appearance alone cannot prove that the cartridge is original, that its data is intact or that its save hardware works.
With the correct power and video setup connected, boot Super Mario 64 or The Legend of Zelda: Ocarina of Time. Confirm that the console reaches the game screen, produces stable output and responds to the controller. Then spend a short, defined period moving through an actual playable section rather than stopping at a logo. Check the buttons and analog stick relevant to ordinary play, and try a reset only if the seller permits it and the setup remains safe.
Save questions are separate. Many N64 games save directly to the Game Pak, while some use a Controller Pak. A game that loads does not establish that every save-related accessory is present or reliable. If saving matters, ask what is included and test it only with the correct equipment and enough time to verify the result. A brief meetup cannot prove long-term save retention.
- Power off before inserting or removing the Game Pak.
- Test both boot and a short playable sequence.
- Check controller response, reset behaviour and visible output.
- Treat the cartridge label and connector appearance as evidence, not authentication.
- Record whether a Controller Pak or other save accessory was actually tested.
Test GameCube discs, ports and saves
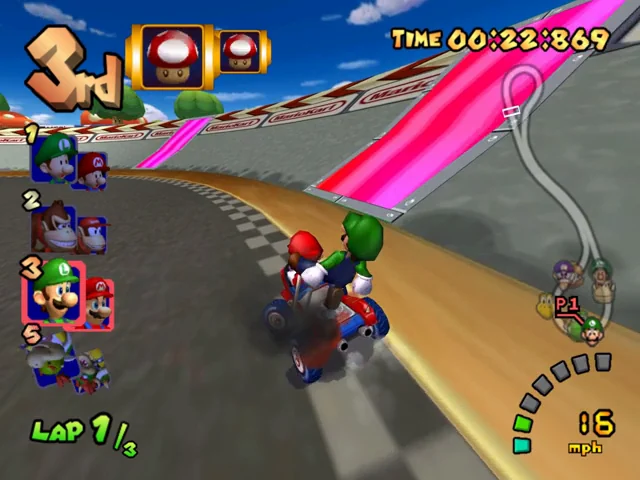
GameCube testing has two separate targets: the console’s own functions and the condition of the supplied discs and accessories. Inspect Mario Kart: Double Dash!! or Metroid Prime under good light. Note cracks, deep scratches, label damage, warping and heavy residue, but do not claim that a disc is genuine or fully readable from its artwork and surface alone. A clean-looking disc can still fail, and a visibly marked disc may sometimes load. The only useful meetup conclusion is what happened with this disc in this console under this setup.
Boot the game and reach playable content. Watch for failure to recognize the disc, repeated read errors, freezes or unusually long interruptions. Nintendo notes that disc-read problems can arise from a dirty or damaged disc, so one failed test does not isolate the console unless the test disc is known-good. If a known-good disc also fails repeatedly, the console becomes a higher-risk purchase. Do not touch the optical lens or attempt cleaning inside the drive.
The GameCube has four controller sockets and two memory-card slots. Test the ports relevant to your plan, not merely the one used to boot the game. If the seller includes a memory card, verify that it is present and recognized when practical. Changing controller connections or removing the AC adapter should be done with the console powered off, following the manual’s safety guidance.
- Inspect the disc without treating artwork as proof of authenticity.
- Use a known-good comparison disc when possible.
- Reach gameplay, not just the GameCube logo.
- Test the controller ports and memory-card slots you need.
- Power off before changing controller connections or removing the adapter.
- Do not touch the optical lens.
Test Wii model, controls and region together
A Wii test is incomplete without its control equipment. Normal play uses a Wii Remote and Sensor Bar. Confirm that the remote synchronizes with the console, buttons respond and the pointer or motion functions work for the game you intend to play. A console that reaches the menu without a working remote, Sensor Bar or required controller may not satisfy the advertised use case.
Identify the model number before discussing GameCube compatibility. The original RVL-001 can be identified by its row of GameCube controller ports on the top or side depending on orientation. Do not assume every Wii accepts GameCube discs or controllers. Check the model label and physical ports, then match those facts to your intended software.
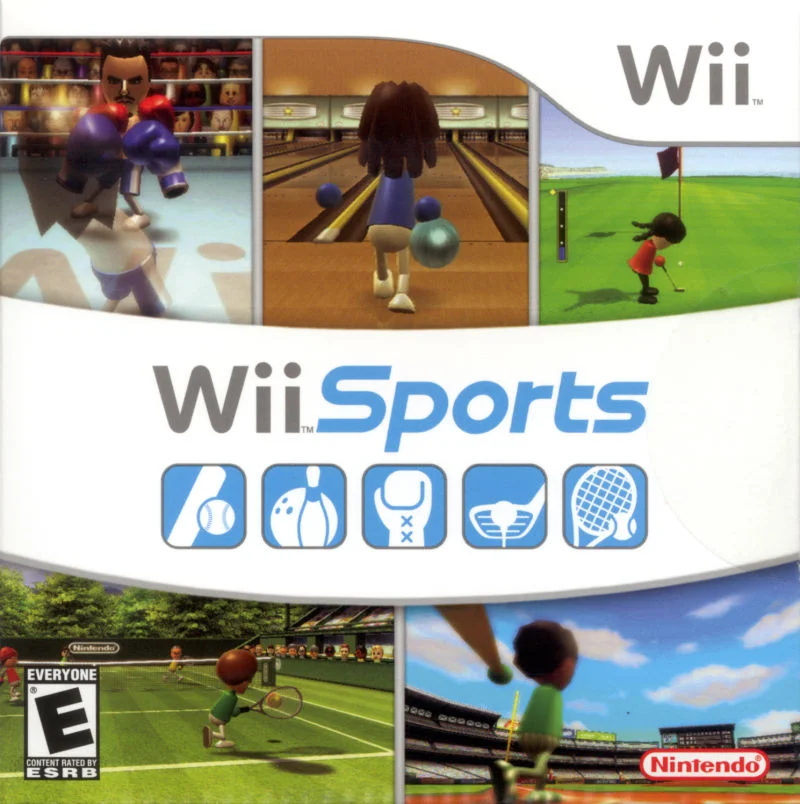
Test Wii Sports or Super Mario Galaxy with the correct disc and controls. Nintendo identifies Wii discs as region encoded, so a disc from another region may not play in the console. Also confirm that the disc is actually Wii software; the Wii is not a general-purpose DVD, Blu-ray or audio-CD player. Place the console on a hard, smooth, ventilated surface during testing rather than carpet, and insert the disc in the orientation appropriate to the console’s position.
- Record the Wii model number and inspect for GameCube controller ports.
- Test the Wii Remote, Sensor Bar and required motion or pointer response.
- Match the disc region to the console rather than relying on a title name.
- Use the correct Wii disc orientation and a hard, ventilated surface.
- Do not treat a bare console as a complete Wii Sports setup.
Ask questions that expose missing information
Ask the seller for facts that can be checked at the meetup: the exact model number, what cables and controllers are included, whether the console has been opened or modified, where it was stored, whether it has been exposed to smoke or moisture, which games were used for the listing test, and whether any ports, drives, buttons or saves are known to fail. Ask whether the pictured items are the exact items you will receive.
Listen for precision rather than confidence. “It worked last year” is not the same as “this exact console booted this exact disc today.” “It only needs cleaning” is a claim, not an inspection result. A seller may honestly lack the answer; that should be recorded as unknown rather than converted into reassurance. If the seller will not let you verify a key claim, decide whether you are willing to buy an untested item under the marketplace’s stated return and dispute rules.
- Ask whether the item was opened, modified, stored in moisture or exposed to smoke.
- Ask which exact games and accessories were tested.
- Confirm whether all pictured items are included.
- Request the model number before travelling.
- Treat unknown history as risk, not as proof of a fault or proof of safety.
Calculate total cost and apply stop conditions
Compare the complete cost, not just the listing amount. Include required controllers, memory cards, Sensor Bar equipment, compatible cables, power adapters, transport, cleaning, professional inspection and any missing game or accessory needed for your use. A console-only bundle may look simple until the intended test exposes several separate purchases. Compare that total with protected alternatives and other local listings without relying on a fixed “fair price”; condition, region, completeness and seller protection all change the decision.
Use a written result such as tested, partially tested or unverified. “Tested” should identify the exact game, controller, display and accessories used. “Partially tested” might mean the console booted but the save function or extra ports were not checked. “Unverified” is the correct classification when the venue lacks safe power, the seller refuses testing or the required equipment is missing.
Walk away when the seller pressures immediate payment, changes the location, refuses a reasonable inspection, presents unsafe power equipment, hides corrosion, cannot provide essential components or asks you to assume that an untested problem is minor. Also stop when the total cost exceeds your planned risk budget. A successful boot is useful evidence, but it cannot prove long-term reliability, hidden intermittent faults, controller precision across every input, authenticity or collector-grade completeness.
- Add every required accessory and service category to the total cost.
- Record the exact hardware and software that were tested.
- Use tested, partially tested or unverified instead of vague optimism.
- Walk away from unsafe equipment, pressure, hidden damage or changed terms.
- Do not pay for certainty that the meetup could not establish.
The best meetup test is deliberately modest: inspect the outside, confirm the model, use compatible known-good equipment, reach playable software and document what was not checked. That process can distinguish a console that works for your stated plan from one that merely looks convincing in a listing.
Keep the decision tied to total cost and buyer protection. If safe testing is impossible, treat the hardware as unverified; if the seller resists reasonable checks or the power equipment is damaged, leave. No short public-place session can guarantee years of service, but a disciplined inspection can prevent an avoidable purchase built on assumptions.