
A camera that stays black or a microphone that produces silence can feel like a full-scale PC emergency, especially when a meeting, interview, stream, or multiplayer session is about to begin. Yet the fix is often much less dramatic than the symptom. Modern computers place several independent controls between a camera or microphone and the app trying to use it: a physical shutter or mute control, the operating system’s selected input, privacy permission, and the app’s own device settings.
That layered design is useful for privacy and flexibility, but it also means a working webcam can look broken when one control is off. The most efficient response is therefore to troubleshoot in order, starting with the simple physical checks and moving toward software updates or driver recovery only if needed. Changing many settings at once can obscure what actually solved the problem.
First, check whether the hardware has been deliberately disabled
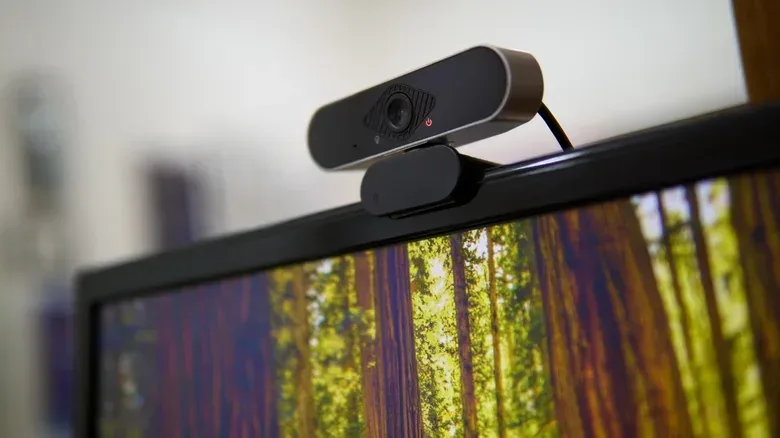
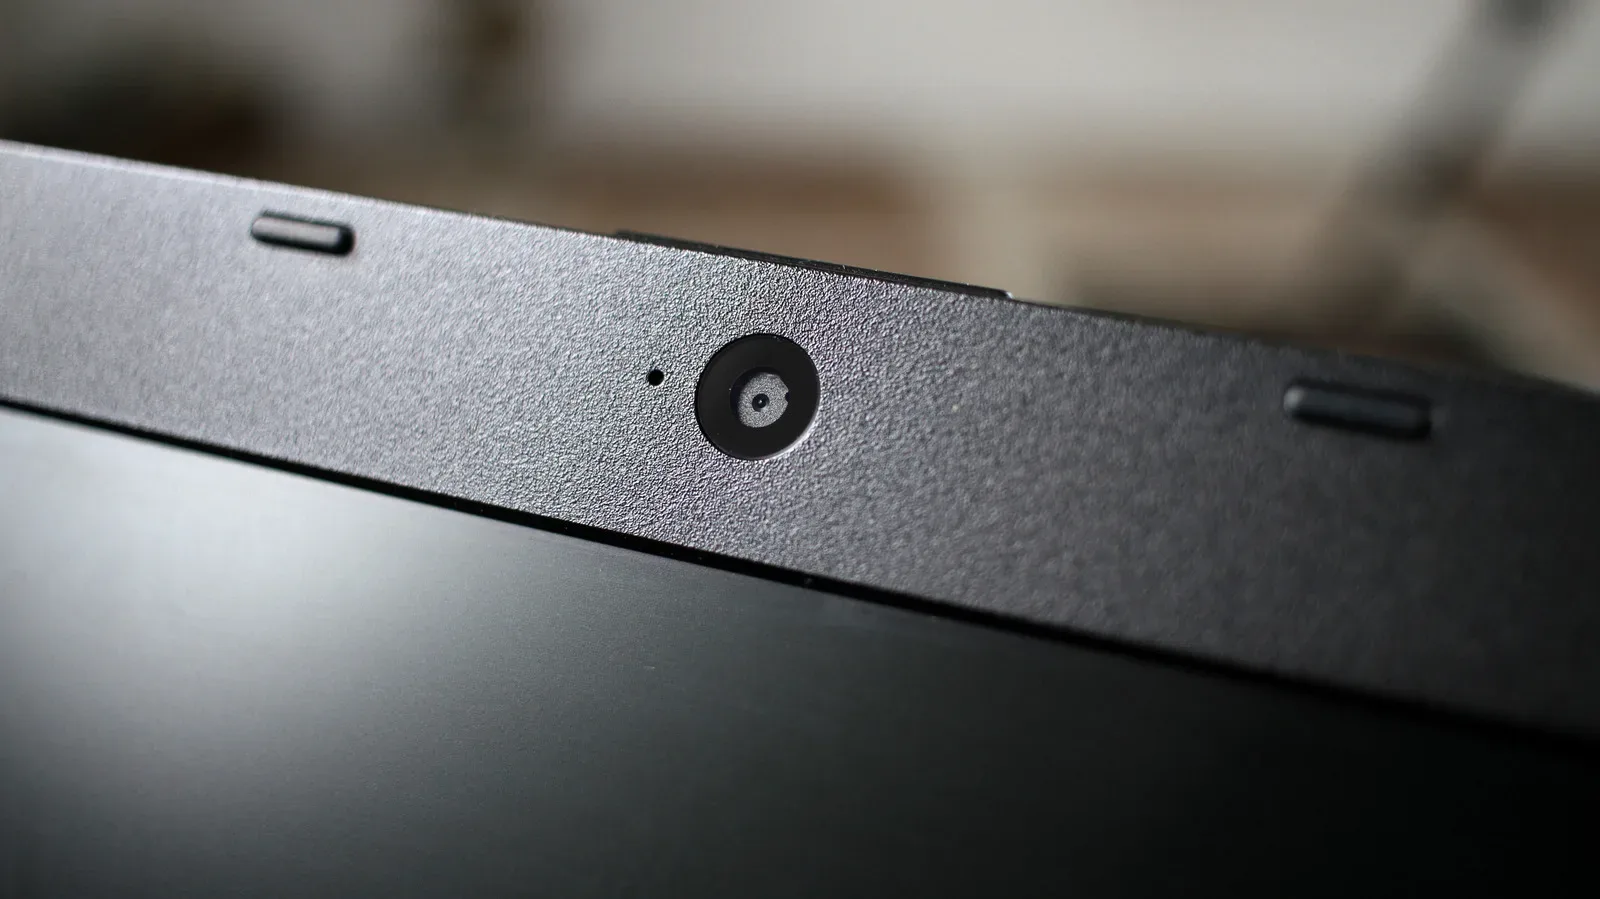
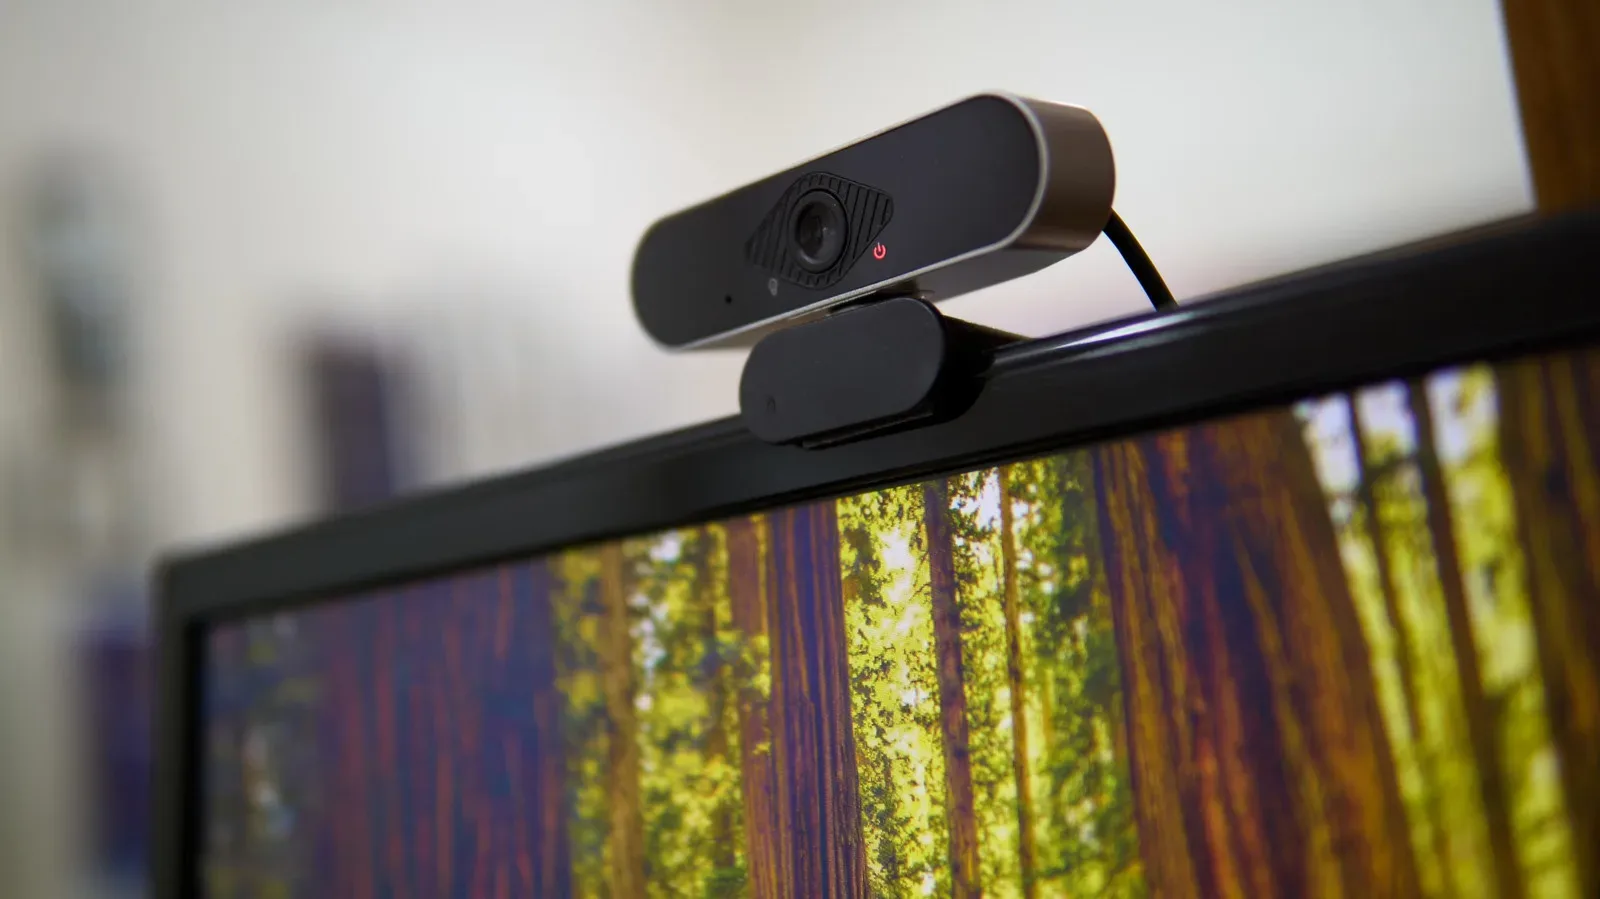
Before digging through menus, look at the PC and any connected accessories. Some computers include a lens blind that physically covers the camera, while others have a dedicated mute switch. These are easy to overlook, particularly on a device that is not used for calls very often. An external webcam, headset, or microphone can introduce its own cable connections, buttons, and switches as well.
This is not merely a beginner’s check. A privacy shutter is intended to stop the camera at the hardware level, and a mute control can override otherwise correct software settings. No amount of permission toggling inside an app will create a picture if a lens is covered, just as increasing a software input level will not help if the microphone itself is muted.
For external gear, make the inspection methodical:
- Confirm that the cable is connected at both ends.
- Check the accessory’s physical buttons and switches, including headset mute controls.
- Look for a closed camera shutter or lens cover.
- Make sure the device you expect to use is the one connected to the PC.
Once these basics are clear, the next job is determining whether Windows or macOS is listening to and viewing the intended device.
Choose the right input in the operating system
An input is the device sending information into the computer. A microphone sends audio input; a webcam sends video input. PCs can have several possible inputs at once: an integrated laptop camera, a USB webcam, a headset microphone, another microphone, and even devices that appear after connecting accessories. Selecting the wrong one can produce silence, a black feed, or video from an unexpected camera without any hardware being faulty.
In Windows 11, camera controls are available through Settings > Bluetooth & devices > Camera. Microphone input is found under Settings > System > Sound. Check that the selected microphone is the one you mean to use, then make sure its input volume is not set too low.
Related coverage includes How to Fix a PC Camera or Microphone That Isn’t Working.
For microphone volume, a setting toward the high end—roughly 80 to 100 percent—is a sensible first diagnostic position. A low input level is a common reason other people cannot hear a speaker, including when the person is using a headset mic. That does not mean maximum is always the ideal permanent setting; it means a very low level should be ruled out before assuming the microphone has failed.
On macOS, camera selection is handled through the individual app using the camera rather than a universal camera-selection menu described here. Microphone adjustment is available through Apple menu > System Settings > Sound > Input. Choose the desired input and verify that its level is usable.
The practical distinction matters: system selection establishes which device the computer makes available, while the communications app may separately choose which available device it wants to use. A correct system setting is necessary, but it is not always the last setting that decides the outcome.
Give the app permission to use the camera or microphone
Privacy permissions are another frequent roadblock. A camera and mic can be connected, enabled, and selected correctly, yet still be unavailable because the operating system has not allowed a particular application to access them. That restriction is intentional: it lets users decide which apps can open a camera or capture audio.
On Windows 11, camera and microphone permissions can be reviewed per app at Settings > Privacy & security > Camera and Settings > Privacy & security > Microphone. Find the application causing trouble and make sure the relevant access is enabled.
On a Mac, equivalent privacy controls are available from Apple menu > System Settings > Security & Privacy. Review the camera and microphone permissions for the app in question.
If permission was just granted, relaunch the application before judging the result. An app may not recognize its new authorization until it starts again. This is a small but important step: changing a toggle and immediately returning to an already-open app can make a resolved permissions problem appear unresolved.
Do not skip the app’s own audio and video menu
Meeting, chat, recording, and streaming applications typically maintain their own device settings. The system can see the correct microphone while the app is still configured to use a different mic. The same goes for cameras. Open the app’s settings and verify both the selected input and the input volume where applicable.
Some services also ask for a final confirmation immediately before joining a call. In Zoom, for example, the pre-join prompt should be checked to ensure camera and microphone input are allowed. An app can be configured properly in general yet begin a particular session with one or both inputs disabled.
This is especially worth checking when a PC has changed context—such as moving from an integrated laptop microphone to a headset—or when an app has remembered an older device choice. Treat the app’s device picker as the last link in the chain, rather than assuming the operating system’s choice will automatically be followed.
Use updates when basic checks do not solve it
If the physical controls, operating-system inputs, permissions, and in-app controls all look right, update the software involved. On Windows, use Settings > Windows Update. On Mac, use Apple menu > System Settings > General > Software Update. Relevant communications apps and their features should be updated as well.
Updates matter because they can include fixes for the software that lets an operating system communicate with hardware. On Windows, driver releases are broken out through Windows Update. On macOS, driver changes arrive bundled with broader macOS releases, so the individual driver changes may not be visibly listed in the same way.
A driver is software that enables the operating system to work with a hardware device. Camera and audio problems do not automatically mean a driver is responsible, which is why it makes sense to exhaust the clearer settings issues first. But if a device has disappeared, behaves unpredictably, or remains unavailable after configuration checks, drivers become a more plausible area to investigate.
Windows users experiencing strange or absent video output may also consider updating GPU drivers through AMD or NVIDIA software. A GPU, or graphics processing unit, is responsible for graphics work. This sort of update is more likely to affect what the local user sees than whether another participant receives their video, but it can still be relevant when video output is behaving oddly.
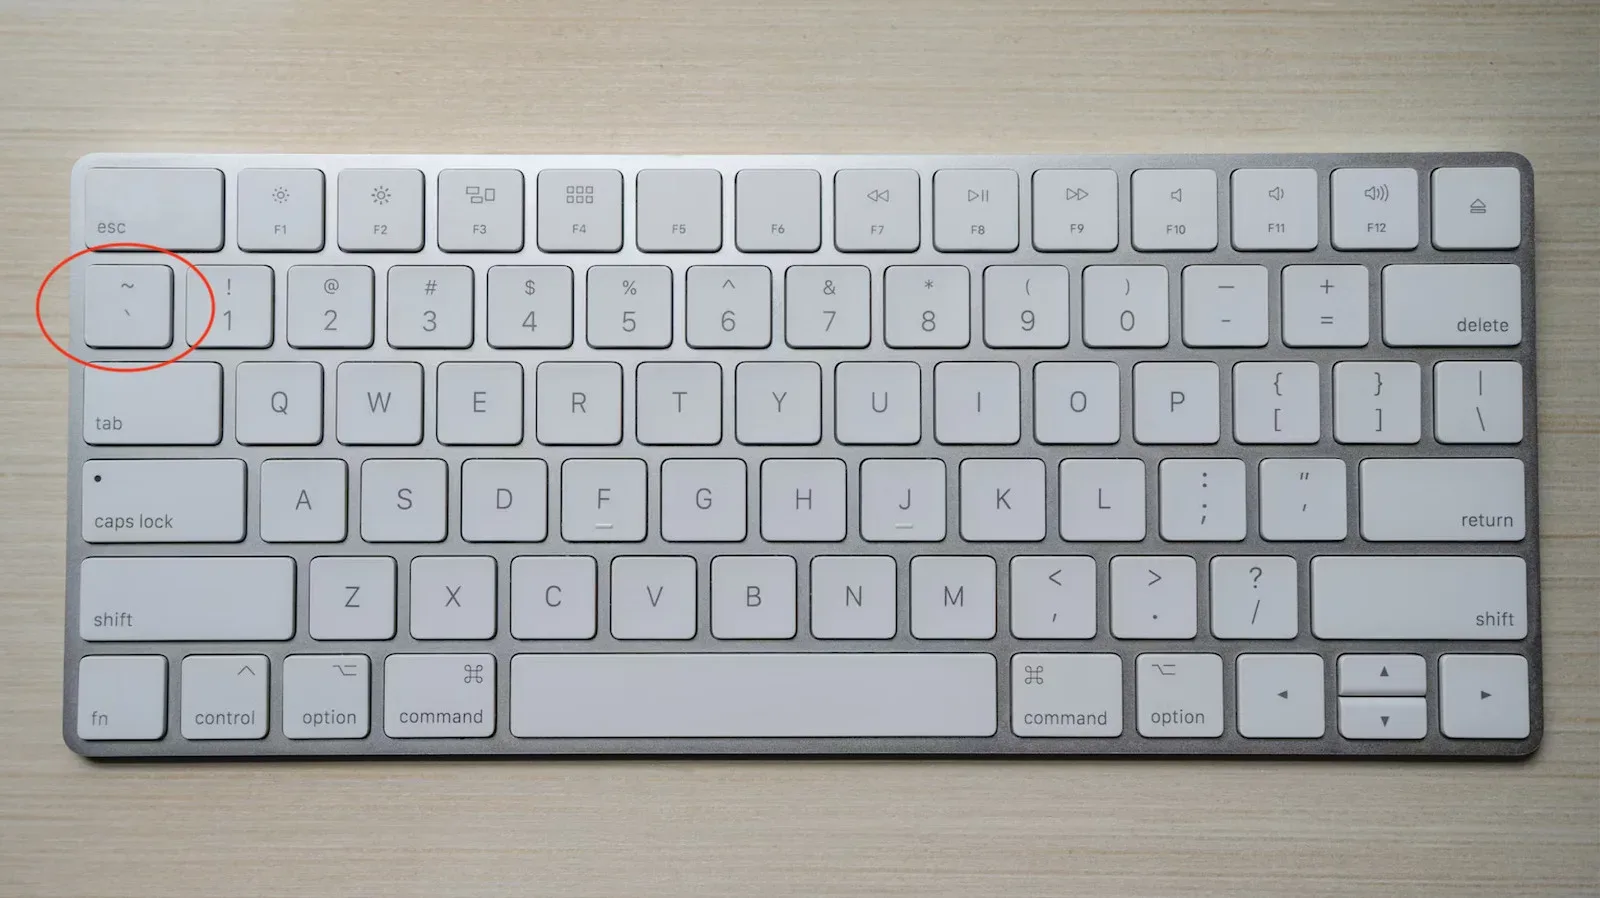
PC troubleshooting often rewards this same principle of matching the fix to the symptom. A tiny control can have a disproportionately important job, as with the tilde key’s code-level roles in games; camera and mic switches, input selectors, and permissions are similarly small controls with outsized consequences.
Windows Device Manager is the last-resort driver reset
When the normal path has failed, Windows Device Manager offers a more forceful recovery option. Search for Device Manager from the taskbar. Then expand Cameras or Audio inputs and outputs to locate the relevant hardware.
Right-click the device, select Properties, and open the Driver tab. From there, Windows provides an uninstall option. Restart the computer afterward; Windows should automatically reinstall the driver during the reboot process.
Uninstalling a driver is best treated as a recovery measure, not a routine first step. It is more disruptive than checking a shutter, raising microphone input volume, enabling a privacy toggle, or selecting the correct device in a call app. If Windows does not reinstall the driver after restarting, the remaining option is to identify the correct driver through the hardware manufacturer’s website and download it manually.
A fast checklist for the next time a call goes wrong
- Inspect camera shutters, mute switches, cables, and controls on external accessories.
- In Windows or macOS, select the intended input and make sure microphone input volume is sufficiently high.
- Confirm the specific app has permission to access the camera or microphone, then relaunch it if permission was changed.
- Open the app’s settings and its pre-call prompt to verify the correct camera and microphone are enabled.
- Install operating-system and communications-app updates.
- On Windows, consider GPU updates for unusual local video behavior, then use Device Manager driver removal and reboot only as a last resort.
The key is to work from the most immediate and reversible checks toward the more technical ones. In many cases, the camera or microphone is functioning; it is simply blocked by a shutter, muted, selected incorrectly, denied to the app, or set too quietly to be useful. Testing the setup during downtime makes that chain of checks far less stressful than trying to solve it seconds before a call begins.