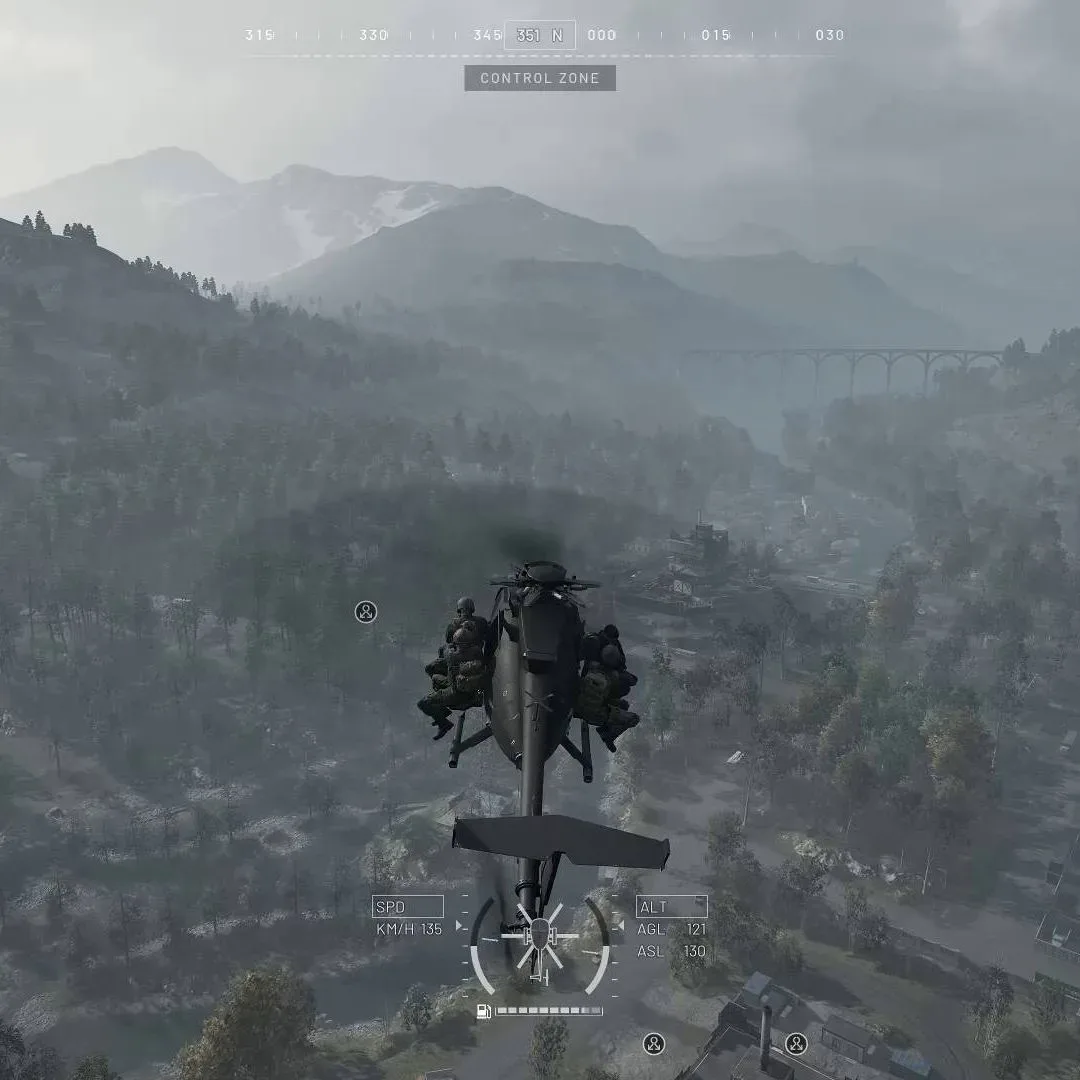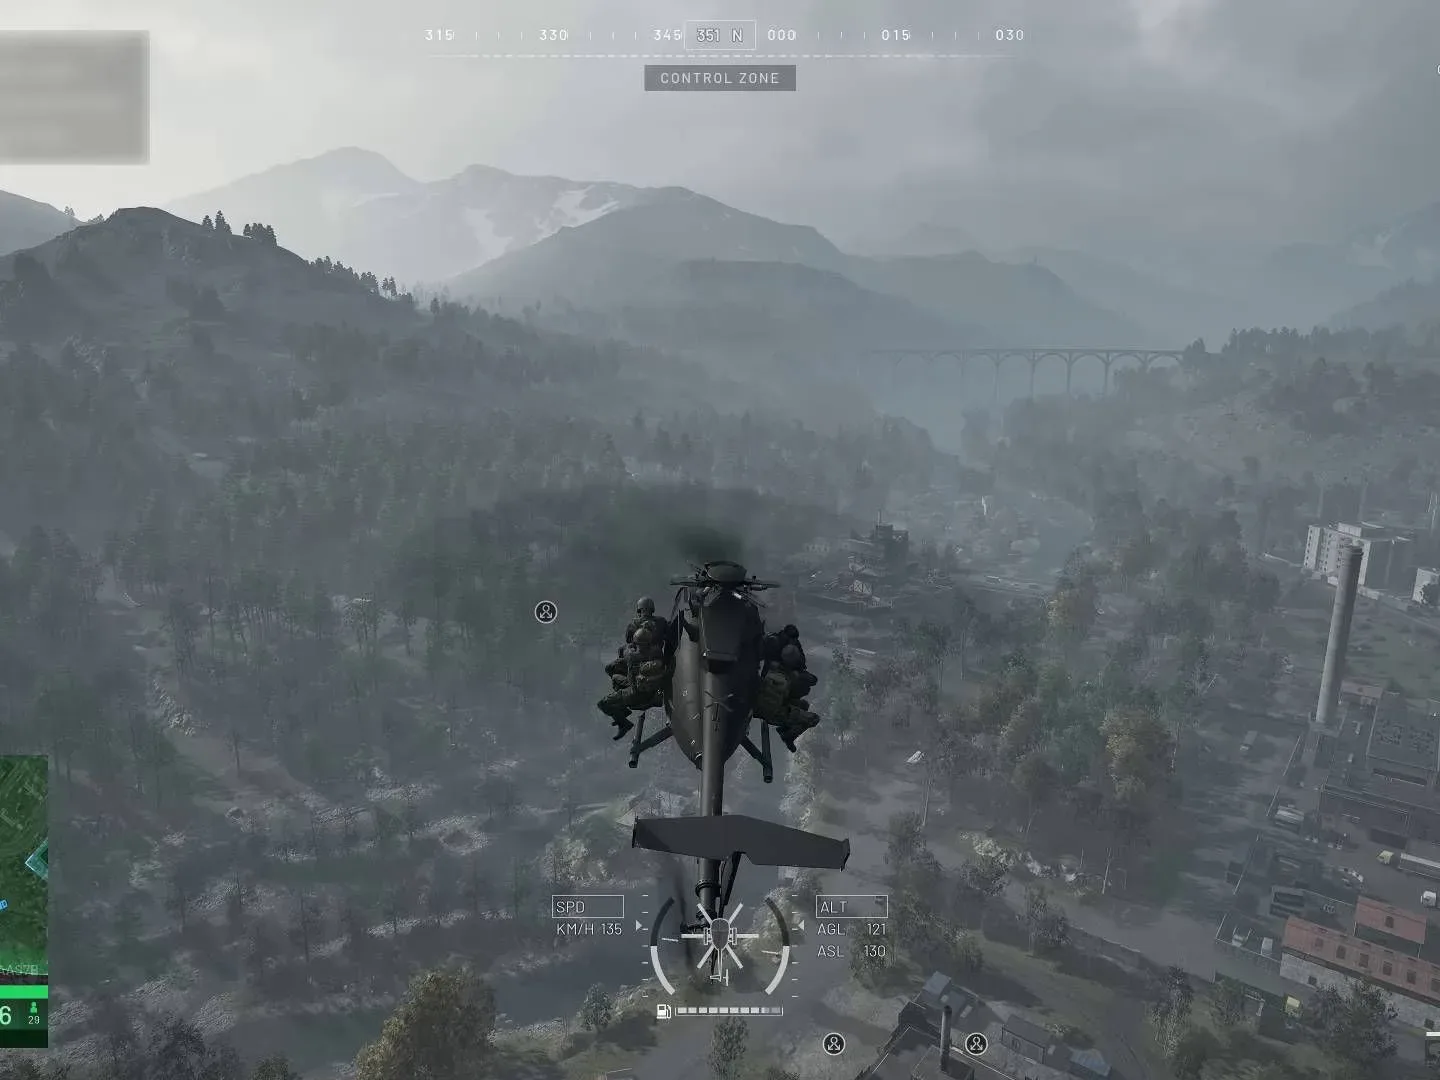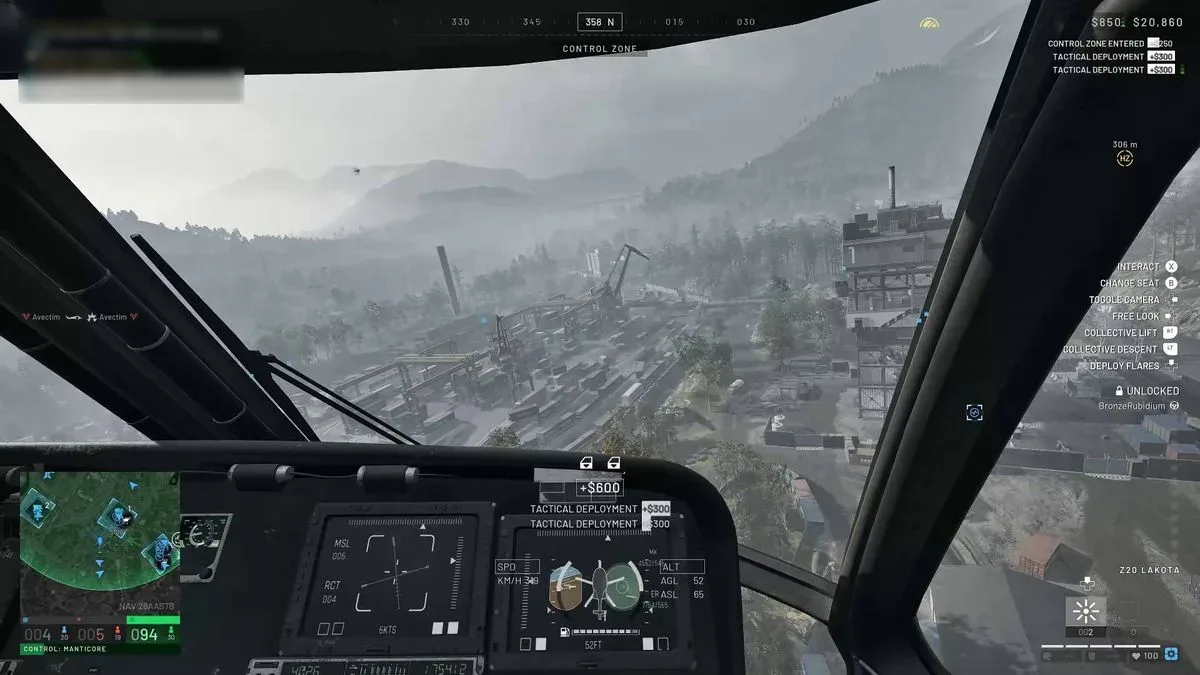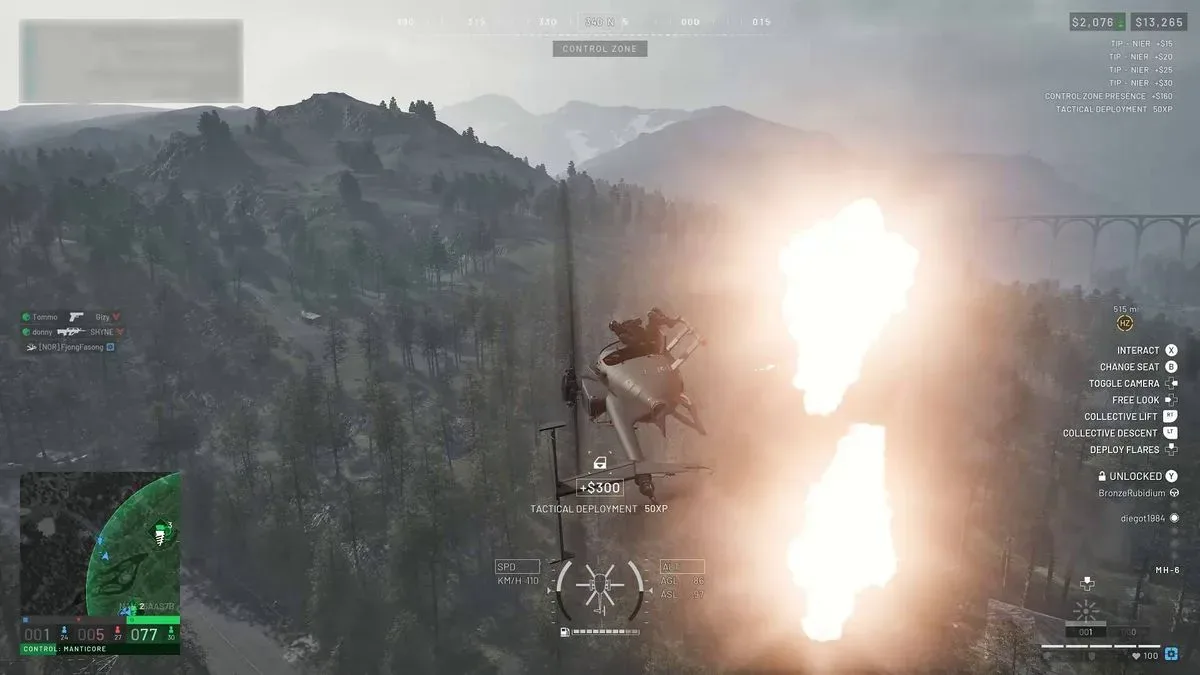
Helicopters in Wardogs are less about casually pointing at a destination and more about managing several inputs at once. The flight model can feel twitchy and unstable, especially at first, and the practical stakes are high: ammunition is limited, damage has to be dealt with at HQ, and a bad encounter with scenery can cost both the aircraft and in-game funds.
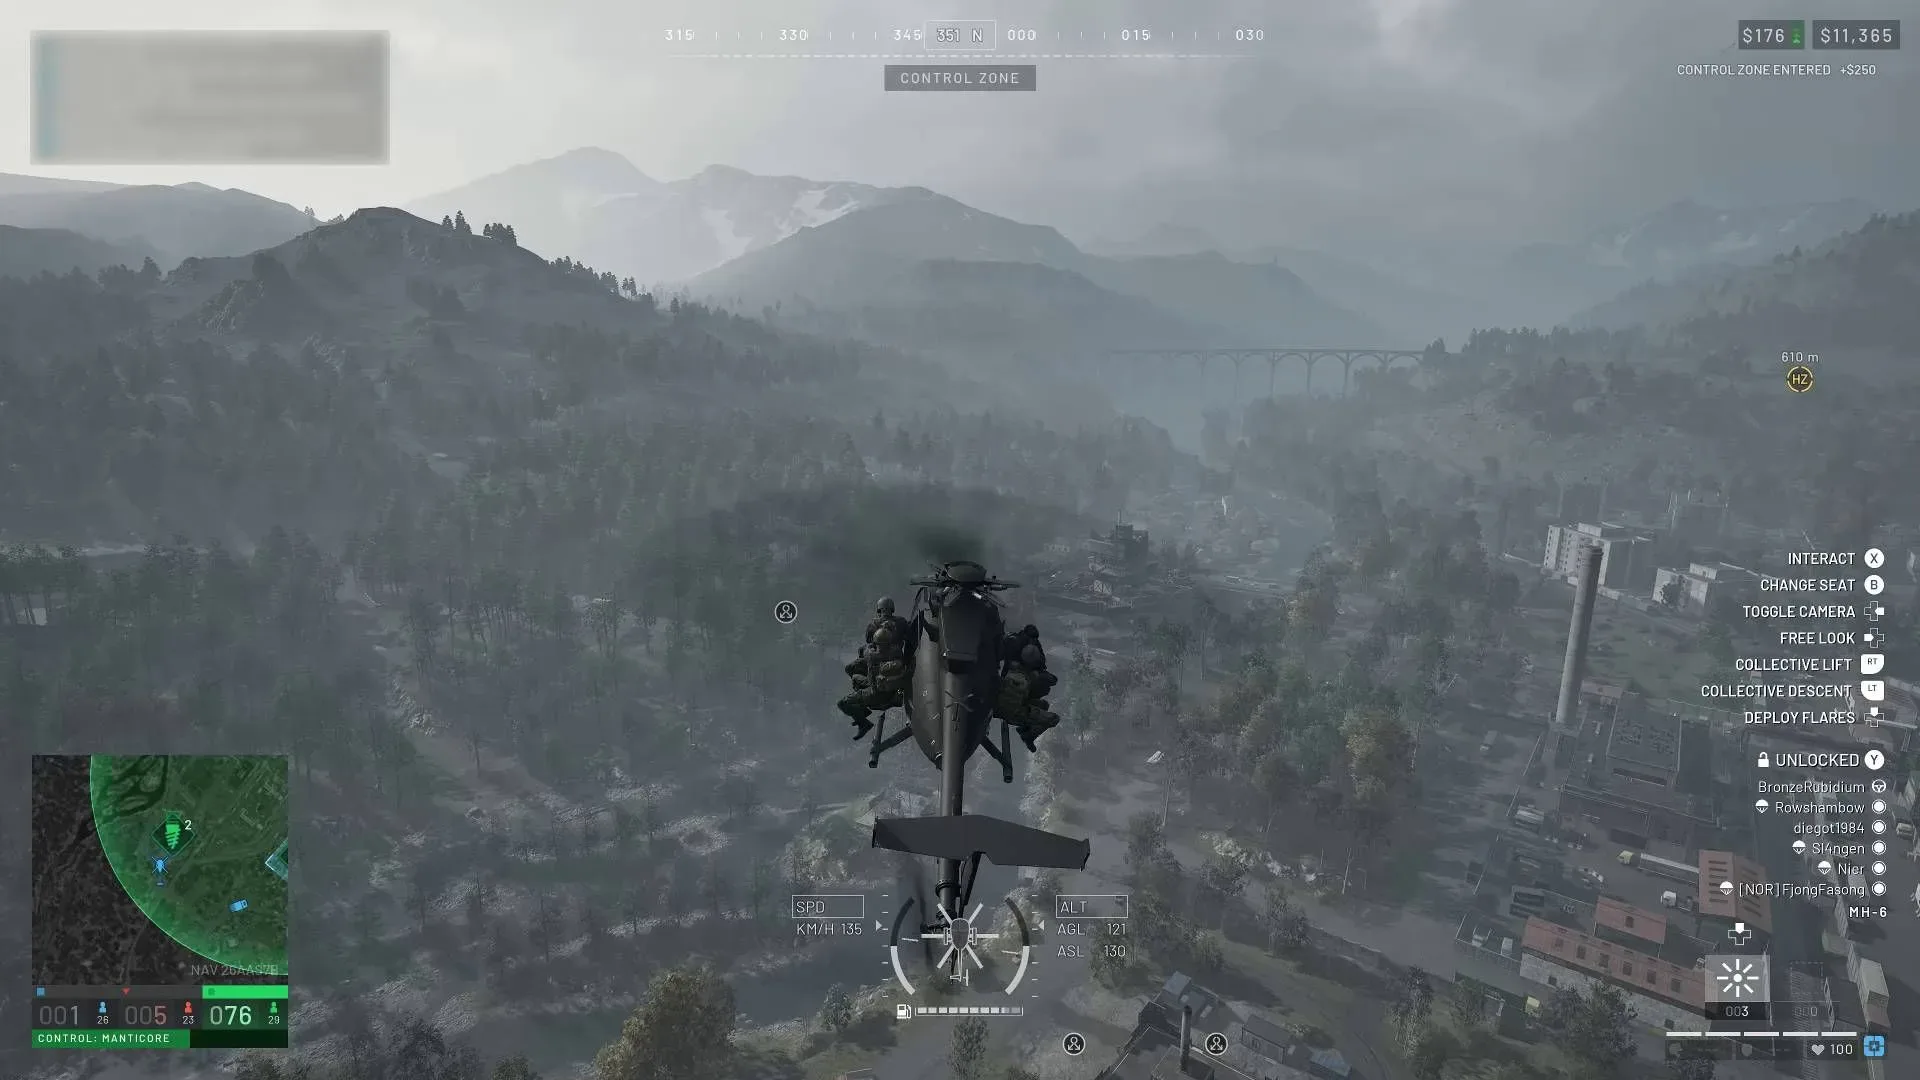
The early goal is straightforward. Players begin with the MH-6 transport helicopter, using it to move teammates toward the control zone or their chosen jump point. Successfully transporting those players builds Pilot XP, which in turn is required before other helicopters, including the Havoc attack helicopter, become available. That makes the first stage of helicopter progression a team job rather than a solo combat shortcut.
Before taking passengers into a live match, spend time in the firing range. It is the low-pressure place to establish how quickly the helicopter gains or loses height, how much it drifts in a turn, and how little input may be needed to recover from an overcorrection. The central rule is simple: make small adjustments. Big corrections often create the very instability a pilot is trying to solve.
Wardogs helicopter controls
Wardogs assigns helicopter movement across the collective, pitch, roll and yaw. These are separate controls with different jobs, so learning the terms matters more than memorising a single “turn” button.
- Collective lift raises the helicopter: Shift on mouse and keyboard, or R2/RT on controller.
- Collective descent lowers it: Ctrl on mouse and keyboard, or L2/LT on controller.
- Pitch tilts the nose forward or backward. Press W to lower the nose and S to raise it; on controller, move the left stick forward for nose-down and backward for nose-up.
- Roll banks the helicopter sideways: A for left and D for right, or the left stick left/right on controller.
- Yaw rotates the helicopter left or right while keeping its general direction of tilt unchanged: Q/E on keyboard, or L1/LB for left and R1/RB for right on controller.
Camera, weapons and utility inputs
- Change camera angle: C on mouse and keyboard; D-Pad Right on controller.
- Horn: H on mouse and keyboard; press L3/the left stick on controller.
- Free look: hold Alt and move the mouse; on controller, hold D-Pad Left and move the right stick.
- Deploy countermeasures: V on mouse and keyboard; D-Pad Up on controller.
- Fire an installed weapon: left mouse button or Space; Cross/A on controller.
- Reload: R on mouse and keyboard; Square/X on controller.
- Exit vehicle: hold O on mouse and keyboard; hold Square/X on controller.
A controller may be the more comfortable choice for many pilots because movement inputs are concentrated around the triggers, sticks and shoulder buttons. Keyboard and mouse can still work, but pitch, roll and yaw may need to be managed at the same time, making a clean manoeuvre more demanding on the hands.
What pitch, roll and yaw actually do
Collective is the vertical component: use it to climb and descend. It is not, by itself, the main way to build forward speed. Forward travel comes largely from pitch. With lift applied, tilting the nose down starts moving the helicopter forward. The further down the nose points, the faster that forward movement can become—but the aircraft will also trend toward the ground. It is a balance between momentum and altitude.
Pitching the nose up is the corresponding way to slow down quickly. That is particularly useful when approaching a landing site, but a sudden input can create an awkward change in momentum. Begin slowing earlier than instinct suggests, then ease the nose back toward level as the helicopter settles.
Roll is a sideways bank. It is an important ingredient in fast directional changes, but it must be used delicately. Excessive roll can send a helicopter down quickly, and larger aircraft are especially unforgiving when a bank goes too far.
Related coverage includes Wardogs Helicopter Controls Guide: How to Fly, Land, Repair and Earn Pilot XP.
Yaw turns the helicopter around its vertical axis. It is useful when hovering, turning in place, or moving slowly. At speed, yaw alone is not enough for a sharp retreat after dropping passengers. A more controlled high-speed turn comes from blending yaw with a modest roll, then using pitch to avoid losing the desired level and speed.
Think of a turn as a sequence rather than one command: establish enough lift, bank gently, add yaw in the chosen direction, then correct pitch and roll before the aircraft falls or overshoots.
This is why the firing range is valuable. It gives pilots space to practice that chain of decisions without teammates depending on the landing.
A practical flying routine for the MH-6
For a basic transport run, lift off smoothly and get clear of nearby obstacles before attempting forward speed. Keep a generous margin above treetops. Trees are a particularly serious hazard in Wardogs: even a small brush with branches can inflict substantial damage, and the point at which foliage becomes a collision risk may not be obvious from the cockpit.
Once clear, add a little nose-down pitch while maintaining collective lift. Do not keep pushing the nose down simply because the helicopter is moving; forward speed also means closing on the terrain more rapidly. Scan the route, make gentle banking corrections, and reserve stronger movements for situations where the aircraft has adequate height.
As the destination approaches, reduce speed before the final descent. Raise the nose enough to slow the helicopter, level the roll, and use collective descent in controlled increments. Landing is not the only option at HQ: a gentle hover just above the ground can also trigger the base servicing process.
For troop drops, the same restraint matters. A sharp escape turn after passengers bail out may require yaw and roll together, but avoid treating a fast turn as an invitation to hold either input at maximum. The goal is to leave the area intact and head back toward a place where the helicopter can be repaired, refuelled and supplied.
Use the right camera for the task
The pilot seat supports first-person, third-person and free camera views. Each answers a different problem.
- Third-person is useful for ordinary travel because it provides a clearer picture of the aircraft, its height and nearby hazards.
- First-person is the better precision option when a helicopter has weapons, making it easier to aim from the cockpit perspective.
- Free camera is especially helpful for landing. Looking around the aircraft helps identify a safer landing area and judge nearby obstacles.
Switch views deliberately rather than staying loyal to one. A long transport flight and a tight approach ask for different information, while a weapon-equipped helicopter has its own aiming demands. Pilots do not need to make every decision from the same camera angle.
HQ repairs, refuelling and ammunition
Damage management is part of every flight plan because repairs are tied to HQ. Land there, or hover gently above the ground, and repair and refuelling begin automatically. Those services deduct the required amount from in-game earnings, so careless damage has a direct financial cost.
Ammunition and countermeasures are handled separately. At HQ, open the shop by holding B on mouse and keyboard or using D-Pad Right on controller, then purchase ammo and flares. Because helicopter ammunition is limited, it makes sense to check supplies before leaving base rather than discovering the shortage during an engagement.
There is an important controller reminder here: D-Pad Right is listed for changing camera angle and is also used at HQ to access the shop. The context matters. If you are at headquarters and need supplies, use the HQ shop interaction; while flying, use the camera command to cycle views.
How to respond to a lock-on warning
Beeping provides a rough warning that an enemy has locked on and fired. Treat it as a signal to do two things, not one: deploy countermeasures and leave the threatened area as fast as safely possible. On keyboard, countermeasures are V; on controller, they are D-Pad Up.
Countermeasures can help incoming missiles lose their target, but they are not a guarantee of safety. Remaining nearby invites the possibility of follow-up shots. A pilot who hears the alert should avoid freezing to watch the result. Break away with measured control inputs, preserve altitude where possible, and prioritise survival over forcing one more attack or an overly perfect landing.
For more helicopter-focused shooter context, see the update adding the Huey helicopter to Hell Let Loose: Vietnam.
Pilot XP and unlocking more helicopters
The opening helicopter loop in Wardogs is based on moving other players. Only the MH-6 transport helicopter is available before Pilot level increases. Bring players aboard, fly them to the control zone or a location where they wish to bail out, and Pilot XP is awarded when they jump while you are flying.
There is additional value in making the trip safe: more Pilot XP is earned when those passengers reach the ground alive. Pilots can also receive assists if transported players later eliminate enemy players. In practice, that rewards reliable positioning, a controlled drop and a clean exit more than reckless low-level showmanship.
The Havoc is named among the helicopters that become relevant later, but the progression lesson arrives much earlier: a pilot’s first contribution is logistics. Deliver passengers, avoid trees, listen for lock warnings, manage scarce supplies and return to HQ before damage becomes a loss. Master those habits and the more complicated manoeuvres have a stable foundation.