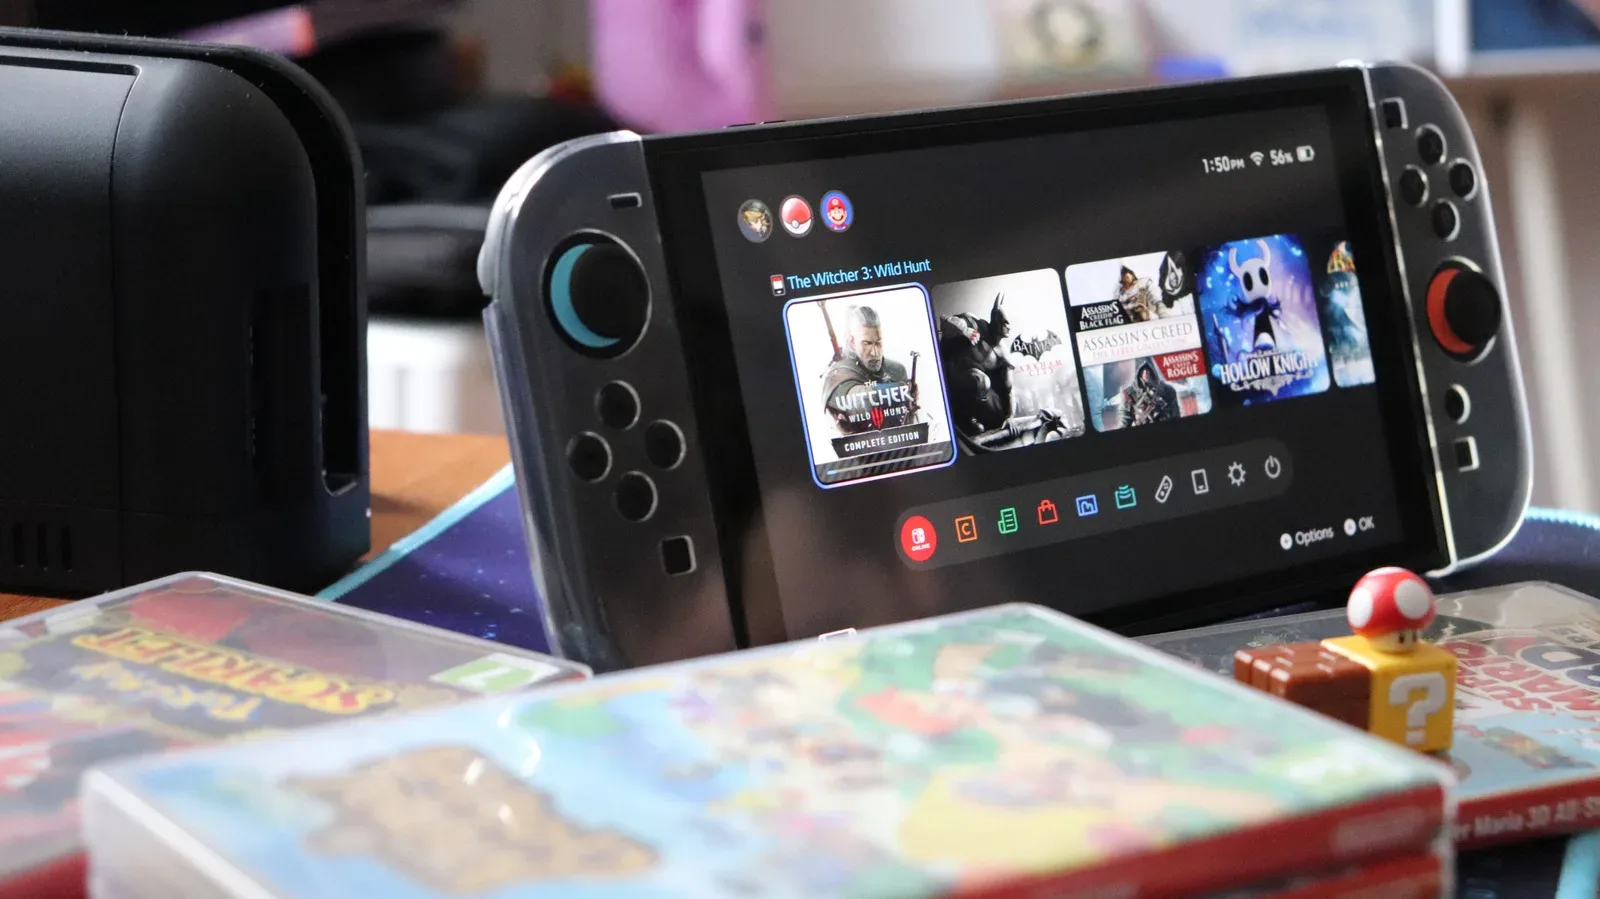
A Nintendo Switch 2 that charges in its dock yet leaves the television staring back with a black screen is a particularly unhelpful sort of technical drama. The console, dock, wall outlet, HDMI cable, television port and display settings all have to cooperate. If any one part is missing, incompatible or simply selected incorrectly, the result can look much the same: no picture where the game should be.
The productive way to handle the issue is not to change everything at once. Start with a complete power reset, then confirm the power adapter, then test the HDMI path, then inspect the television and handheld settings. That order makes it easier to identify the culprit and avoids buying replacement parts before there is evidence that they are needed.
This checklist focuses on a Switch 2 that will not show an image on a TV, including a black screen or a console that appears unresponsive while docked. If the steps below do not restore the connection, Nintendo support may need to assess the dock and console.
Start by resetting the dock’s power connection
Before evaluating cables and menus, clear the existing connection. Turn the TV off. Remove the Switch 2 handheld from the dock, disconnect every cable from the dock, and unplug the AC adapter from both the dock and the wall outlet. Leave the equipment disconnected for roughly 30 seconds.
For more context, explore Kash’s Father Calls for Compassion as Family Mourns and Sister Faces Charges.
After the pause, reconnect the power supply deliberately:
- Connect the AC adapter to the dock’s upper rear port, located behind the removable back panel.
- Plug the adapter into a wall outlet.
- Place the handheld fully into the dock with its screen facing the front.
- Reconnect the HDMI cable only after power is established.
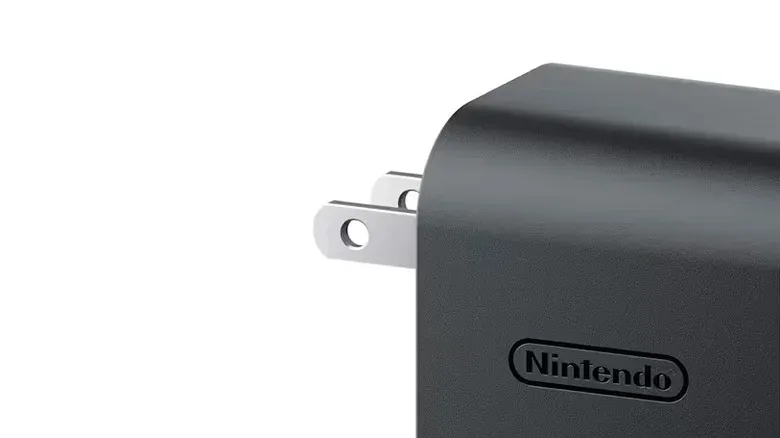
It sounds elementary, but a TV output cannot be established if the dock is not receiving sufficient power. Confirm that the USB plug on the AC adapter is seated all the way in, rather than merely resting in the port. Inspect the adapter and cable for visible fraying or other damage as well. Damaged or split cables can interrupt power even when a setup otherwise looks connected.
Rule out the wall outlet without guessing
A non-working outlet can resemble a dock or console failure. Test that socket with another device and a different charger. This is a simple comparison, but it cleanly separates a household-power problem from an issue further down the Switch 2 setup.
If the test device does not charge, move the Switch 2 setup to a known working outlet before investigating HDMI settings. If it does charge, the outlet is probably not the immediate explanation, and the next checks become more meaningful.
Third-party power adapters need enough wattage
The Switch 2 requires more power than the original Nintendo Switch for a sustained TV connection. A replacement or third-party AC adapter needs to deliver at least 54W. An adapter that is adequate for a smaller device, or one that can only charge the handheld in some circumstances, may not provide what the dock needs to keep video output running.
Wattage, abbreviated as W, is a measurement of power delivery. In practical terms here, it is not enough for an adapter to have a USB-shaped connector and fit the port; it must meet the Switch 2’s power requirement. The Nintendo AC adapter included with the system is the straightforward baseline for this test. Compatible replacement adapters are also sold separately by Nintendo.
That distinction matters because the visible symptom can be misleading. A handheld receiving some charge does not by itself prove that the power setup can support continuous television output. When troubleshooting, use a confirmed compatible adapter before reaching a verdict on the dock.
Use the correct HDMI cable and the correct direction
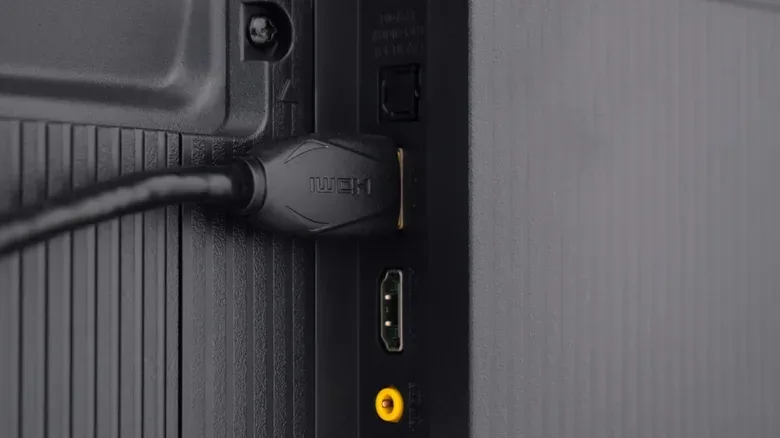
Once dock power is confirmed, examine the video link. The Switch 2 uses an Ultra High Speed, or UHS, HDMI cable. The included cable supports up to 48Gbps of bandwidth and HDMI 2.1 connections. Third-party cables can work, but they must also be UHS-rated.
Do not substitute a lower-speed HDMI cable or the cable supplied with a first-generation Nintendo Switch. A cable can look physically identical while lacking the required specification, which is why an old cable is an easy problem to overlook.
Connect one end to the dock’s HDMI-out port and the other to an HDMI-in port on the television. The labels matter: the dock sends video out, while the TV receives video in. Re-seat each end firmly. If there is no picture, try a different UHS HDMI cable if one is available. This test is more useful than repeatedly unplugging and reconnecting the same unknown cable.
What HDMI 2.1 means for this setup
HDMI is the standard that carries picture and sound between the dock and television. The cable rating and TV port capability are related but different things. A UHS HDMI cable supports HDMI 2.1 connections and 48Gbps bandwidth. An HDMI 2.1 TV input can support up to 8K at 60Hz or 4K at 120Hz.
The Switch 2 can output 4K at 60Hz or 1080p at 120Hz. Resolution describes how much image detail is displayed, while refresh rate, measured in Hz, describes how often the image can update per second. Higher refresh rates can matter for games designed to run at them, but a missing picture is the problem to solve first.
A UHS cable is backward-compatible with older HDMI ports, but an older port limits what can be displayed. HDMI 1.0 ports, for example, do not enable 4K output or high refresh rates. HDMI 2.0, released in 2013, supports 4K. Since TV port labels are not always obvious, check the TV manufacturer’s documentation if you need to confirm whether a particular input is HDMI 2.1.
For a compact alternate checklist of the same connection path, review these Switch 2 TV troubleshooting steps.
Tell the TV which input to display
Even a functioning dock and cable cannot produce an image if the television is watching the wrong input. Use the TV remote to select the HDMI input that corresponds to the physical port used by the Switch 2. A TV with several HDMI sockets may refer to them as HDMI 1, HDMI 2 and so on, whether or not one of those ports has additional gaming capabilities.
If the image does not appear automatically after selecting the correct input, press the power button on the Switch 2 handheld while it remains docked. Also make sure the controllers are charged so they can connect normally once the console is active.
Then look through the TV’s picture, advanced or output menus for settings associated with the selected HDMI port. Names vary by manufacturer, but relevant settings may include:
- Auto Low Latency Mode (ALLM): a feature intended to allow compatible equipment to switch the TV into a lower-latency mode automatically.
- Gaming mode: a TV mode generally intended for game inputs.
- HDMI Ultra HD Deep Color: an HDMI setting found on some TVs.
- Input Signal Plus: a similarly relevant setting used in some TV menus.
Enable the applicable feature for the exact HDMI port where the console is connected, then check the selected input again. The important detail is the port association: turning on an option for HDMI 1 will not necessarily alter the behavior of a console plugged into HDMI 3.
Use substitution tests to isolate the failing piece
When the picture still will not appear, change one part of the chain at a time. This turns vague troubleshooting into a process of elimination.
- Try another UHS HDMI cable.
- Try another HDMI input on the same television.
- If possible, try the existing dock and console on another TV.
If a second UHS cable works, the original cable is the likely issue. If a different HDMI port works, the first TV port or its configuration deserves attention. If the system works on another television, focus on the original TV’s port, settings or compatibility. Conversely, if it fails across cables, ports and televisions after the power checks, the dock or handheld becomes a more plausible source of the problem.
These tests do not prove every possible hardware fault, but they provide useful, specific information if support is needed. “It fails with two UHS cables on two TVs” is much more actionable than “the TV is black.”
Check the handheld’s software and display configuration
Do not assume every docked-output issue lives in the dock. Remove the Switch 2 and make sure the handheld itself powers on. Then check for the latest system software through System Settings > System > System Update. Install an available update before continuing.
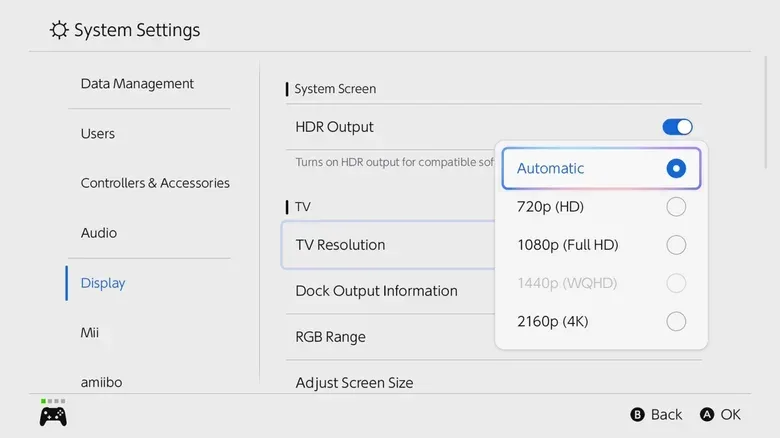
Next, open System Settings > Display > TV Resolution. Set it to Automatic, or choose a resolution that matches the television’s output. Automatic is a useful first choice when the TV’s supported resolution is uncertain because it lets the console select an appropriate mode.
Also enable System Settings > Display > Match TV Power State. This setting allows the TV to turn on when the console is powered on and docked. It is a convenience feature rather than a guarantee: older televisions may not wake through it. If the TV does not wake, use its remote, select the appropriate HDMI input manually, and continue checking for a picture.
When it is time to contact Nintendo
After a full reset, a known working wall outlet, a compatible 54W-or-greater adapter, a UHS HDMI cable, different TV inputs, another TV where possible, and updated handheld settings, ongoing failure is no longer something to endlessly troubleshoot at home.
Contact Nintendo support and describe which tests were completed and what happened in each case. The support process may require sending in both the dock and the console for inspection. Keeping the diagnosis orderly protects time, narrows down the likely failure point, and gets the Switch 2 back to its job: leaving the small screen when you want the big one.